
How to Turn Customer Portal Features On or Off
What Is This?
You choose which extras your customers get in the portal, such as bookings, referrals and online ordering. Turn on only what your business uses, so the portal stays simple.
Real-Life Example
Wei Lin runs Glow Salon in Mont Kiara. Customers kept calling to book, and her staff missed calls during treatments. Wei Lin opened the Feature tab and turned on Reservation. She left Ordering System off, because the salon sells no food. Now customers book from the portal, and the phone rings less.
How to Set It Up
-
Go to Admin Panel → Loyalty Program → Customer Portal Design.

Customer Portal Design is in the Loyalty Program group.
-
Click Edit on your theme.

Most businesses have one theme, called Default.
-
Click the Feature tab.

Each feature has its own box. Red text means something else must be set up first.
-
Turn on the switch in each feature you want, for example Enable Store Locator Page or Send customers to ordering.
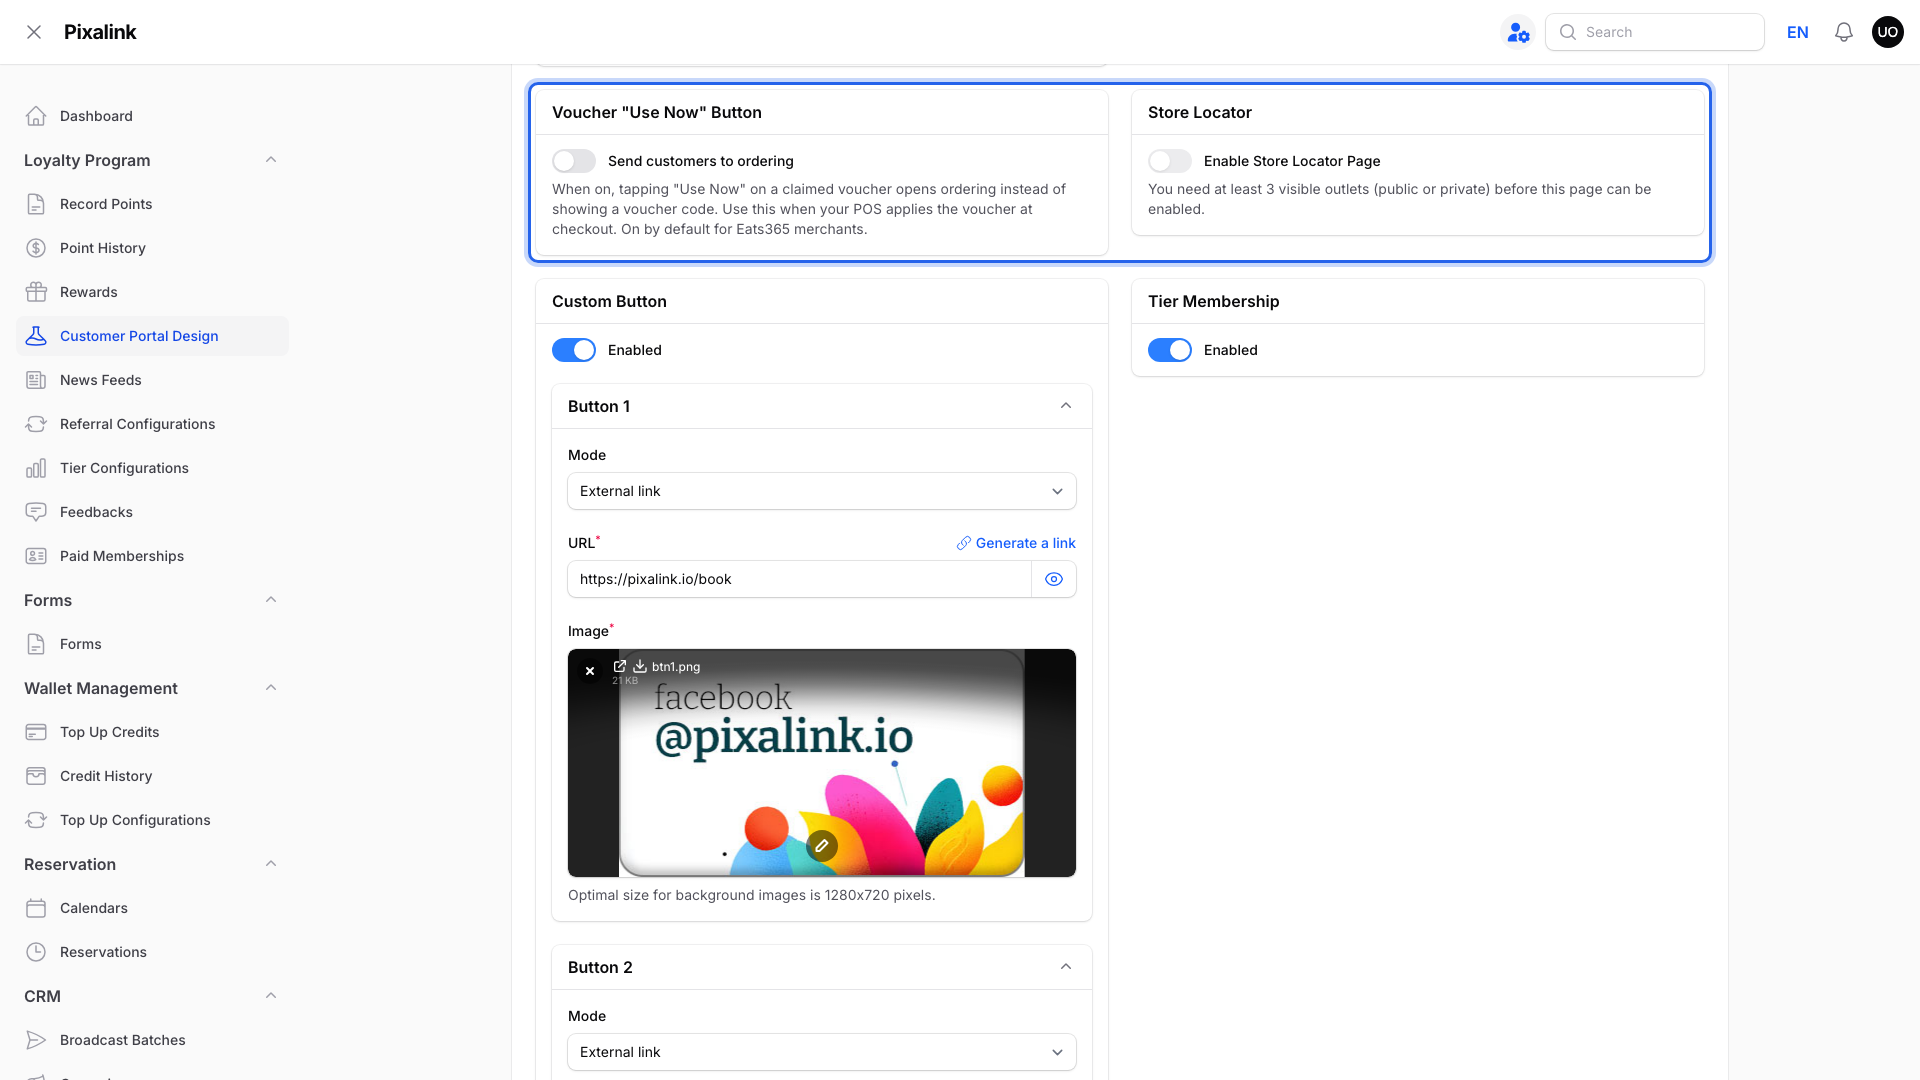
A grey switch is off. Blue is on.
-
Click Save changes.
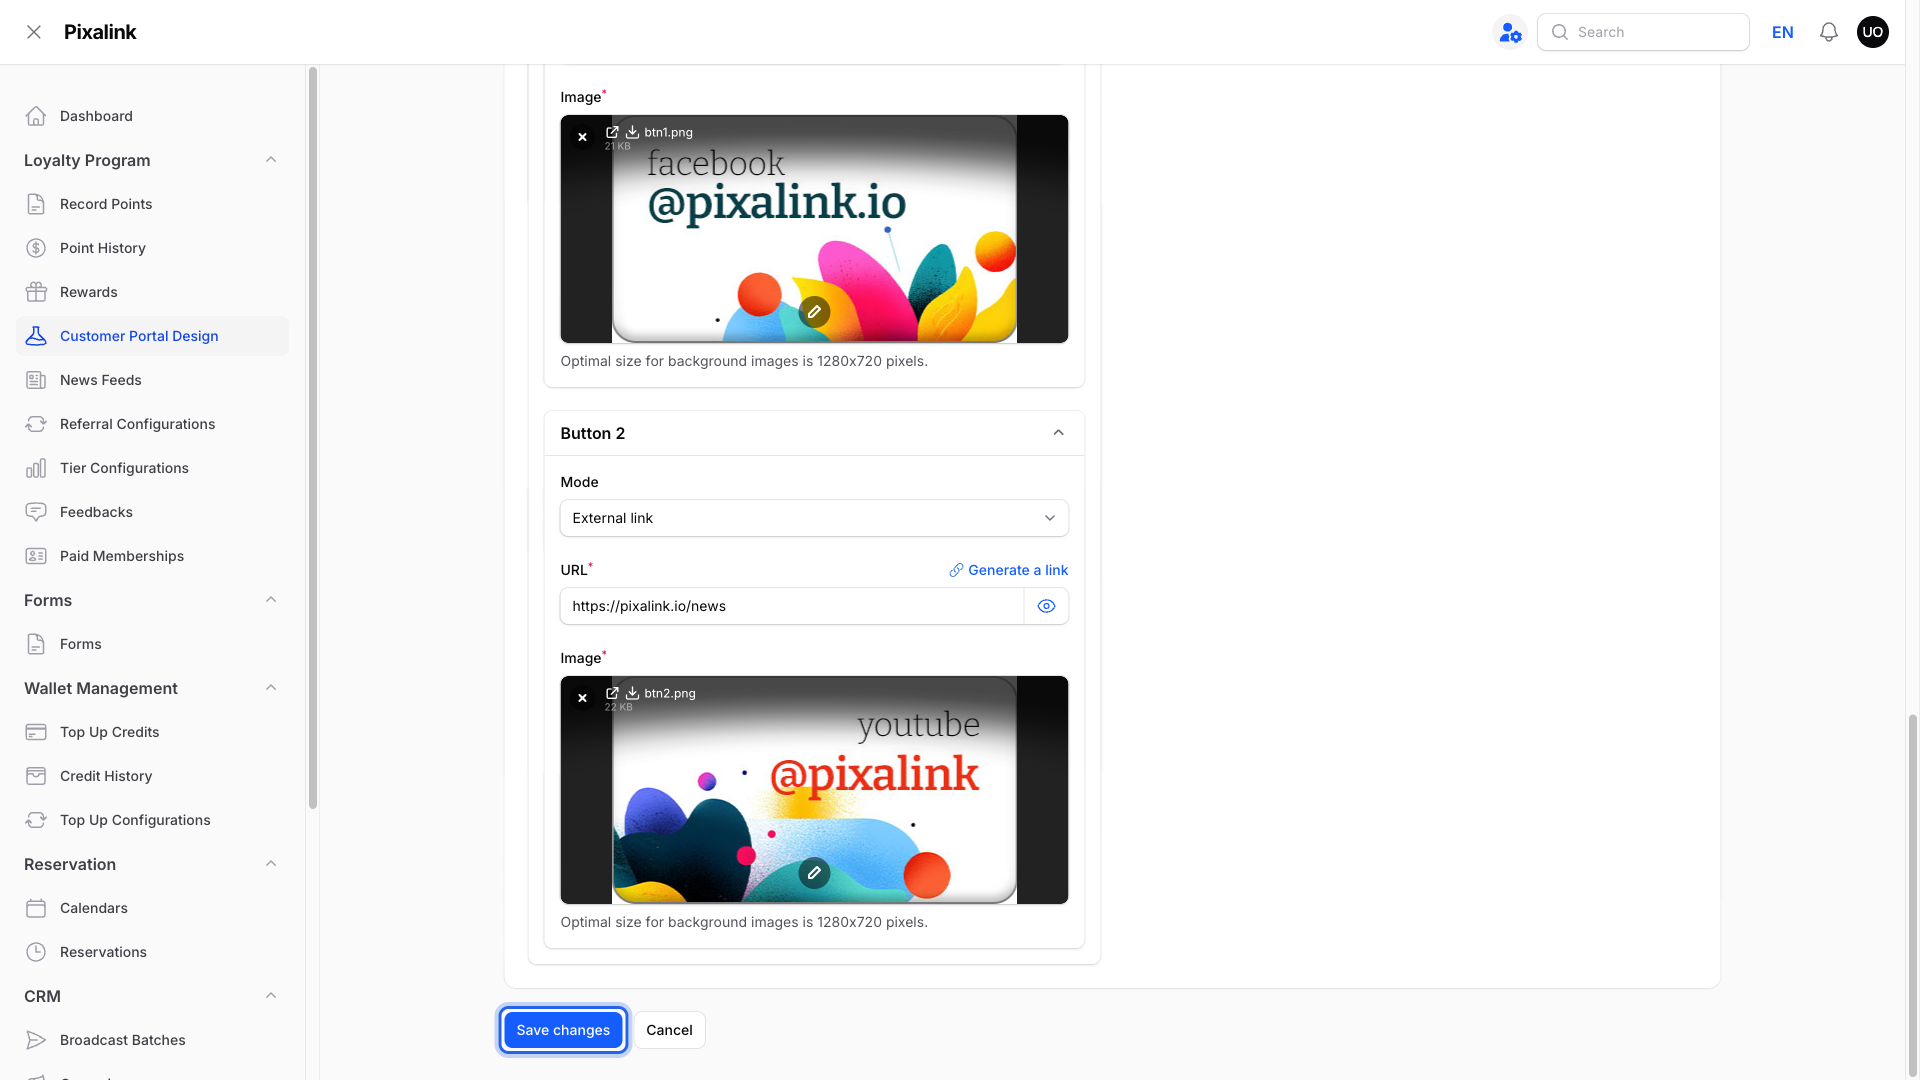
Then click View on Front Page at the top to check the result.
What Each Feature Does
- Reservation: customers book from the portal. Pick Pixalink's Reservation System or a Custom Link. Pixalink's Reservation System needs an active calendar at the outlet first. Custom Link sends customers to your own booking page.
- Transaction: shows when points expire. It only appears if your points expire.
- Referral Program: customers invite friends. You need a referral setup first. See How to Set Up Referrals.
- Ordering System: customers order online. You set it per outlet with Add Location. See How to Embed Your Ordering Website Inside the Customer Portal.
- Feedback: collects reviews. See How to View and Reply to Customer Feedback.
- Redeem Code: customers type in a voucher code. See How to Let Customers Redeem Voucher Codes Themselves (Redeem Code Page).
- Voucher "Use Now" Button: with Send customers to ordering on, Use Now opens ordering instead of a voucher code. This works only if you set an ordering link or outlet ordering. Otherwise the code still shows. Use it when your POS applies the voucher at checkout. It starts on for Eats365 businesses.
- Store Locator: a map of your outlets. You need at least 3 outlets that customers can see.
- Custom Button: up to 2 extra buttons. See How to Add Custom Buttons to Your Customer Portal.
- Tier Membership: shows tier progress. You need an active tier setup first.
What Your Customers Will See
Most features you turn on add a page or button to the portal. The bottom buttons and quick links can still point to a feature you turned off. If you never changed them, they show a default set that includes Order and Reservations. Change them on the Layout tab.
Good to Know
- Redeem Code and Analytics Tracking only show when the Pixalink team turns them on for your account.
- A seasonal theme replaces your Default theme during its dates, so set its features too.
Need Help?
If a switch stays grey and you can't turn it on, read the text under it. It names what to set up first.