
Updated Jul 28, 2026
Zu Wei
2 min read
8 views

How to Add Custom Buttons to Your Customer Portal

How to Add Custom Buttons to Your Customer Portal
What Is This?

Custom Buttons are two banner-style images on your customer portal Profile page. You can use them to point customers to your booking page, your Instagram, or a special pop-up message. Each button uses a 16:9 image you upload yourself.

Real-Life Example

Wei Lin runs Gentle Pets, a pet grooming salon in Damansara. Her customers kept asking how to book a grooming slot online, and she wanted them to follow her Instagram for new puppy photos. She turned on Custom Buttons, uploaded a blue "Book a grooming slot" banner linked to her booking page, and a pink "Follow us on Instagram" banner linked to her profile. Within a week, Instagram followers grew by 30 and online bookings started replacing phone calls.

How to Set It Up

  1. Go to Admin Panel → Loyalty Program → Customer Portal Design and click Edit on your theme
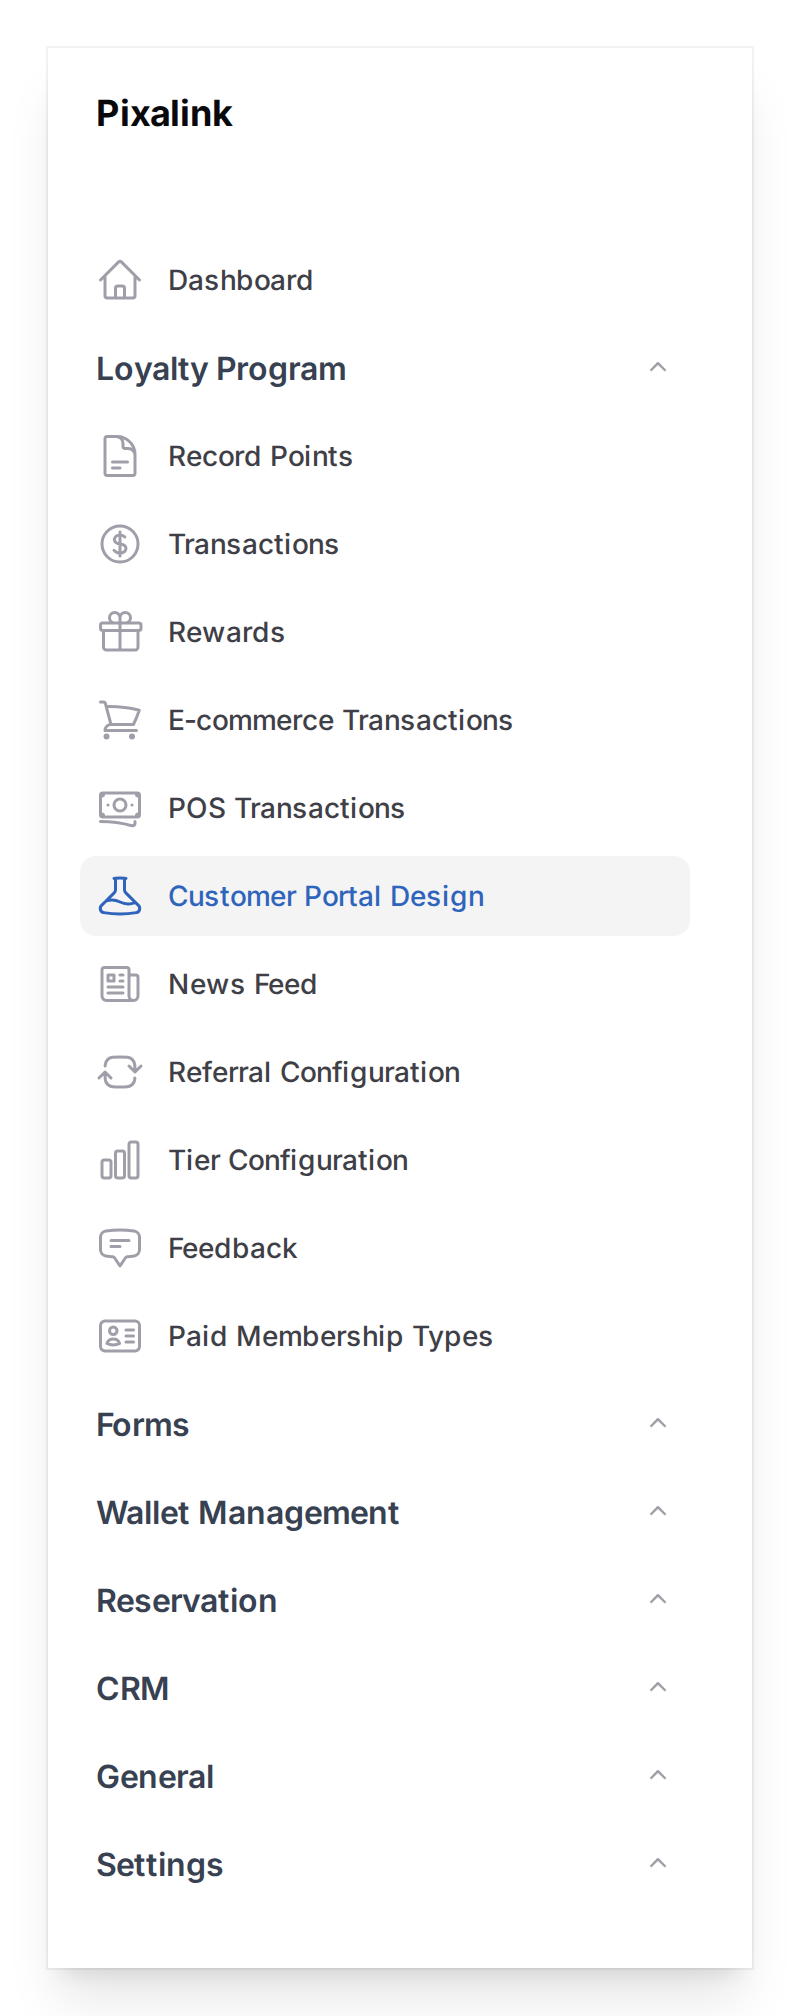
    Admin panel sidebar showing Customer Portal Design highlighted under Loyalty Program

  2. Open the Feature tab at the top of the form
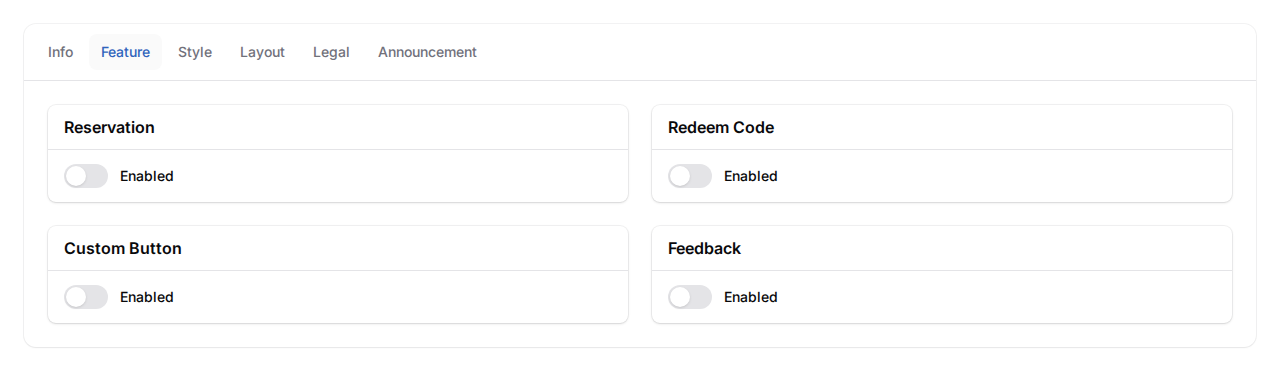
    Customer Portal Theme edit form with the Feature tab active, showing the Reservation, Redeem Code, Custom Button, and Feedback sections

  3. Find the Custom Button section and turn on Enabled. Button 1 and Button 2 appear below
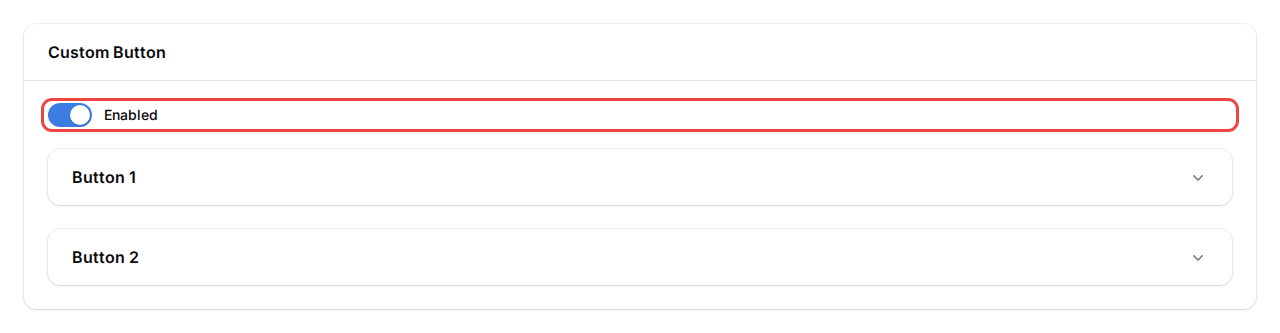
    Custom Button section with Enabled toggle on, showing two collapsible Button 1 and Button 2 panels

  4. Click Button 1 to open it, pick a Mode, fill in the field that appears, then upload an Image (16:9, optimal 308 × 228 pixels). Repeat for Button 2 if you want a second one. Click Save at the bottom
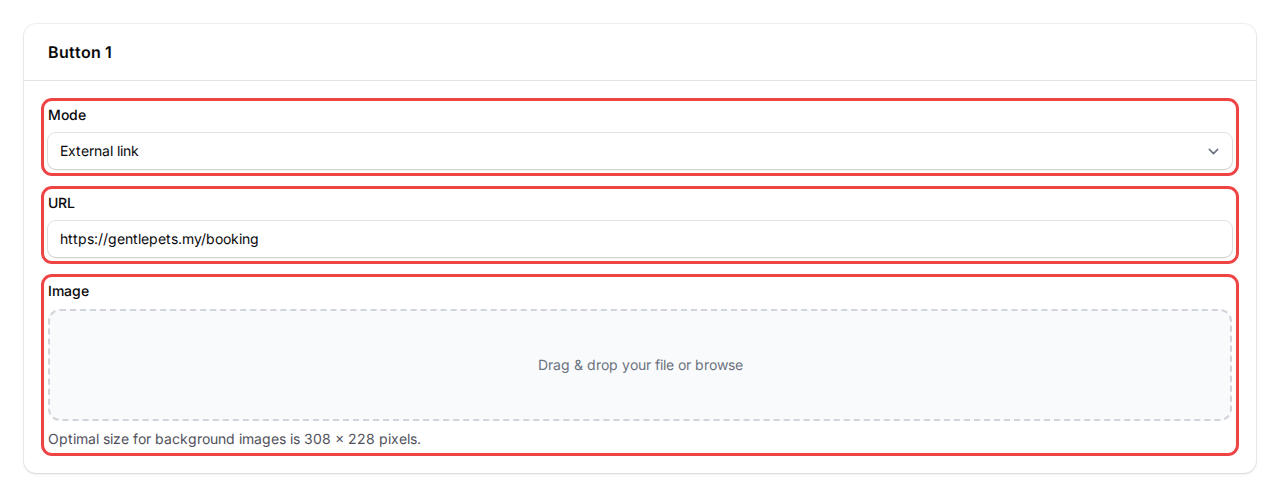
    Button 1 expanded with Mode set to External link, URL filled in, and Image upload area highlighted

What Your Customers Will See

Two banner images appear side by side on the Profile page, just below the Settings icons. Customers reach it by tapping Profile in the bottom navigation bar. Tapping a button does whatever you set it to do — open your link, show your pop-up, or open your announcement.
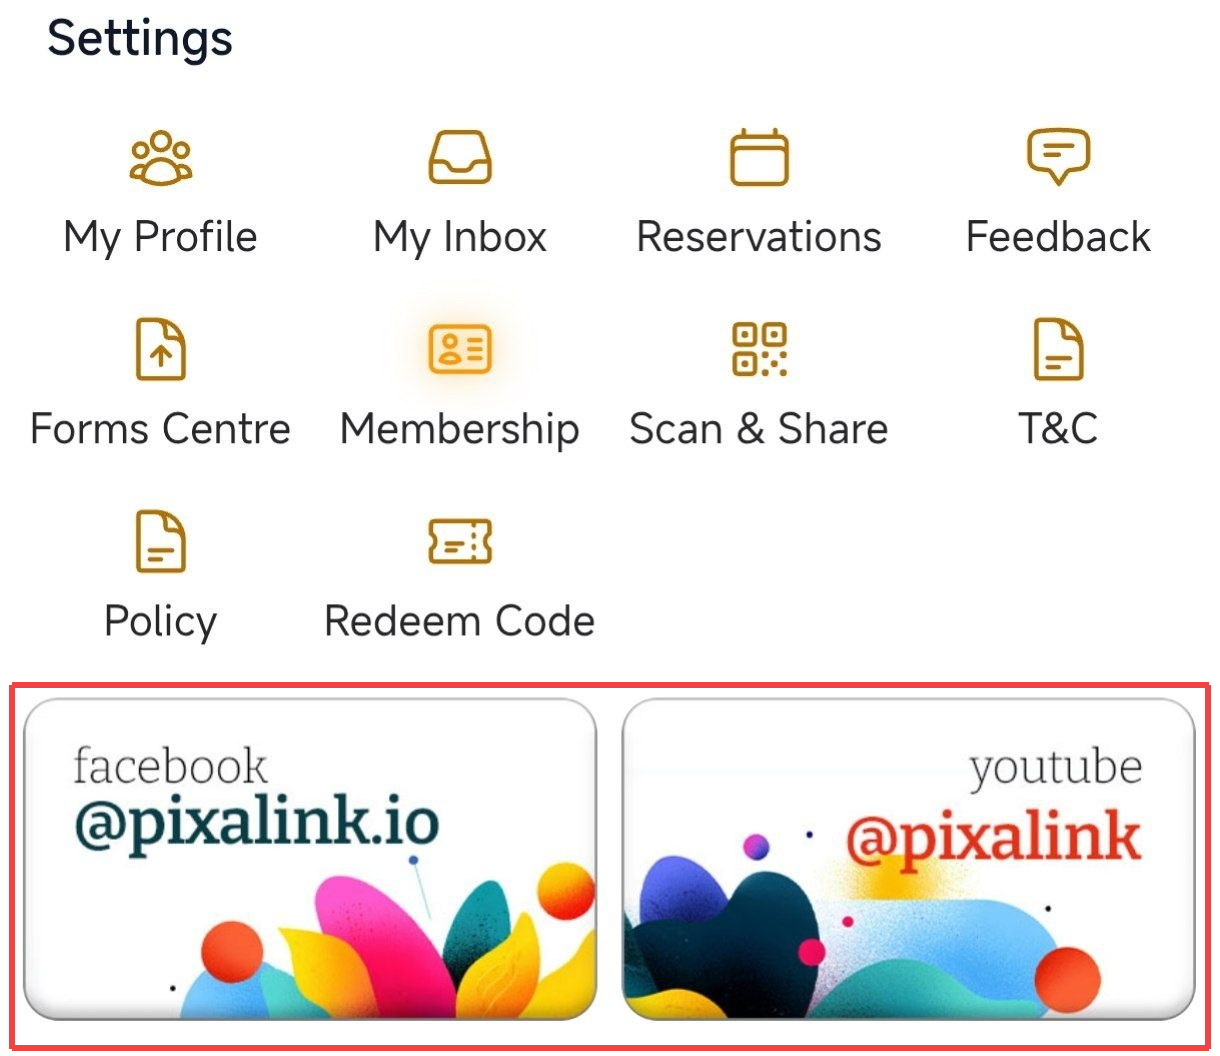
Real customer portal screenshot with the two custom banner buttons (Facebook and YouTube links) highlighted in red below the Settings icons

Good to Know

  • You can have a maximum of 2 buttons — keep it simple.
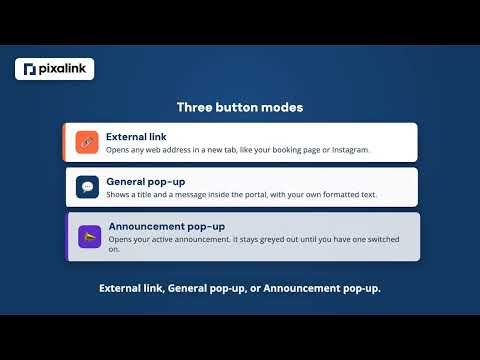
  • Each button has three Mode options:
    • External link — opens any URL in a new tab (your booking page, Instagram, menu PDF).
    • General pop-up — shows a custom title and message inside the portal.
    • Announcement pop-up — opens your active announcement (only works when you have one turned on).
  • The image is required. Use a clean banner that says what the button does.
  • Optimal image size: 308 × 228 pixels (16:9). Larger images get cropped to fit.
  • You only need to set up Button 1 if you want one button — Button 2 is optional.

Need Help?

Can't see the Custom Button section? Send us a message.

What's Next?

Video transcript: How to Add Custom Buttons to Your Customer Portal
Custom Buttons are two banner images on your customer portal profile page. You choose the picture, and you choose what happens when a customer taps it. Here is the result first. These two banners sit on the profile page, just below the settings icons. One sends customers to a booking page, the other to a news page. Now let us set them up. Start in the admin panel. Go to Loyalty Program, then Customer Portal Design. Find the design you want to change and click Edit. Custom Buttons are not on the Layout tab where the quick links live. They sit on the Feature tab, so open that one first. Scroll to the Custom Button section and switch Enabled on. Two panels appear underneath, Button 1 and Button 2. You only need Button 1 if you want a single banner. Open Button 1 and pick a Mode. The Mode decides what happens when a customer taps the banner. There are three modes. External link opens any web address in a new tab, like your booking page or Instagram. General pop-up shows a title and a message inside the portal. The third mode, Announcement pop-up, opens your active announcement. That one stays greyed out until you have an announcement switched on. Fill in the field that appears. For External link that is the web address. The Image only shows up once you have picked a mode, and it is required, so every button needs a picture. Repeat for Button 2, then click Save at the bottom. And that is it. Both banners appear side by side on the profile page. Tapping one does whatever you set it to do, opening your link or showing your pop-up. Finally, remember two limits. You can add two buttons at most, so keep the design simple. And every button must have an image. Use a wide sixteen by nine banner that says what the button does, because larger pictures get cropped to fit.

Was this article helpful?

Thank you for your feedback!

0 found this helpful 0 did not

Search