What Is the Customer Portal and How to Set It Up
What Is the Customer Portal?
The Customer Portal is a customisable loyalty page where you can reflect your brand — your logo, colours, and homepage banner — all in one place. You can also enable features like a reservation system, referral program, feedback collection, and reward redemption so your customers have everything they need on one page.
Example: Wei Lin owns a bubble tea chain with three outlets. She creates a Customer Portal with her brand colours, logo, and a homepage banner featuring her latest promotion. She enables the reservation system and referral program, so customers can book a table and refer friends — all from one page.
Video Walkthrough
How to Create the Customer Portal
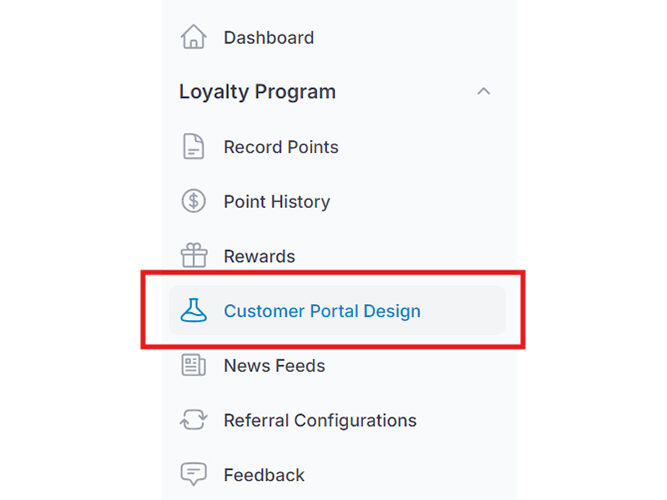
Step 1: Access the Customer Portal Design Section
Go to Admin Panel > Loyalty Program > Customer Portal Design.
Step 2: Click "New Customer Portal"
Click the New Customer Portal button to begin creating a new portal.

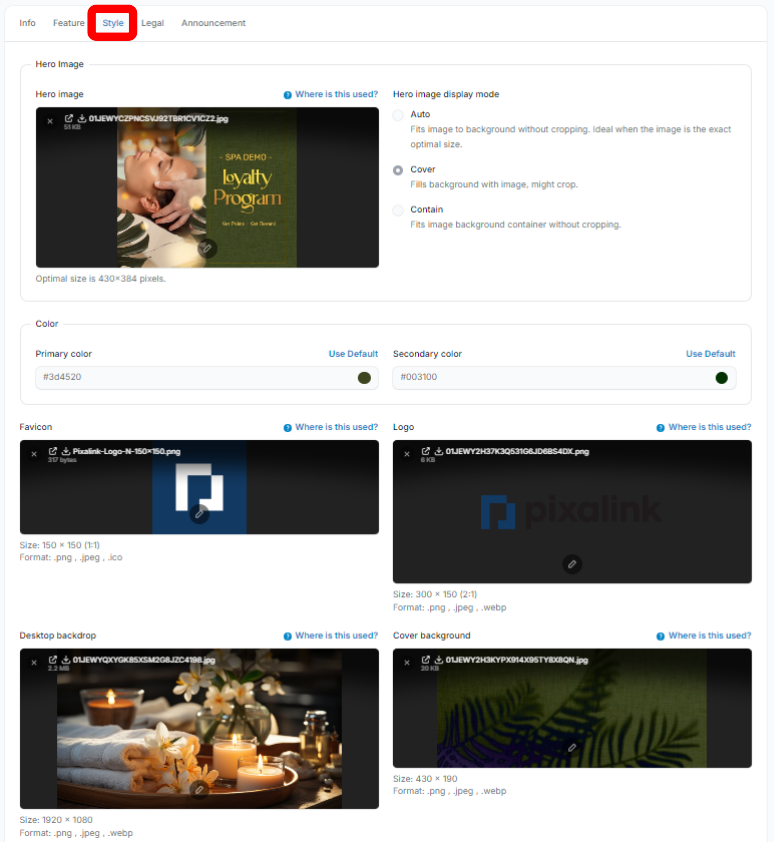
Step 3: Complete Required Details and Customize the Design
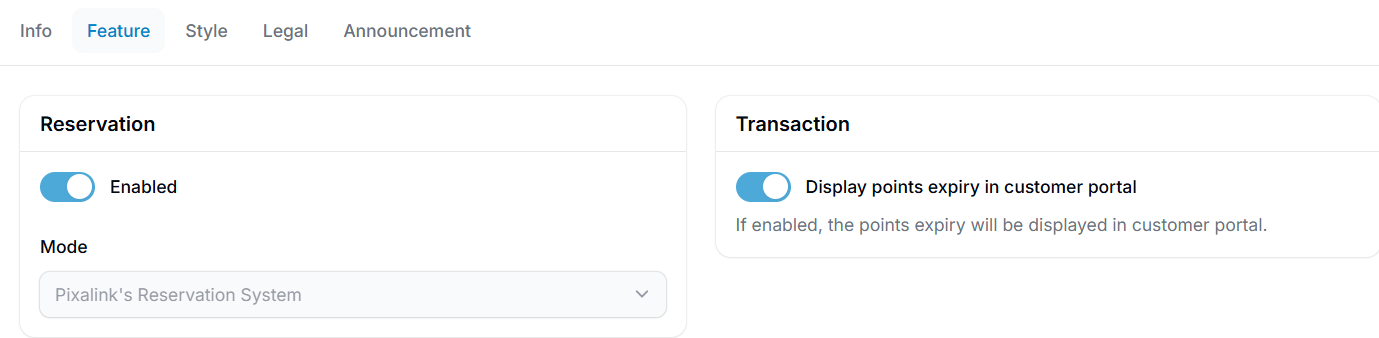
Fill in the required fields for your portal. The form has six tabs: Info, Feature, Style, Layout, Legal, and Announcement. Click the Style tab to customise the visual design, including colours and layout. Use the "Where is this used?" option to preview where each section appears on the portal. You may also enable specific features for your portal under the Feature tab.
Note: the Legal tab lets you customise how your Terms and Conditions and Privacy Policy are shown to customers — see the Legal section below for full details.

Step 4: Click "Create" to Finalize
Click Create to finalize your portal setup. Your portal will now appear on the front page. Click "View on Front Page" to preview how it looks to your customers.

Event-Specific Themes
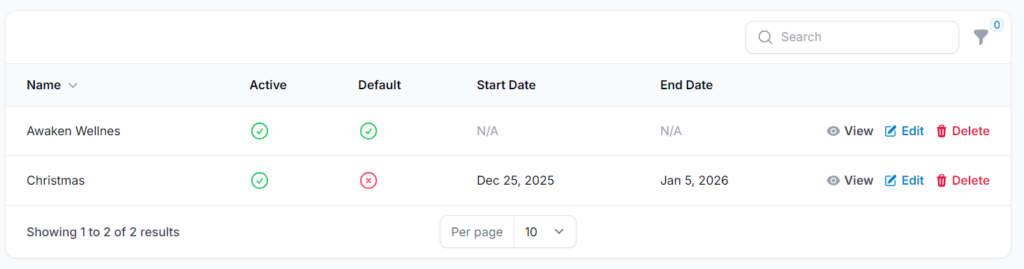
You can create an additional portal with a unique design for events while keeping your default theme unchanged. This allows you to run limited-time campaigns or seasonal themes without disrupting your primary branding.
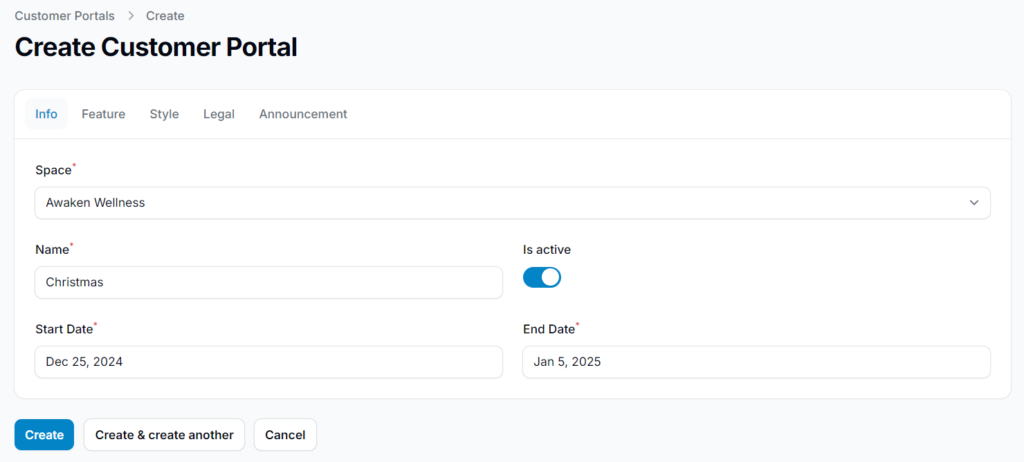
To create an event-specific theme:
- Click New Customer Portal.
- Fill in the event-specific details and design.
- Set the active duration for the event theme. The portal will automatically revert to your default theme when the set time ends.
- Click Create to finalize.

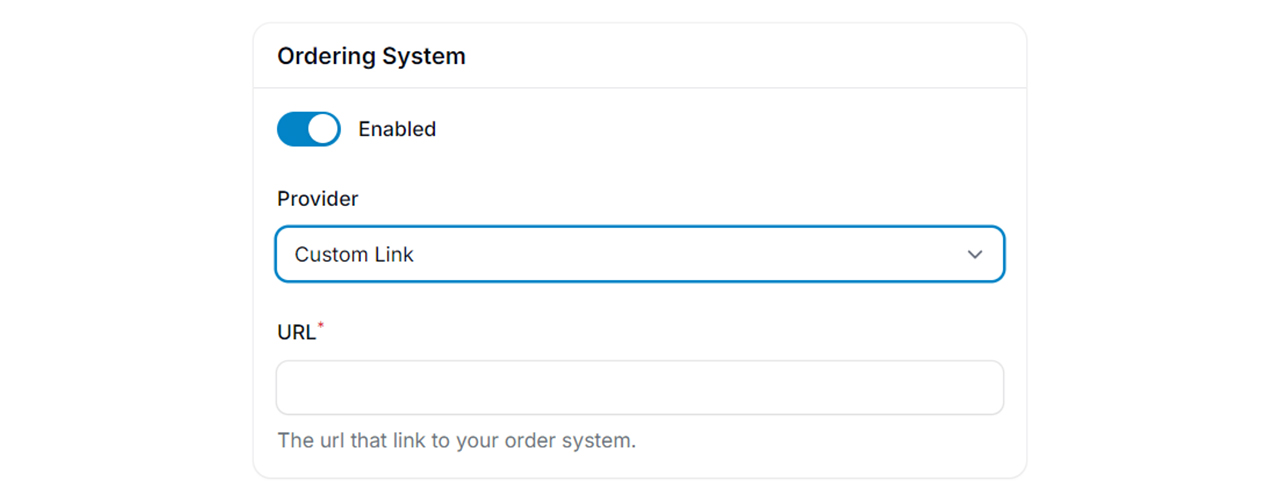
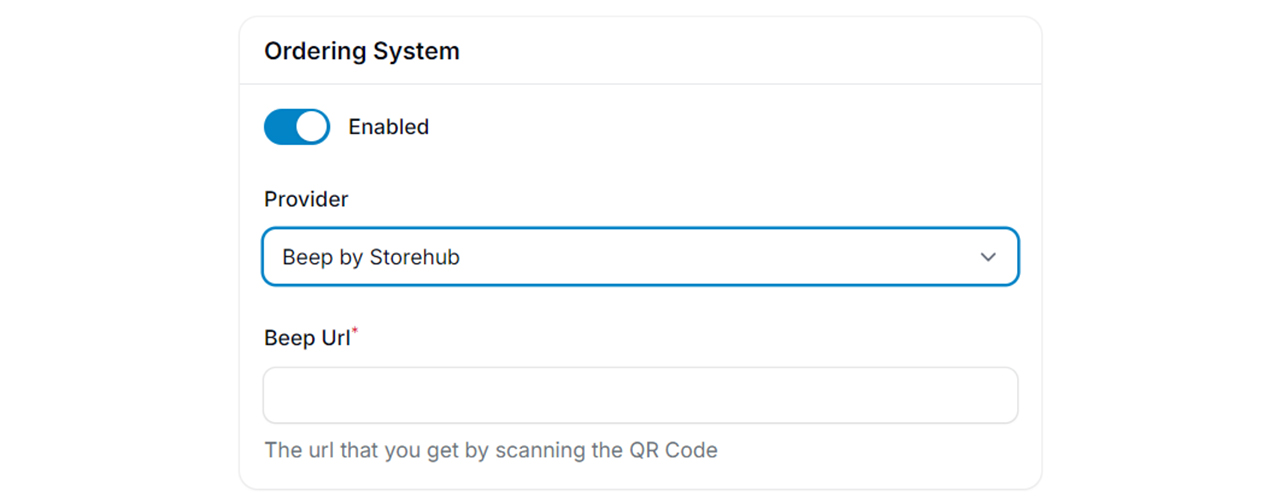
Ordering System
Enable this feature if your business sells products or operates a restaurant. There are two options available:
Custom Link
Attach a URL to redirect customers to your existing external ordering system.
Beep by StoreHub
Integrate with Beep by StoreHub if you do not have an existing ordering system. This option requires a separate subscription with StoreHub.
Custom Button
The custom button appears on the customer's profile page and can be configured to redirect customers to an external link. You can also assign an existing announcement to the button via the "Announcement Pop-Up" option, which displays the announcement when the button is clicked.

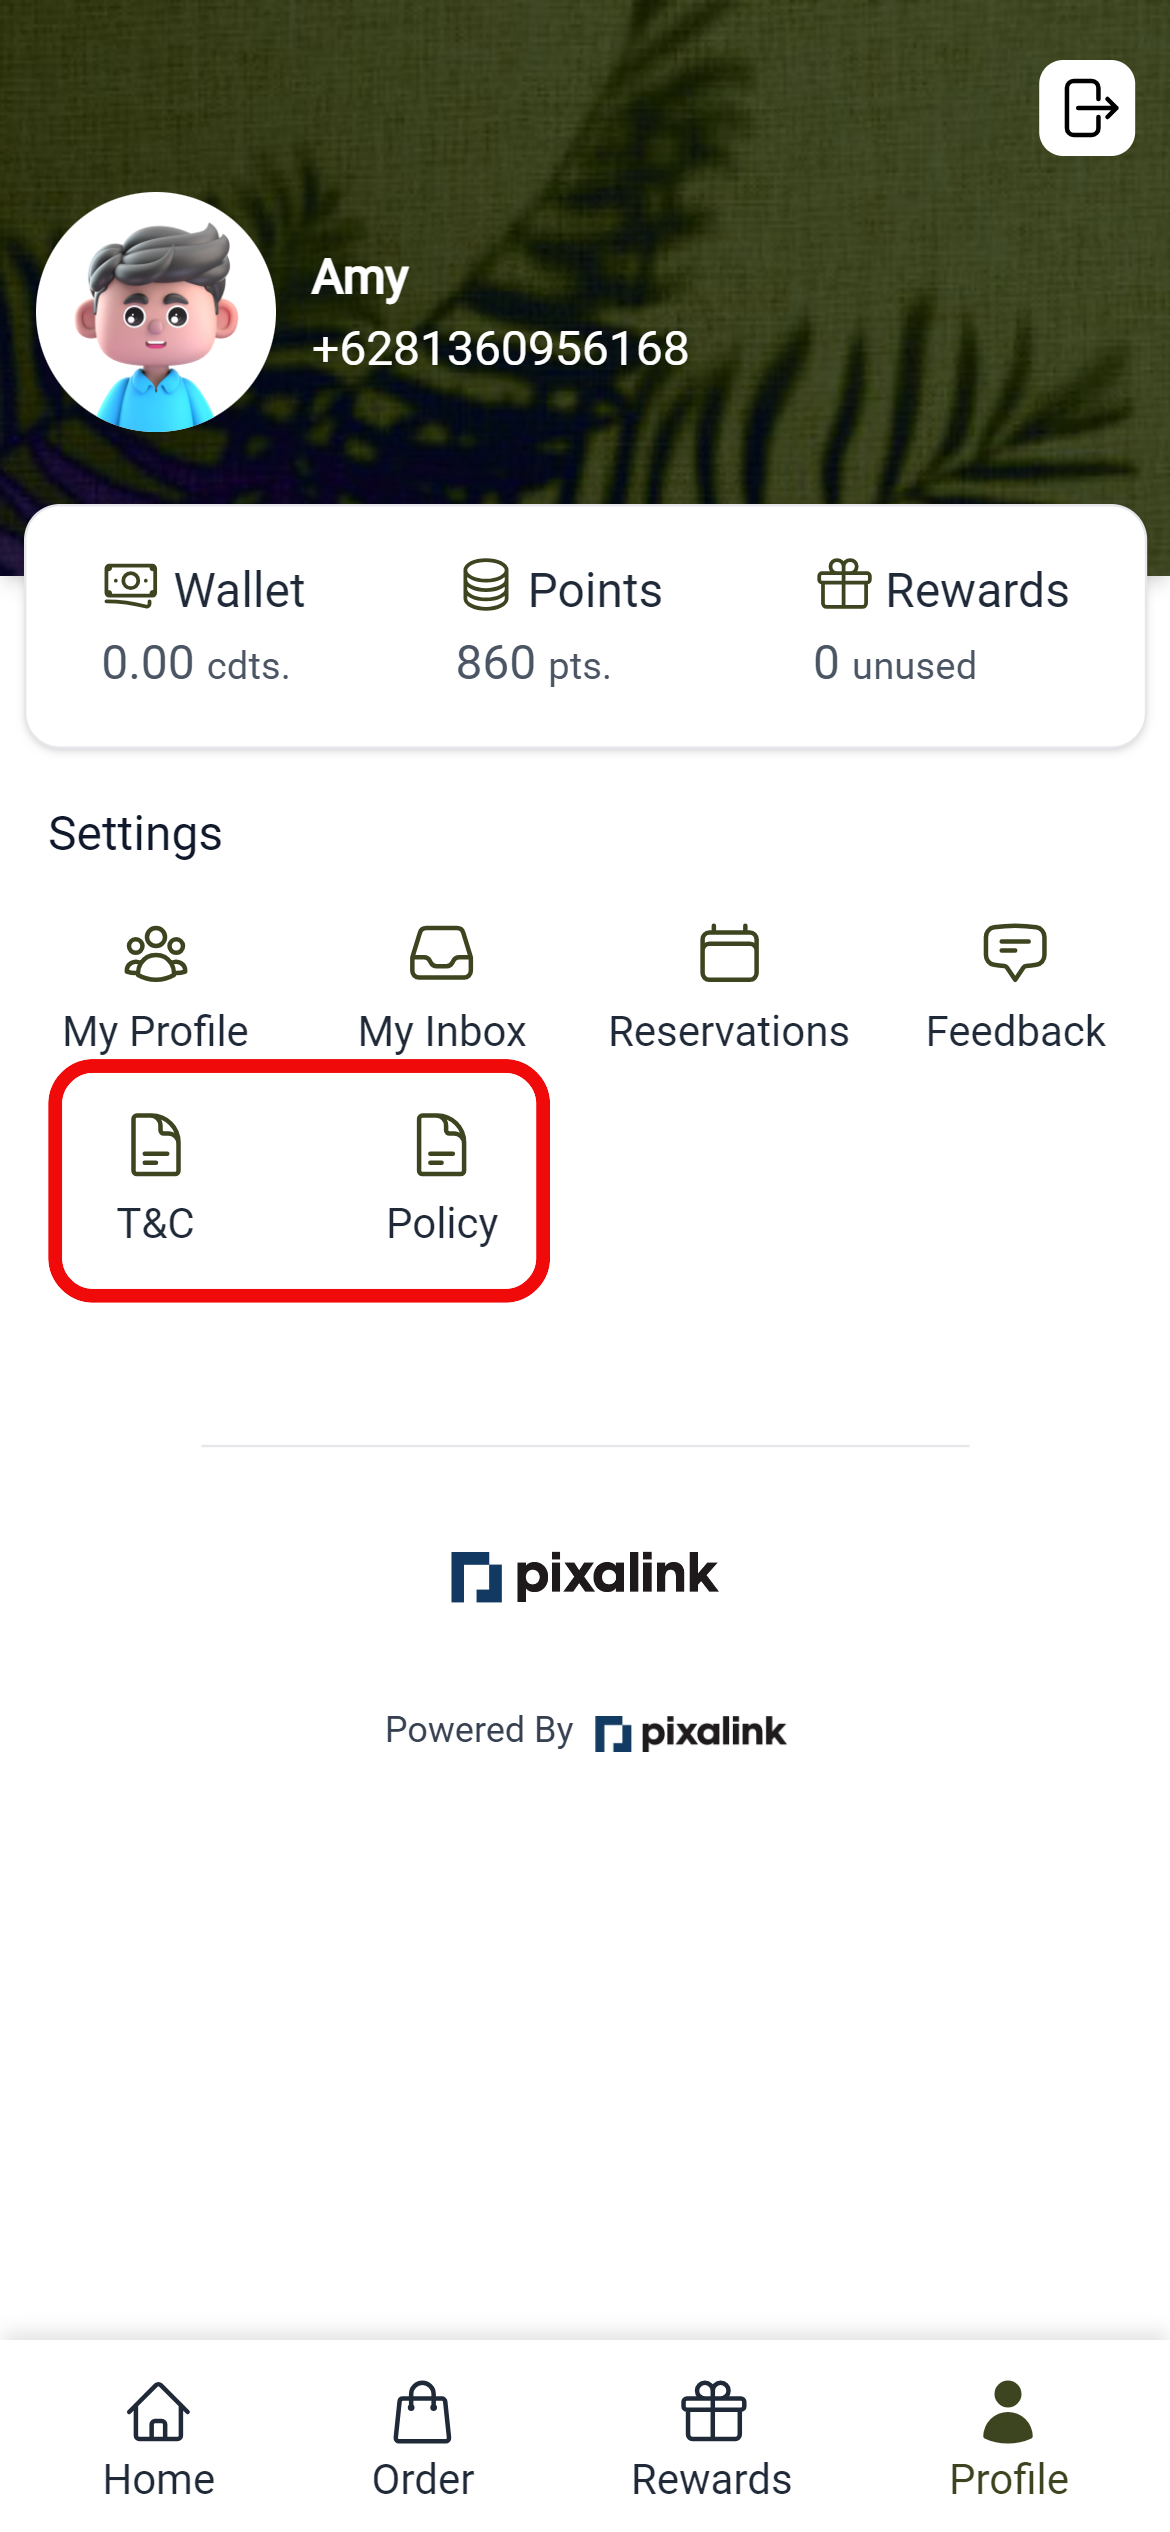
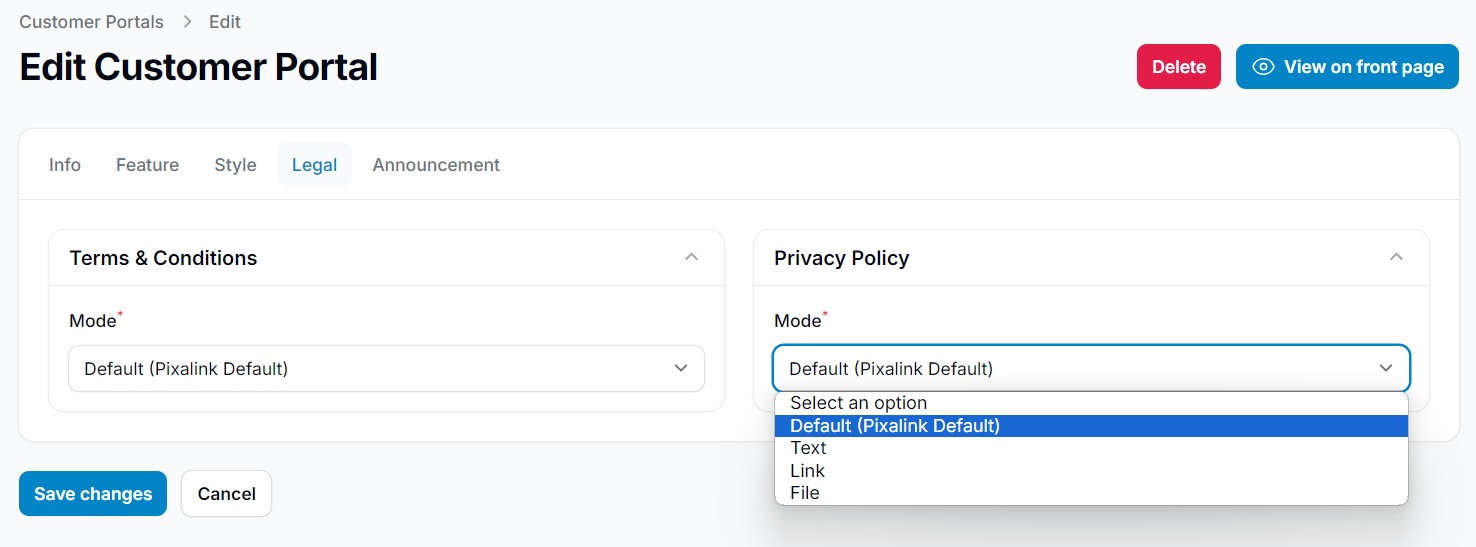
Understanding the Legal Tab
Customise how your Terms and Conditions and Privacy Policy are displayed to customers. There are four options available:
- Default - Uses the Pixalink default terms and privacy policy.
- Text - Enter your own content, which will be displayed directly on the page.
- Link - Redirect customers to an external URL containing your legal documents.
- File - Upload a PDF file that customers can download.
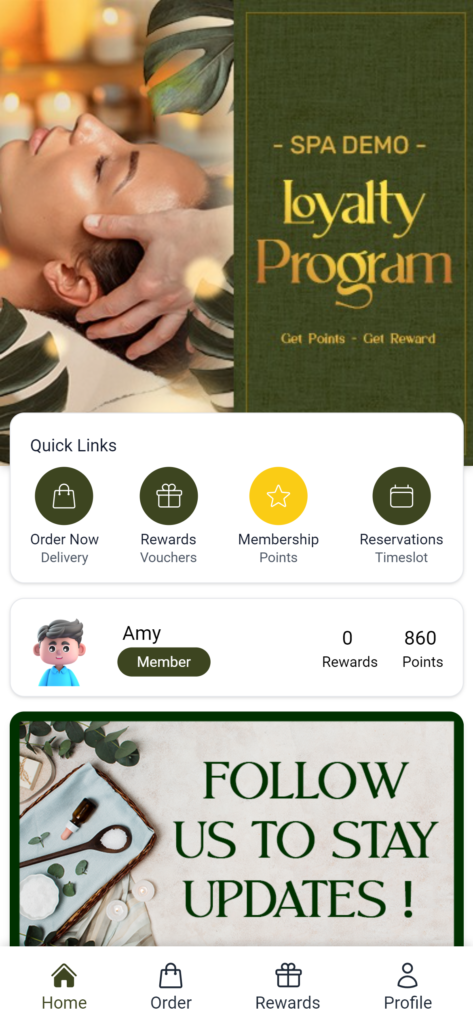
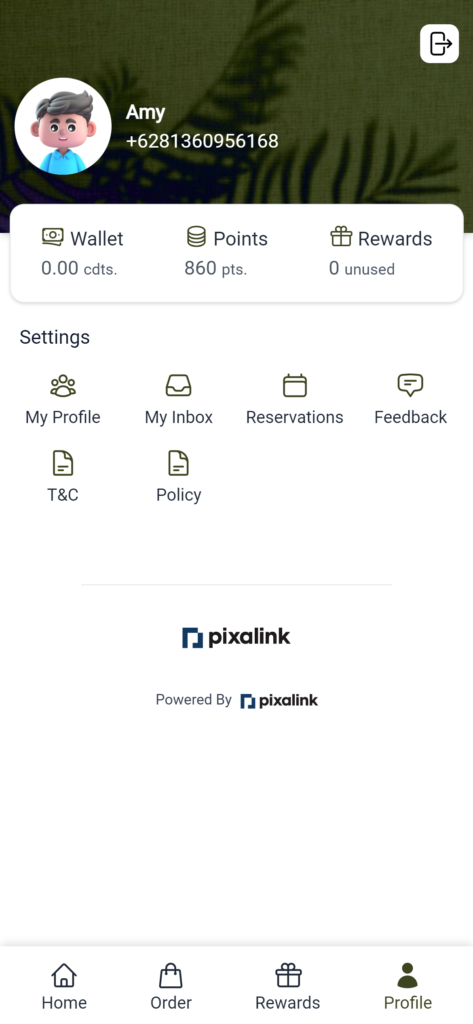
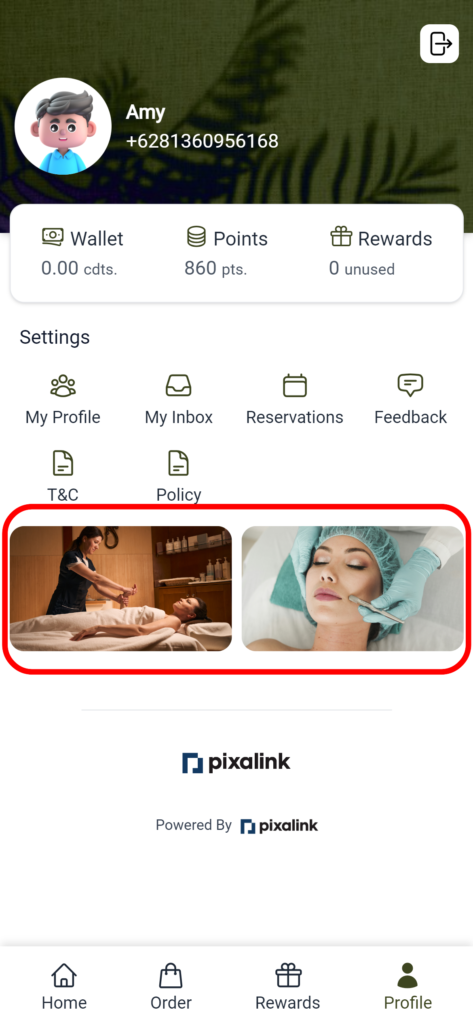
What Your Customers Will See
Your customers will see a branded loyalty page when they visit your Customer Portal link. They can view their points, browse rewards, make reservations, and access any features you have enabled — all in your brand's look and feel.
Good to Know
- You can create multiple portal themes — use event-specific themes for seasonal promotions without changing your default design
- Event themes automatically revert to the default design when the active duration ends
- The portal supports six configurable tabs: Info, Feature, Style, Layout, Legal, and Announcement
- Custom buttons on the customer profile page can link to external URLs or trigger announcement pop-ups