
How to Import Customers with Historical Loyalty Points
What Is This?
When you move to Pixalink, your regulars shouldn't lose the points they already earned. Bring in your customer list and their past point totals in two steps, so loyal customers see their old balance from day one.

Real-Life Example
Farah runs Petal & Stem florist in Subang and has 400 regulars in an old spreadsheet, each with points from her previous system. She worries switching to Pixalink means everyone starts back at zero. Farah uploads her customer list as a CSV, then asks Pixalink support to switch on point uploads for her account. She uploads a second file with each customer's past point total. Minutes later, her regulars open their loyalty page and see the same balance as before. Nobody feels like they lost anything.
How to Set It Up
-
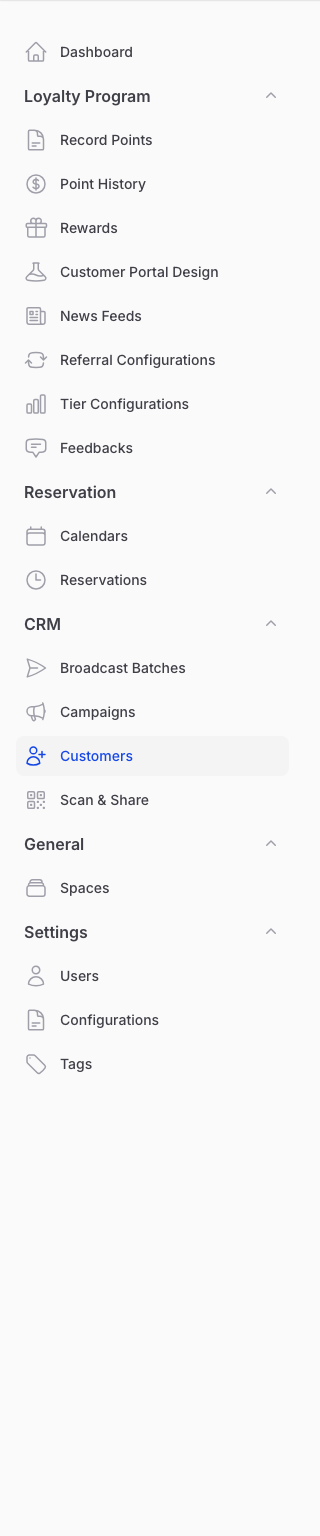
Go to Admin Panel → CRM → Customers.
-
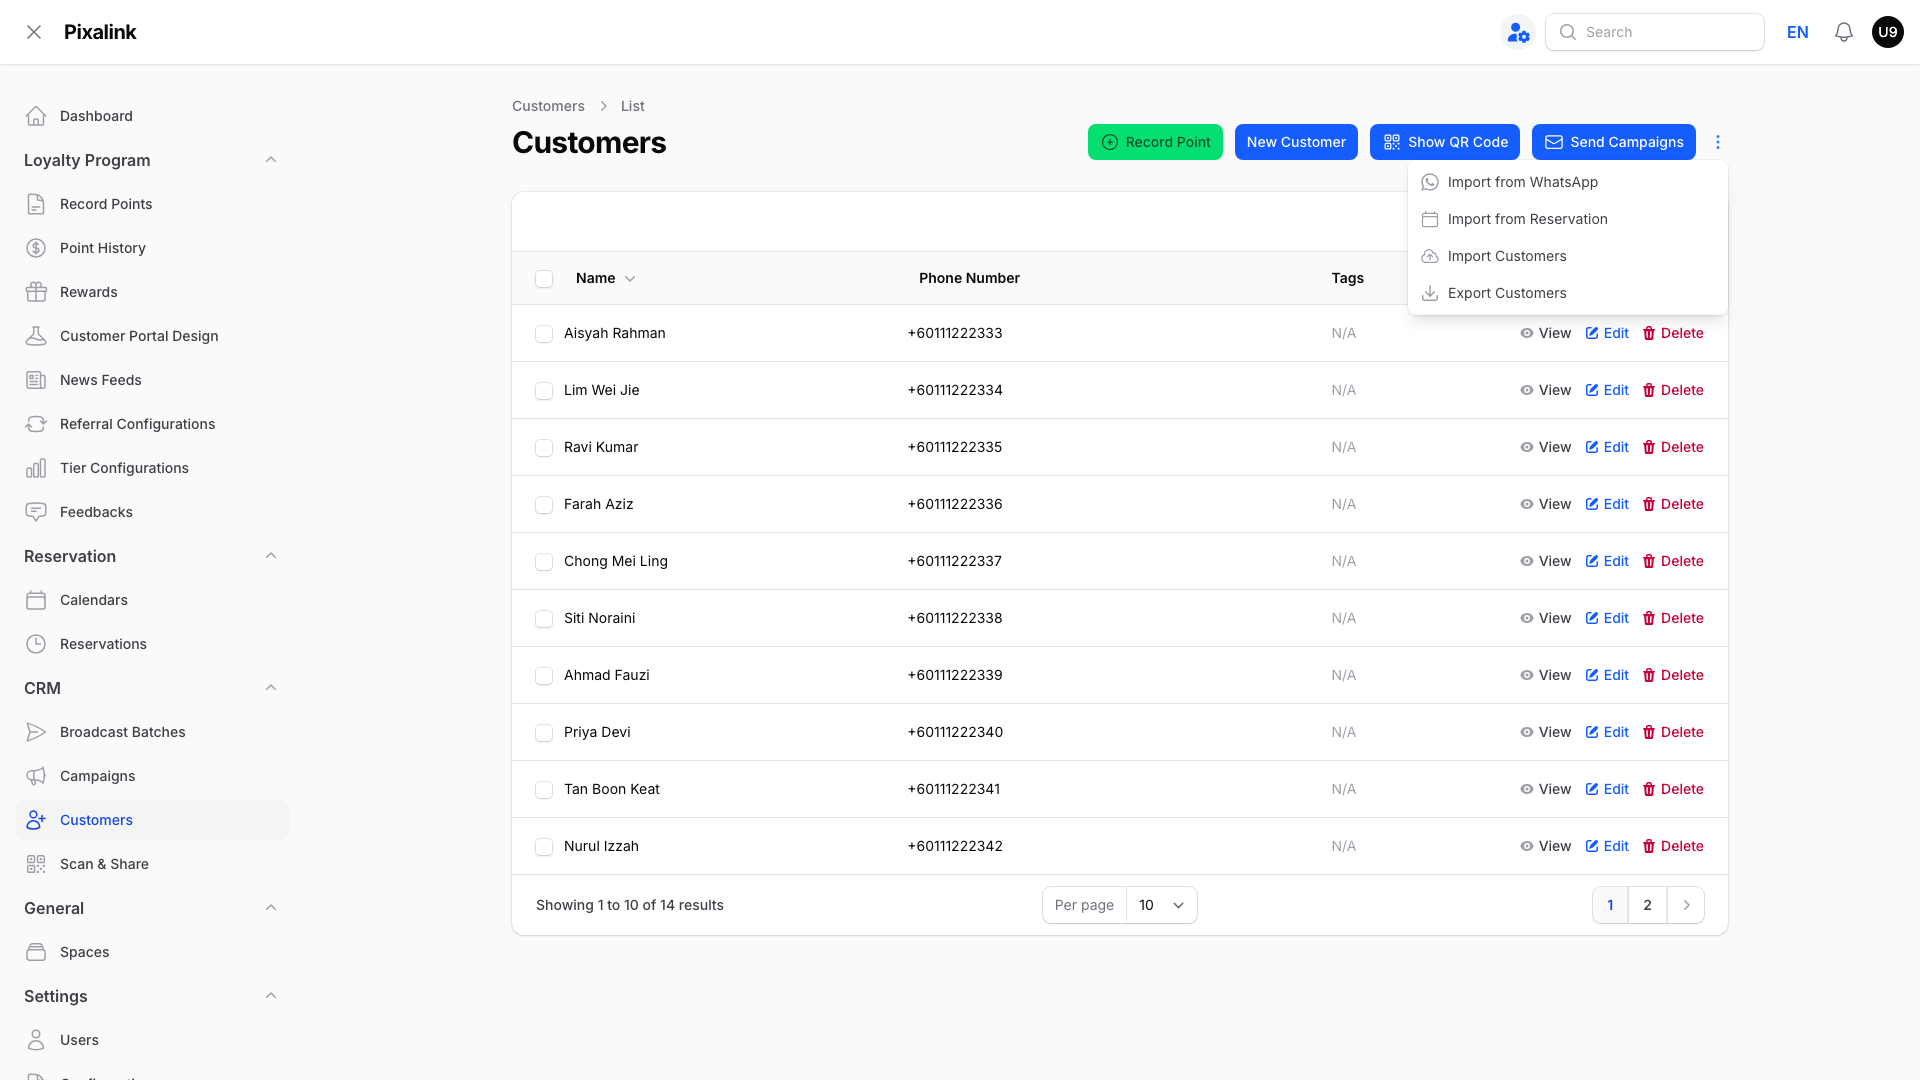
Click the ⋮ menu at the top right and choose Import Customers.
-
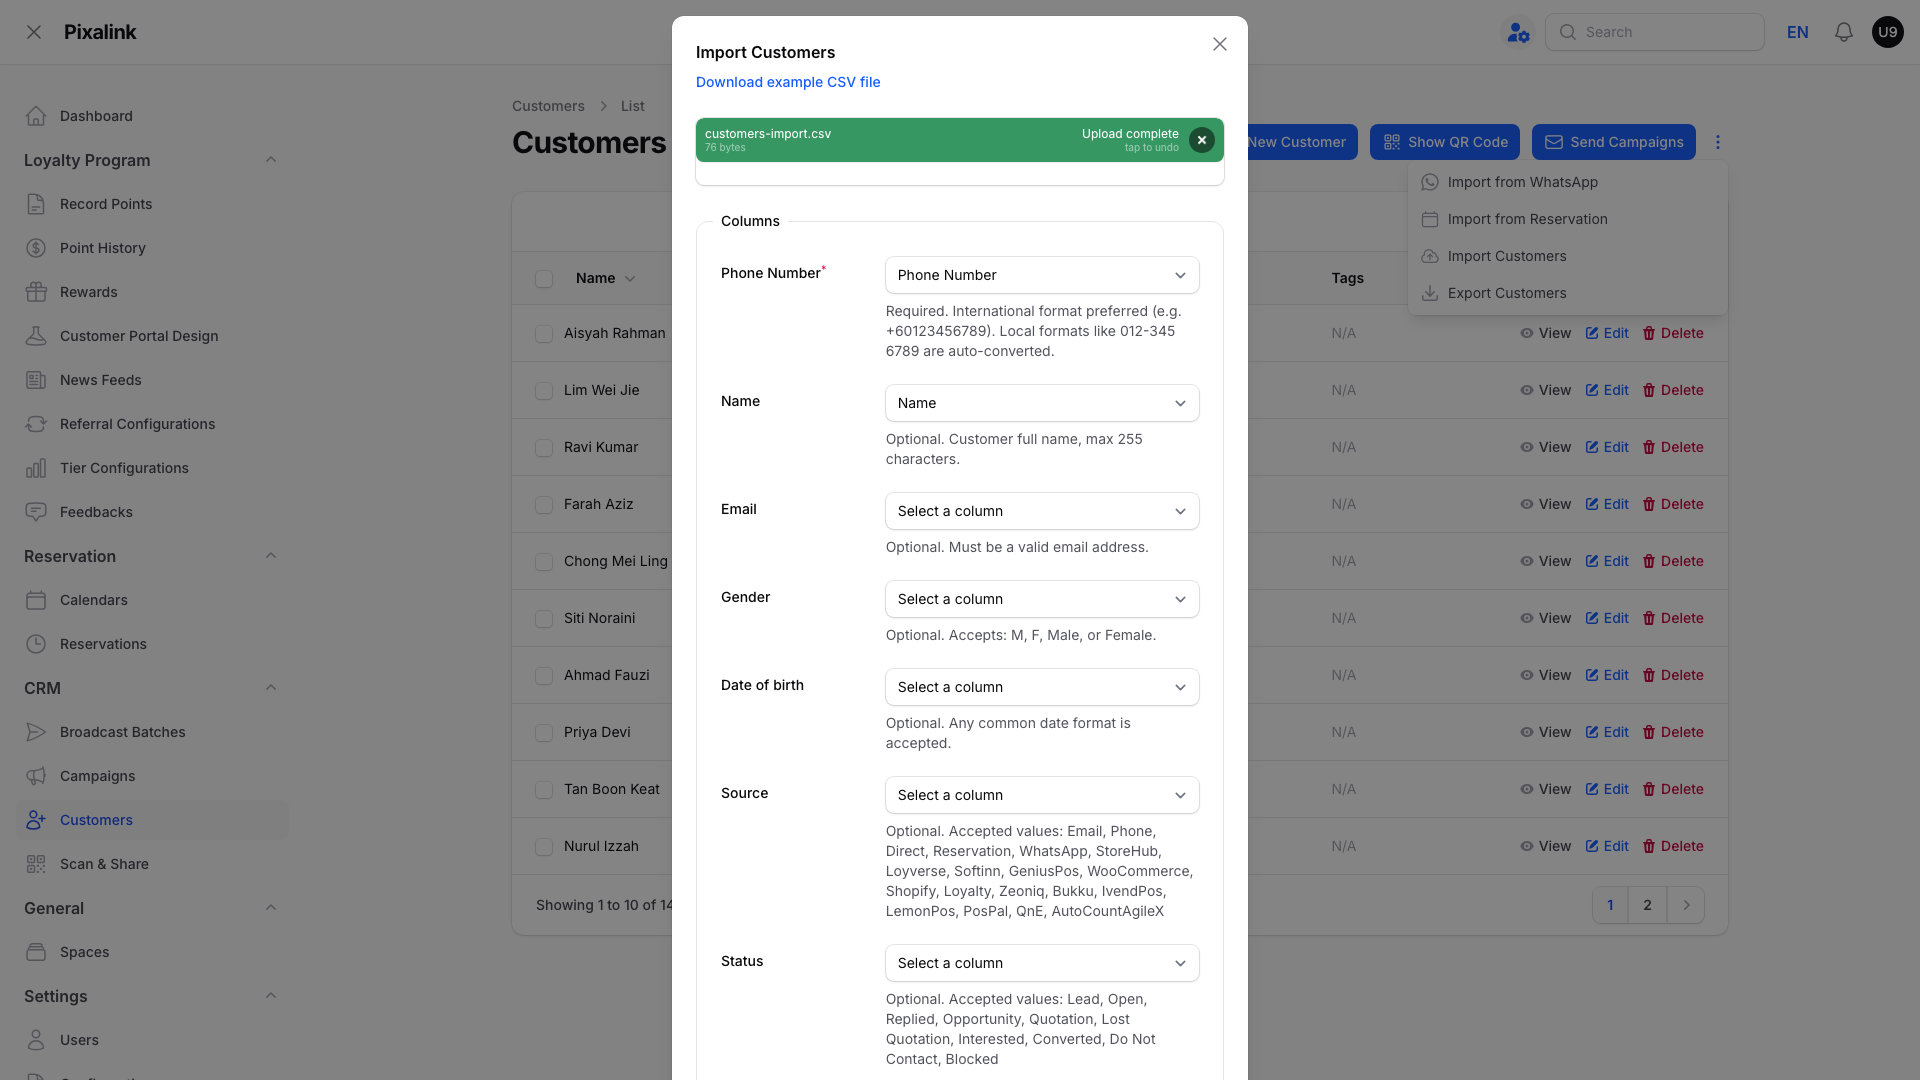
Match your spreadsheet columns to these fields. Only Phone Number is required — there's no Points column on purpose, since points come next.
-
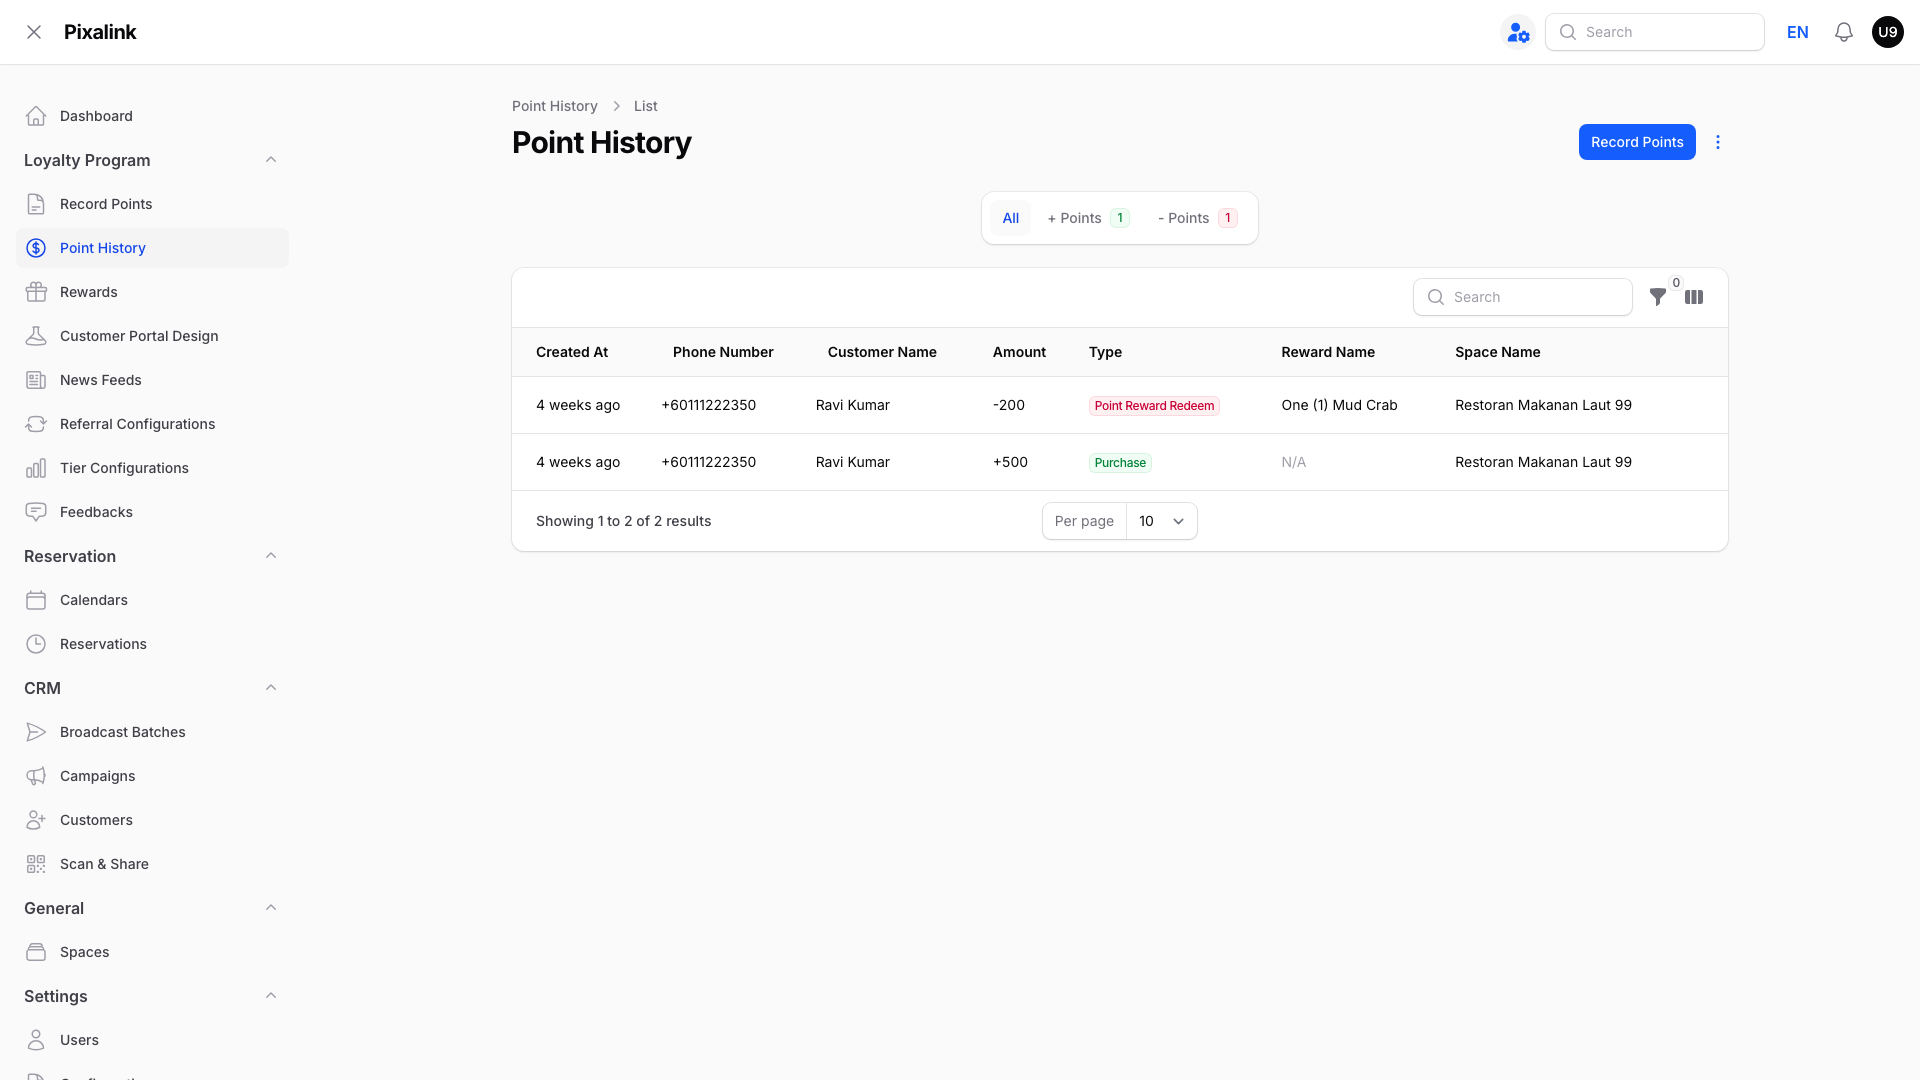
Go to Admin Panel → Loyalty Program → Point History. No upload option here? Ask Pixalink support to switch it on first.
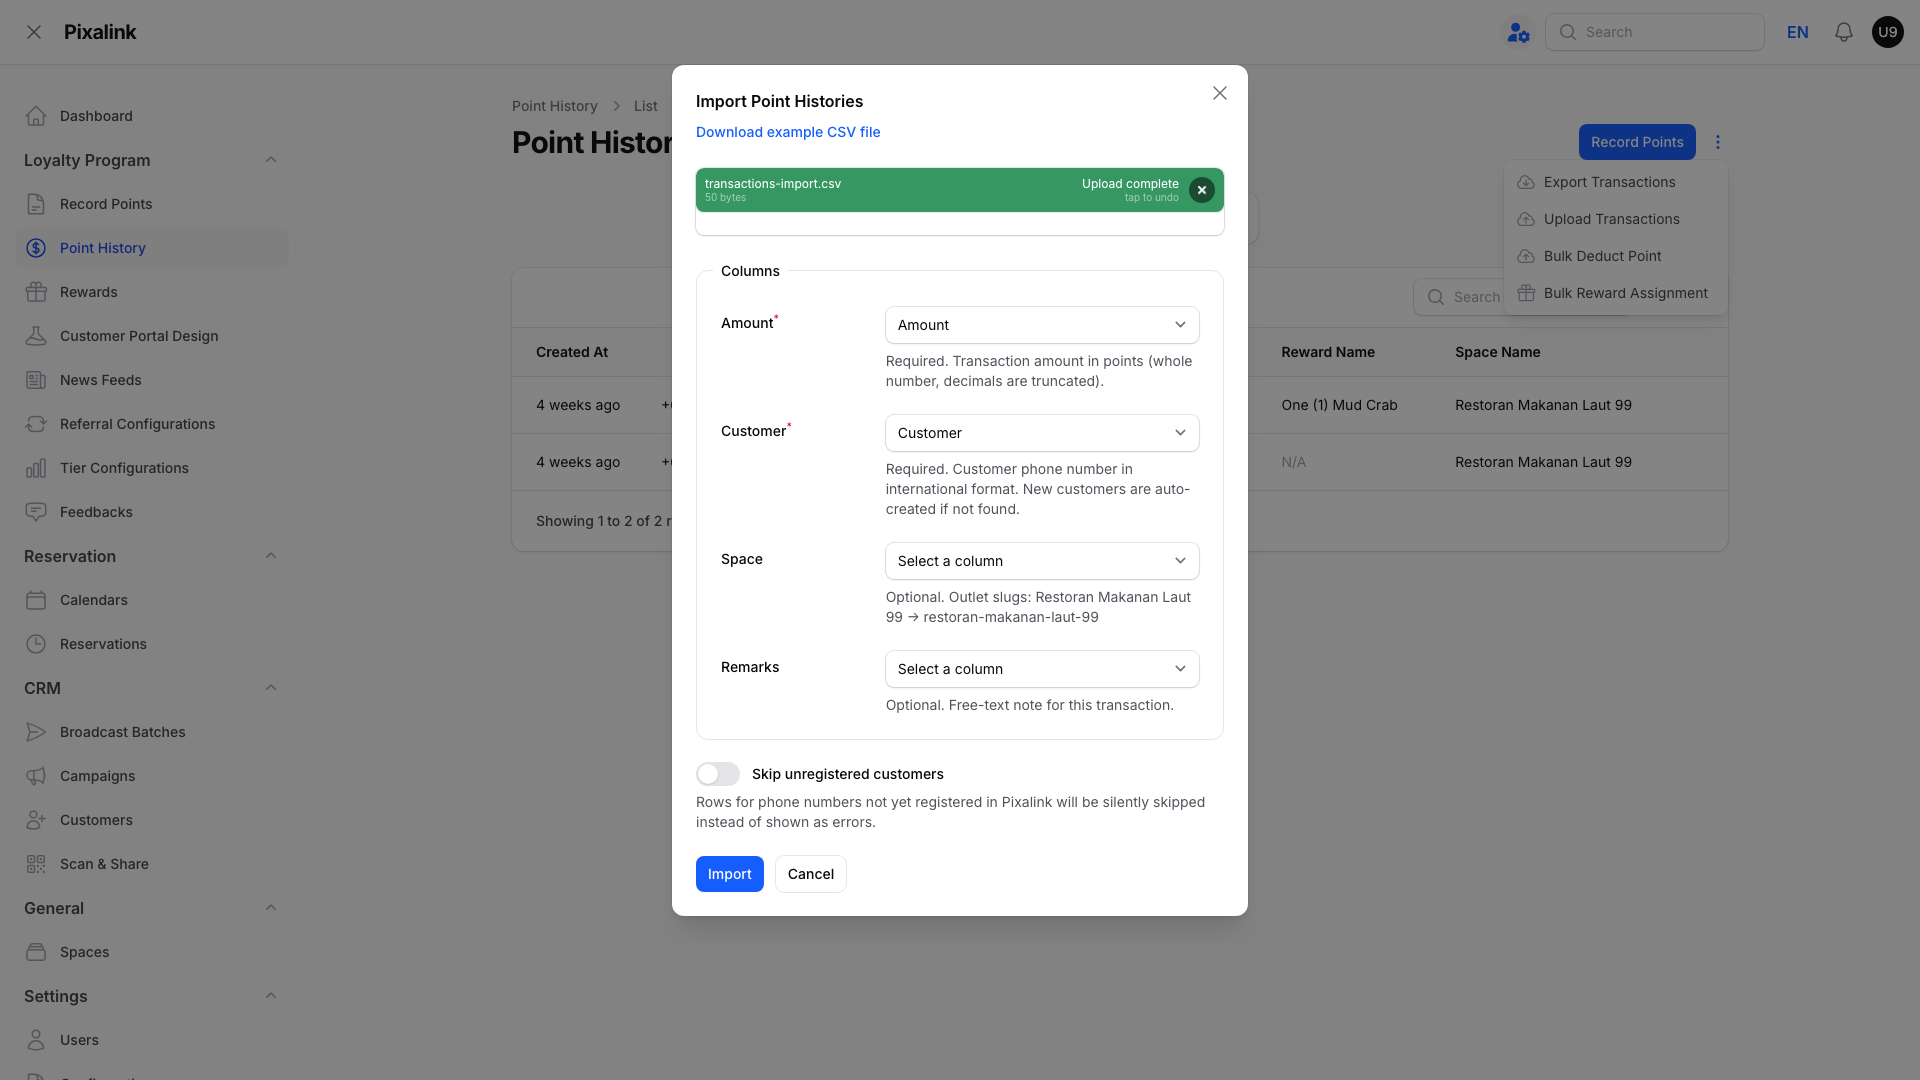
⚠️ Before you upload: switch on "Skip unregistered customers."
If a phone number in your points file is not already in your customer list, Pixalink creates that customer — and that can send them your welcome reward notification on WhatsApp. On a large history file, that is hundreds of messages going out from your own number, to people who are not expecting them.
Finish Step 3 first and let the customer import complete. Then switch on Skip unregistered customers on this upload as a safety net.
One trade-off to know: skipped rows are dropped quietly, with no error. So if a number really is missing from your customer list, its points are not imported. After uploading, spot-check a few of those balances (Step 6) rather than assuming every row went through.
-
Click Upload Transactions, upload your CSV, and map the Amount column (the point total) and the Customer column (phone number).
-
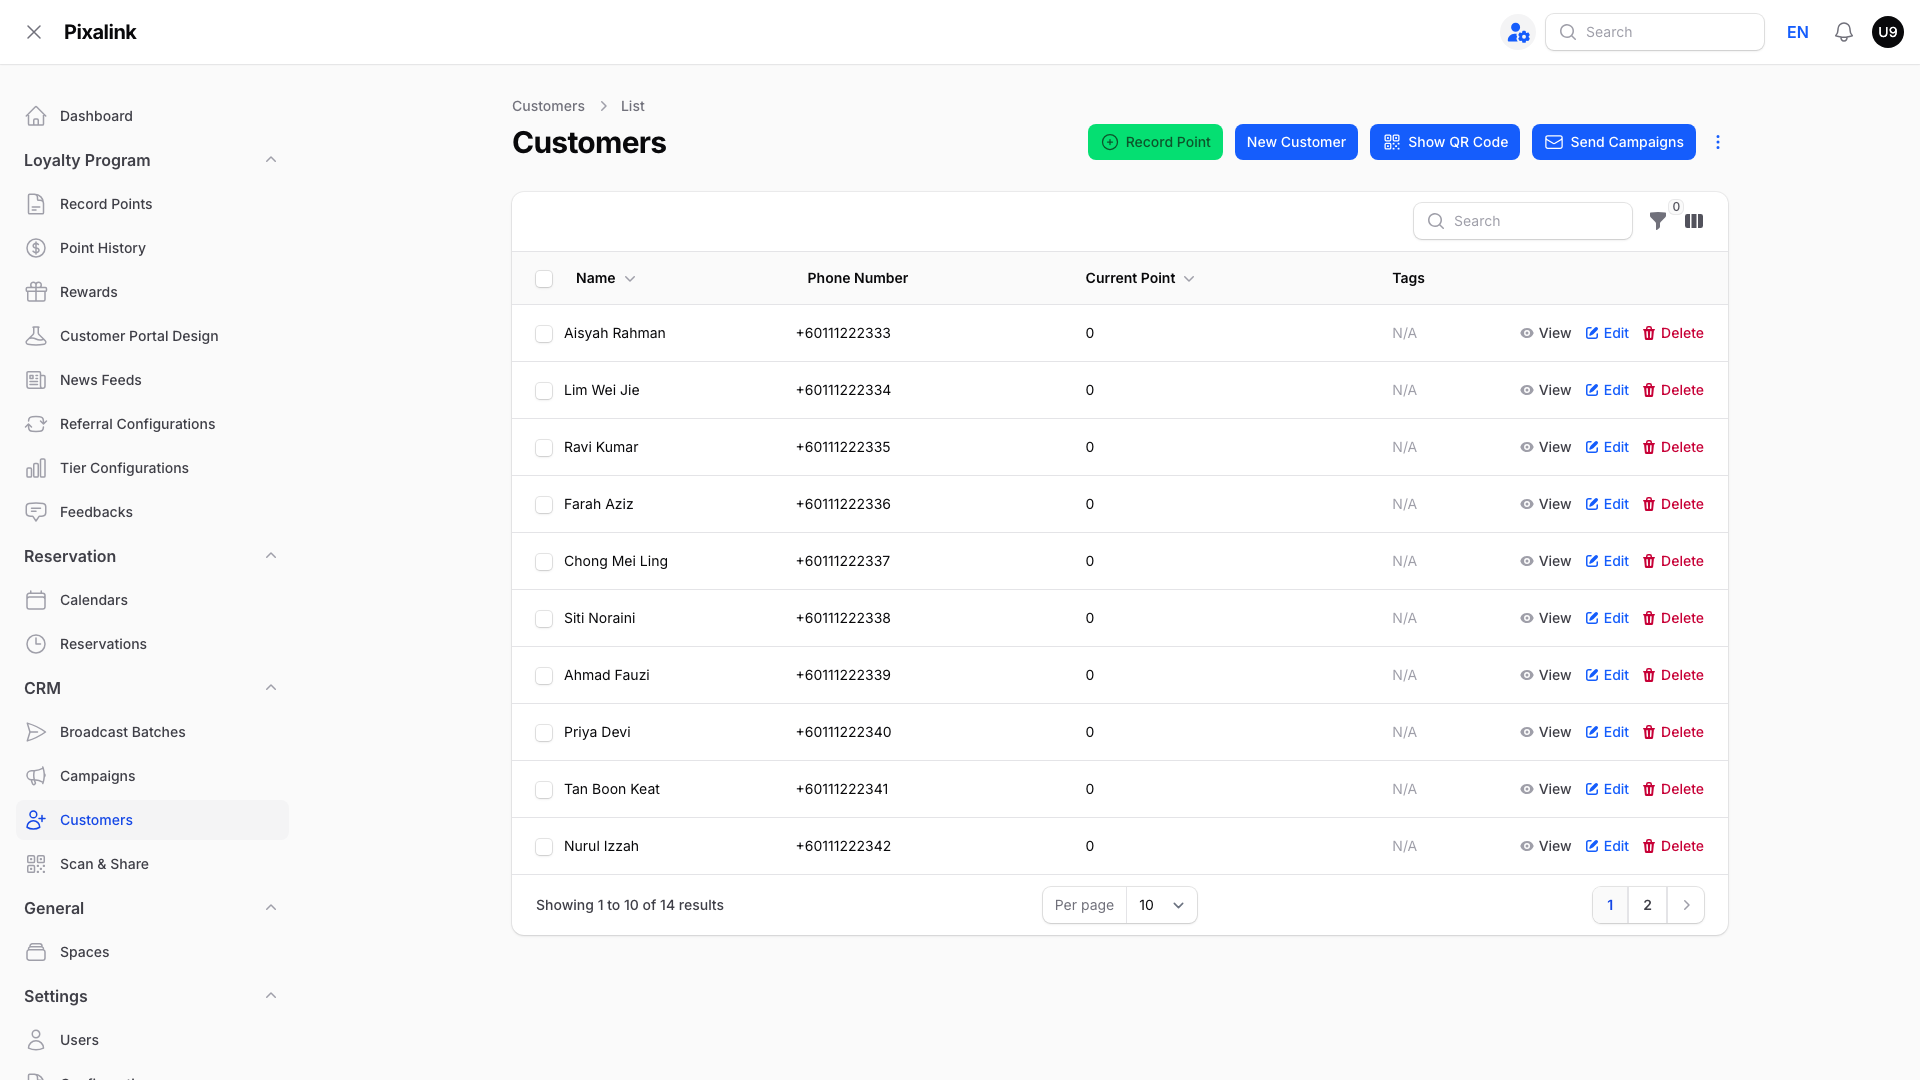
Open Customers again. Click the column icon above the table to turn on Current Point, then check a few balances.
What Your Customers Will See
Your customers don't need to do anything. Next time they open their loyalty page, their balance shows the total you uploaded.
Good to Know
- The customer template never has a Points column. Import customers first, then add points second.
- Uploading points for an unknown number creates a bare customer, fires your welcome reward, and can send that customer a WhatsApp notification. There is no rate limit on these. Import your customer list first, and use Skip unregistered customers on the points upload.
- Switching from another till system (StoreHub, AutoCount, Loyverse) only brings your customer list, not old points.
- Point uploads must be switched on by Pixalink support first. Missing upload option? That's why.
- A tier point multiplier can multiply uploaded points. Check this before uploading exact totals.
- With point expiry on, points count down from the upload date, not when first earned.
Need Help?
Reach out to our support team — we're happy to help you bring your customers and their points across.
What's Next?
- How to Import Customers from CSV — every customer field and import mode
- How to Set Up Point Expiry Rules — see how expiry affects uploaded points
- How to Record Points for a Customer — add points one at a time