How to Import Customers from CSV
What Is This?
Importing lets you add customers to your Pixalink loyalty programme in bulk using a CSV file. This is perfect for migrating from another system, onboarding a large group, or updating existing customer records. You can also import from specific platforms like Storehub, Loyverse, WooCommerce, and more.
Real-Life Example
Puan Aida just signed up for Pixalink to run the loyalty programme at Klinik Aida in Klang. She has 2,000 existing patients in a spreadsheet. Instead of adding them one by one, she formats the spreadsheet as a CSV and imports them all in under a minute.
How to Import Customers
Step 1: Prepare Your CSV File
Create a CSV file with these columns (only Phone Number is required):
| Column | Required | Format | Example |
|---|---|---|---|
| Phone Number | Yes | With country code or starting with 0 | +60123456789 or 0123456789 |
| Name | No | Text | Aida binti Hassan |
| No | aida@email.com | ||
| Gender | No | M, F, Male, or Female | F |
| Date of Birth | No | Date | 1990-05-15 |
| Source | No | Enum value | Direct, Email, Phone, WhatsApp |
| Status | No | Enum value | Open, Blocked, Do Not Contact |
| Space Slug | No | Your space's slug | klinik-aida-klang |
| Tags | No | Comma-separated | vip, walk-in |
| Created At | No | Date | 2025-01-01 |
Phone number formatting:
- Numbers starting with
0are automatically converted to+60(Malaysia) - You can include the country code directly:
+60123456789,+6512345678 - Spaces and dashes are handled:
012-345 6789works fine
Step 2: Open the Import
From the Admin Panel sidebar, go to CRM → Customers. Click the dropdown button in the top-right header area and select Import From CSV.
Step 3: Upload and Map Columns
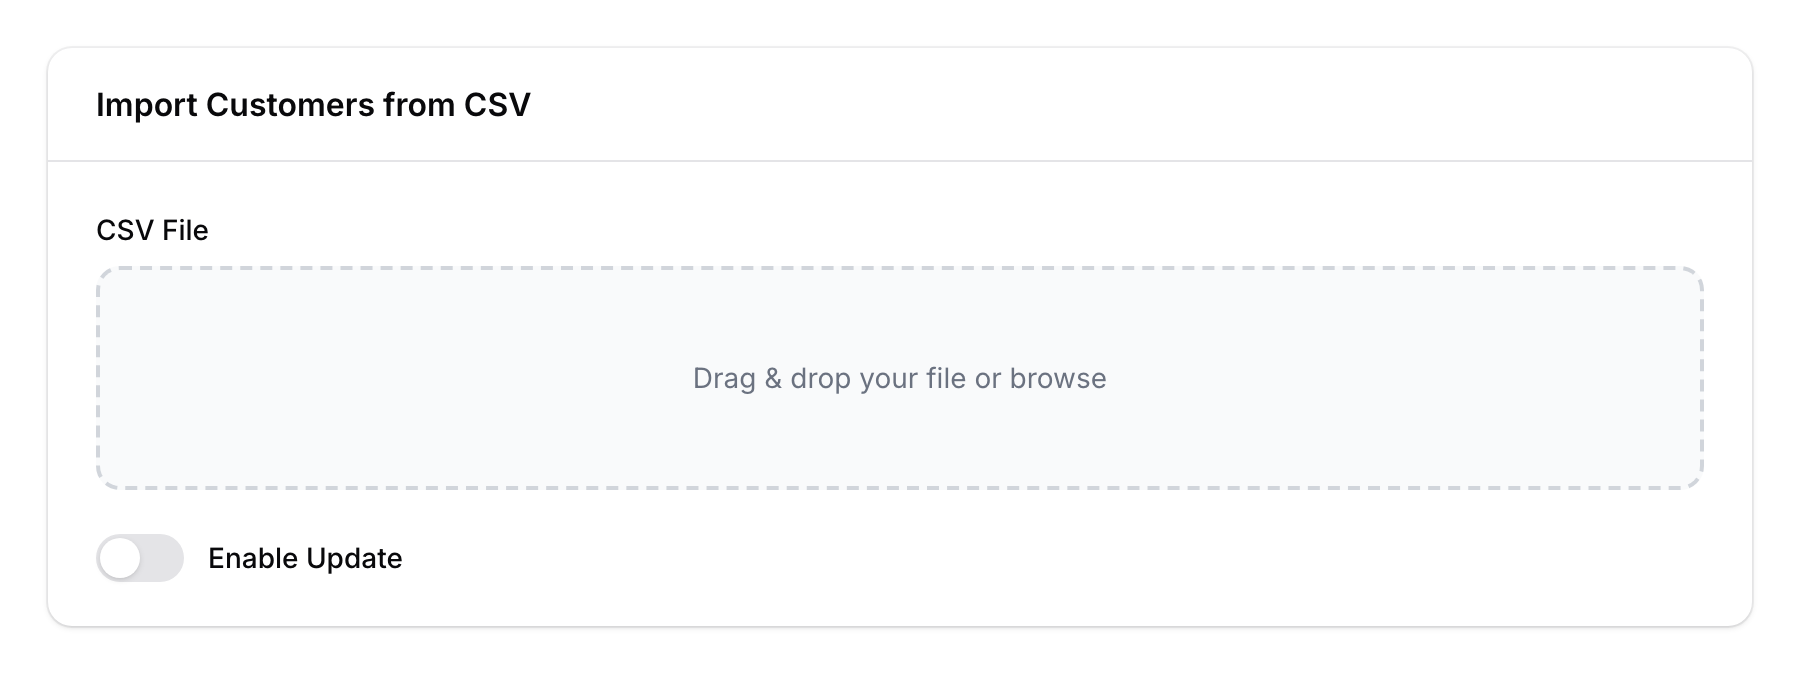
- Upload your CSV file.
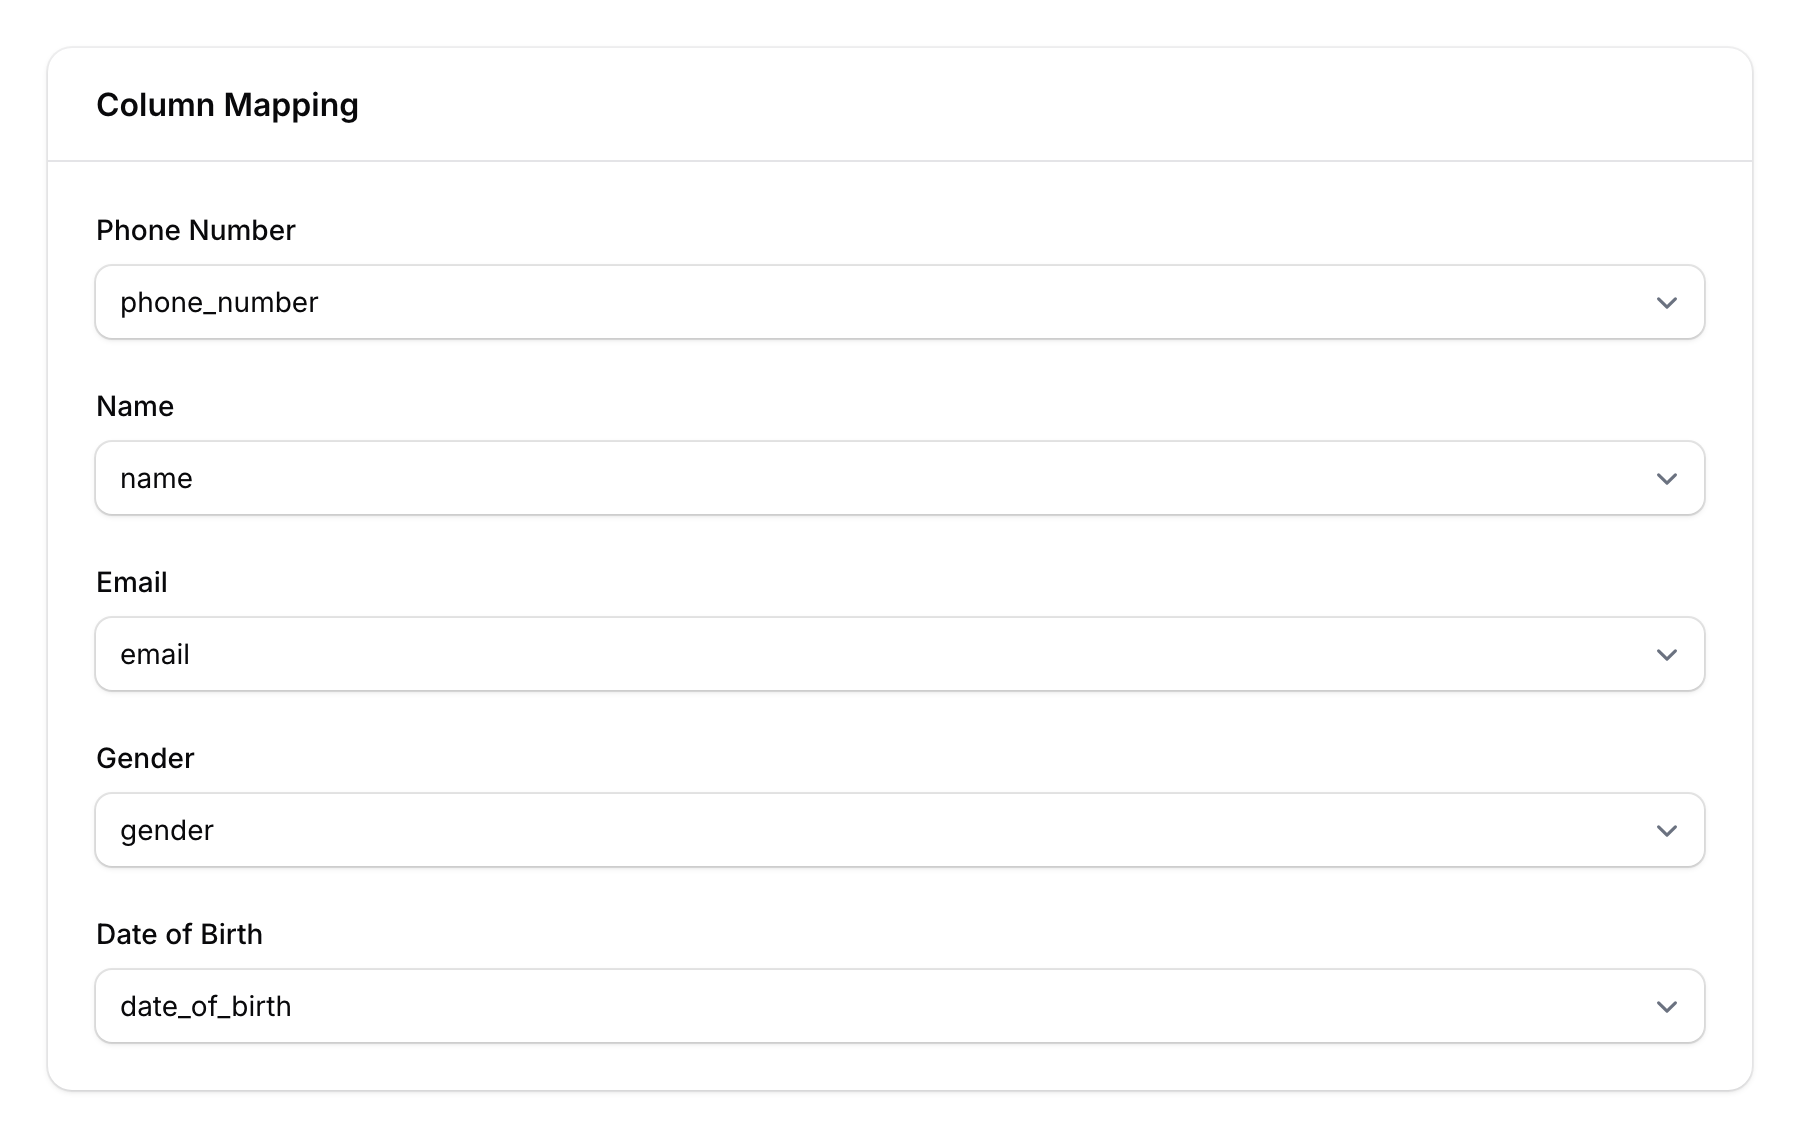
- Map each column in your CSV to the corresponding Pixalink field.
- The system auto-detects common column names.
Step 4: Choose Import Mode
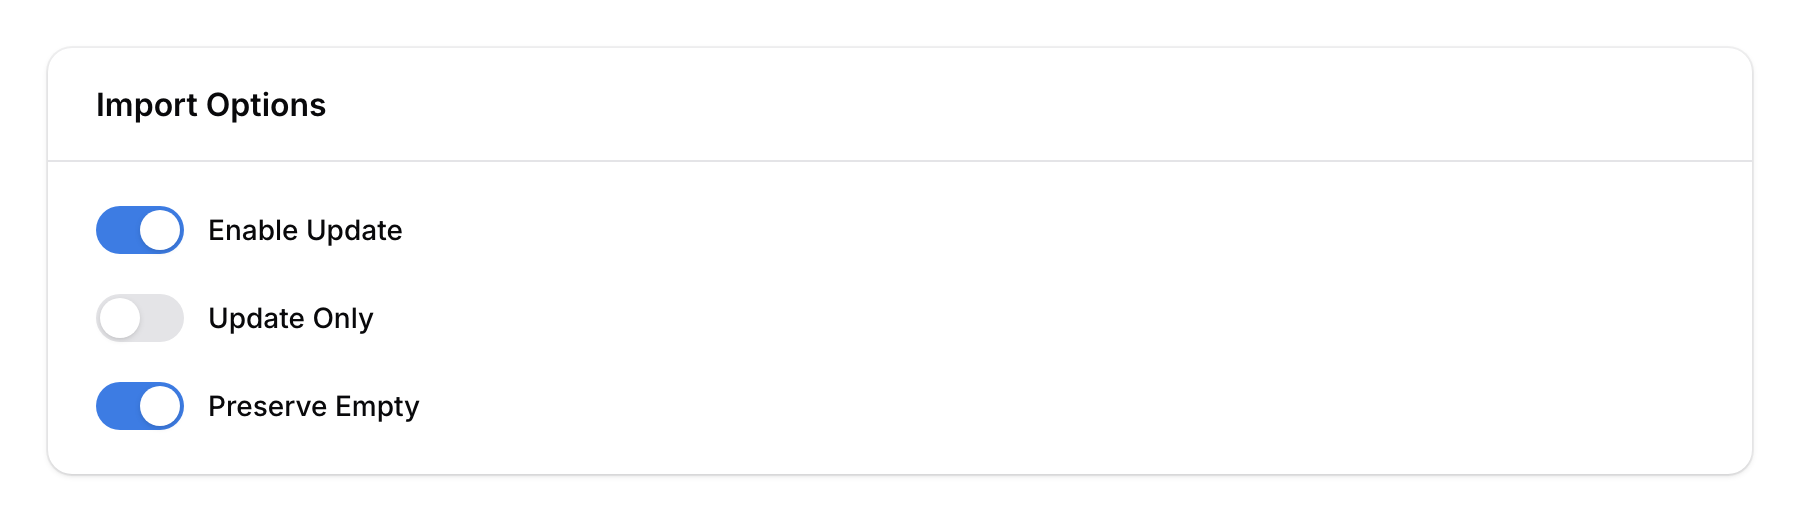
Configure how the import handles duplicates:
- By default, the import is in Create Only mode — it creates new customers and skips existing phone numbers.
- Enable Update — Check this box to allow updating existing customers with new data from the CSV. When checked, two additional options appear:
- Update Only — Only updates existing customers. Fails if a customer doesn't exist.
- Preserve Empty (on by default) — Blank CSV fields don't overwrite existing data.
Step 5: Run the Import
Click Import to start. The import runs in the background via a queue. You'll receive a notification when it completes, showing how many records were created, updated, or failed.

Other Import Sources
Besides CSV, Pixalink supports importing from many platforms:
- WhatsApp contacts
- Reservations
- Storehub POS
- Loyverse POS
- Bukku accounting
- Softinn hotel system
- WooCommerce
- Shopify
- iVend POS
- QNE accounting
Each has its own import option in the same dropdown menu.
Good to Know
- Phone number is the unique key — Pixalink identifies customers by phone number. Two records with the same number are treated as the same customer.
- Auto-tagging — If you include tags in the CSV, customers are automatically tagged and any tag-based reward automations will trigger.
- Custom fields — If your organisation uses custom fields, they appear as additional columns in the import mapping.
- Preserve Empty is important — Keep this on when doing partial updates. Otherwise, blank cells in your CSV will erase existing data.
- Background processing — Large imports run via queue. You can continue using the system while the import processes.