How to Import Third-Party Reward Vouchers
What Is This?
If your business uses third-party voucher codes — from platforms like WooCommerce, Shopify, or your own custom system — you can import them into Pixalink and link them to your rewards. This means customers redeem their loyalty points and receive a real, usable voucher code (or URL) from your partner platform.
Real-Life Example
Daniel manages TechZone MY, an electronics store with a WooCommerce online shop. He creates a "RM 20 Online Discount" reward in Pixalink and imports 500 WooCommerce coupon codes. When a customer redeems this reward, they automatically receive a unique discount code they can use at checkout on the online store.
How to Import Vouchers
Step 1: Open the Reward's Voucher Section
From the Admin Panel sidebar, go to Loyalty Program → Rewards. Click on the reward you want to attach vouchers to. Scroll down to the Reward Vouchers section.
Note: This section only appears if your account has the third-party voucher feature or a WooCommerce/Shopify integration enabled.
Step 2: Choose Your Import Type
Click one of the import buttons at the top of the vouchers section:
- Import Generic Voucher — For custom voucher codes from any source
- Import WooCommerce Voucher — For WooCommerce coupon codes (only visible if WooCommerce integration is enabled)
- Import Shopify Voucher — For Shopify discount codes (only visible if Shopify integration is enabled)
Step 3: Prepare Your CSV File
Your CSV file should include these columns:
| Column | Required | Description |
|---|---|---|
| Code | Yes | The voucher code or URL |
| Expired At | No | Expiry date for the voucher |
| Phone Number | No | Pre-assign the voucher to a specific customer |
Example CSV:
code,expired_at,phone_number
DISC20-001,2026-12-31,
DISC20-002,2026-12-31,0121234567
DISC20-003,2026-12-31,
Step 4: Upload and Map Columns
- Upload your CSV file.
- Map each CSV column to the corresponding Pixalink field.
- Click Import to start the process.
Step 5: Review Import Results
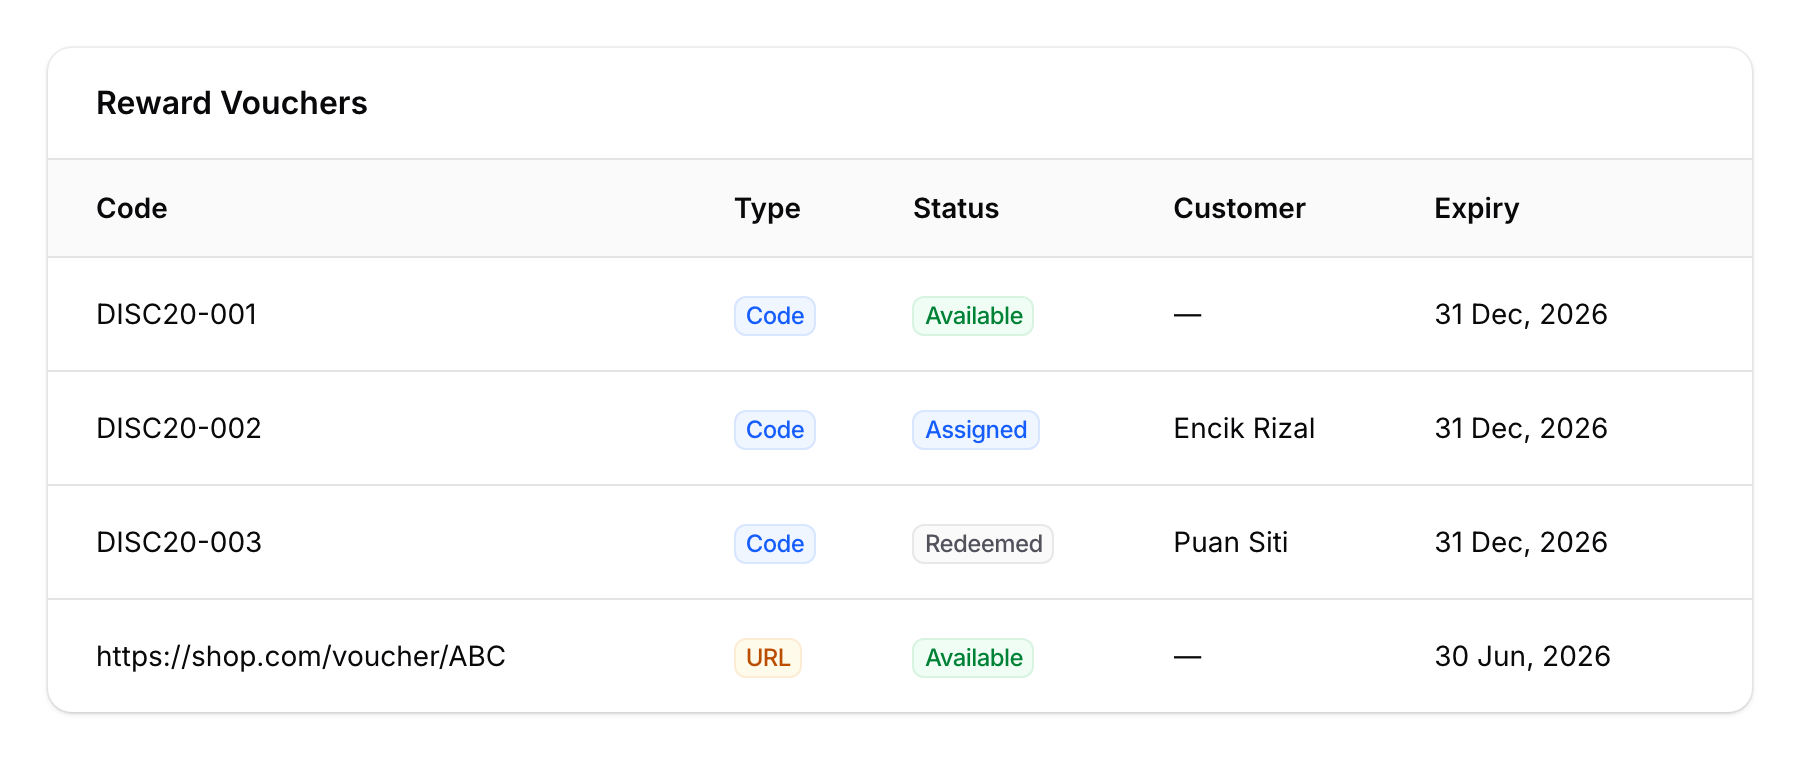
After the import completes, you'll see a summary of how many vouchers were imported successfully and any errors that occurred. The vouchers now appear in the Reward Vouchers table.
Good to Know
- Code vs URL — Voucher codes can be plain text codes (e.g., "DISC20-001") or URLs (e.g., a link to a redemption page). The system automatically detects the type.
- One code, one customer — Each voucher code can only be assigned to one customer. Once redeemed, it's marked as used.
- Claimable vouchers — You can mark vouchers as "claimable", meaning customers can grab them from the portal without staff intervention.
- Platform sync — WooCommerce and Shopify vouchers can sync their status back to the original platform, so you always know which codes have been used.
- Bulk management — Use the table filters to view vouchers by status (Available, Assigned, Redeemed, Expired) or by code type.