
What Are Rewards and How to Create Them
What Are Rewards and How to Create Them
What Is This?
Rewards are prizes customers redeem with their points — a free coffee, a discount voucher, a gift. They give customers a reason to keep coming back, and let you say "thank you" without lifting a finger.
Video Walkthrough
Real-Life Example
Farah owns a bubble tea shop in Subang Jaya. She creates a "Free Large Bubble Tea" reward worth 300 points. When regular customer Haziq hits 300 points, he opens his portal, redeems it, and walks out with a free drink — Farah's system handled everything automatically.
How to Set It Up
-
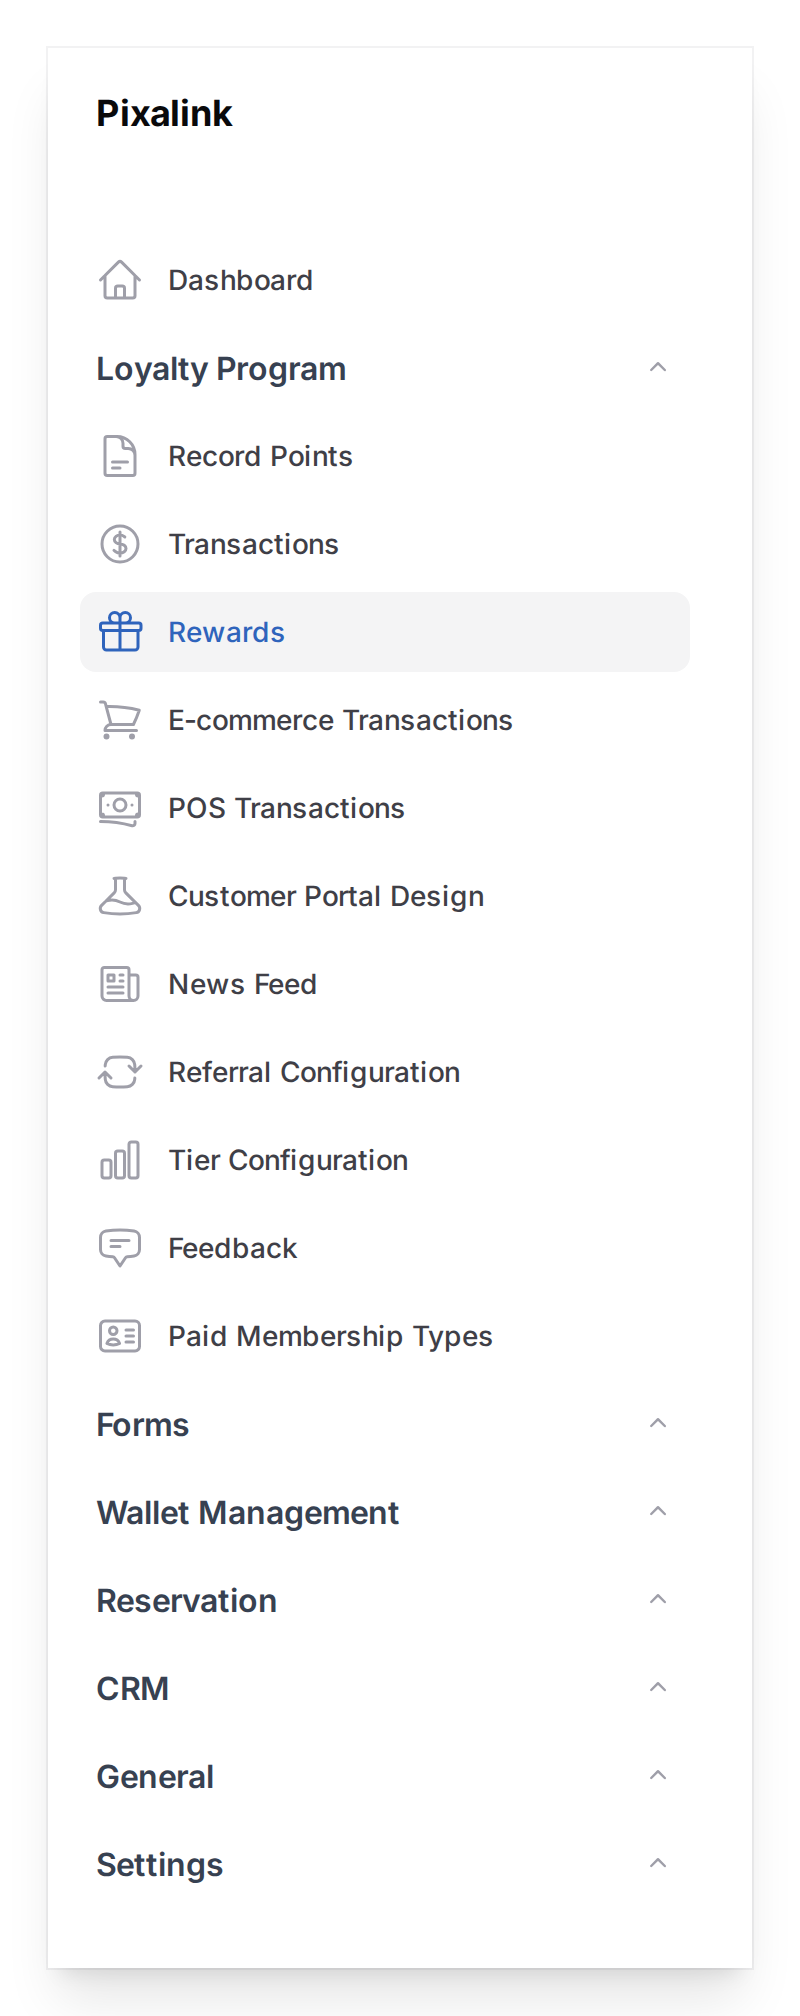
Go to Loyalty Program → Rewards in the left sidebar
-
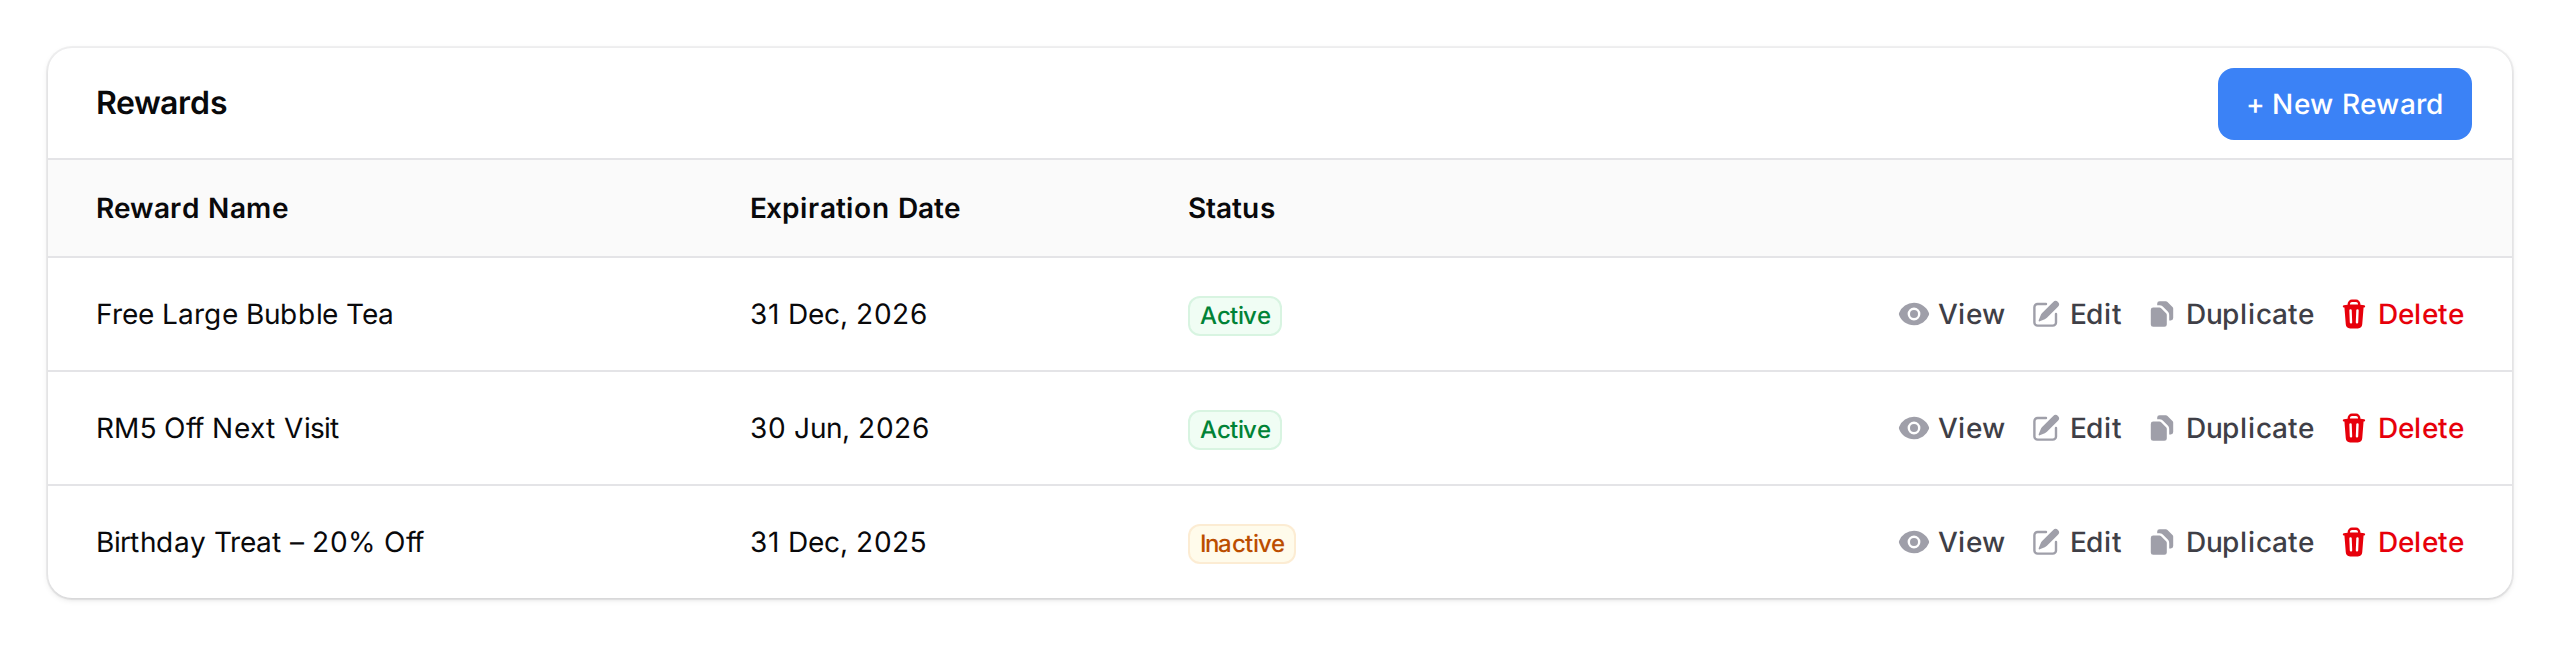
Click New Reward in the top right corner
-
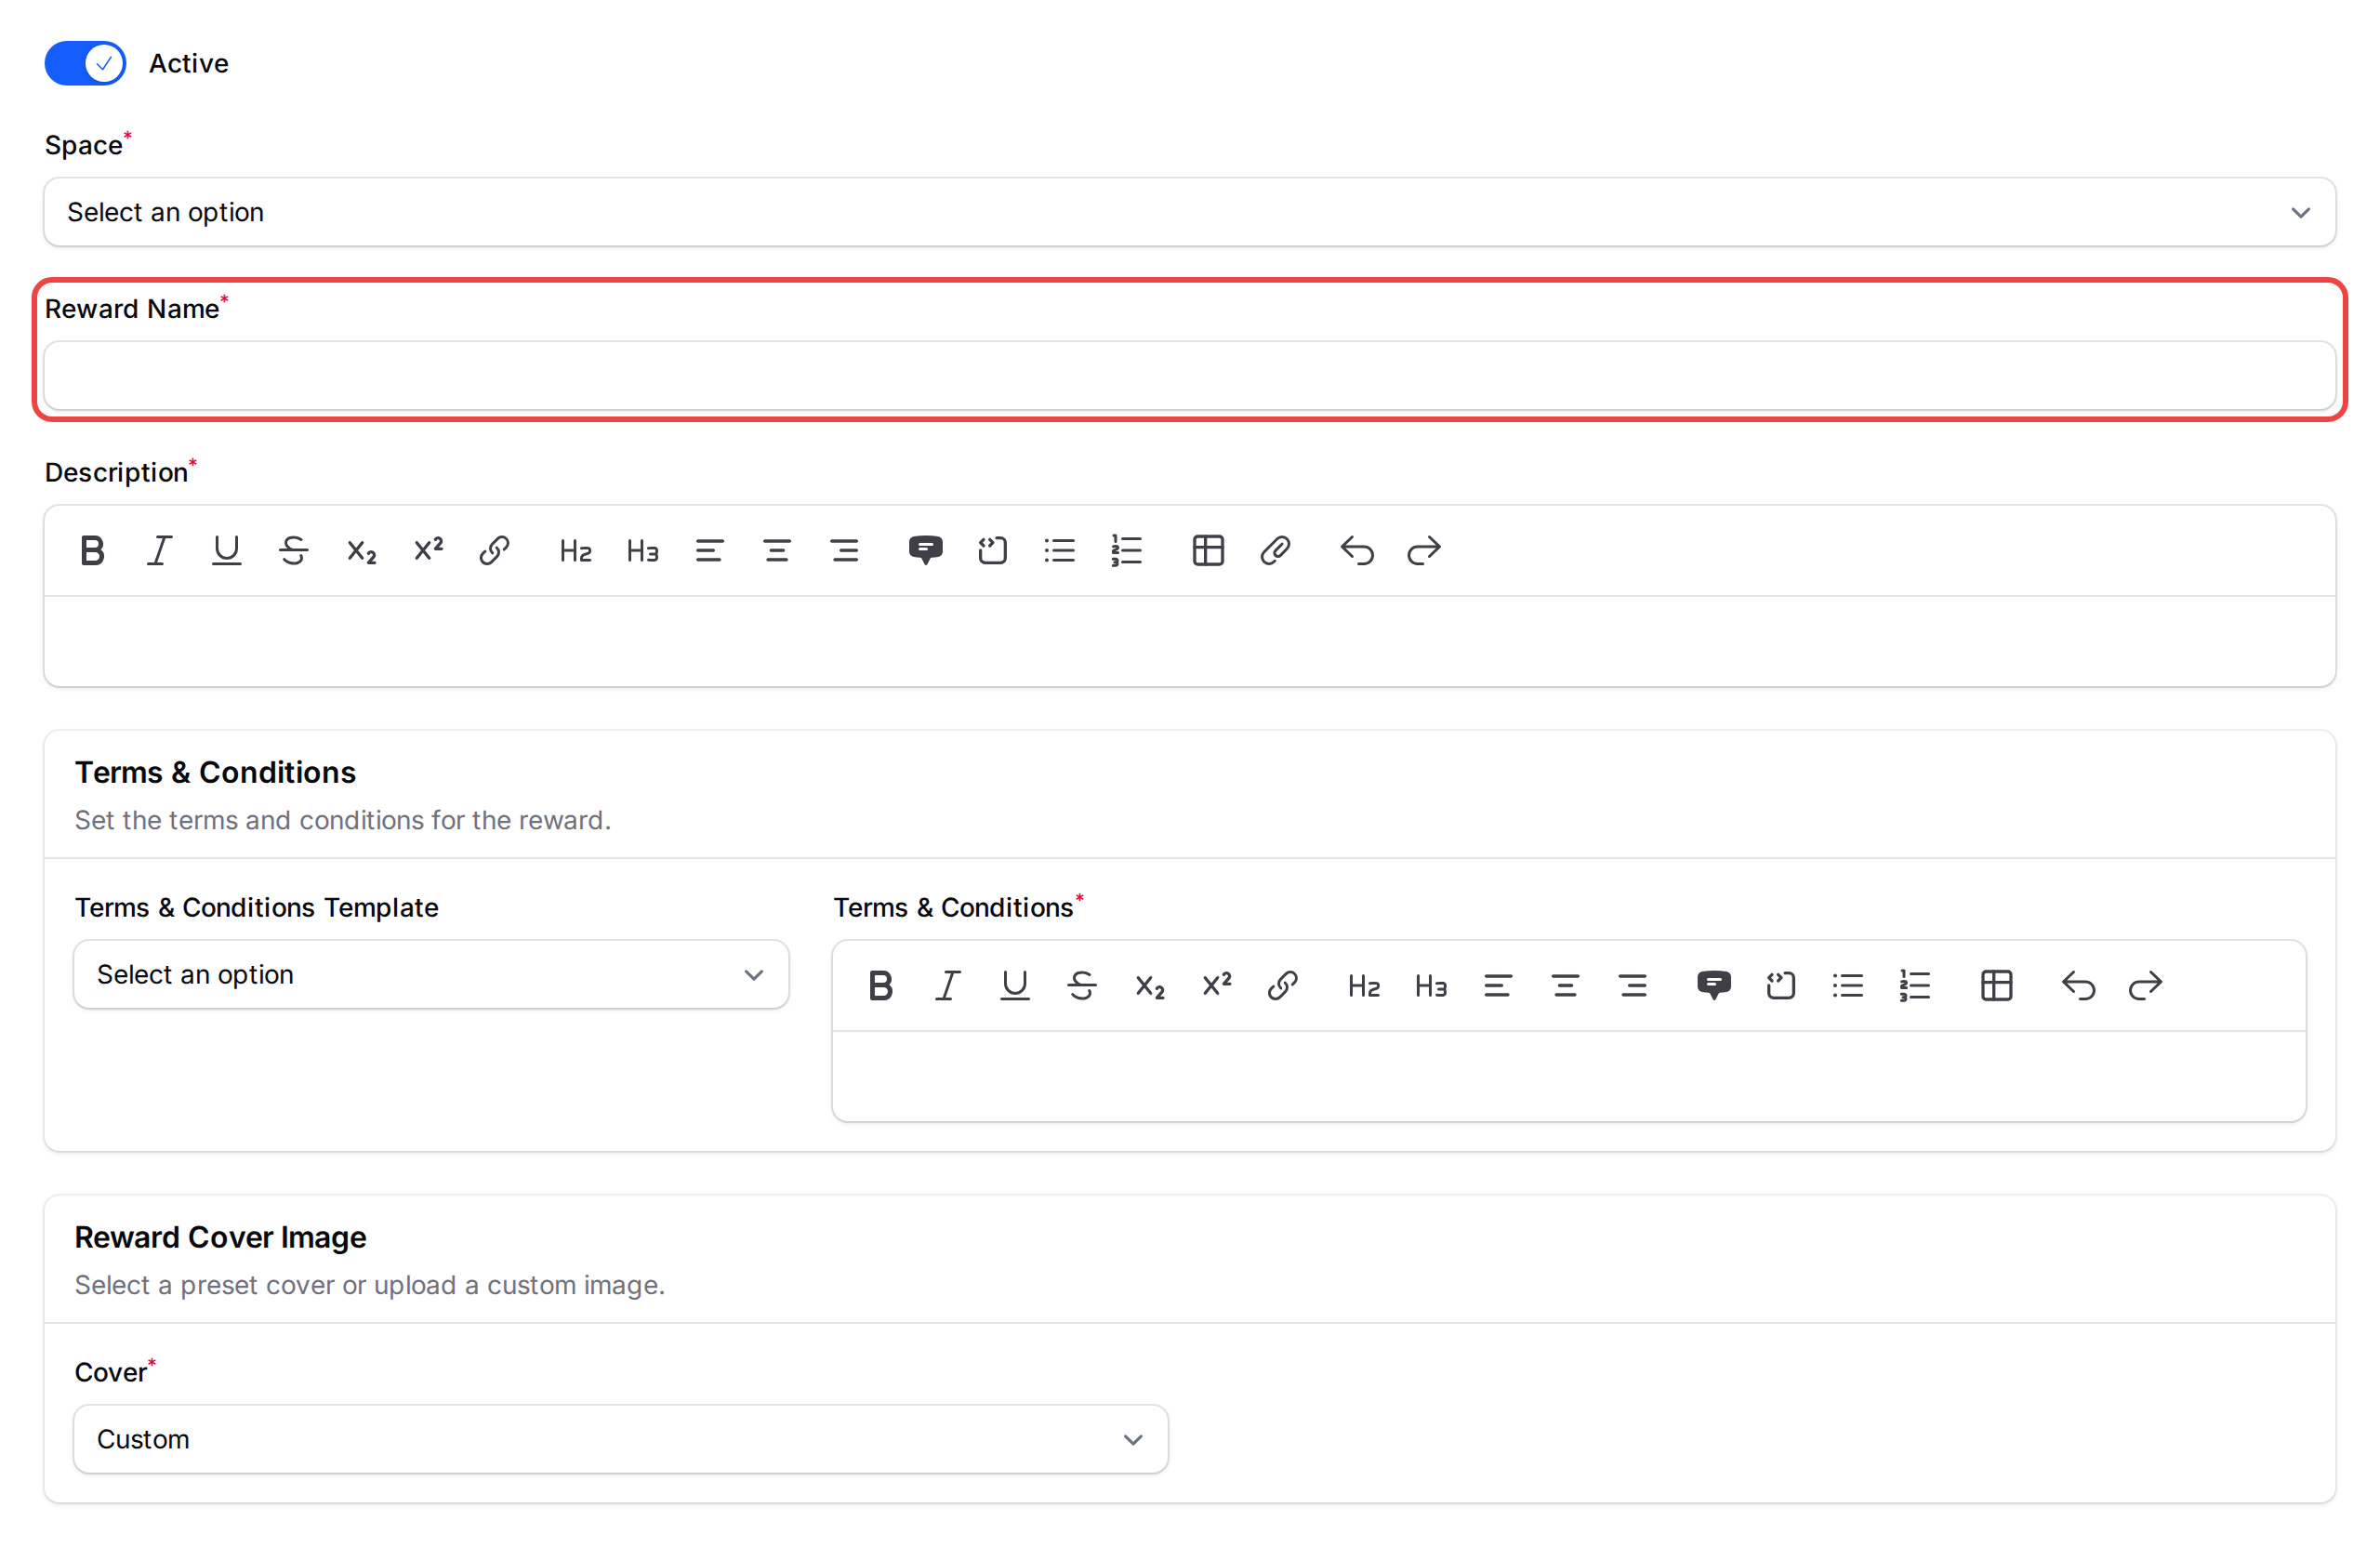
Fill in the Reward Details tab:
- Active — leave on to publish immediately, or turn off to save as a draft
- Reward Name — what customers see, e.g. "Free Cappuccino" or "RM10 Off Next Visit"
- Description — a short line on what the customer gets
- Terms & Conditions — pick a template to auto-fill, then edit as needed
- Reward Cover Image — choose a preset or upload your own (512×512px ideal)
-
Click the Settings tab and fill in:
- Validity (required) — every reward must have a validity, so this cannot be left blank. Either set an Expiration Date (the last day customers can use this reward), or turn on Custom Valid Day(s) after redemption and enter how many days the reward stays valid after each customer claims it. You cannot save the reward without one of these two.
- Display in Customer Portal (Marketplace) — turn on so customers can find and claim it
- Tier / Tag Visibility — restrict to specific tiers or customer tags, or leave empty for everyone
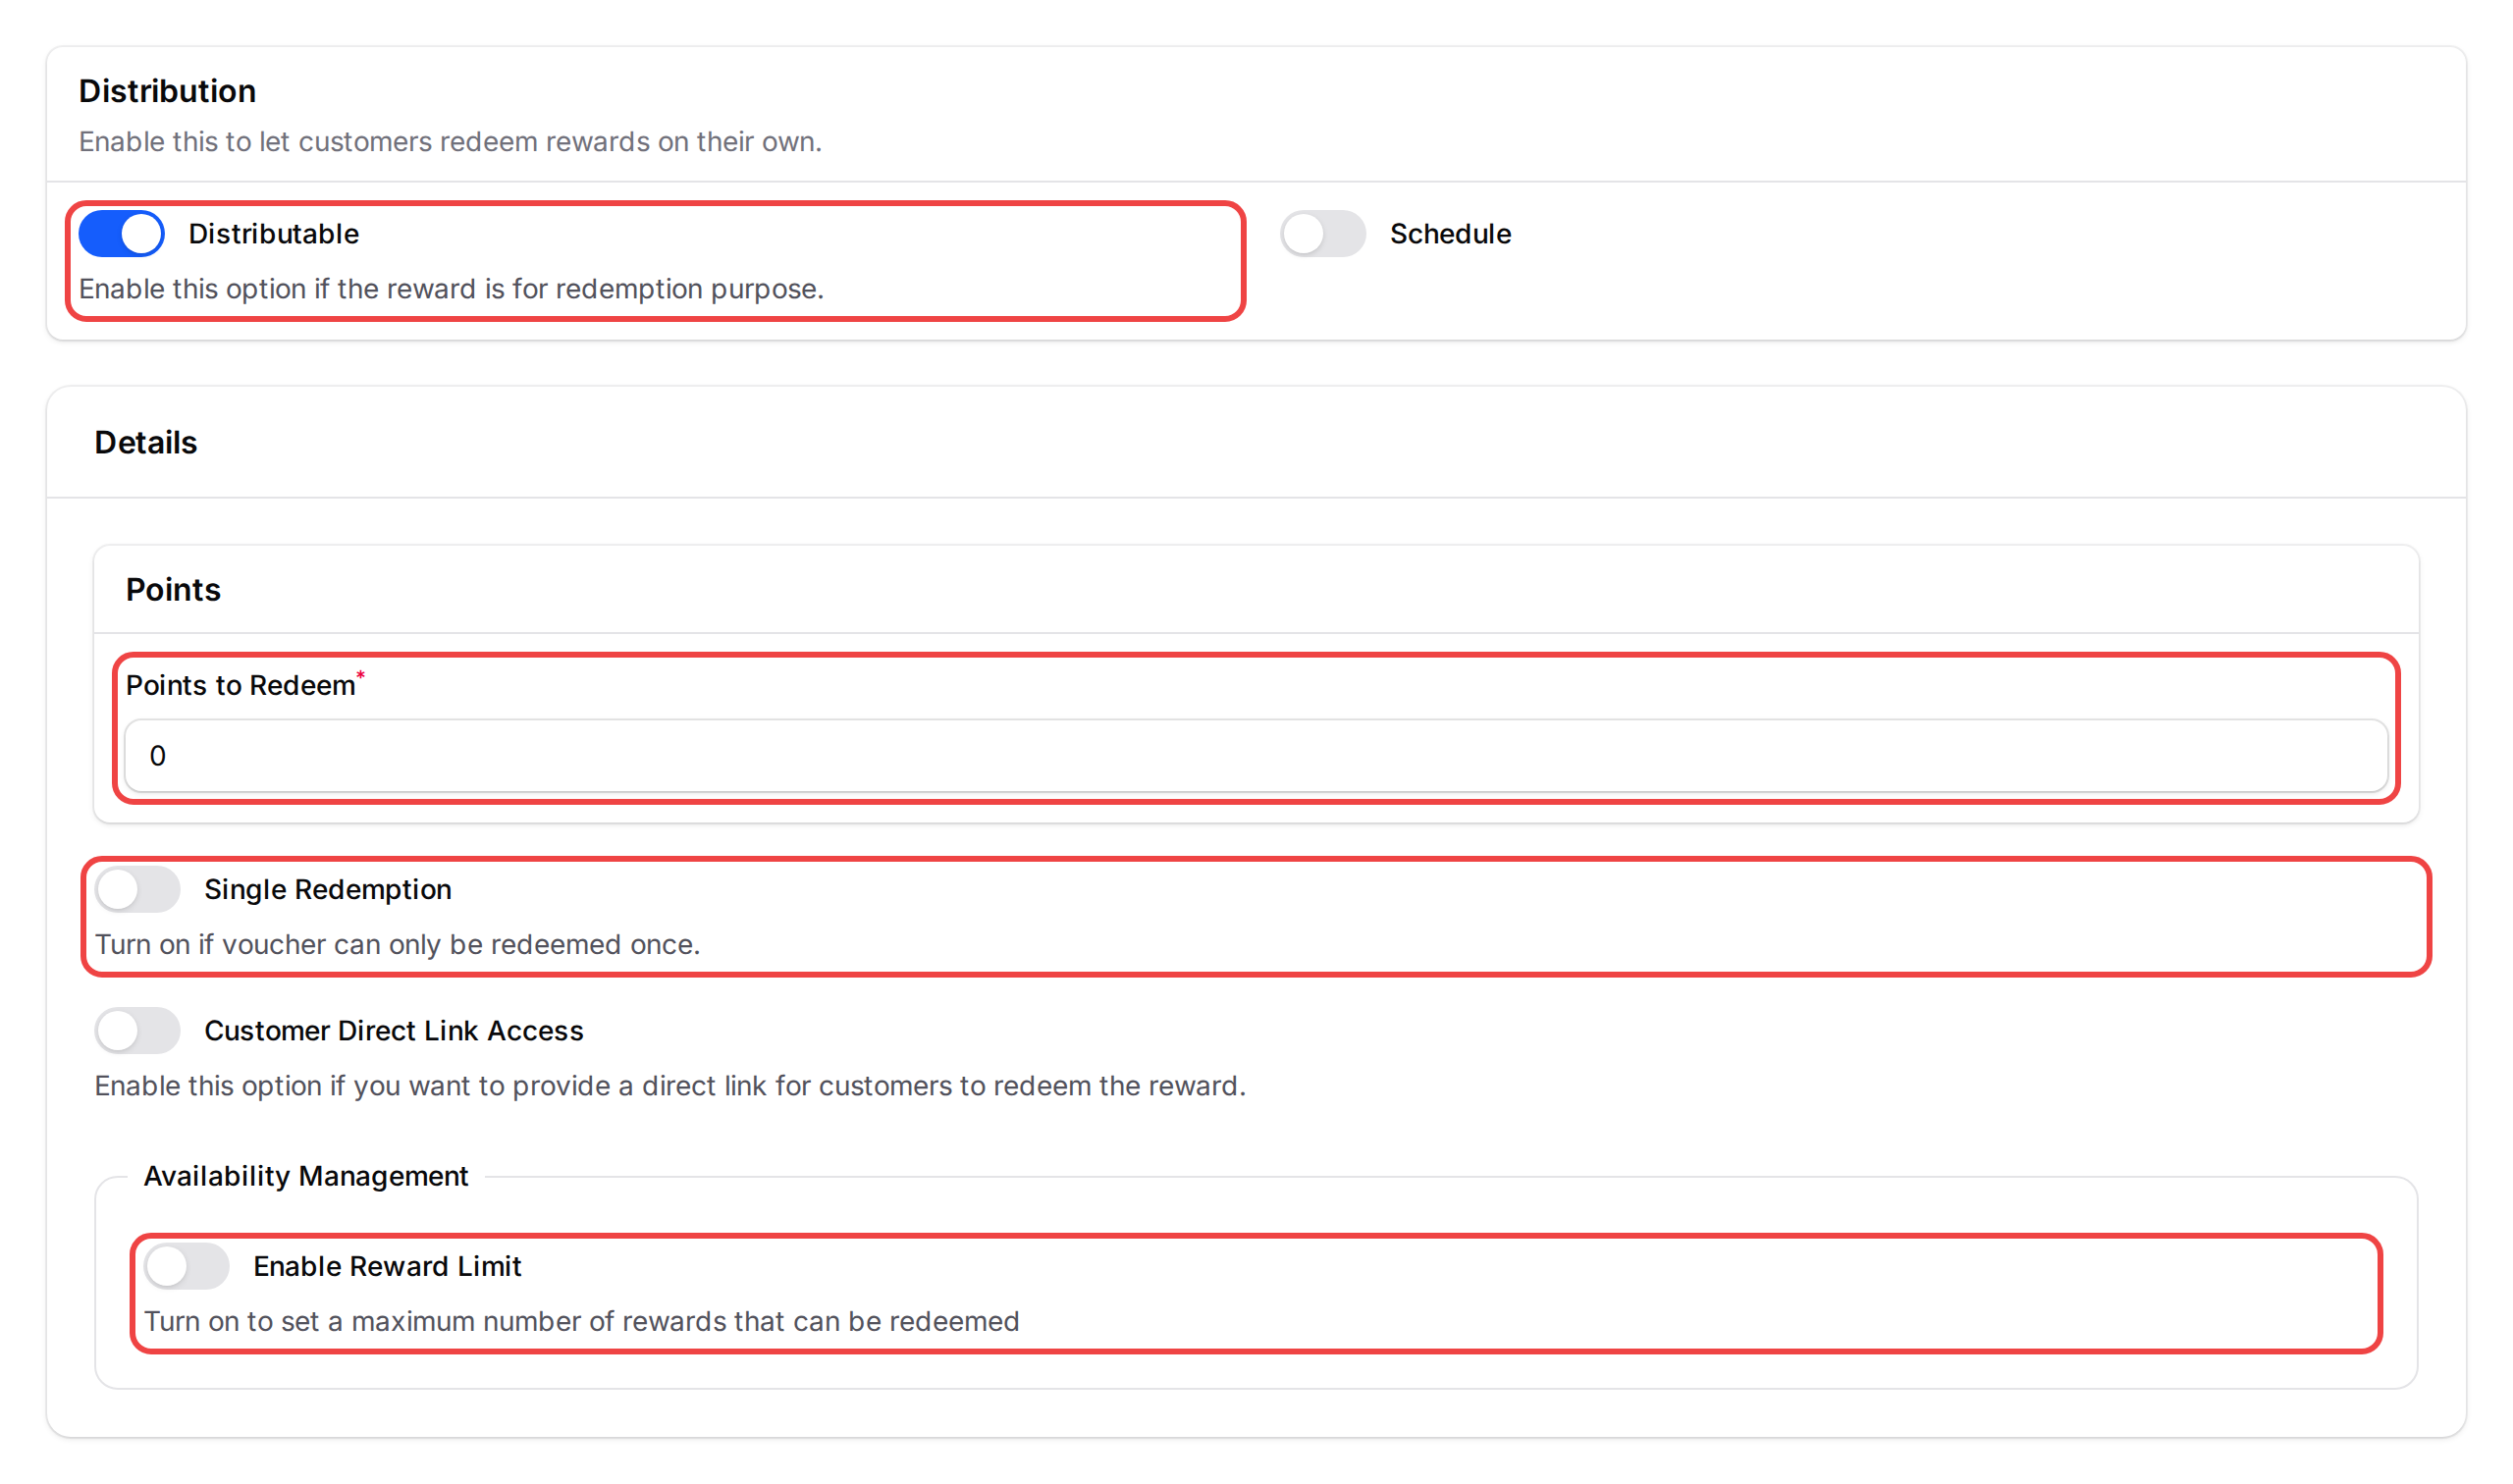
- Distributable — turn on to allow self-service redemption through the portal
- Points to Redeem — how many points this costs (0 for free)
- Single Redemption — on if each customer can only claim once
- Enable Reward Limit — cap total redemptions; shows "All Rewards Claimed" when hit
-
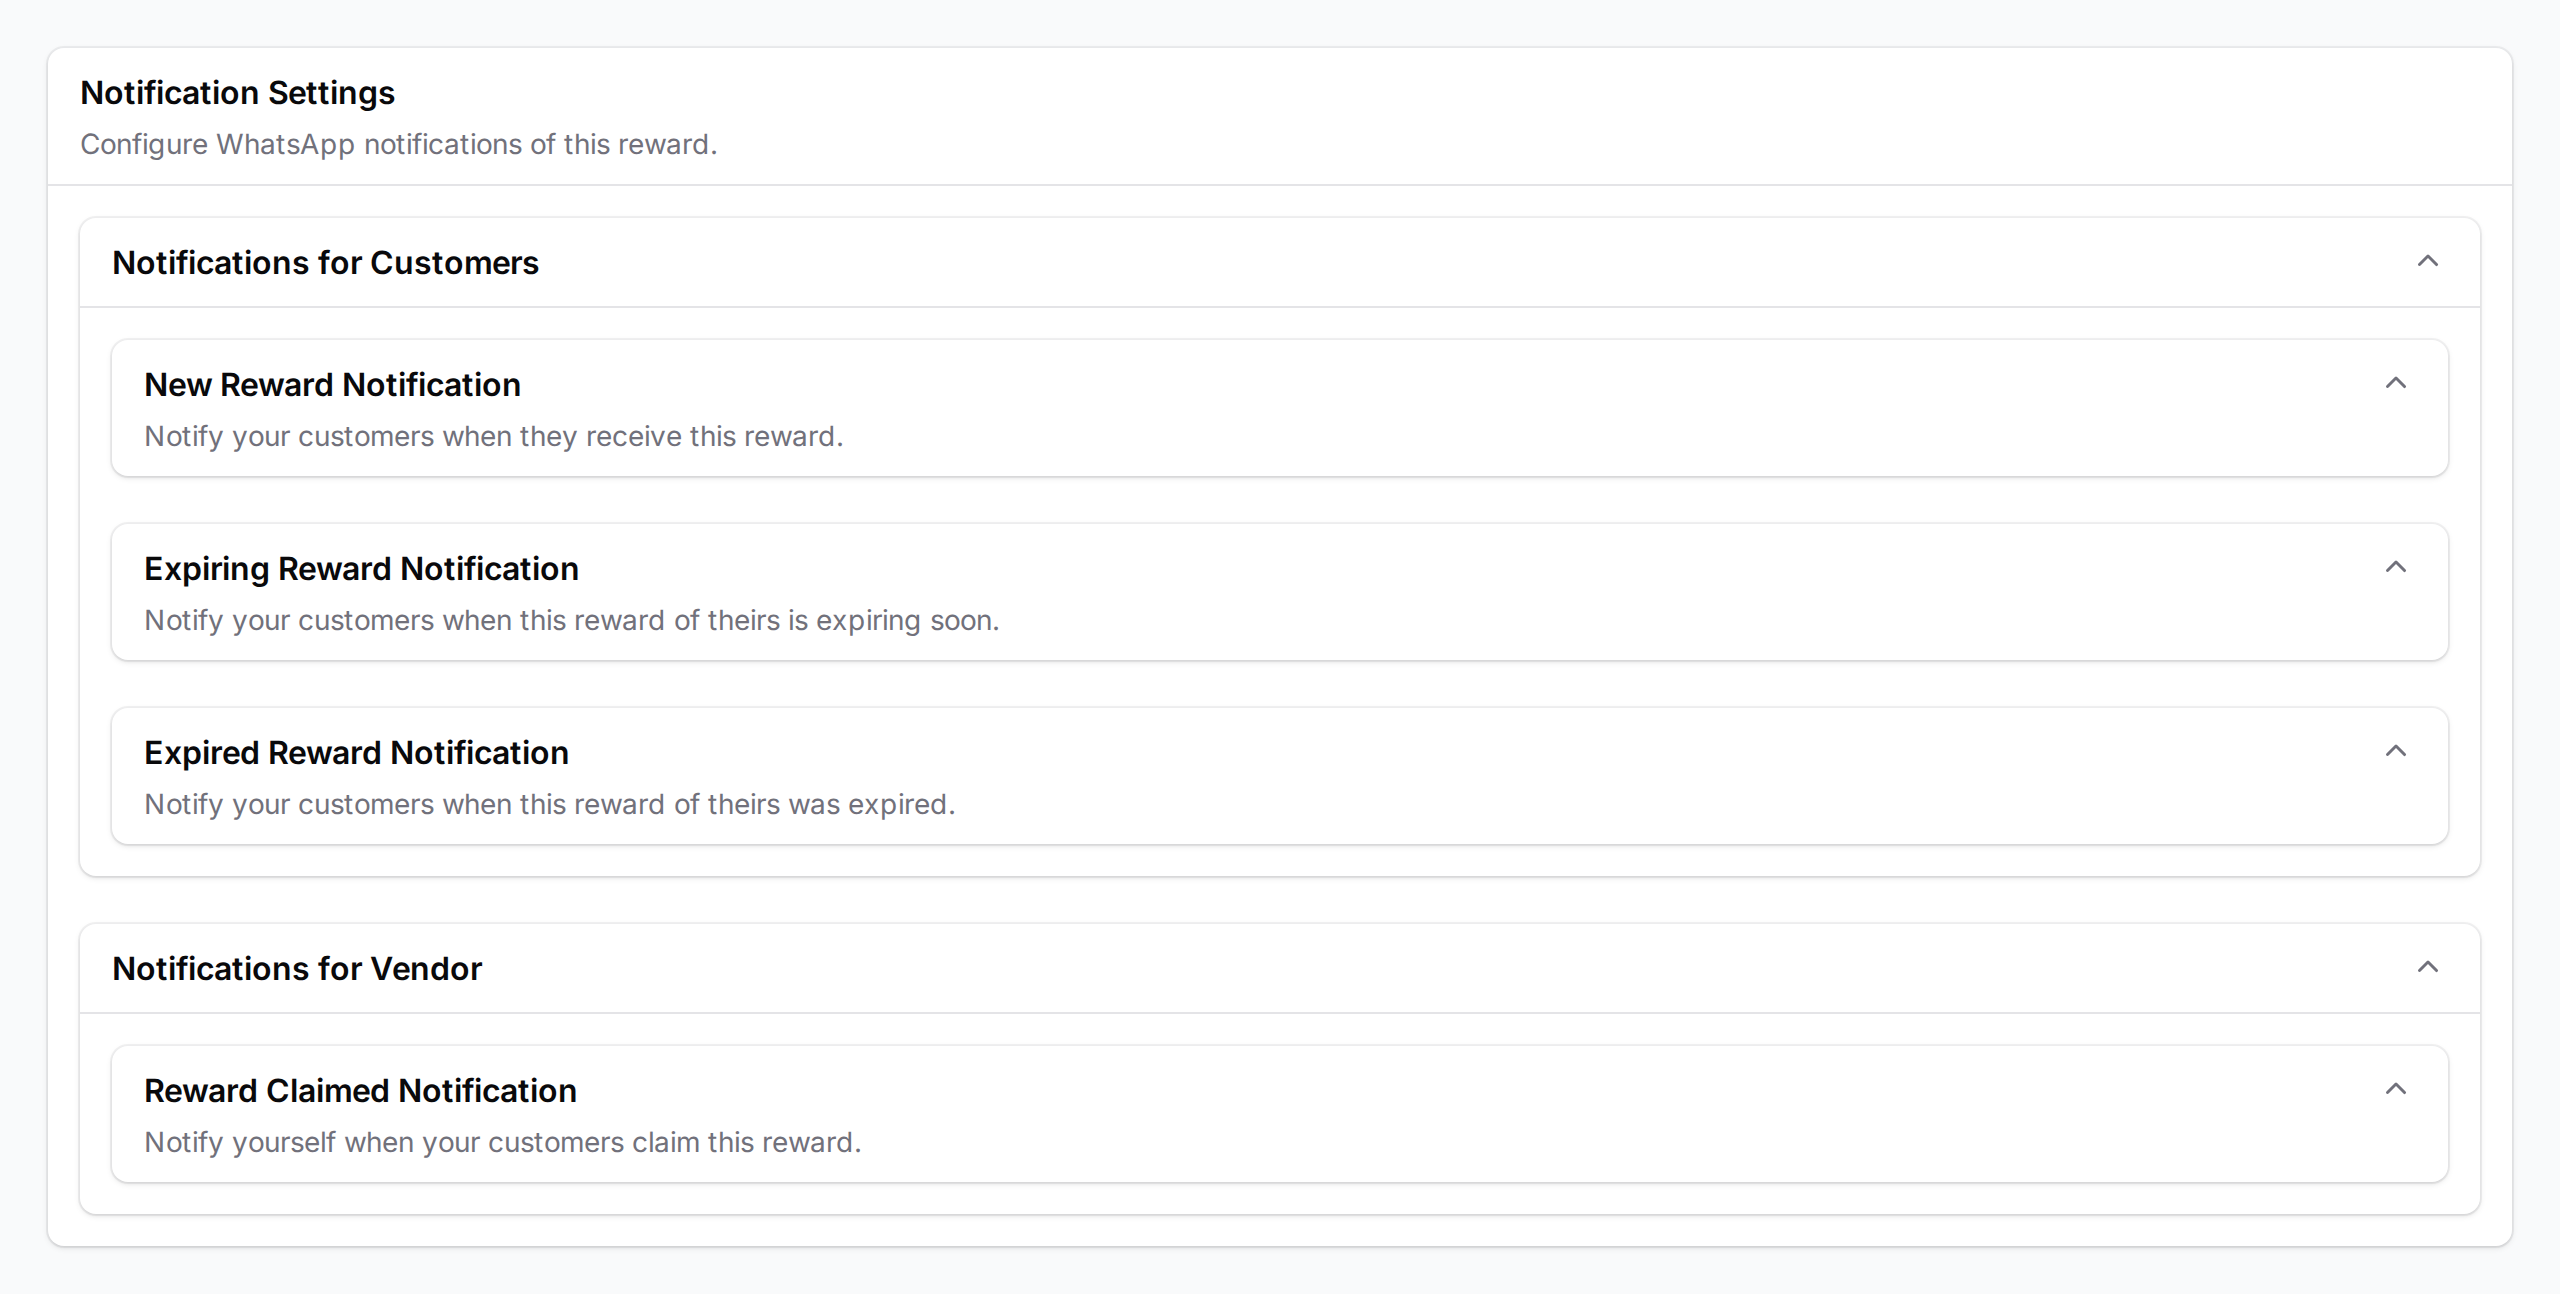
(Optional) Click the Notifications tab to set up automatic WhatsApp messages — new reward, expiring, expired, and a vendor alert when someone claims.
-
Click Save — your reward is now live
What Your Customers Will See
In their portal, customers see a marketplace view with each reward's name, cover image, and point cost. If they have enough points, they tap to redeem. They get a unique code on-screen — or via WhatsApp if notifications are on. They show it to your staff to claim their prize.
Good to Know
- You can duplicate any reward from the list — handy for creating similar rewards across outlets
- The Automations tab lets you give this reward automatically to new, birthday, or tagged customers — covered in a separate guide
- To give a reward to a specific customer manually, open their profile in the Customers list and add it from there
- Points come off immediately when someone redeems; expired unused codes do not return points
What's Next?
- How to Set Up New Customer Reward Automation — give new customers a reward automatically
- How to Set Up Conditional Reward Distribution — add spending conditions to unlock rewards
- Customer Reward Lifecycle Explained — understand what happens to rewards after they're assigned