
How to Top Up Customer Credits
How to Top Up Customer Credits
What Is This?
Credits are a digital wallet for your customers — like a stored-value card. Customers load money into their wallet and spend it when they visit. Credit top-ups let you add credits directly to a customer's wallet from your admin panel — whether they're paying at the counter, receiving a gift, or buying a prepaid bundle.
Real-Life Example
Farah runs a bubble tea shop in Petaling Jaya. Her regular customer, Ahmad, wants to load RM100 into his credit wallet so he can pay faster on future visits. Farah opens the Top Up Credits page, types Ahmad's phone number, enters RM100, and clicks Create. Ahmad instantly receives 100 credits in his wallet — plus 10 bonus credits from Farah's top-up promo. Ahmad loves the convenience, and Farah has locked in his next 10 visits.
Video Walkthrough

How to Set It Up
-
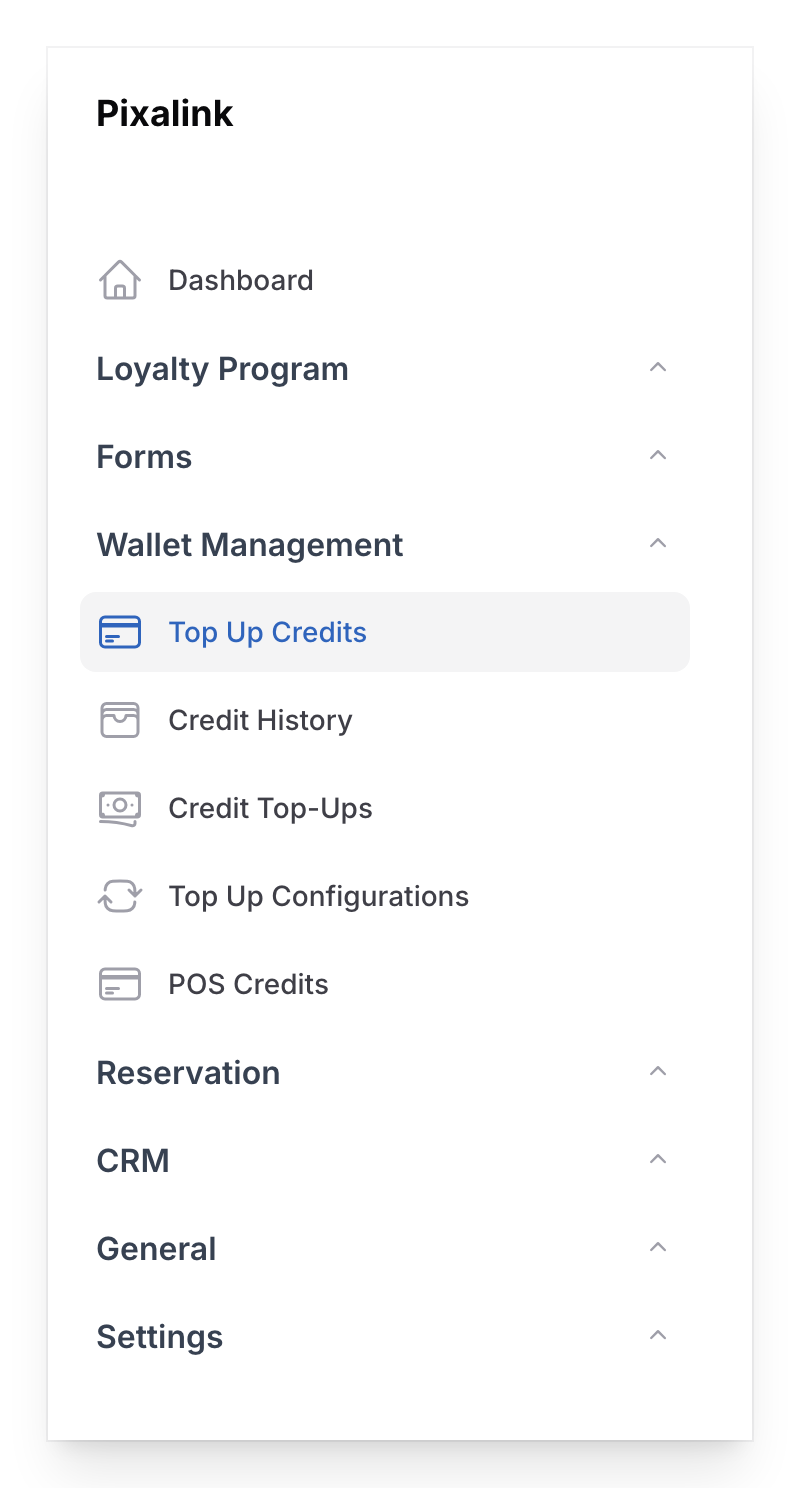
Go to Admin Panel → Wallet Management → Top Up Credits.
-
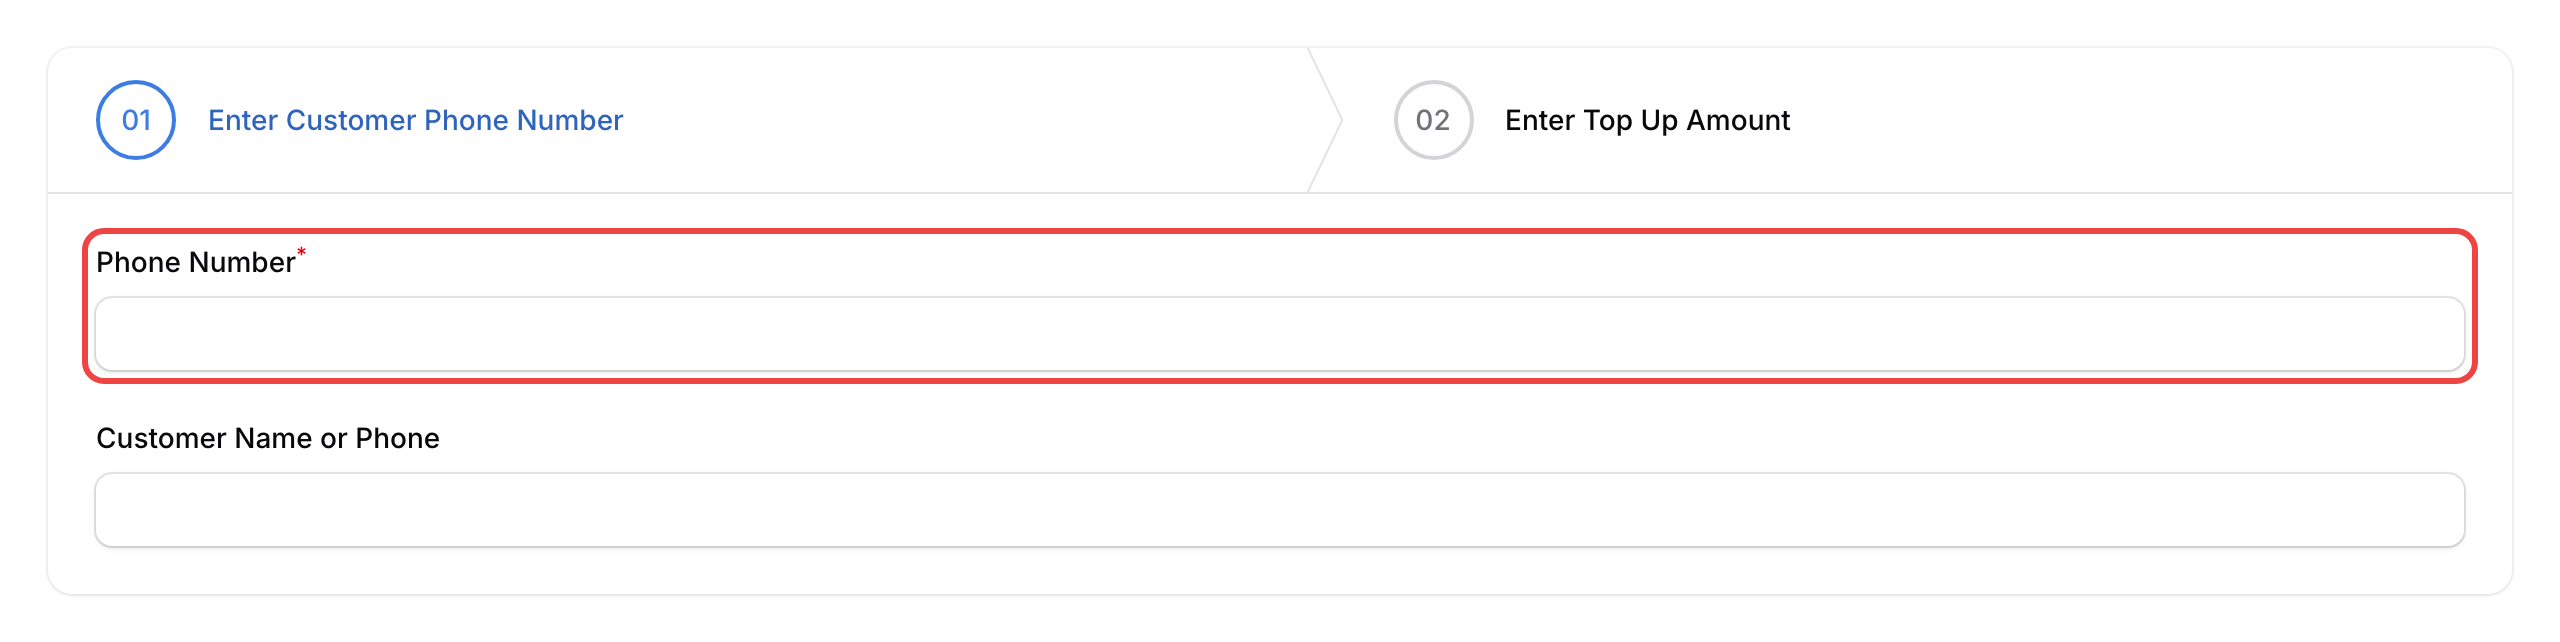
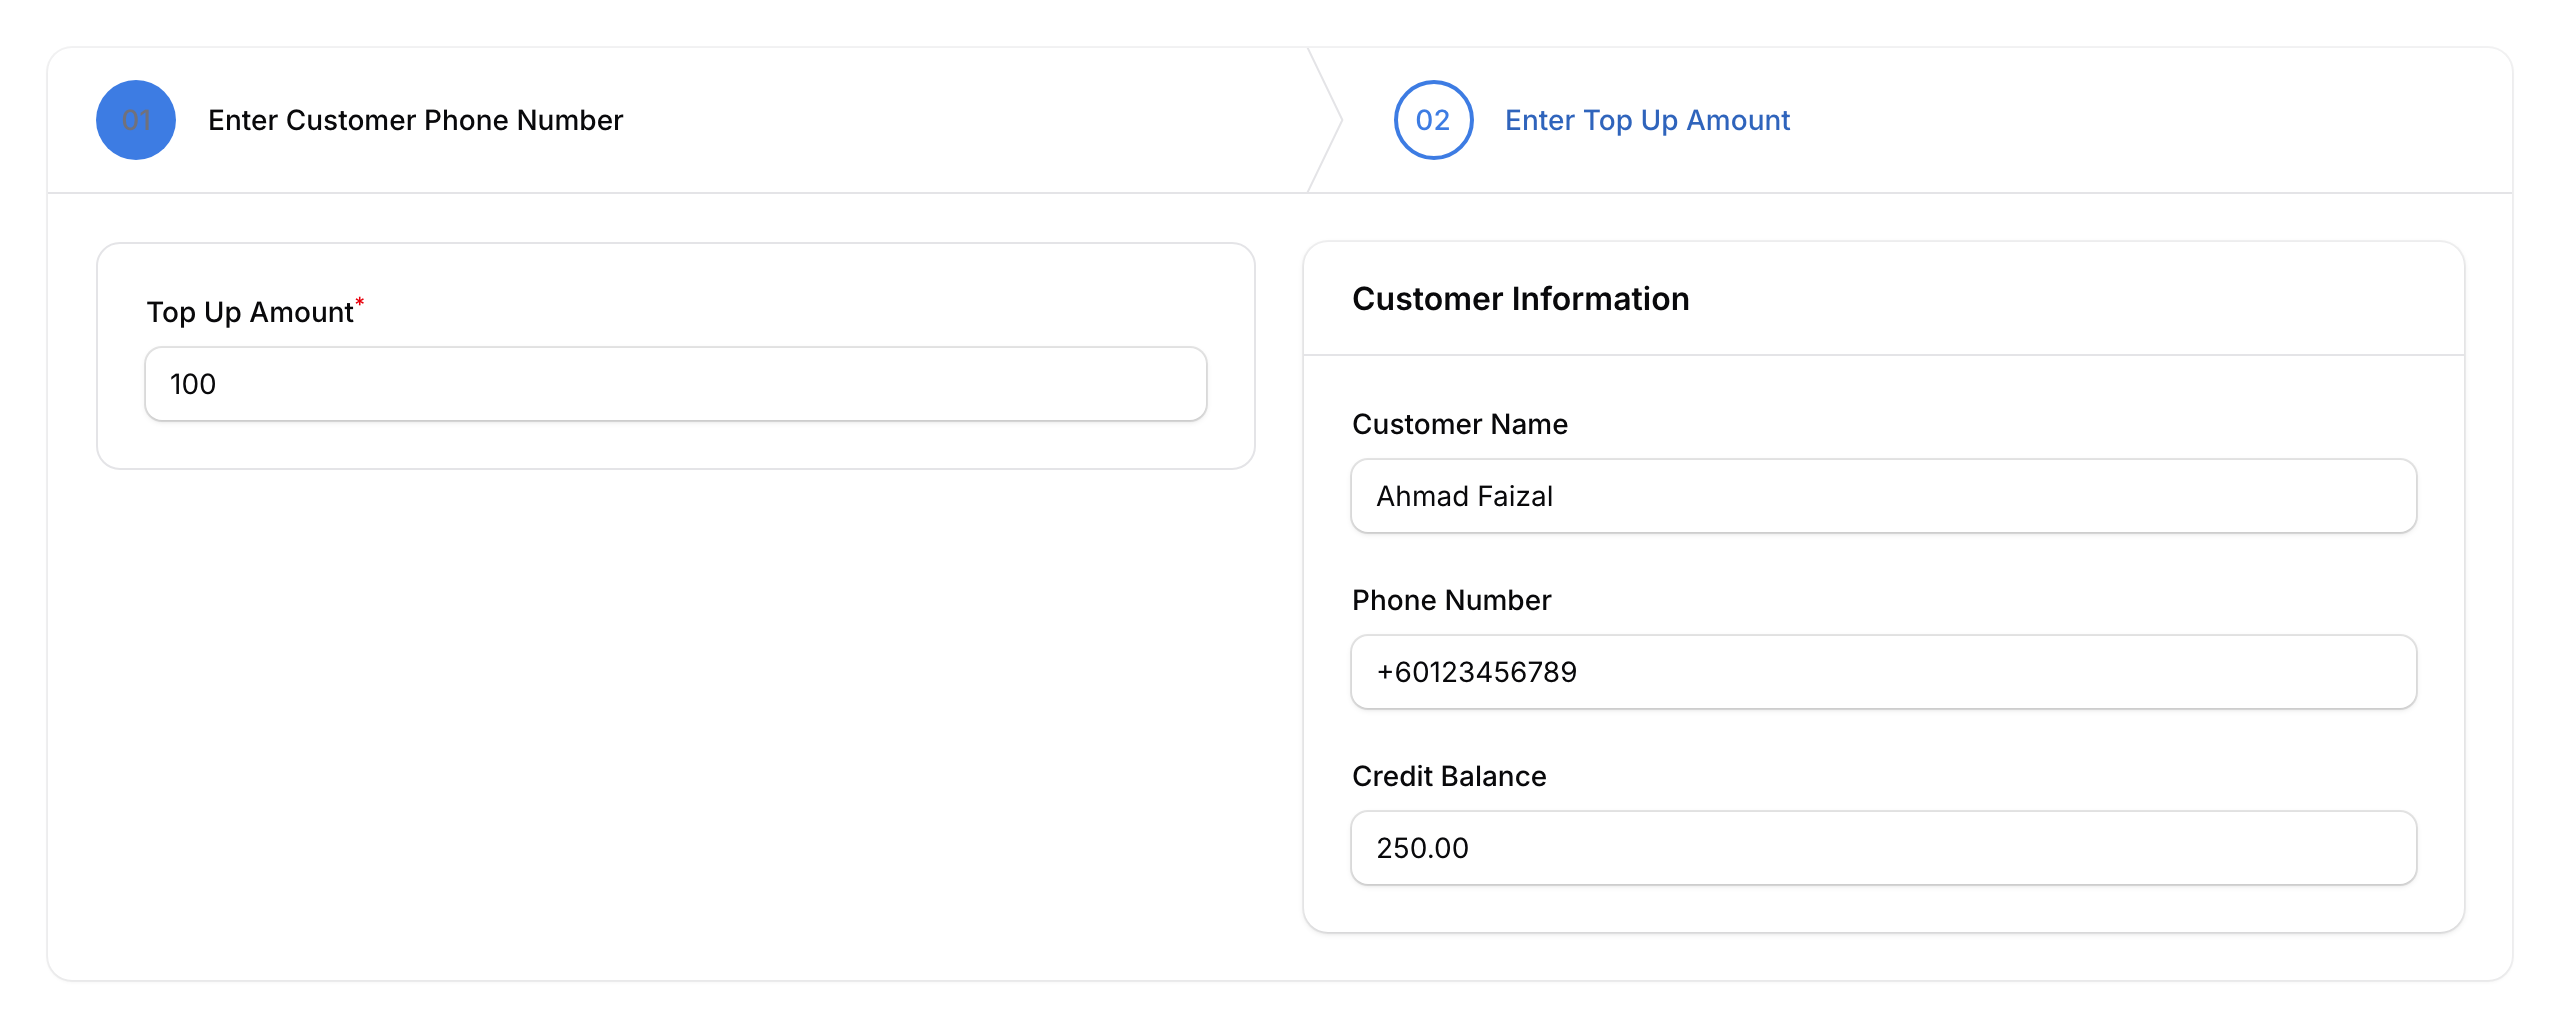
Enter the customer's phone number in the Phone Number field. The system looks up the customer automatically. You can also search by name or phone in the Customer Name or Phone field below it.
-
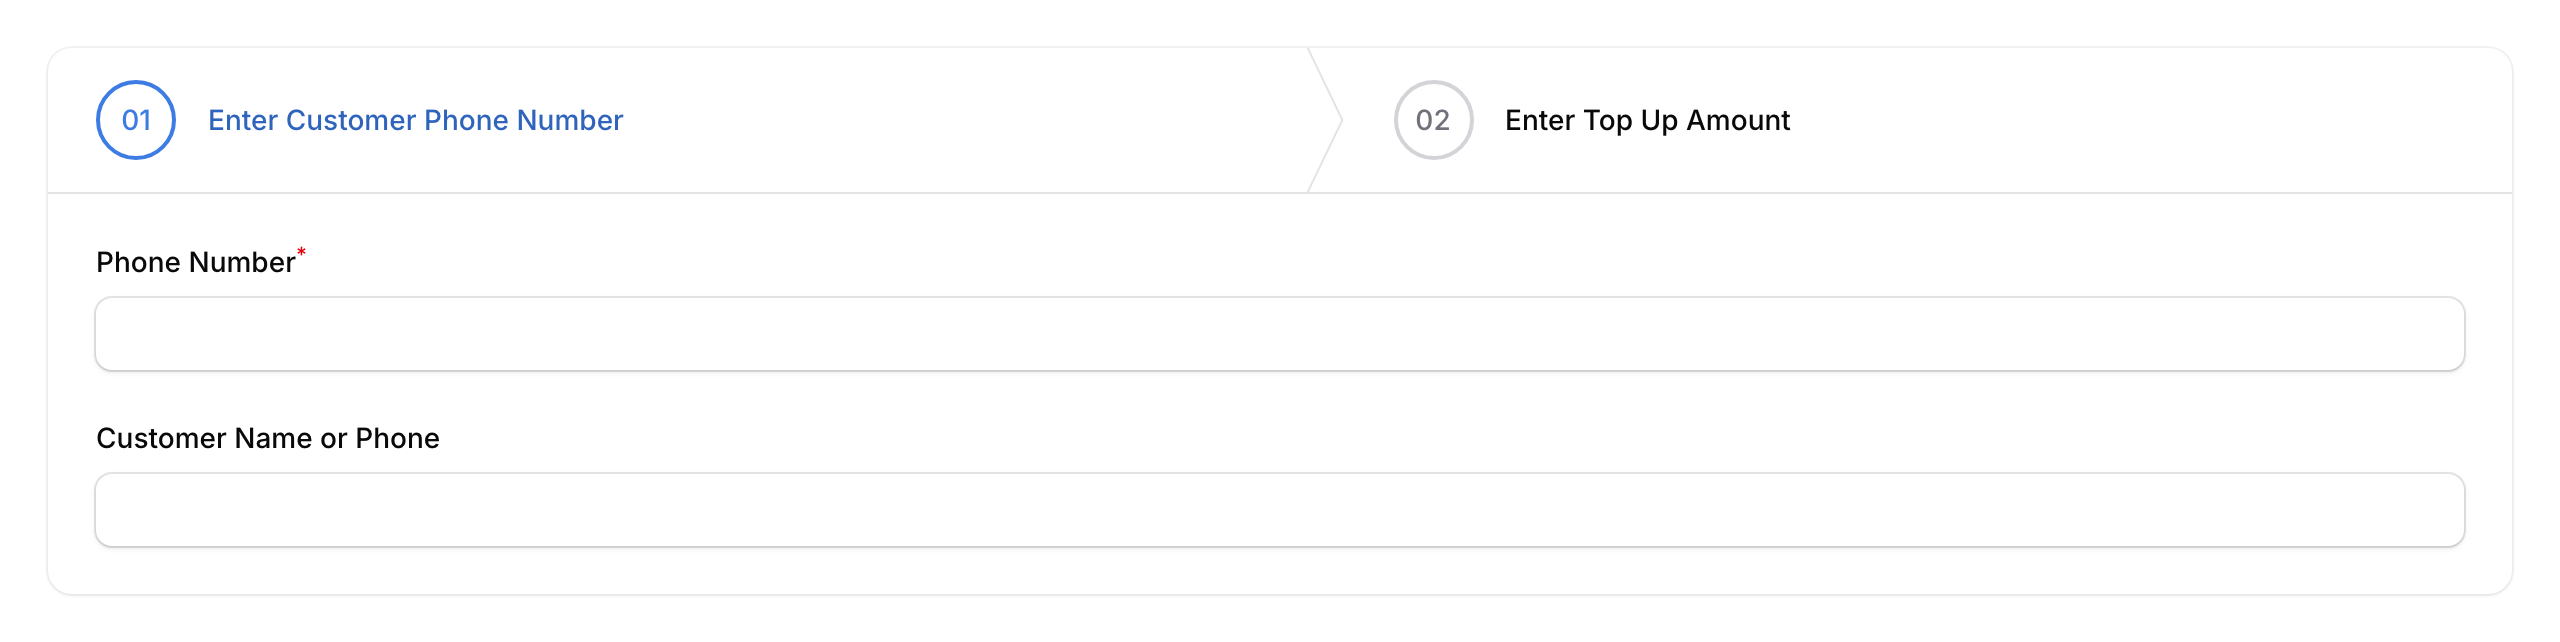
Click Next to move to the second step.
-
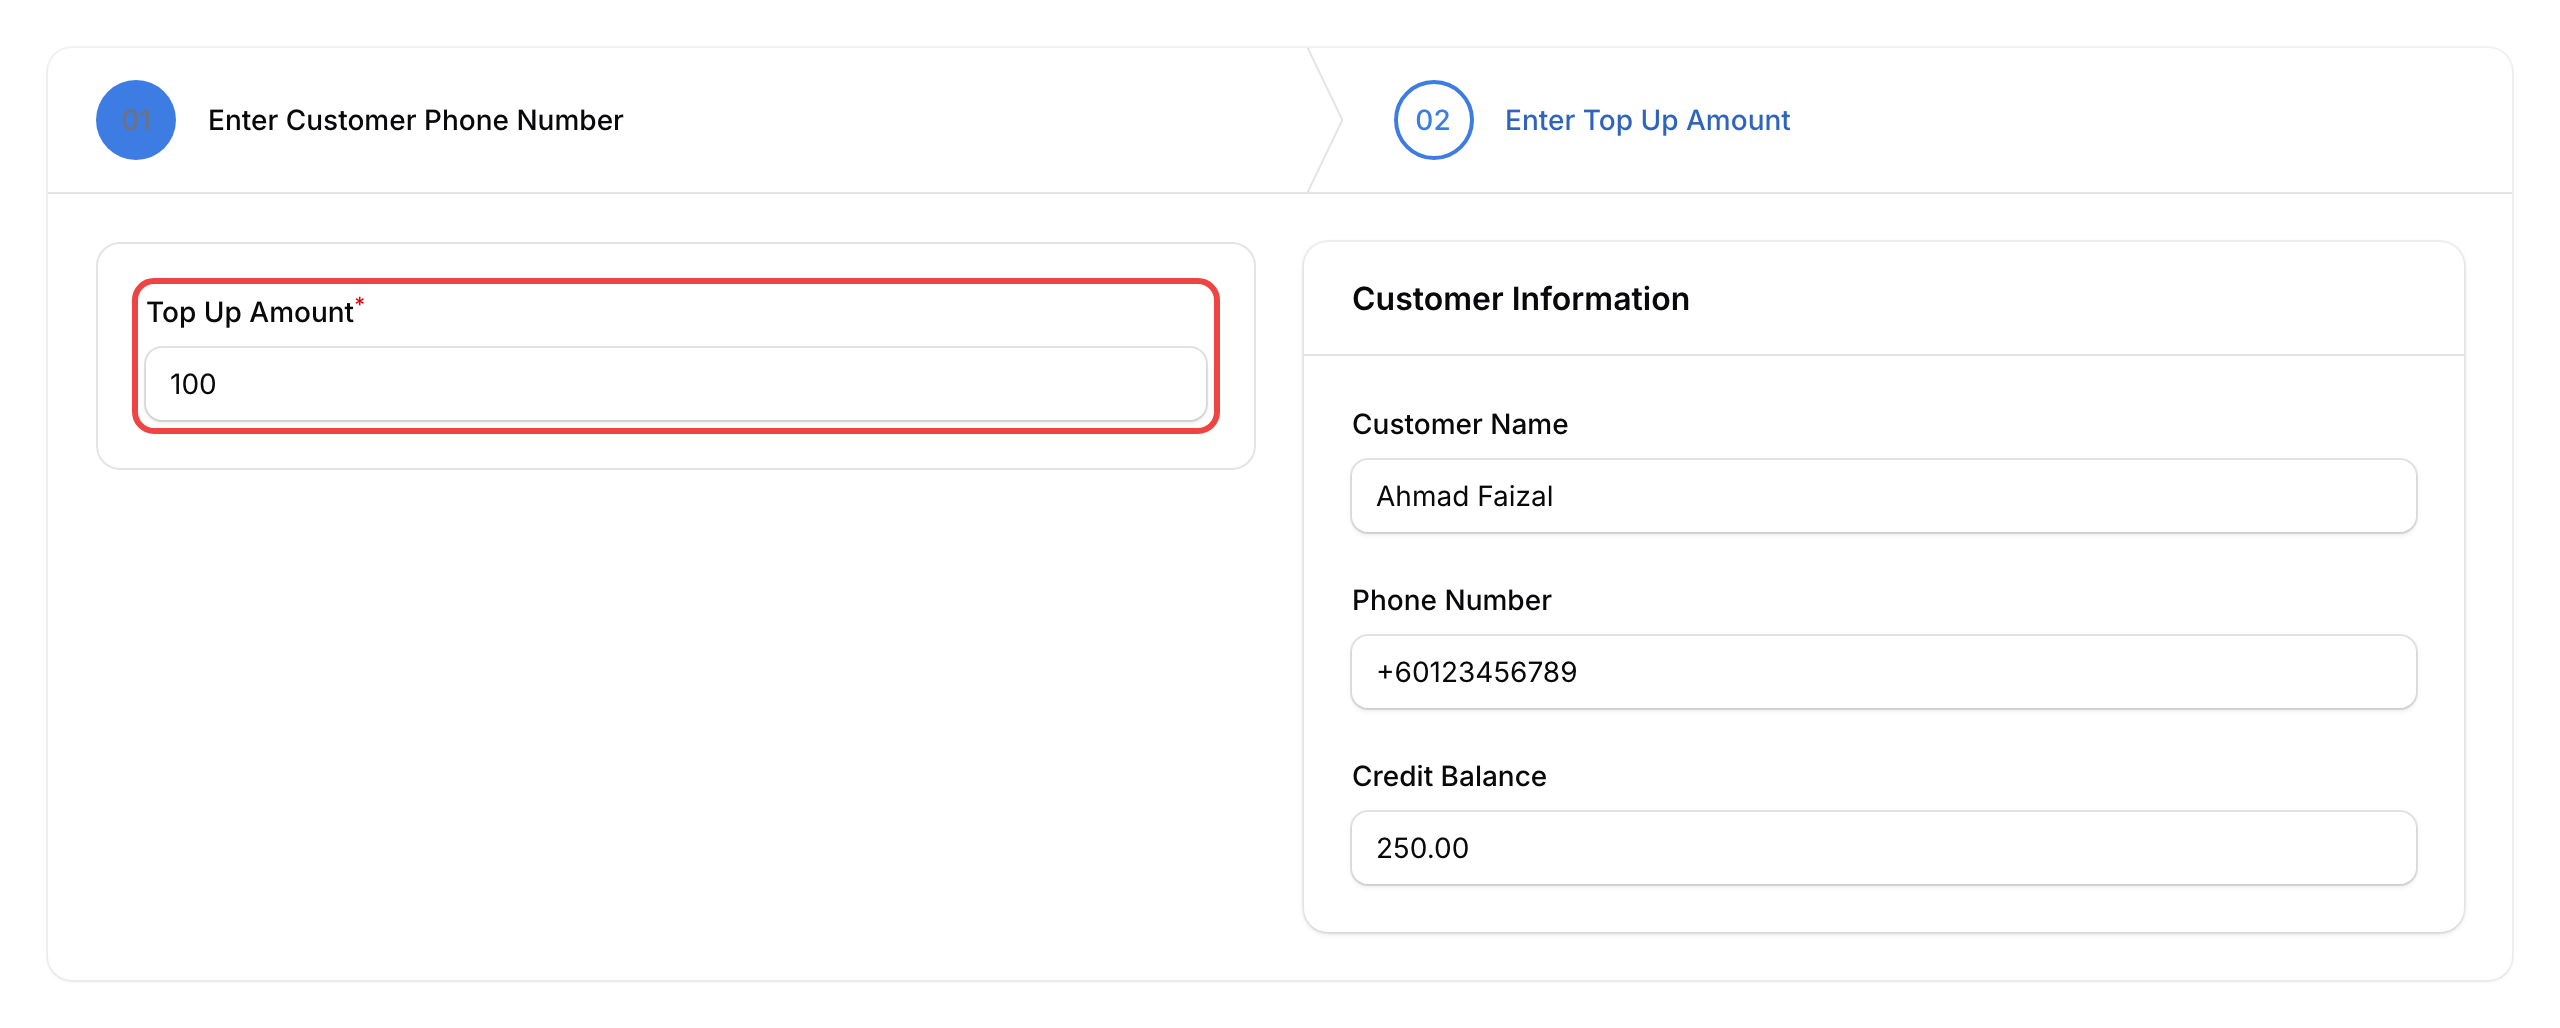
Enter the amount in the Top Up Amount field. This is the monetary amount (in RM) the customer is paying — it will be converted to credits in their wallet.
- A Customer Information panel appears on the right showing the customer's name, phone number, and current credit balance
- If your business has set up quick top-up buttons (e.g. 10, 50, 100), click those to quickly add to the amount
-
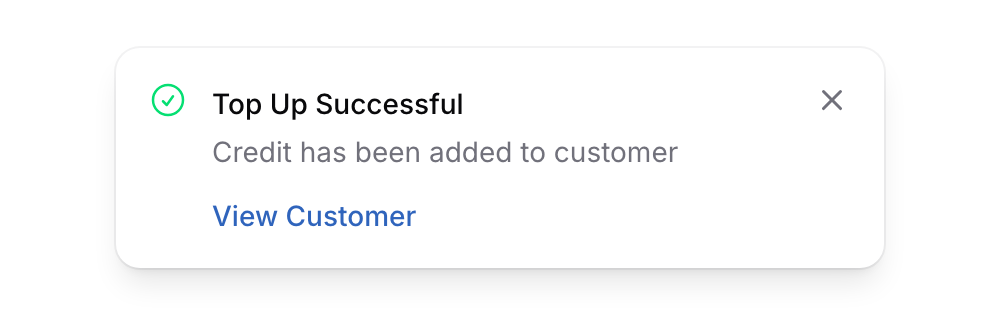
Click Create to complete the top-up. You'll see a success message confirming the credits have been added.
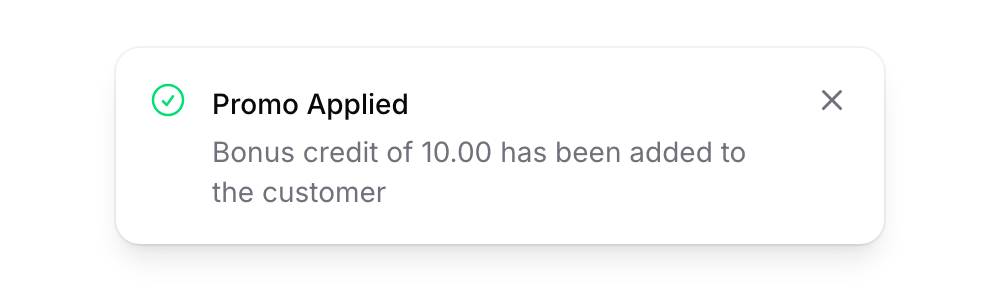
Bonus promo: If your business has top-up bonus amounts set up, bonus credits are added automatically. For example, top up RM100 and get 10 bonus credits — the customer ends up with 110 credits total. You'll see a separate "Promo Applied" message showing the bonus amount.
What Your Customers Will See
After you top up credits, the customer's wallet balance updates instantly on their customer portal. Customers can check their credit balance, view their transaction history, and — if you've enabled payment gateway top-up — add credits themselves through online payment. If you've turned on credit notifications, the customer also receives a message letting them know credits were added.
How to View Top-Up History
The Credit Top-Ups page shows all online top-up transactions (from the customer portal payment gateway). Go to Admin Panel → Wallet Management → Credit Top-Ups. This page only appears in the menu once online top-up through a payment gateway is turned on for your account.
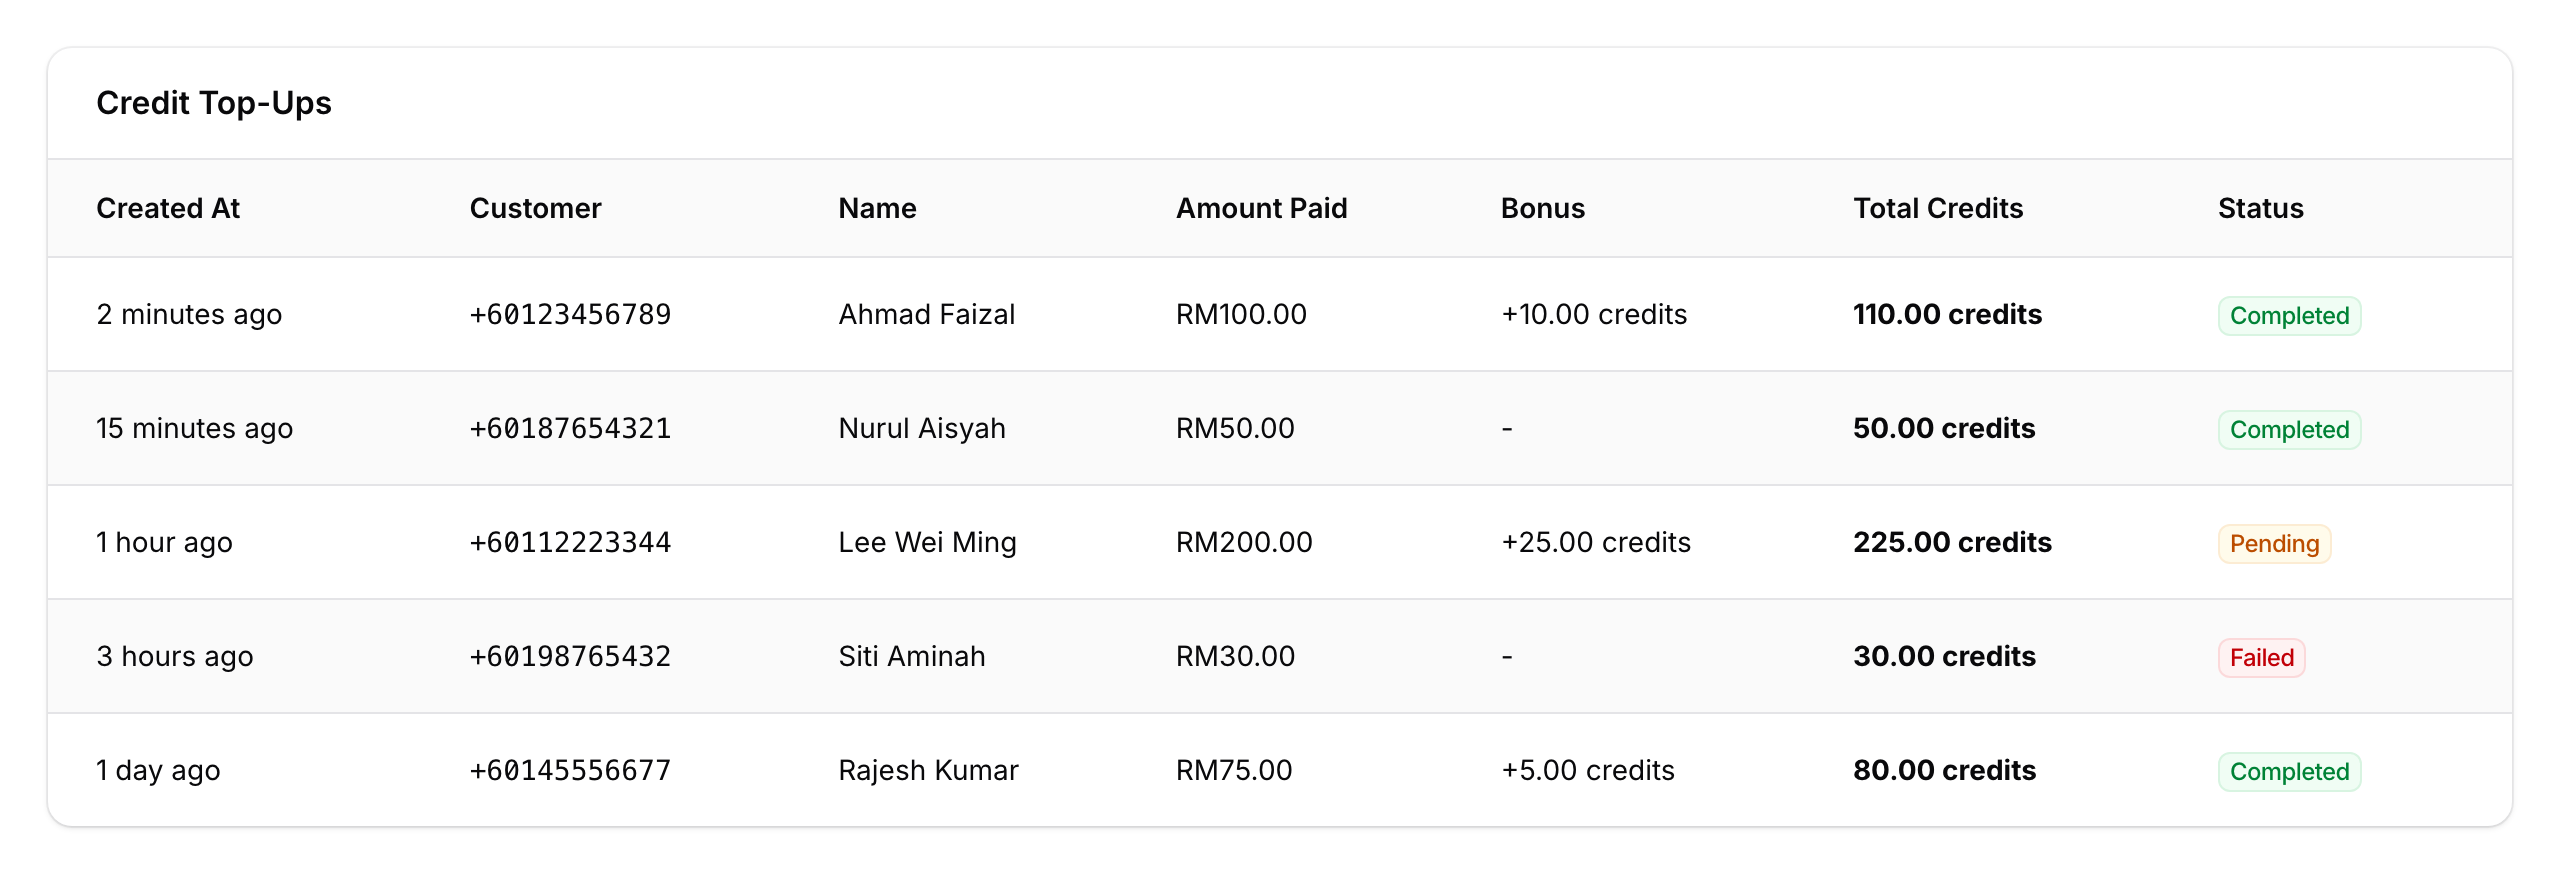
The page has tabs to filter by status:
- All — every top-up record, including cancelled ones
- Completed (green) — payment received and credits added
- Pending (amber) — waiting for payment confirmation
- Failed (red) — payment did not go through Cancelled top-ups (gray) do not have a dedicated tab — they only appear when viewing the All tab.
You can also filter by date range or outlet using the filter options above the table. Click the eye icon on any row to see full details — payment information appears when a payment record exists.
Good to Know
- Credits added through the Top Up Credits page are instant — the customer's balance updates right away
- The Credit Top-Ups list only shows online top-ups. For manual top-ups, check Admin Panel → Wallet Management → Credit History instead
- If you have multiple outlets, select a Space before entering the phone number
- The password security limit, quick top-up buttons, and bonus promo minimums are all managed in Top Up Configurations
What's Next?
- How to Earn Points from Credit Payments — reward customers who pay with credits
- Eats365 Credit Deduction & Refund — How It Works & Troubleshooting — accept credit payments at your POS