
How to Set Up a Corporate or Group Membership with a Sign-Up Link
What Is This?
Give a company, school or club its own membership and sign-up link. Everyone you approve gets that plan, so you know who is in the group.
Paid Memberships and Forms must be turned on for your business. If you can't see them in the menu, ask support.
Real-Life Example
Aishah runs an online fashion store. A training college wants a 10% student discount.
She creates a "BTL Group Membership" and a sign-up form, and sends the link to the college. She approves each student and gives them a 10% Shopify code. A year later, she decides who to renew.
How to Set It Up
-
Go to Admin Panel → Loyalty Program → Paid Memberships and click New Paid Membership. Enter a Name, such as "BTL Group Membership", and upload a Cover Image.

The new plan with its name and cover image.
-
Open the Pricing tab. Choose Yearly and enter the Price for online renewal. Joining through the form is free.
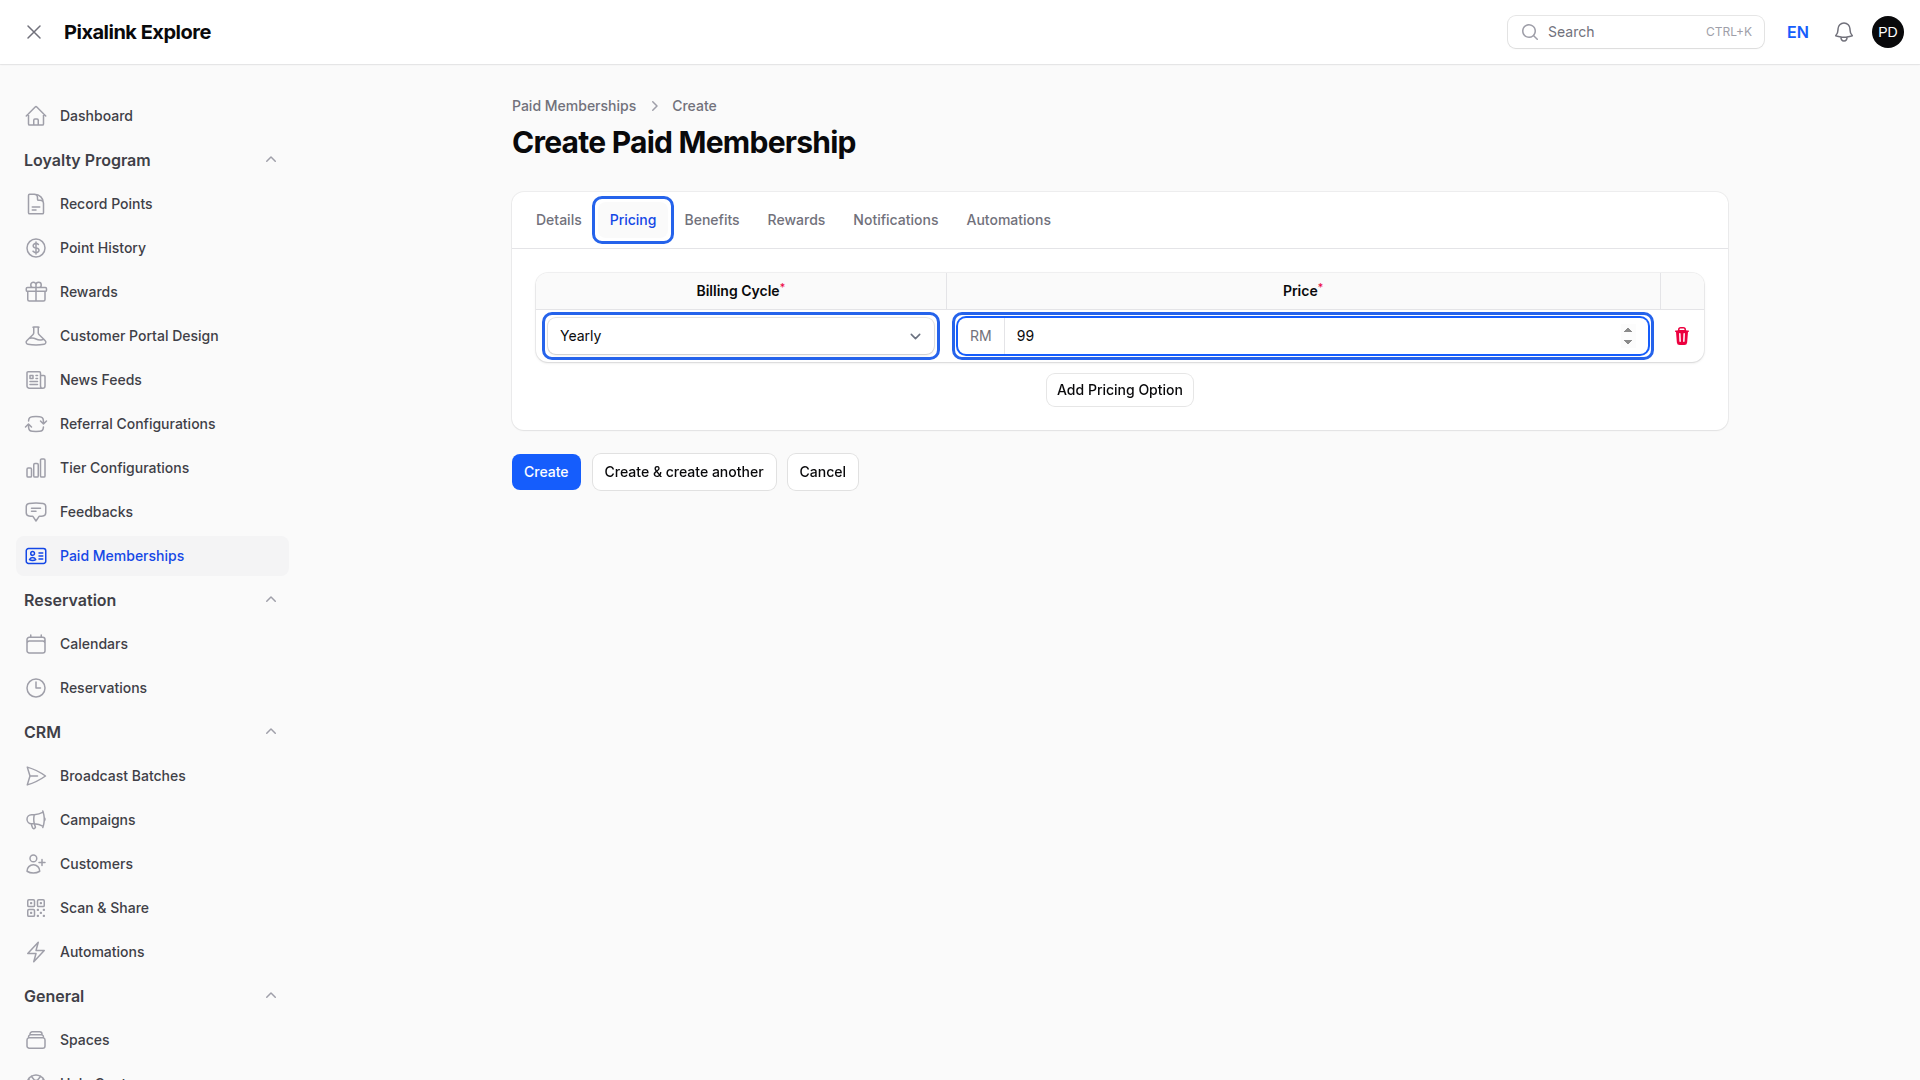
The Yearly price for online renewal.
-
On the Details tab, turn off Active so the plan isn't on sale to everyone, then click Create.

Turn Active off before clicking Create.
-
Go to Admin Panel → Forms → Forms and click New Custom Form. Choose Custom Form as the Form Type, then enter a Name and Slug. Registration forms can't give a membership.

A Custom Form with its name and slug.
-
Open the Automations tab. Turn on Activate a paid membership when a submission is approved. Choose your plan and Yearly. Leave If the customer already has a membership as it is, then click Create.

The form hands out the plan when you approve.
-
Open your form from the Forms list with View, then click Show Form QR Code. Copy the Shareable link and send it.

Copy the link and share it with the group.
-
On the form, open Manage Custom Form Submissions, edit a sign-up and click Approve & Award Points.
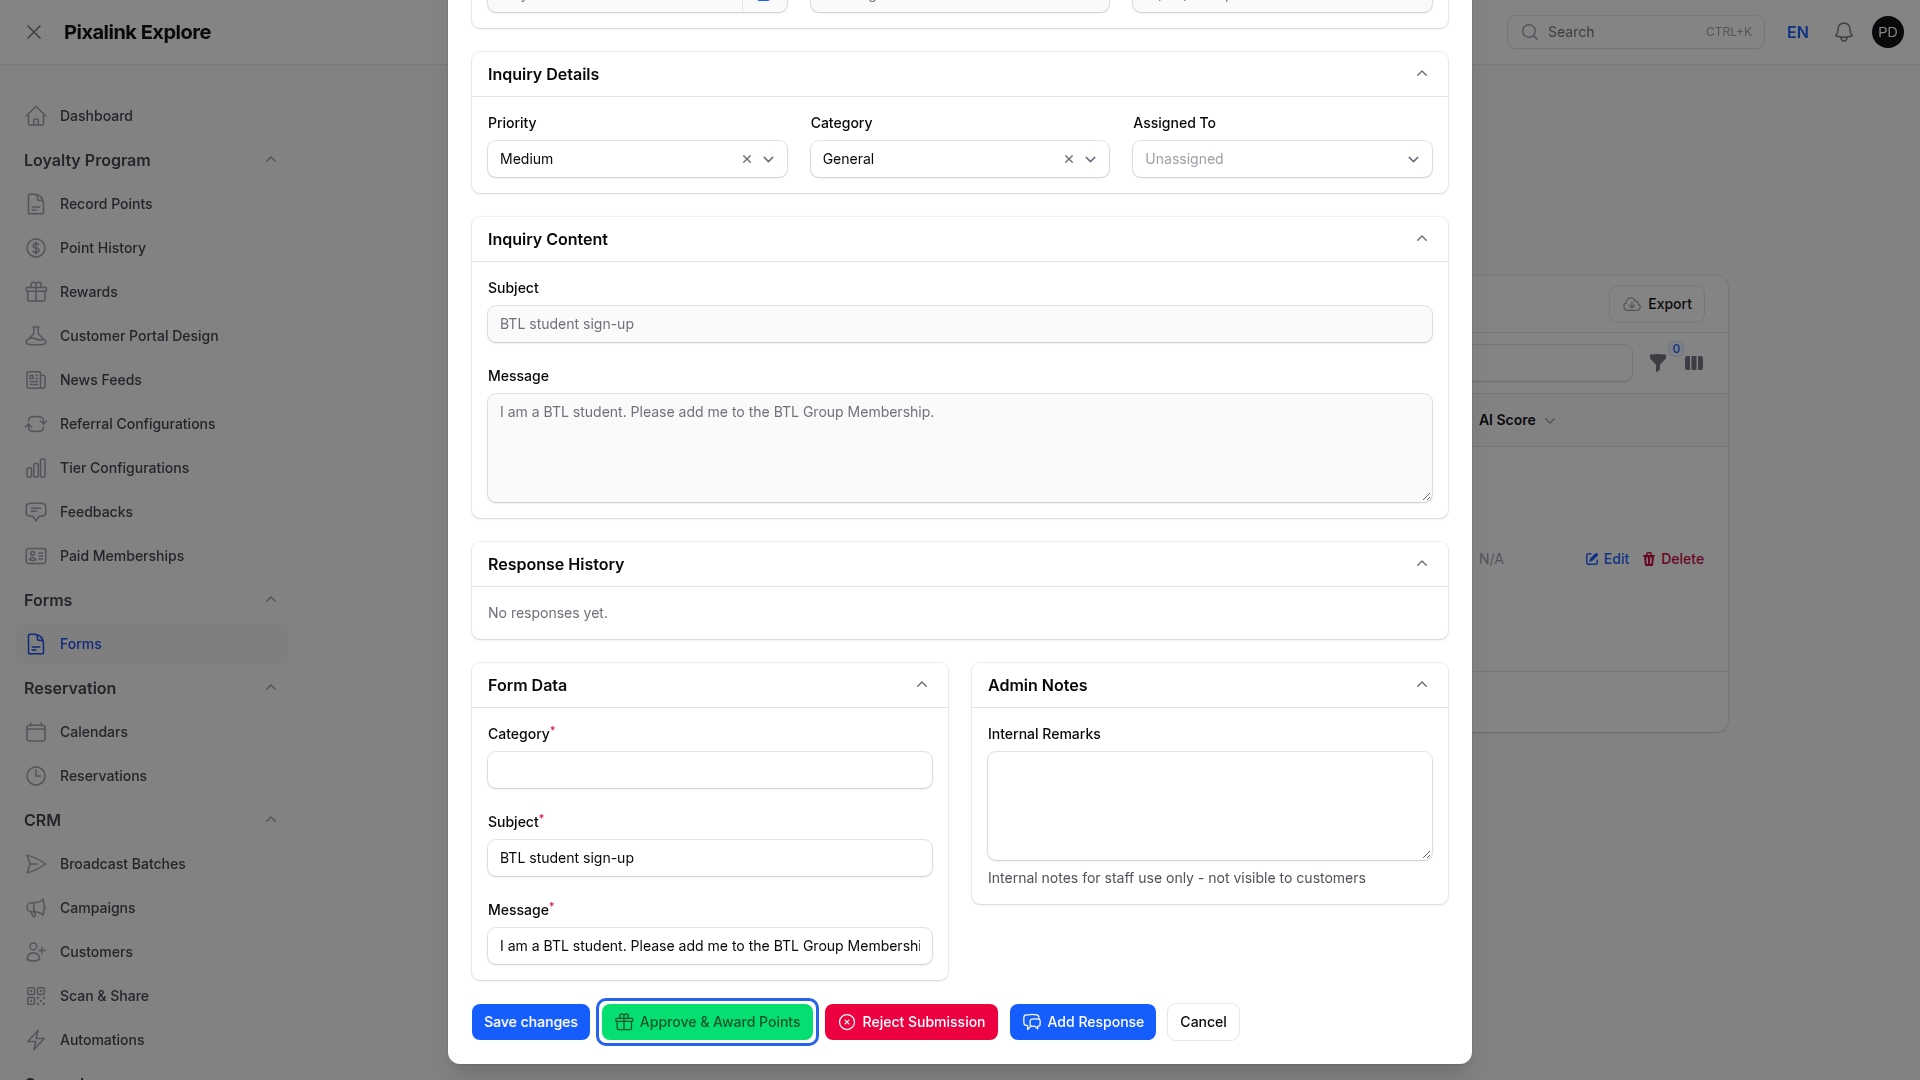
Approve a sign-up to start the membership.
What Your Customers Will See
Students log in through the link and fill in the form. Once approved, their Membership page shows the plan and expiry date.
Good to Know
Important
Pixalink doesn't take 10% off at Shopify checkout by itself. Create a 10% code in Shopify and share it only with approved members.
- A new member's year starts on approval. Approving also sends the Membership Activated message and any Rewards set on the plan. To approve many, click Approve Selected.
- With online payment set up, members see Renew Early in their last 30 days and Renew Membership after expiry, even with Active off. Without it, ask them to submit the form again, then approve.
- Reminders go out 7 days before expiry. Change Days Before Expiry (1 to 30) in the plan's Notifications tab.
- To tag the group, pick a tag such as "BTL" under Auto Tagging → Tags on the form's Automations tab. The tag is added when the form is submitted, before you approve, and the customer keeps their other tags.
- For another group, repeat with its own plan and form.
Need Help?
Reach out to our support team.