Paid Memberships
Paid Memberships
What Is This?
Paid Memberships let you sell premium membership plans to your customers. Customers pay monthly or yearly and unlock the perks you choose — bonus points, exclusive rewards, priority treatment, or anything else that fits your business.
Real-Life Example
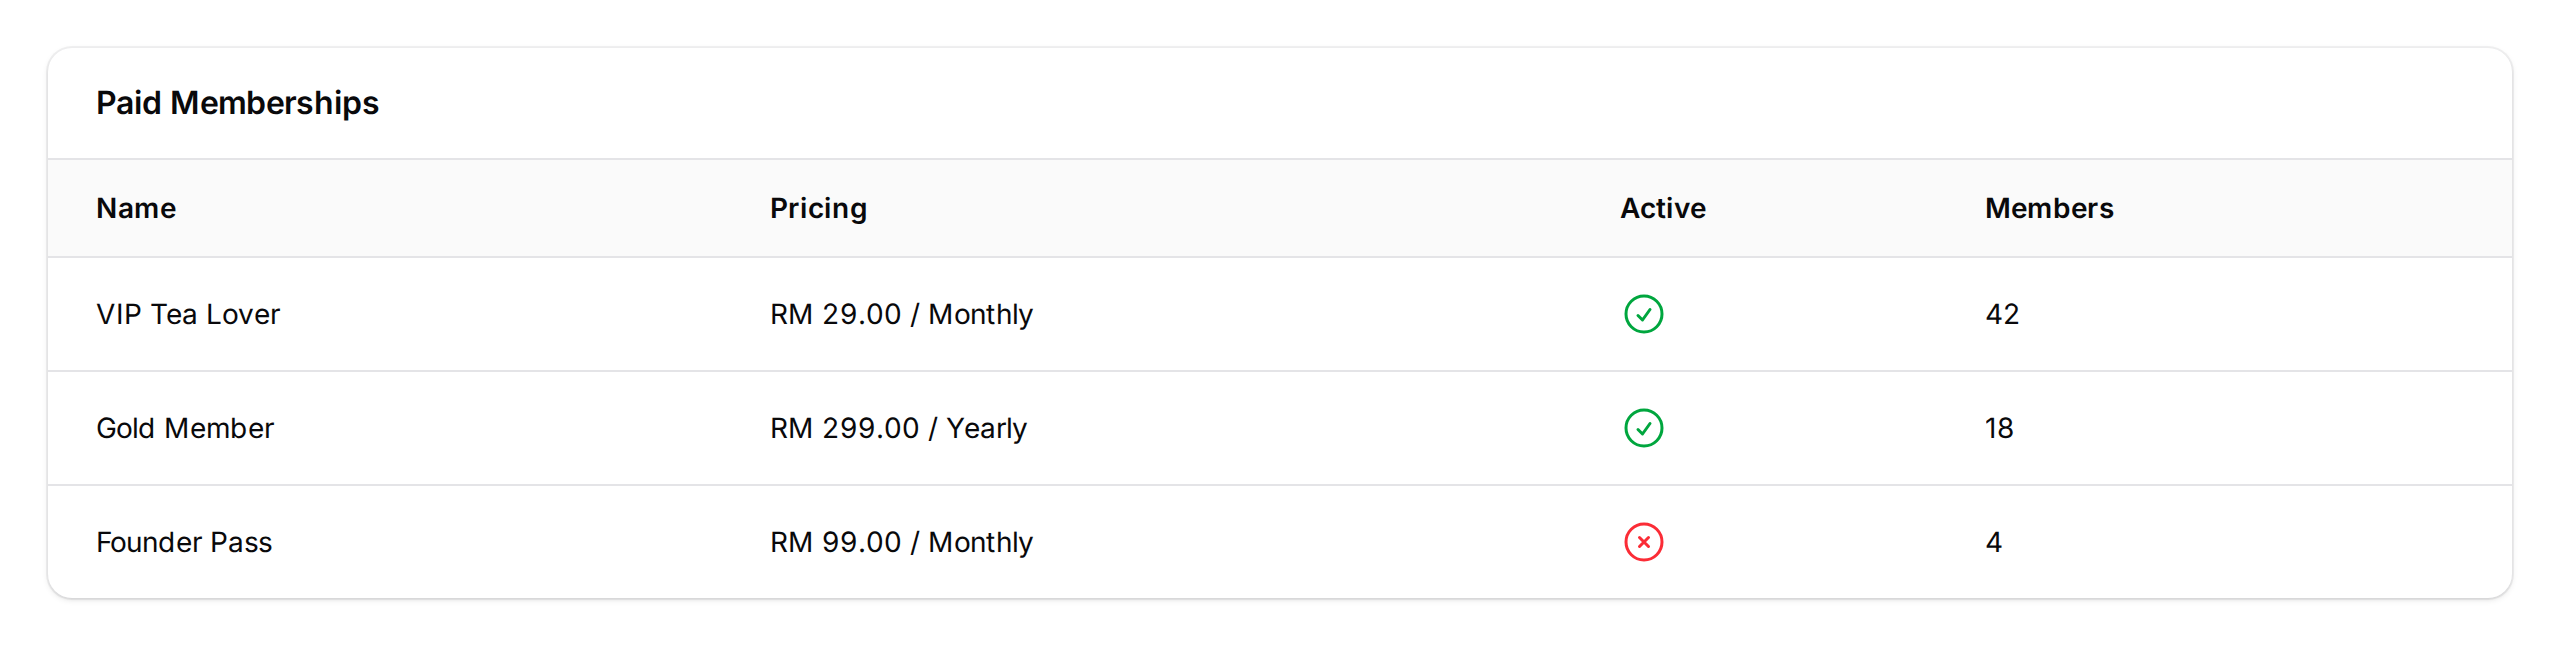
Wei Lin owns a bubble tea chain with three outlets. She wants to reward her most loyal customers with something extra. She creates a "VIP Tea Lover" membership at RM 29/month — double points on every purchase, a free birthday drink, and early access to new flavours. Within a week, 40 regulars sign up. Ahmad, one of her Sunday brunch regulars, pays cash at the counter; the staff opens his profile and assigns the membership in seconds. A week before his expiry next month, Ahmad gets a WhatsApp reminder and renews on the spot. Wei Lin now has steady monthly income from her best customers.
How to Set It Up
-
Go to Admin Panel → Loyalty Program → Paid Membership Types and click New Paid Membership Type.
-
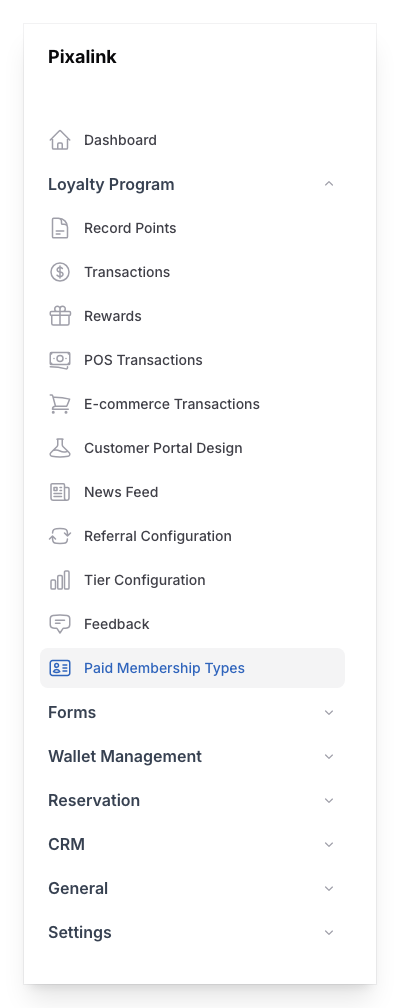
On the Details tab, fill in:
- Name — what your customers will see (e.g. "VIP Tea Lover")
- Active — turn this on to make the plan available
- Description — a short internal note
- Cover Image — required. Upload a 16:9 image; the built-in editor helps you crop.
-
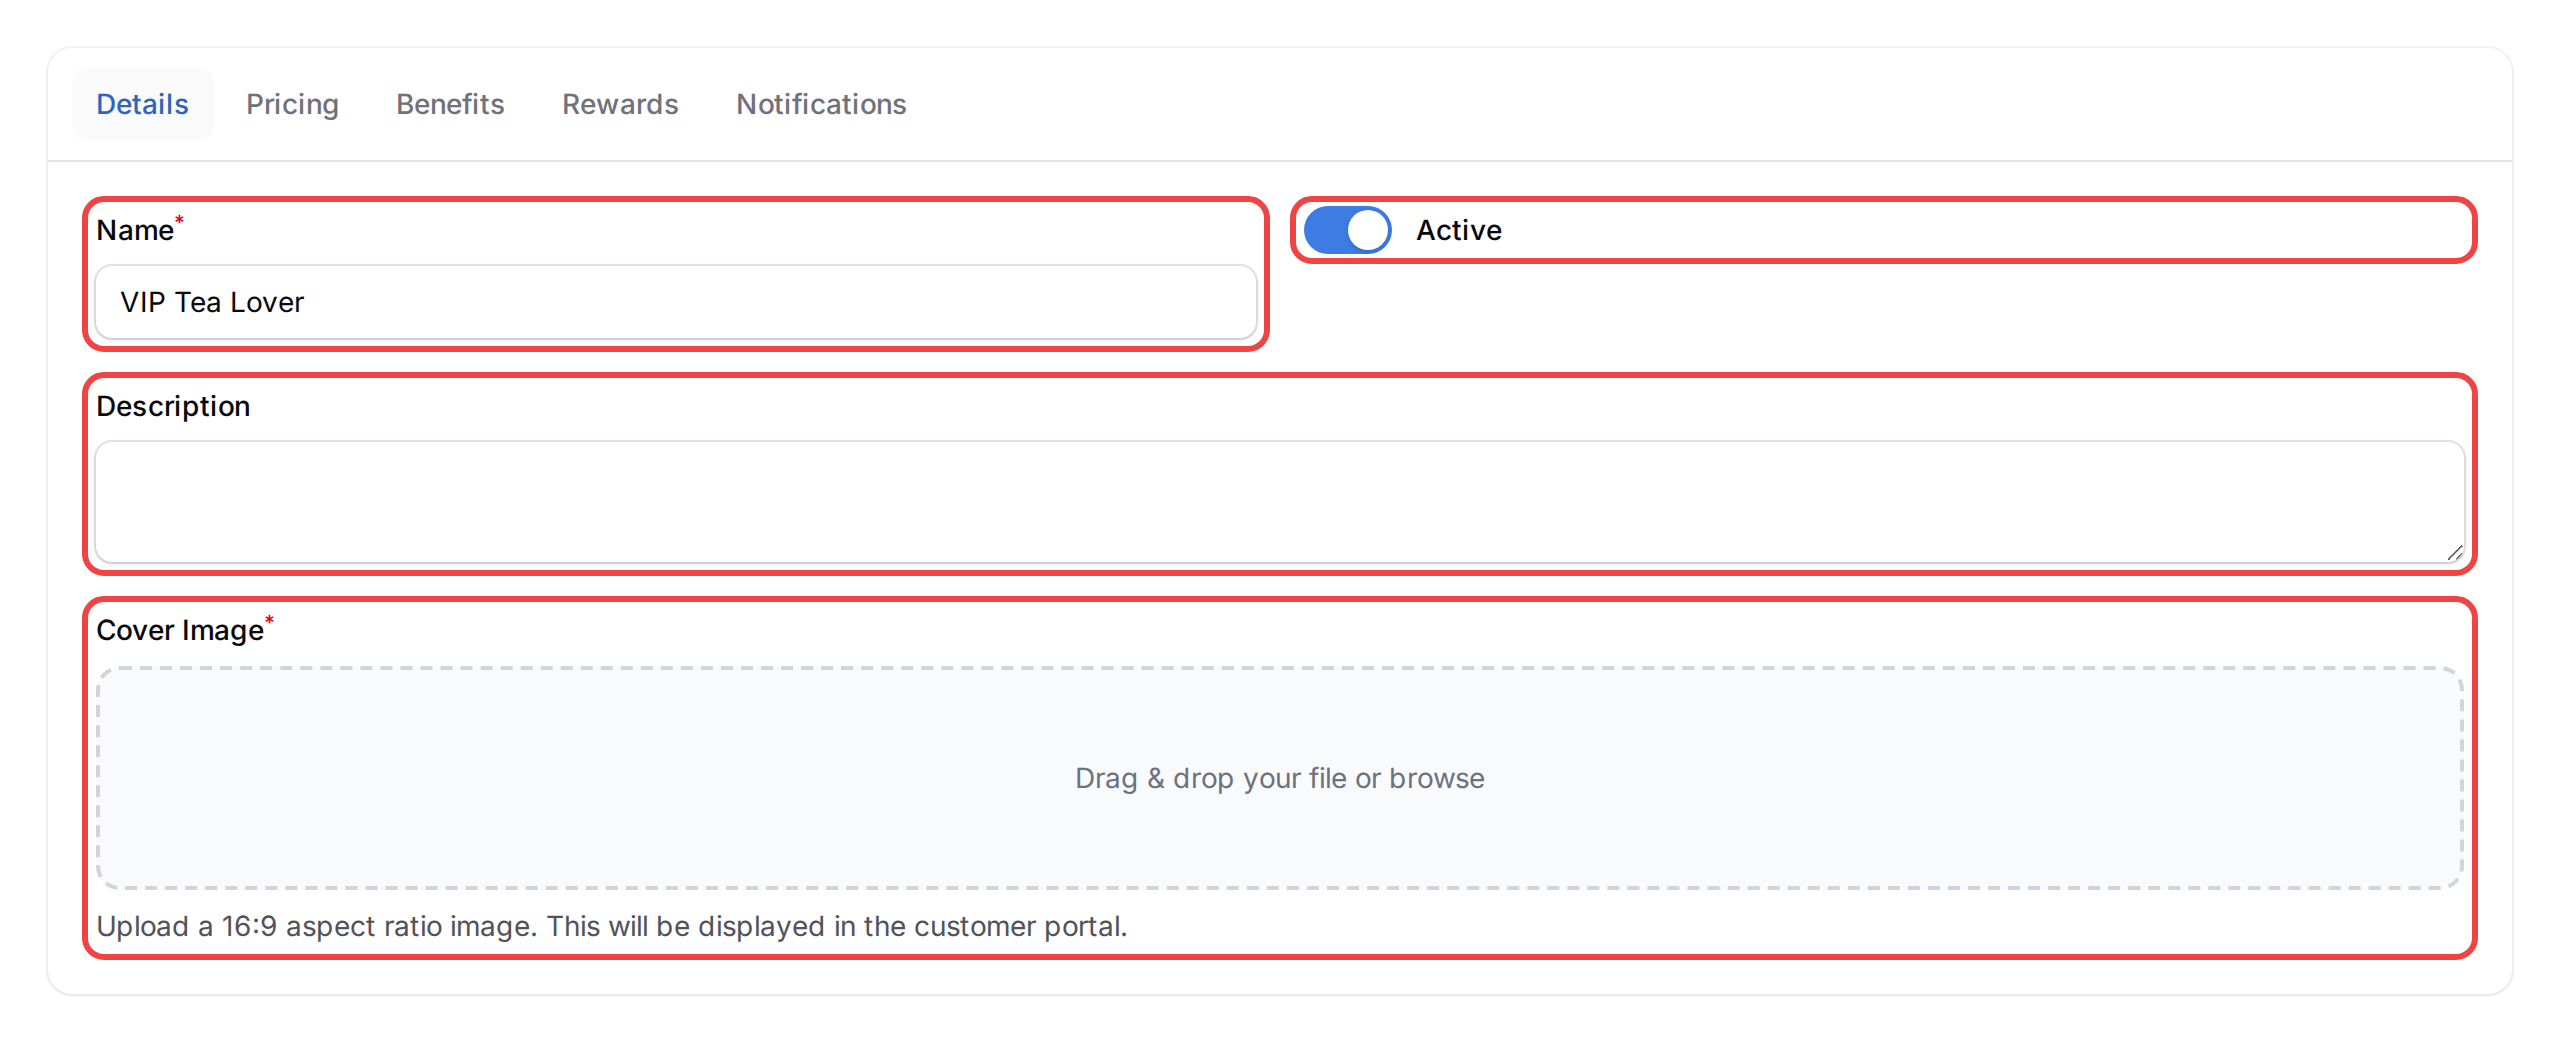
On the Pricing tab, add up to two options — one Monthly, one Yearly. Minimum price is RM 5.00.
-
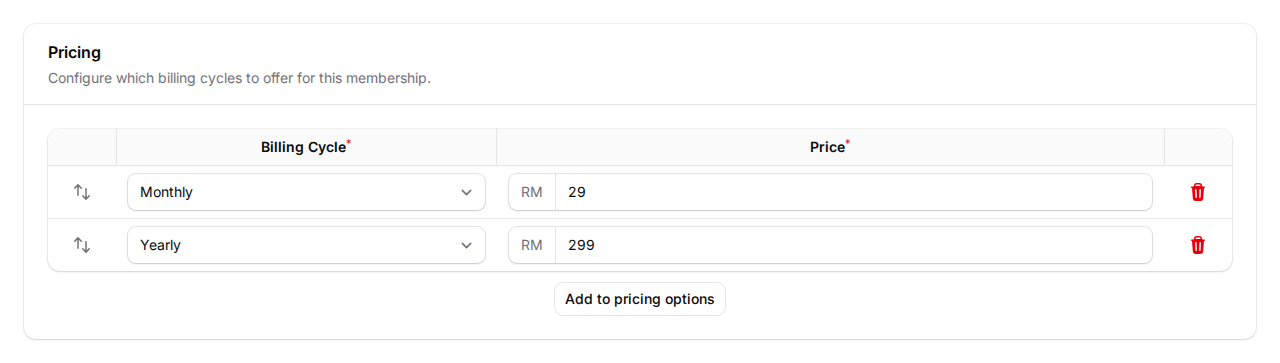
On the Benefits tab, list what members get. Pick an Icon, write a short Heading, and add a Description. Drag rows to reorder.
-
(Optional) On the Rewards tab, pick free rewards members get automatically when their membership activates. Only rewards with zero point cost are eligible — a quick way to add a welcome gift.

-
(Optional, only if WhatsApp is connected) On the Notifications tab, set up the five WhatsApp messages — when a membership is activated, an expiry reminder, when it expires, when it is extended, and when a renewal payment goes through. Use placeholder tags like
{{CUSTOMER_NAME}}and{{EXPIRES_AT}}to personalise each message.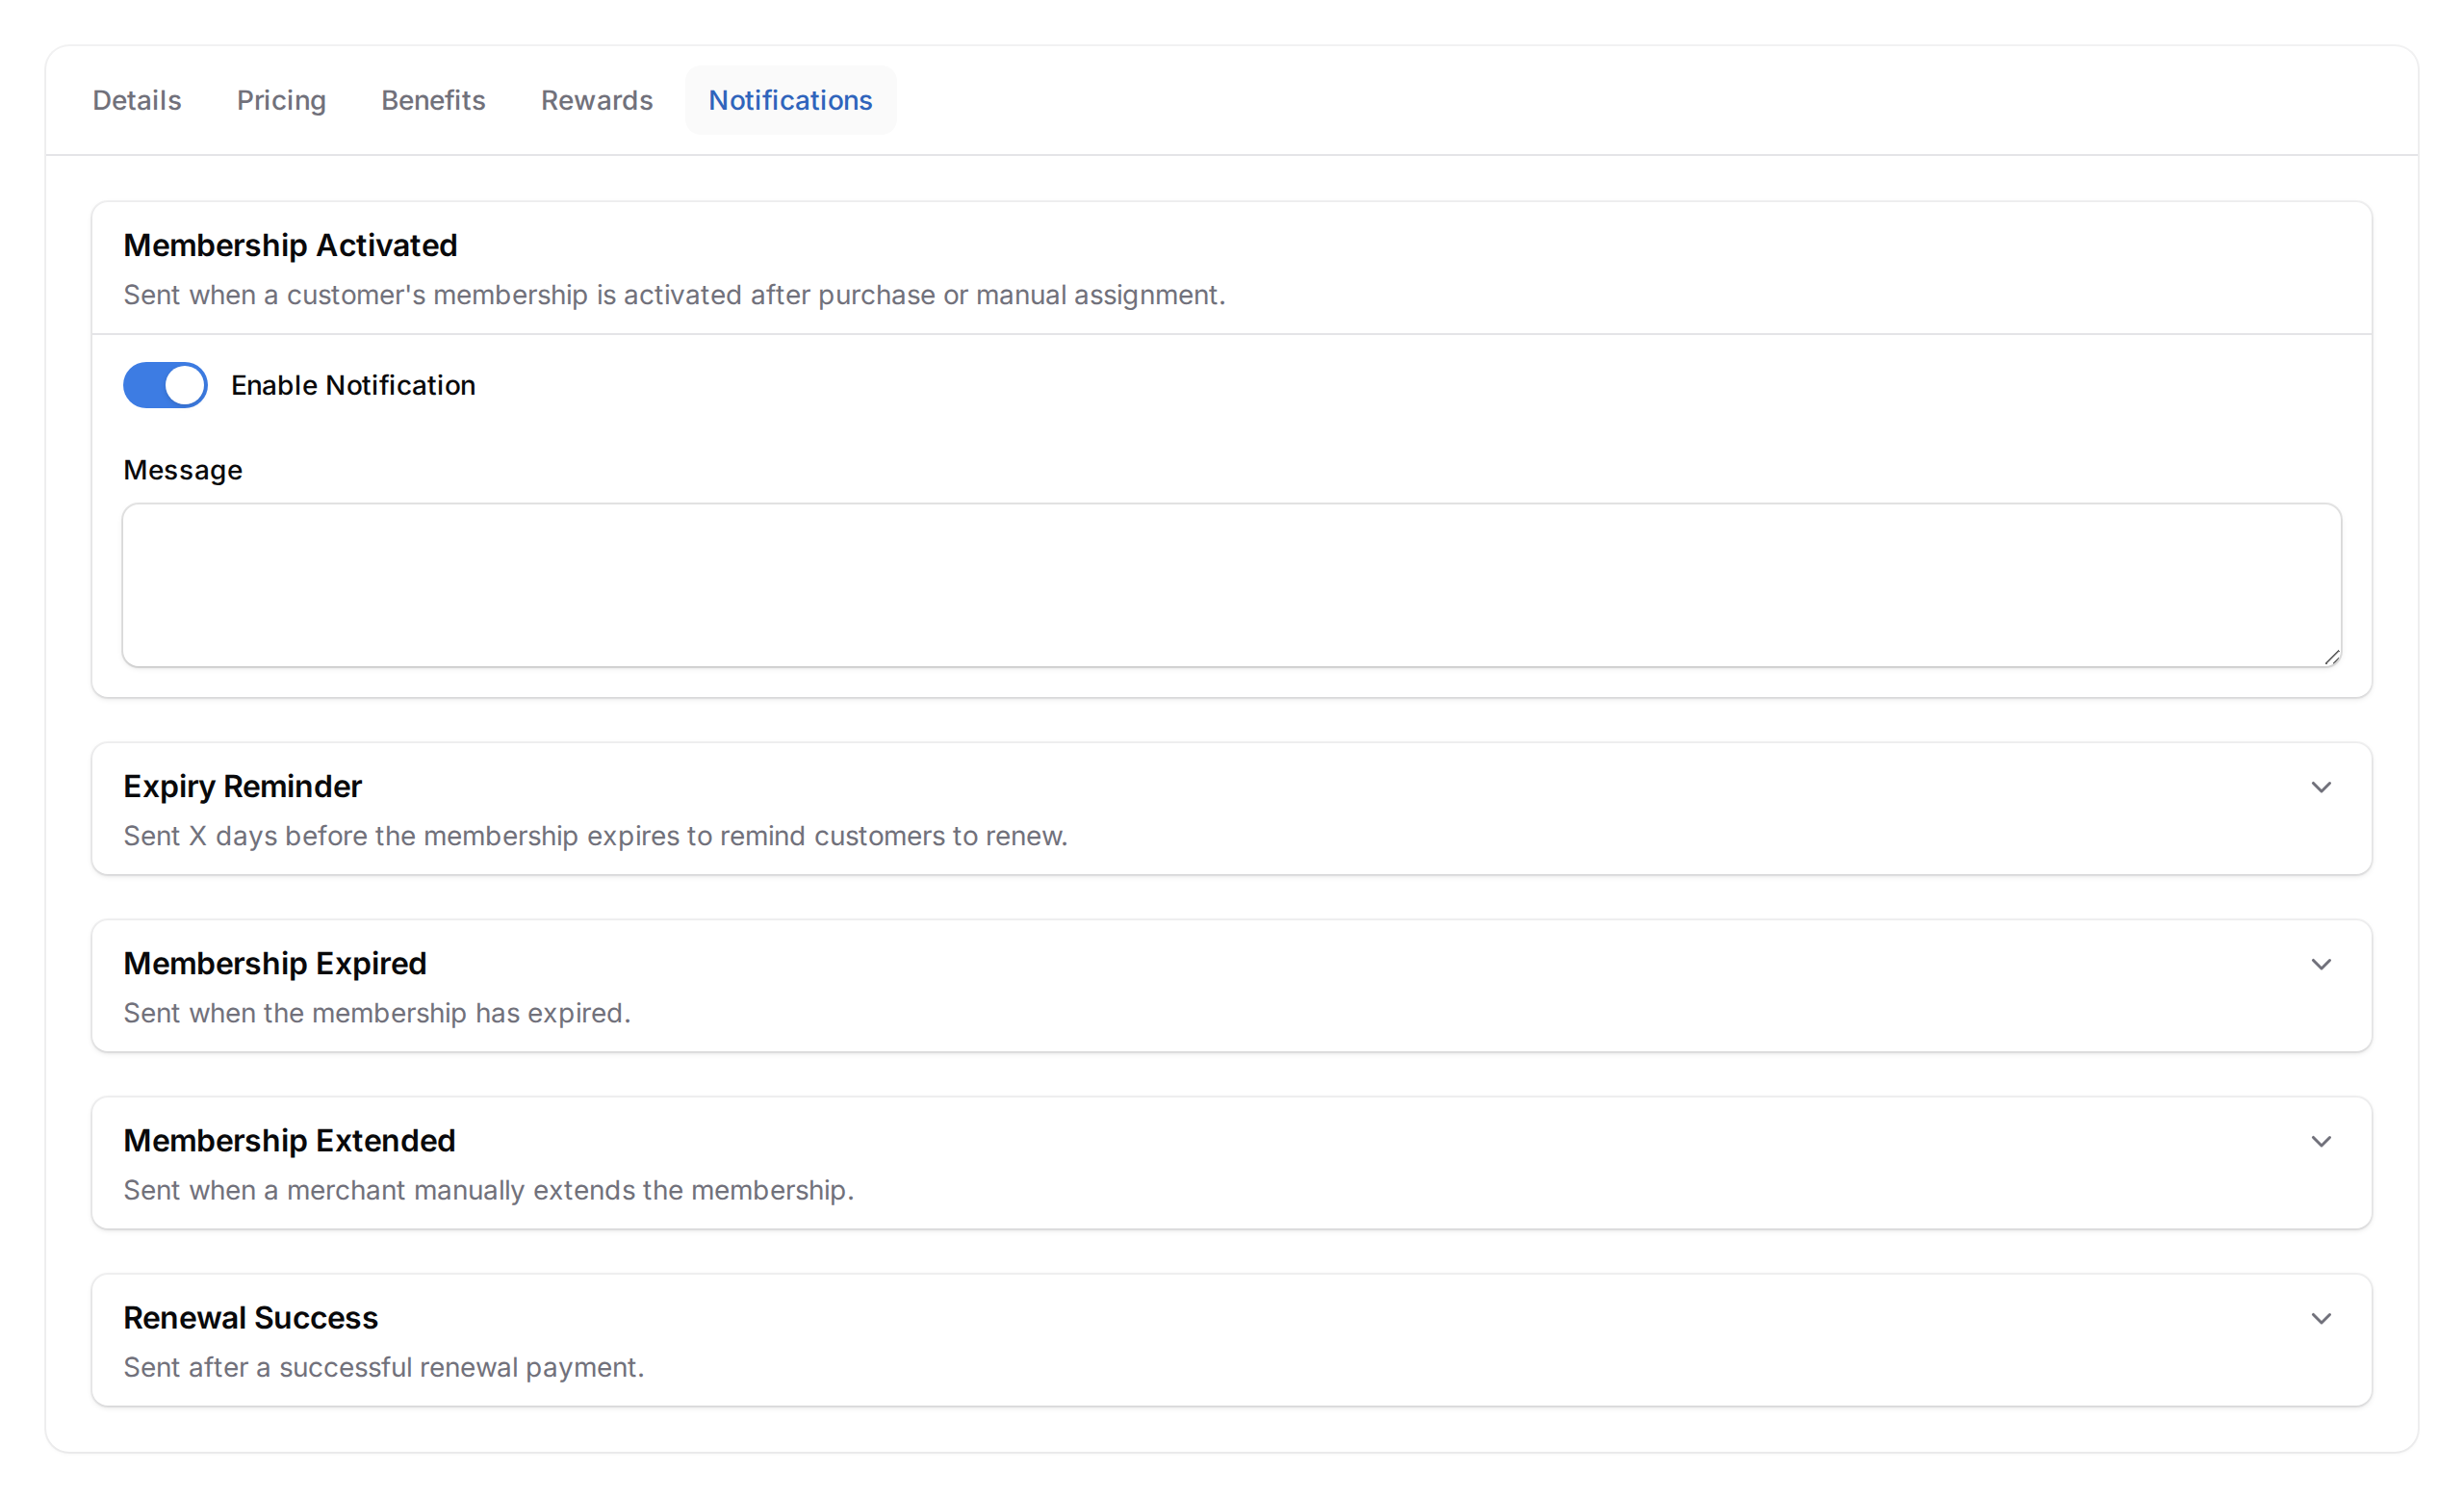
-
Click Save. The plan appears in your list and is ready to assign to customers.
What Your Customers Will See
In the customer portal, members see their membership card with the cover image, benefits list, and expiry date. A progress bar tracks how much of their cycle has passed.
If their membership is about to expire (30 days or fewer), a Renew button appears so they can pay online directly — available when online payments are set up. Customers who don't have a membership see all your available plans and can buy one themselves.
They can also view payment history and download receipts.
Good to Know
- A customer can hold only one active paid membership at a time. Assigning a new plan replaces the old one — remaining days are not carried over.
- Changing a plan's price only affects future purchases. Existing members keep their original pricing.
- The Notifications tab only appears when WhatsApp is connected for your business.
- The Rewards tab issues free rewards the moment a membership activates — handy for welcome gifts.
- Paid Memberships need to be turned on for your business. If you don't see this menu item, contact Pixalink so we can enable it.
Need Help?
Reach out to our support team — we're happy to help.
What's Next?
- How to Assign a Paid Membership to a Customer Manually — give a customer their plan straight from the customer profile.
- How to Automatically Give Vouchers to Paid Members — set up the Rewards tab for automatic perks.
- How Customer Membership Statuses Work — understand active, expired, and replaced states.