
How to Reward New and Existing Customers at an Event
How to Reward New and Existing Customers at an Event
What Is This?
At a physical event, you want every visitor to get the same gift. New visitors join on the spot, and your existing members claim it too. You set this up with two QR codes at your booth: one to join, one to claim. Both hand out the same reward.
Real-Life Example
Aishah runs a supermarket in Shah Alam and booked a booth at a weekend fair. She offered a free tote bag to every visitor. New shoppers scanned her "Join" code, signed up, and got the tote. Her regulars could not register again, since their number was already saved. So she gave them a second "Members" code to scan, log in, and claim the same tote. Everyone left with a gift, and she gained over 200 new members.
How to Set It Up
-
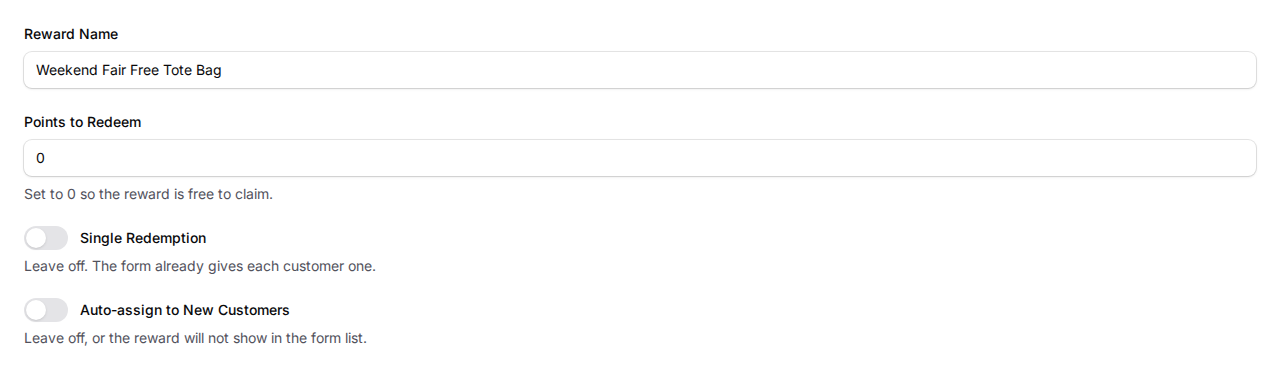
Create your event reward. Set Points to Redeem to 0, then leave Single Redemption and Auto-assign to New Customers off. Only this mix appears in the form list later.
-
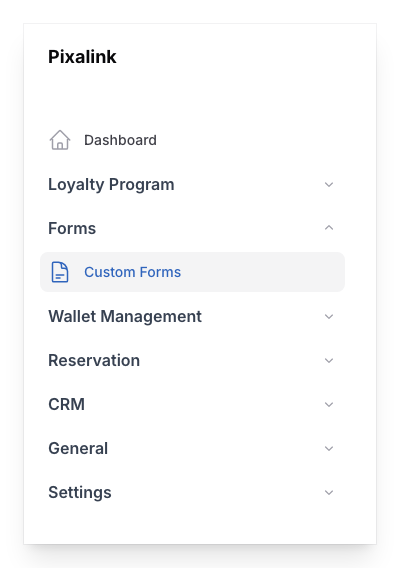
Go to Admin Panel → Forms → Custom Forms, then click New custom form.
-
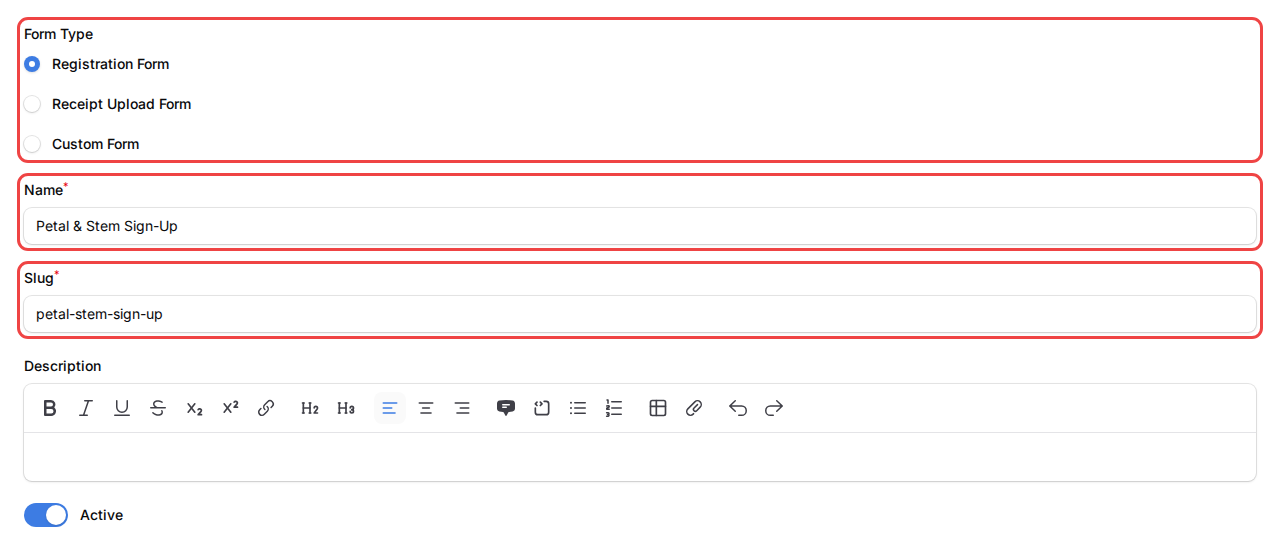
Build the new-visitor form. Choose Registration Form, give it a name, and keep it active.
-
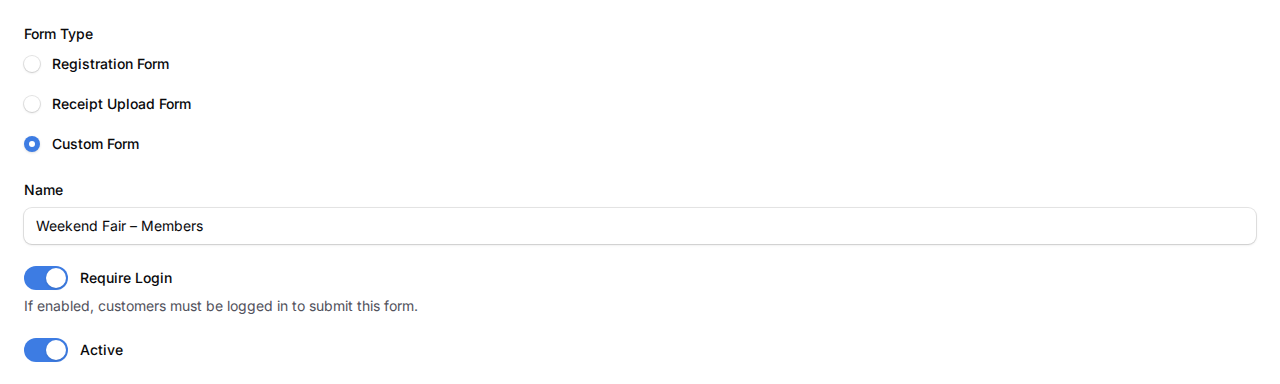
Build the member form. Add another form, choose Custom Form, then name it. Require Login turns on by itself.
-
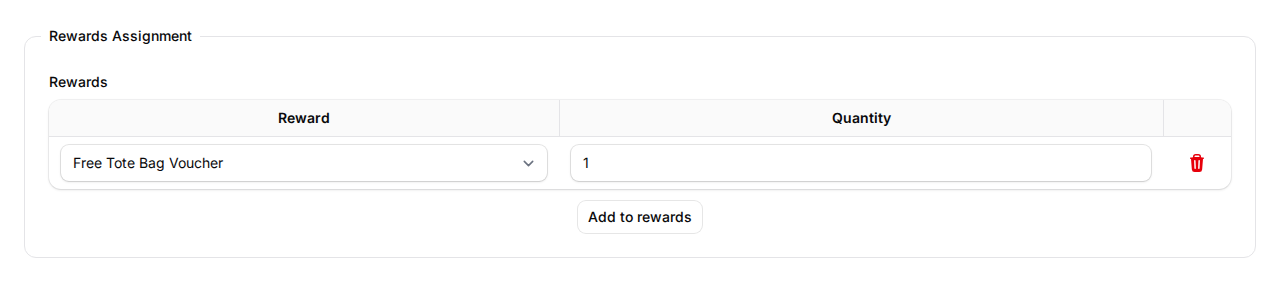
Attach the reward to each form. Open the Automations tab, add your reward under Rewards Assignment, then click Create.
-
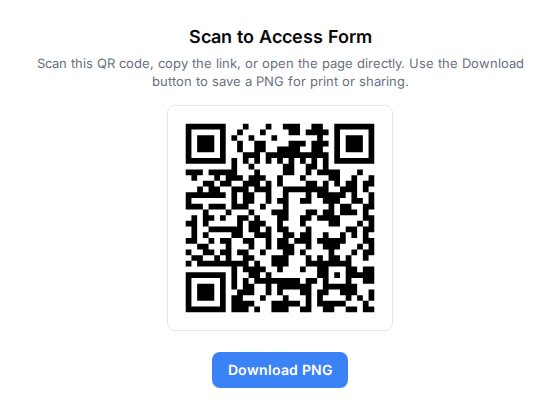
Open each form, click Show Form QR Code, then Download PNG. Print the two codes for your booth.
What Your Customers Will See
Label one code "New here? Scan to join" and the other "Already a member? Scan to claim". New visitors sign up and the reward lands in their account. Members log in and get the same reward.
Good to Know
- The "number already registered" message is normal. That visitor is a member, so point them to the Members code.
- Each customer gets the reward once, even if they scan twice.
- Existing customers log in with their phone number and a WhatsApp code, no password needed.
- Keep the reward free and not single-use, or it will not show in the form list.
- Set a start and end date on each form to match your event dates.
Need Help?
Reach out to our support team and we will help you set up your event forms.