
How to Export Form Submissions and Match Them to Customers
What Is This?
Download every answer to a form as a spreadsheet. Each row from a logged-in customer carries a Customer ID, so you can join it to your customer list even when names repeat.
Real-Life Example
Wei Lin runs a pet grooming salon in Subang. Her pet health form had 300 answers, and two owners were both called "Tan". She exported the submissions and her customer list, then matched them by Customer ID, not by name. Now each pet's answers sit beside the right owner.
How to Set It Up
-
Go to Admin Panel → Forms → Forms.

Forms has its own sidebar group.
-
Click Edit on the form you want.
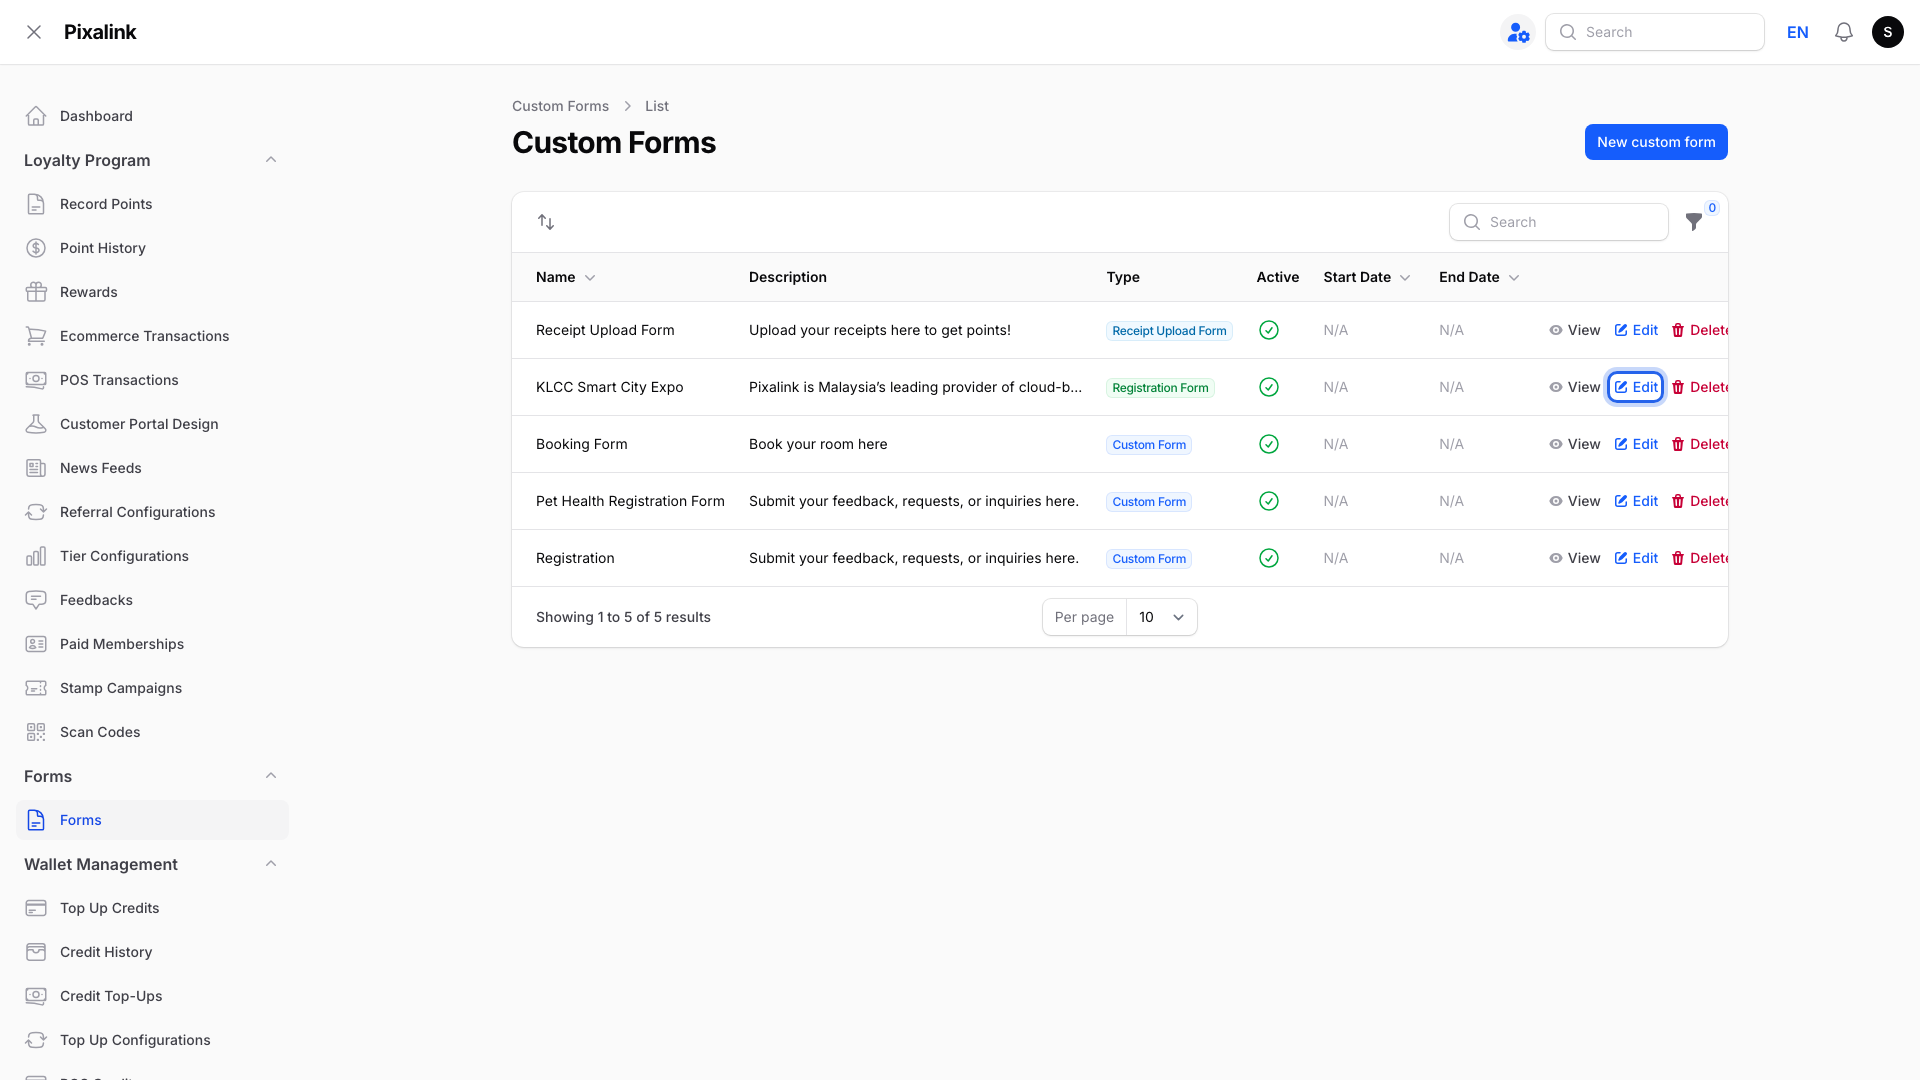
Edit is at the right of each row.
-
Click the Manage Custom Form Submissions tab.
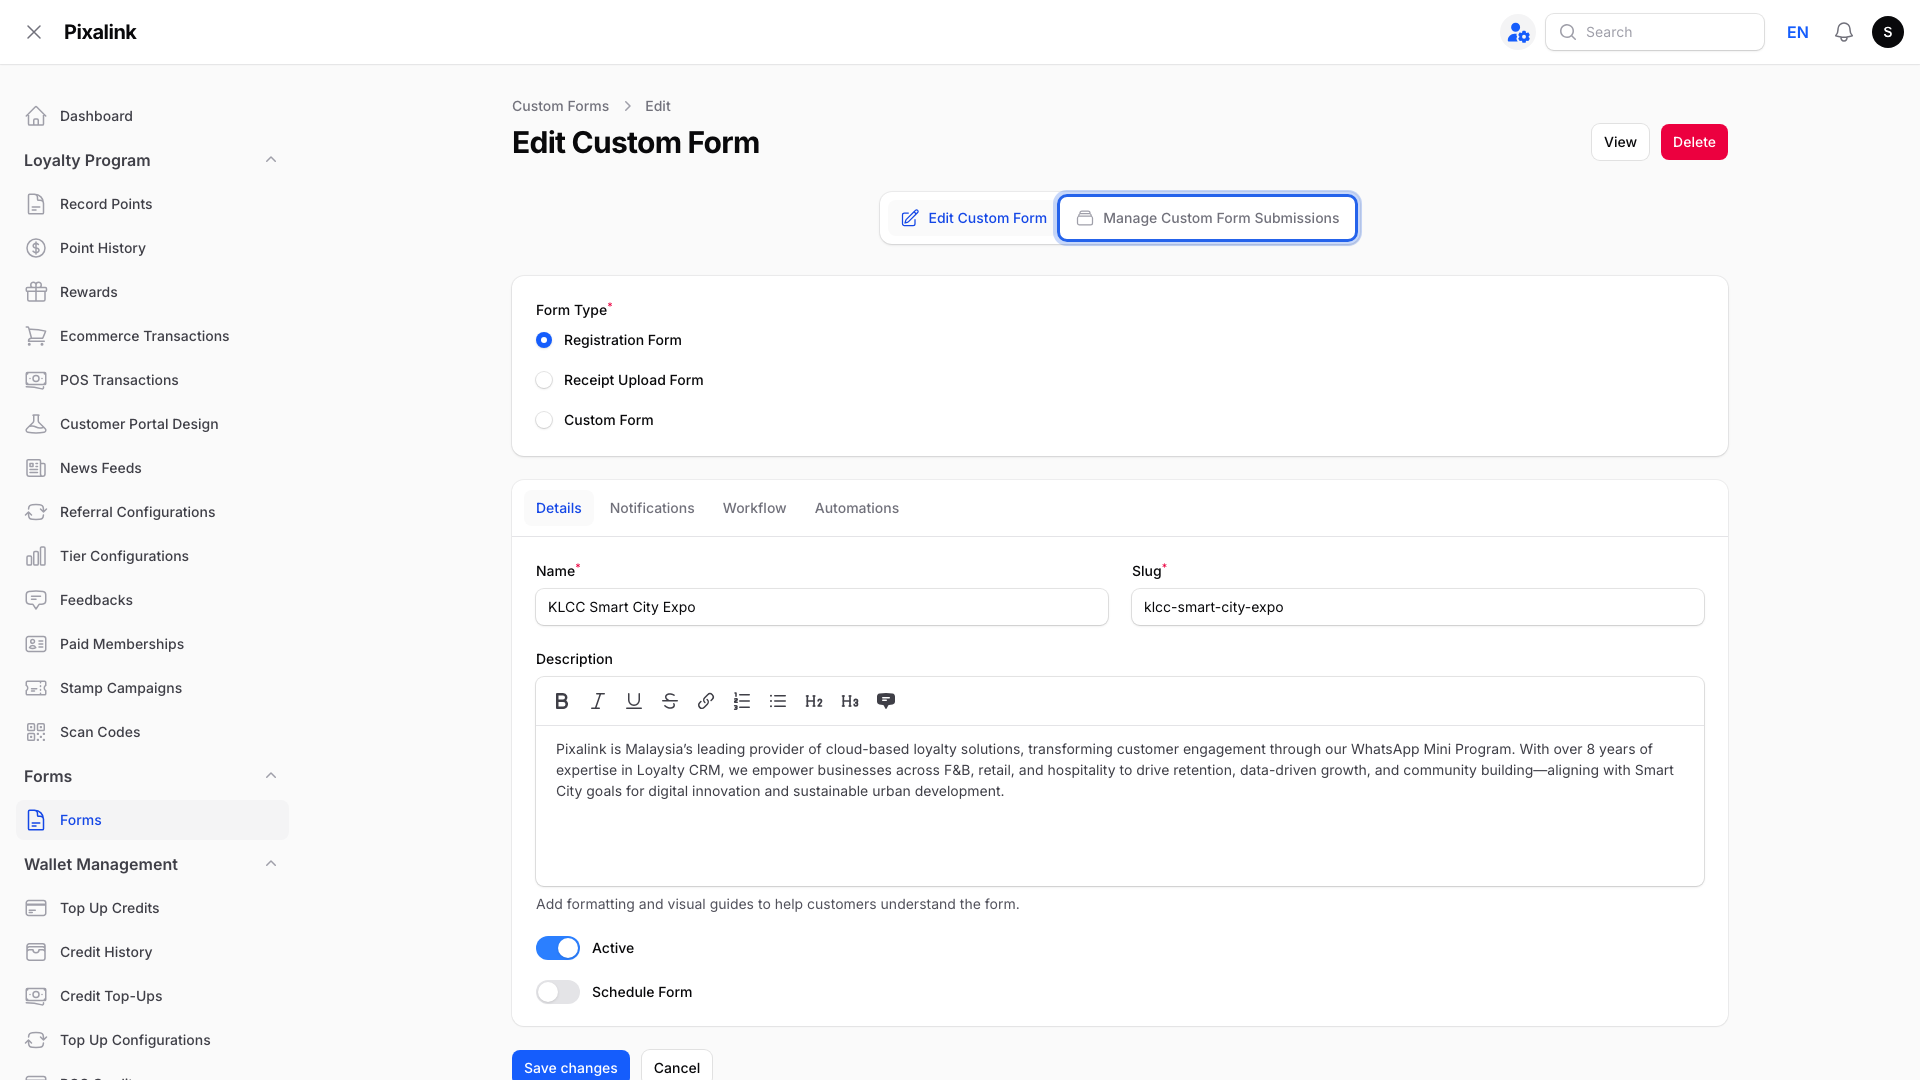
The tab sits next to Edit Custom Form.
-
Click the filter icon to export only some rows (optional). Set the filters, then click Apply filters.

The export keeps only rows that match your filters and search.
- Status: Pending, Verified, Approved or Rejected.
- Submitted From and Submitted Until: a date range.
- With Attachments: only rows with an uploaded receipt or document.
- On a Custom Form, you also get Priority, Category and Assigned To.
-
Click Export.
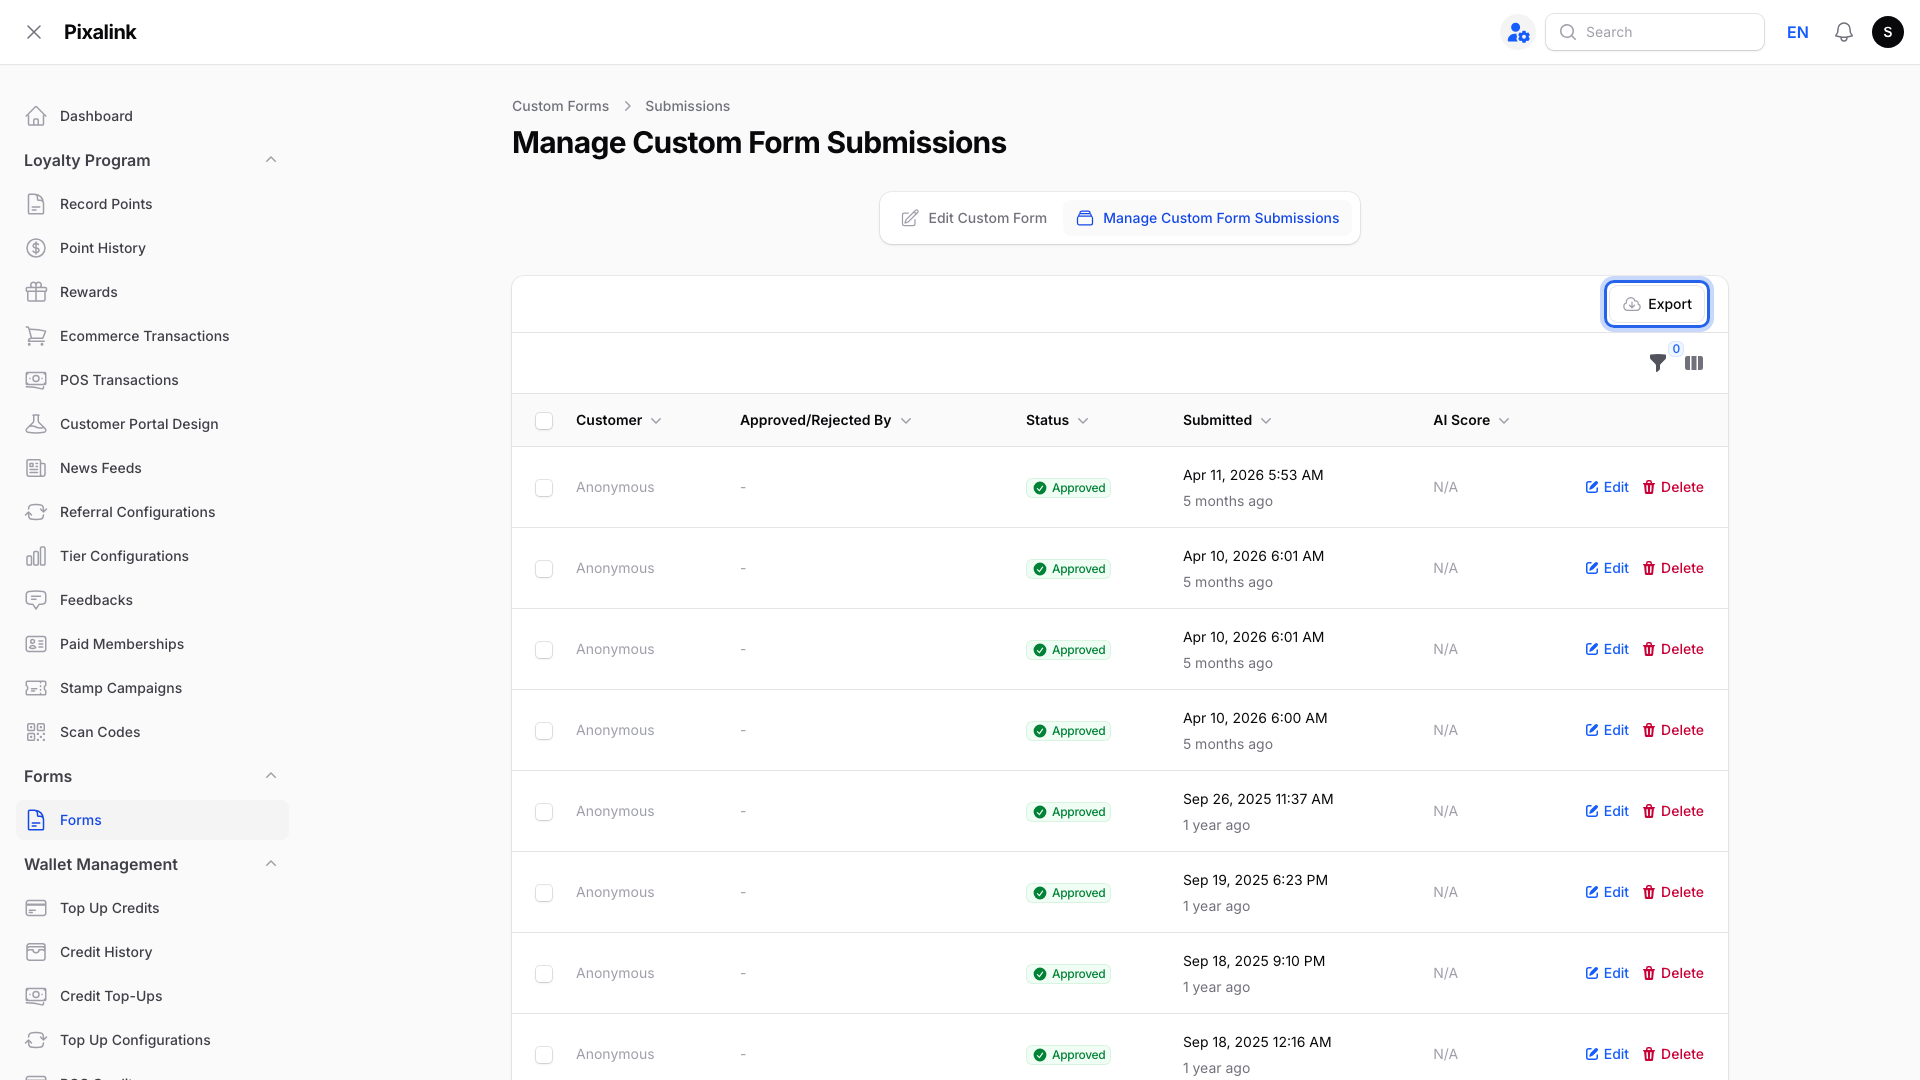
Export sits above the table.
-
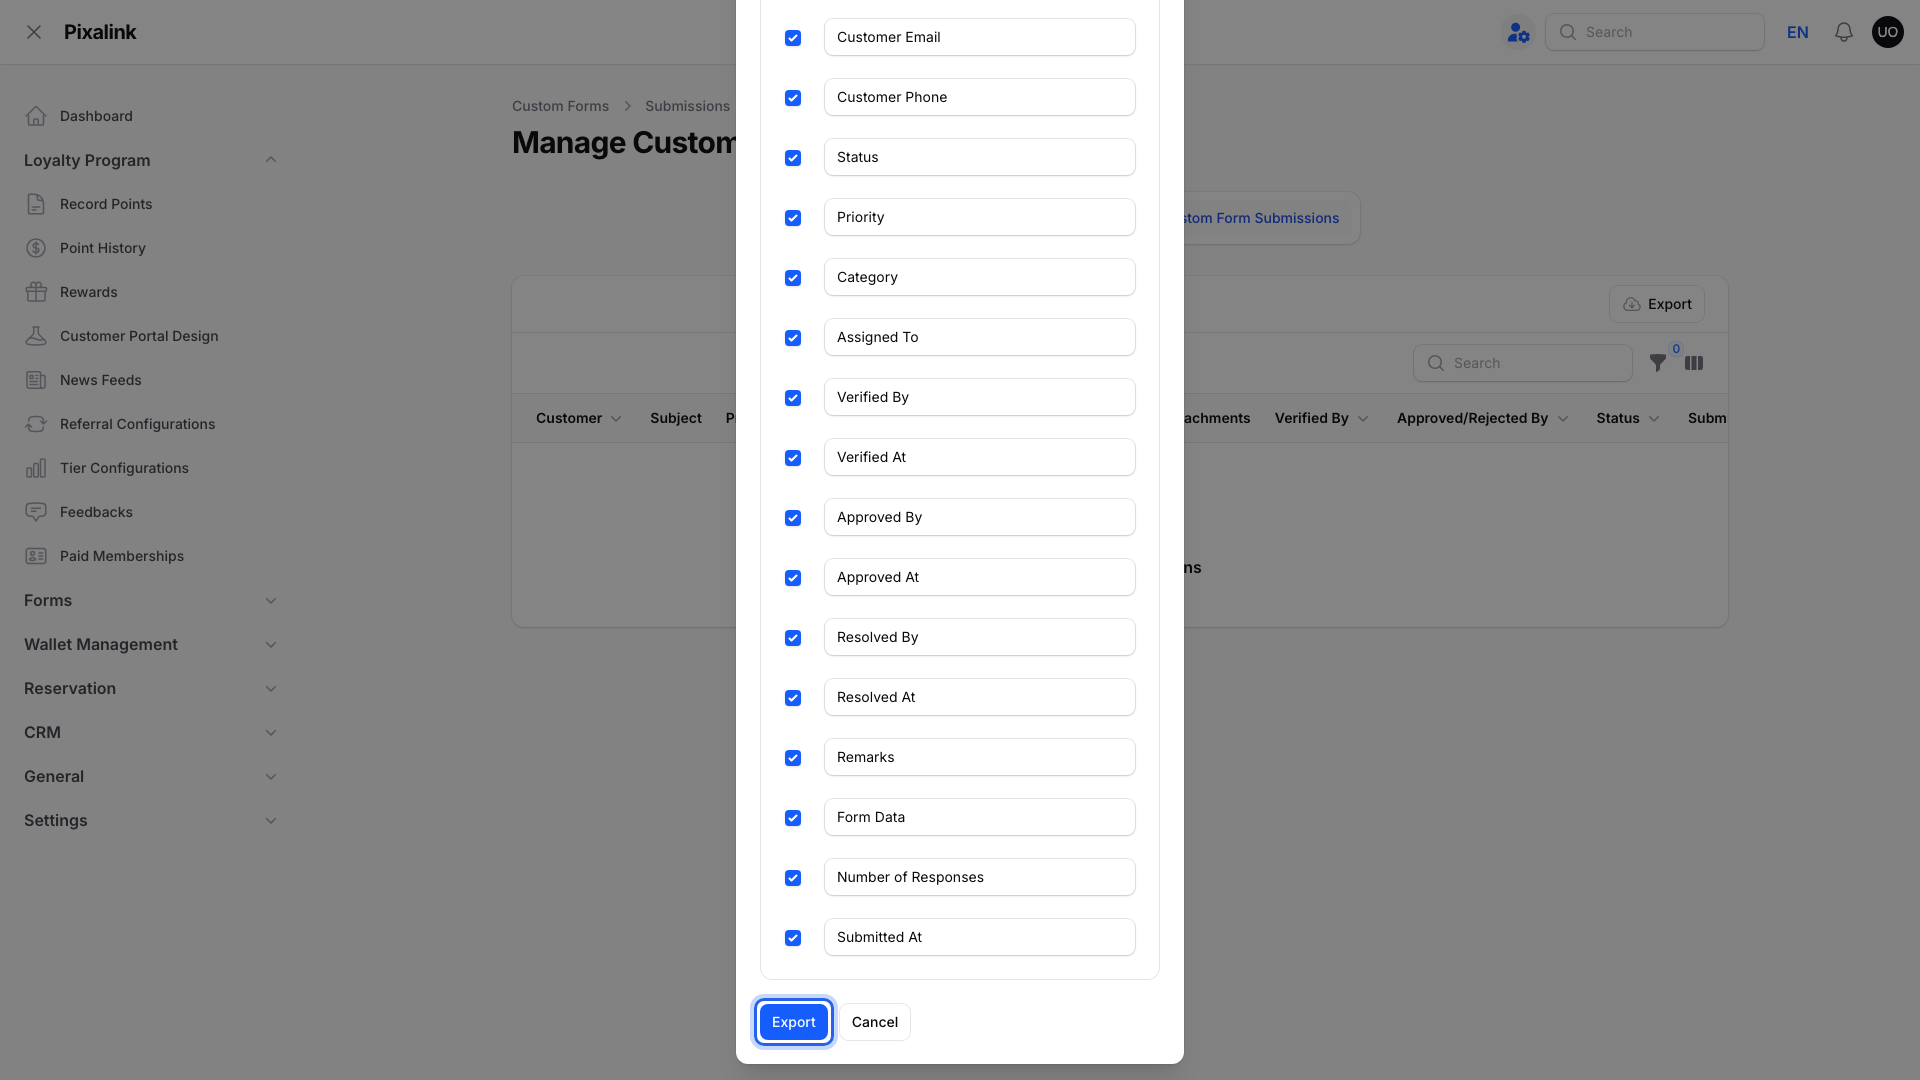
Keep Customer ID ticked. It is the column you match on. Tick Customer too if you also want the name beside it. Untick the columns you don't need.

Type in a box to rename that column.
-
Click Export at the bottom of the window.
When the file is ready, the bell shows Export completed with Download .csv and Download .xlsx.
Match Rows to Your Customers
Export your customer list too. Its ID column holds the same number as Customer ID.
In Excel or Google Sheets, put the customer list on a sheet called Customers. In the submissions sheet, if Customer ID is in column B, type:
=XLOOKUP(B2, Customers!A:A, Customers!B:B, "Not found")
This returns the customer's name. Change the last range to pull points or tier.
What Your Customers Will See
Nothing. Exporting sends customers no message.
Good to Know
- Form Data holds the form's field answers in one cell, written as "field name: answer | field name: answer". Uploaded files aren't in the export.
- If a form has Require Login turned off, a guest can send it. Guest rows show N/A for Customer ID, name, email and phone.
- Status, Priority and Category export as short codes, for example "approved".
Need Help?
If Export completed never arrives, contact Pixalink support with the form name.