Creating a New Customer
Creating a New Customer
What Is This?
Every loyalty interaction starts with a customer — earning points, redeeming rewards, moving up tiers. The Create Customer form lets you add a new customer to your system so you can start tracking their visits, purchases, and rewards.
Real-Life Example
Sarah runs a bubble tea shop in Bangsar. A new regular, Ahmad, has been coming in every week but isn't in the system yet. Sarah opens Pixalink, clicks Create on the Customers page, types in Ahmad's name and phone number, and tags him as "Walk-in". Done — Ahmad now earns points on every purchase. Because Sarah set up a welcome reward for new customers, Ahmad automatically gets a free topping on his next visit.
How to Set It Up
-
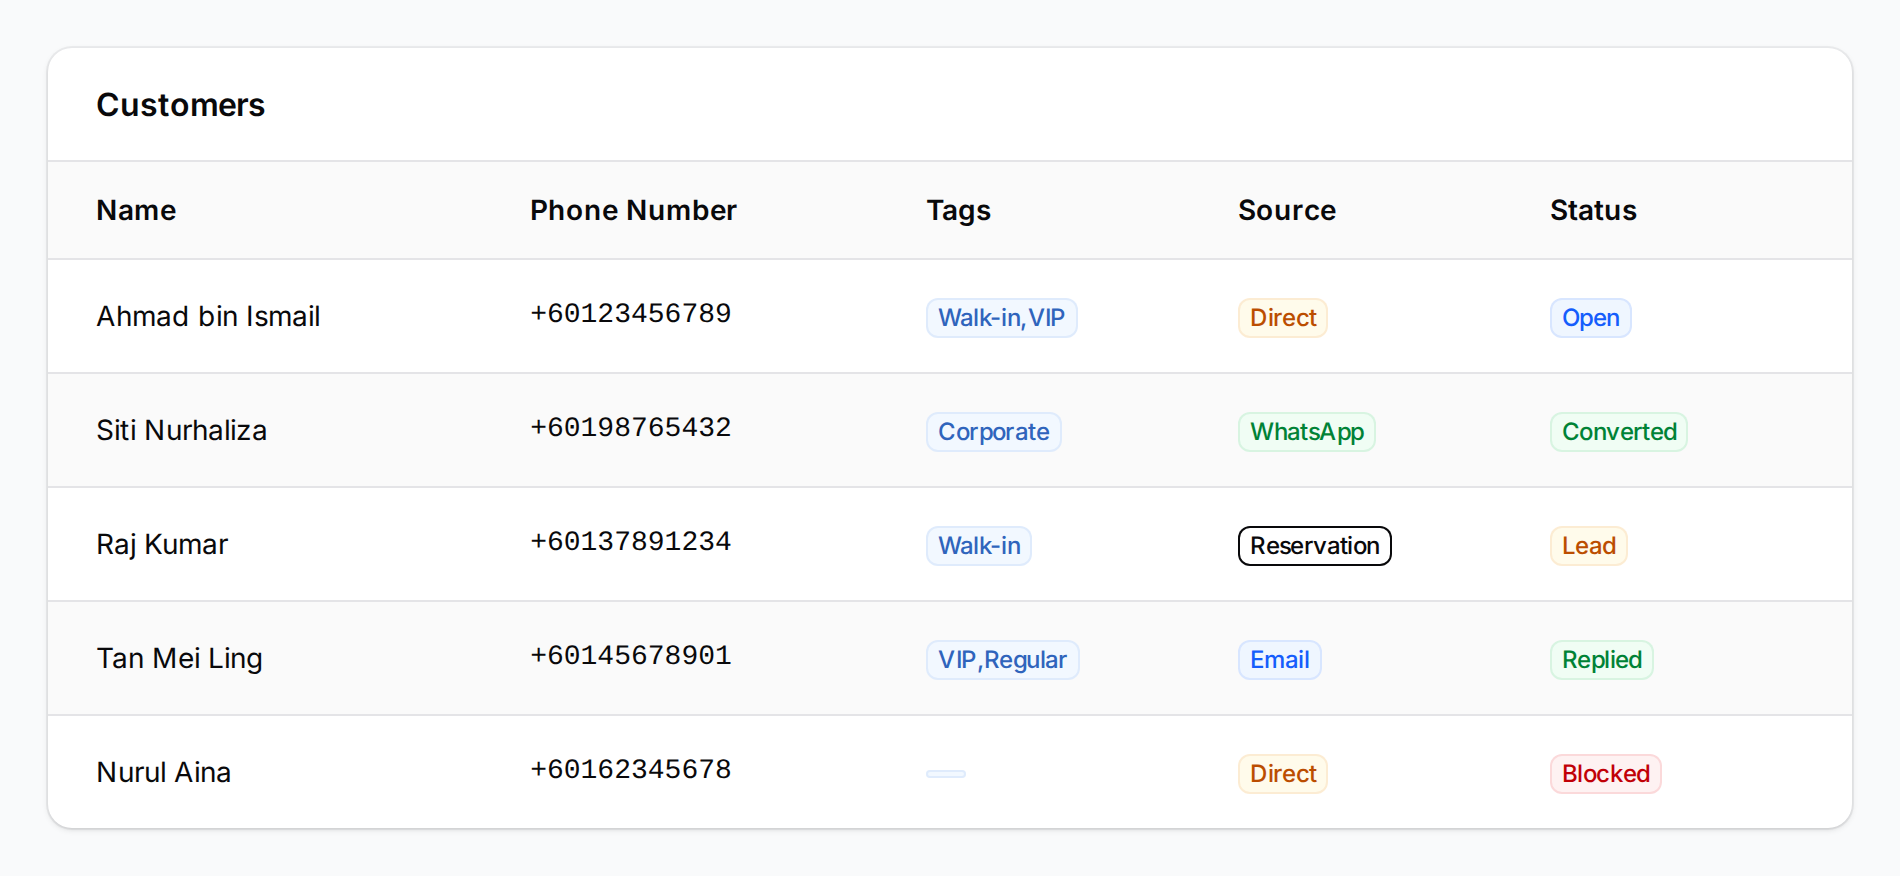
From the sidebar, go to CRM → Customers. You'll see your customer list with names, phone numbers, tags, sources, and statuses.
-
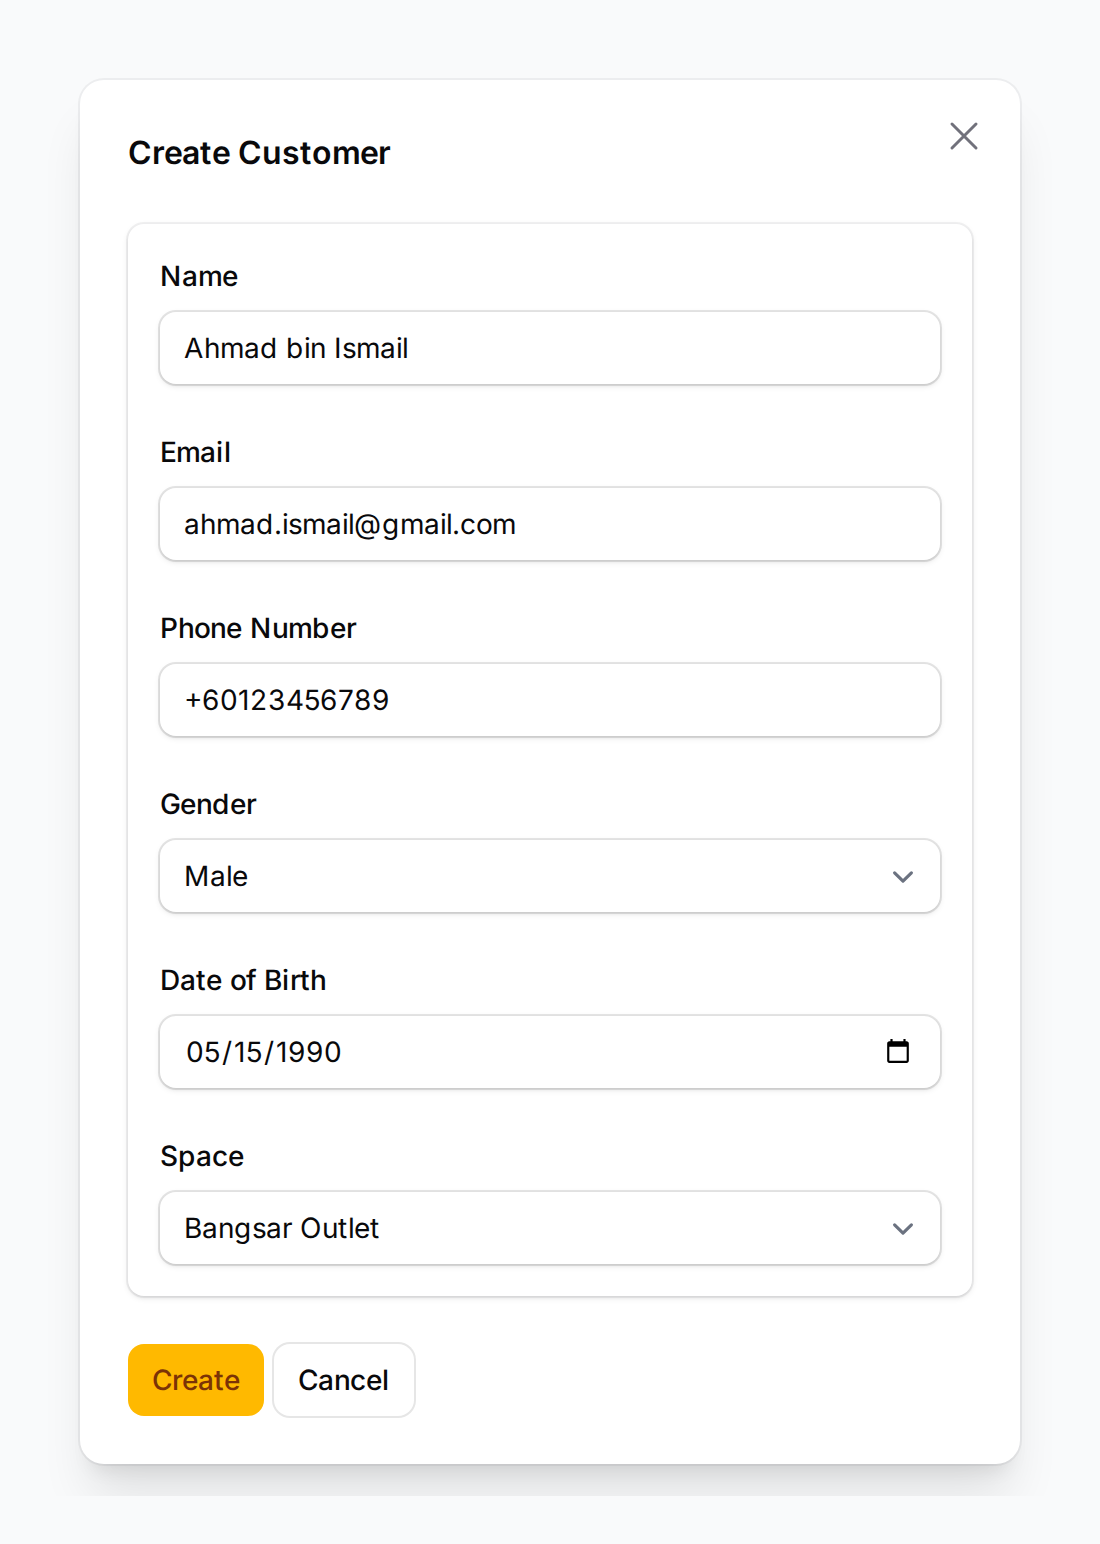
Click the Create button at the top-right corner to open the customer creation form.
-
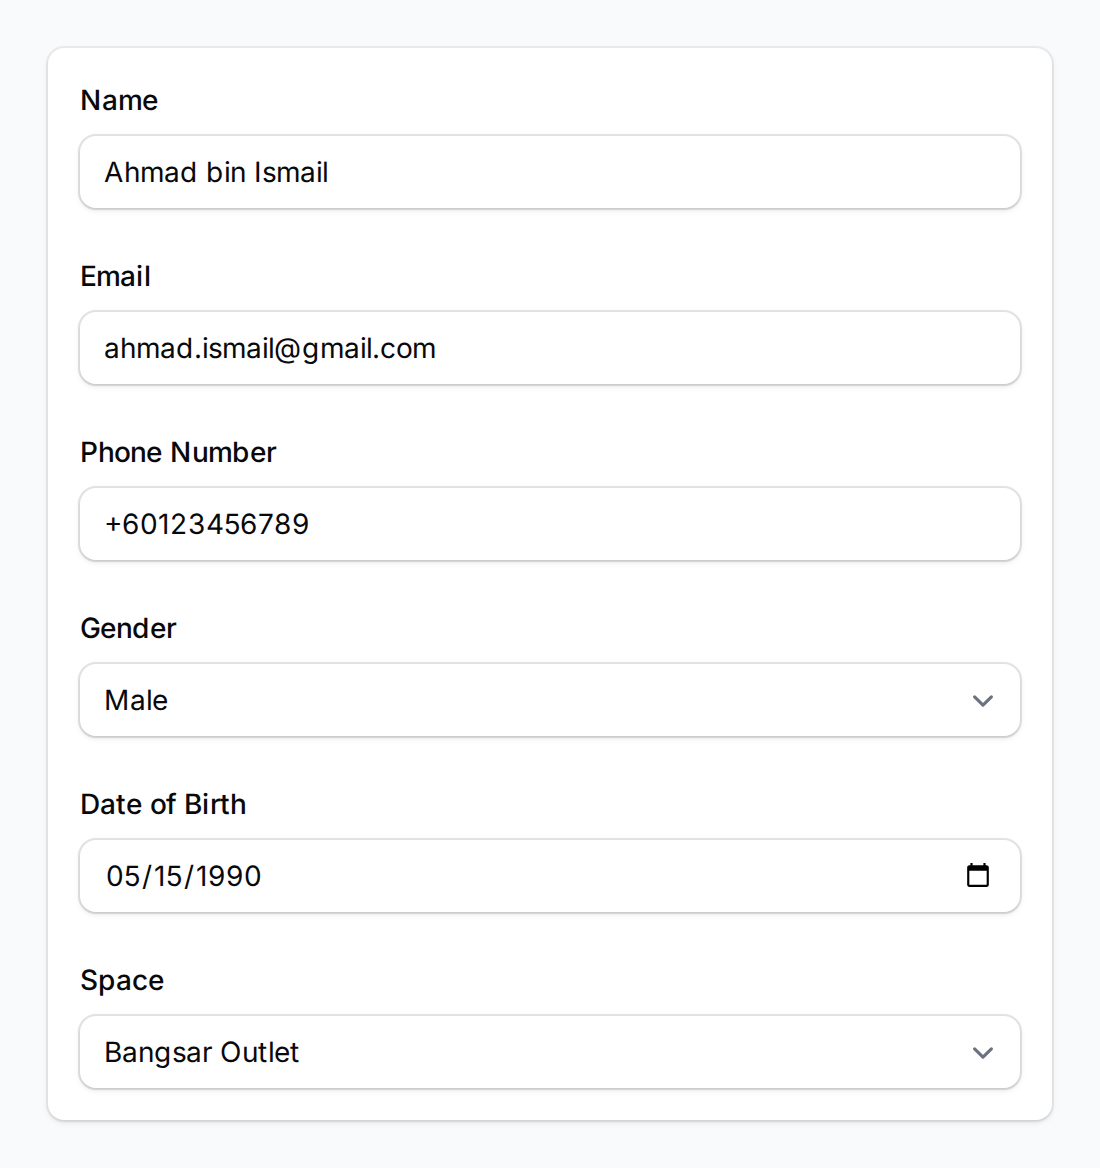
Fill in the customer's details:
- Name (required) — how the customer will appear across the system
- Phone Number (required) — must be unique within your account. The system accepts Malaysian and international numbers.
- Email — useful for receipts or promotions
- Gender, Date of Birth — needed for birthday rewards (customers must be at least 18 years old by default)
- Space — assign the customer to a specific outlet if you have multiple locations
-
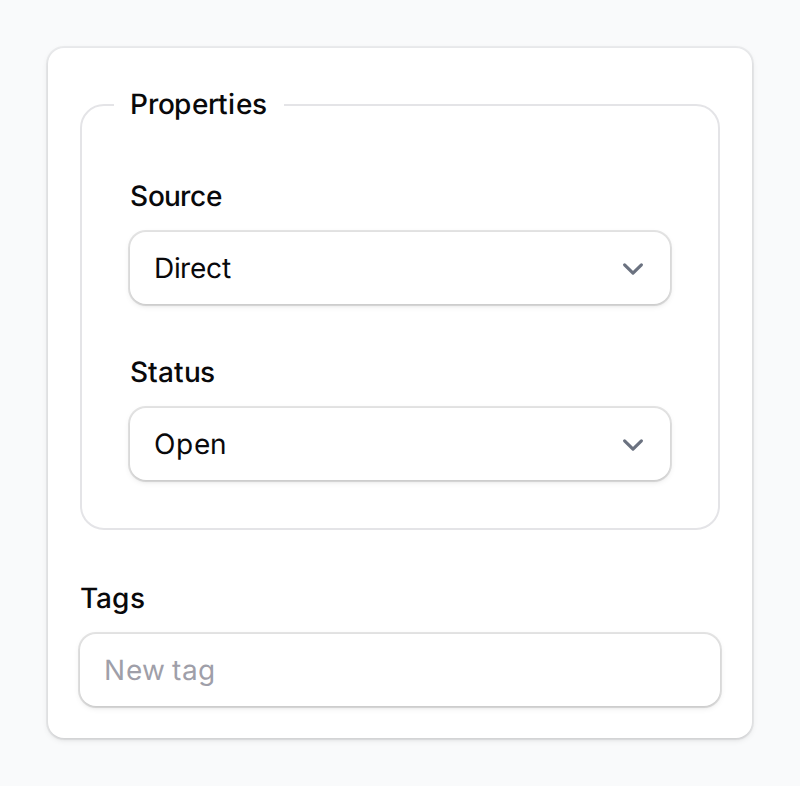
On the right side panel, set the Source, Status, Tags, and Tier:
- Source — how this customer found you (defaults to "Direct"; change to WhatsApp, Reservation, etc. if relevant)
- Status — where this customer is in your pipeline (defaults to "Open")
- Tags — group customers with labels like "VIP", "Corporate", or "Walk-in". Tags can trigger automatic rewards if you've set that up.
- Tier — pick a loyalty tier if applicable. Tick Fixed Tier to keep them on that tier permanently.

-
(Optional) Add any Notes about this customer — internal reminders, preferences, allergies, anything useful for your team.

-
Click Create to save the customer.
What Your Customers Will See
Once added, the customer won't receive any notification by default — they're simply in your system. If you've set up a welcome reward or any tag-based rewards, those will be assigned to the customer automatically behind the scenes.
When the customer visits your loyalty portal or scans a QR code, they'll see their points balance, available rewards, and tier status.
Good to Know
- Phone numbers must be unique. If you get an error, search your customer list first — that person might already exist.
- Source helps you track what's working. Set it correctly so you can see which channels bring in the most customers (Direct, WhatsApp, Reservation, etc.).
- Tags can trigger rewards. If you've set up tag-based rewards, adding a tag to a new customer will automatically give them the matching reward.
- The status field is flexible. Use it to track your customer pipeline — from "Lead" all the way to "Converted". Mark difficult contacts as "Do Not Contact" or "Blocked" to keep things clean.
- Custom fields show up automatically. If your account has custom fields configured, they'll appear in the form without any extra setup.
- Avatar uploads only appear if your account has the loyalty portal avatar feature turned on.
What's Next?
- What Are Rewards and How to Create Them — set up rewards your new customers can earn
- Customer Reward Lifecycle Explained — understand what happens after a reward is assigned