How to Block a Customer
How to Block a Customer
What Is This?
Blocking a customer stops them from logging into your customer portal and removes them from all marketing messages and reward programs. Use this when you need to completely restrict a customer's access to your business through Pixalink.
Real-Life Example
Ahmad runs a cafe loyalty program. He notices a customer named "Razi" has been creating multiple accounts to abuse the welcome reward. Ahmad opens Razi's profile in the admin panel, changes his status to Blocked, and saves. Razi can no longer log in, receive promotions, or earn rewards.
Two months later, Razi contacts Ahmad to apologise. Ahmad simply changes Razi's status back to Open — all his previous points and rewards are still there.
How to Set It Up
Blocking a Single Customer
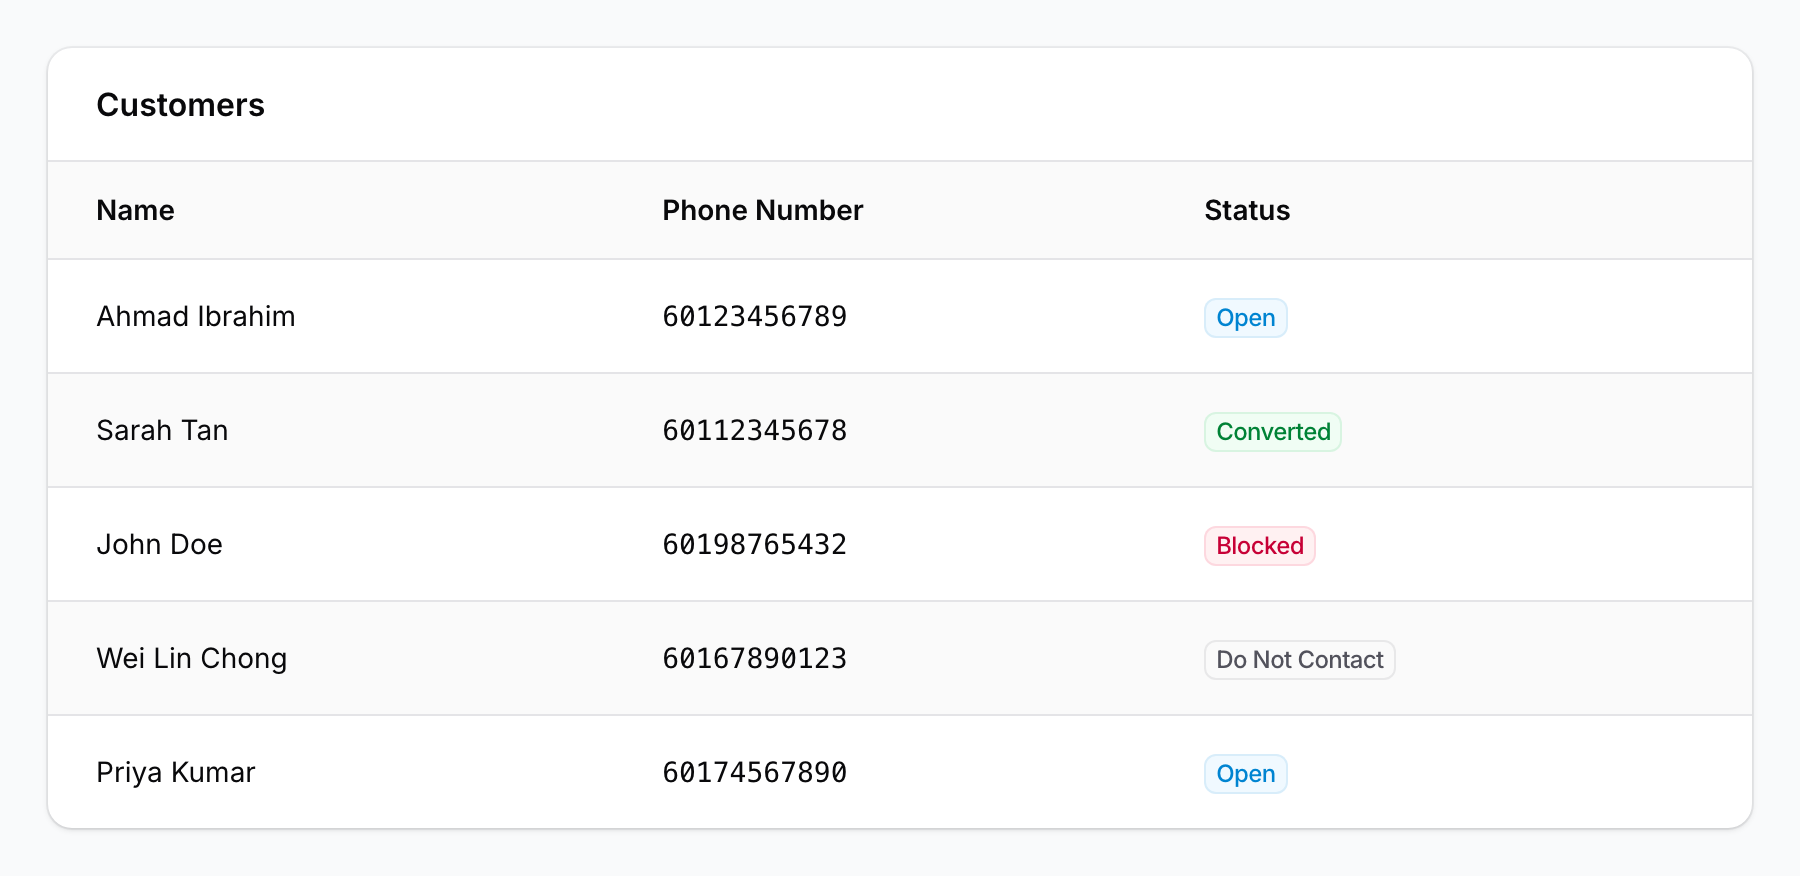
- Go to CRM → Customers and find the customer you want to block. You can use the search bar to find them quickly. The customer list shows each customer's current status as a coloured badge.
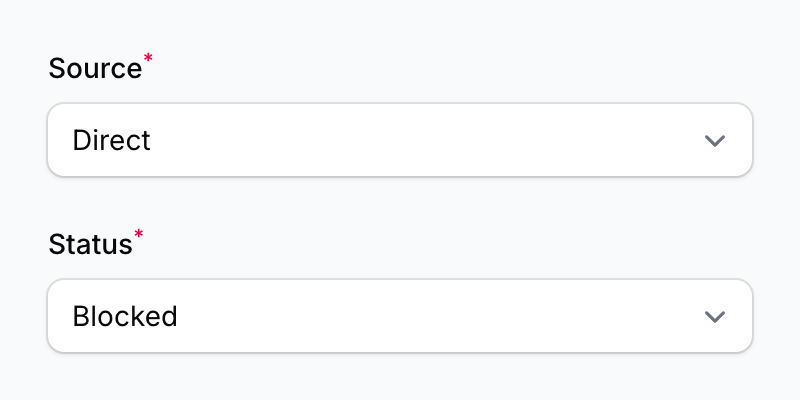
- Click on the customer's name to open their profile. On the right side, find the Properties section and change Status to Blocked, then click Save.
The customer is now blocked and will no longer be able to log in or receive any messages.
Blocking Multiple Customers at Once
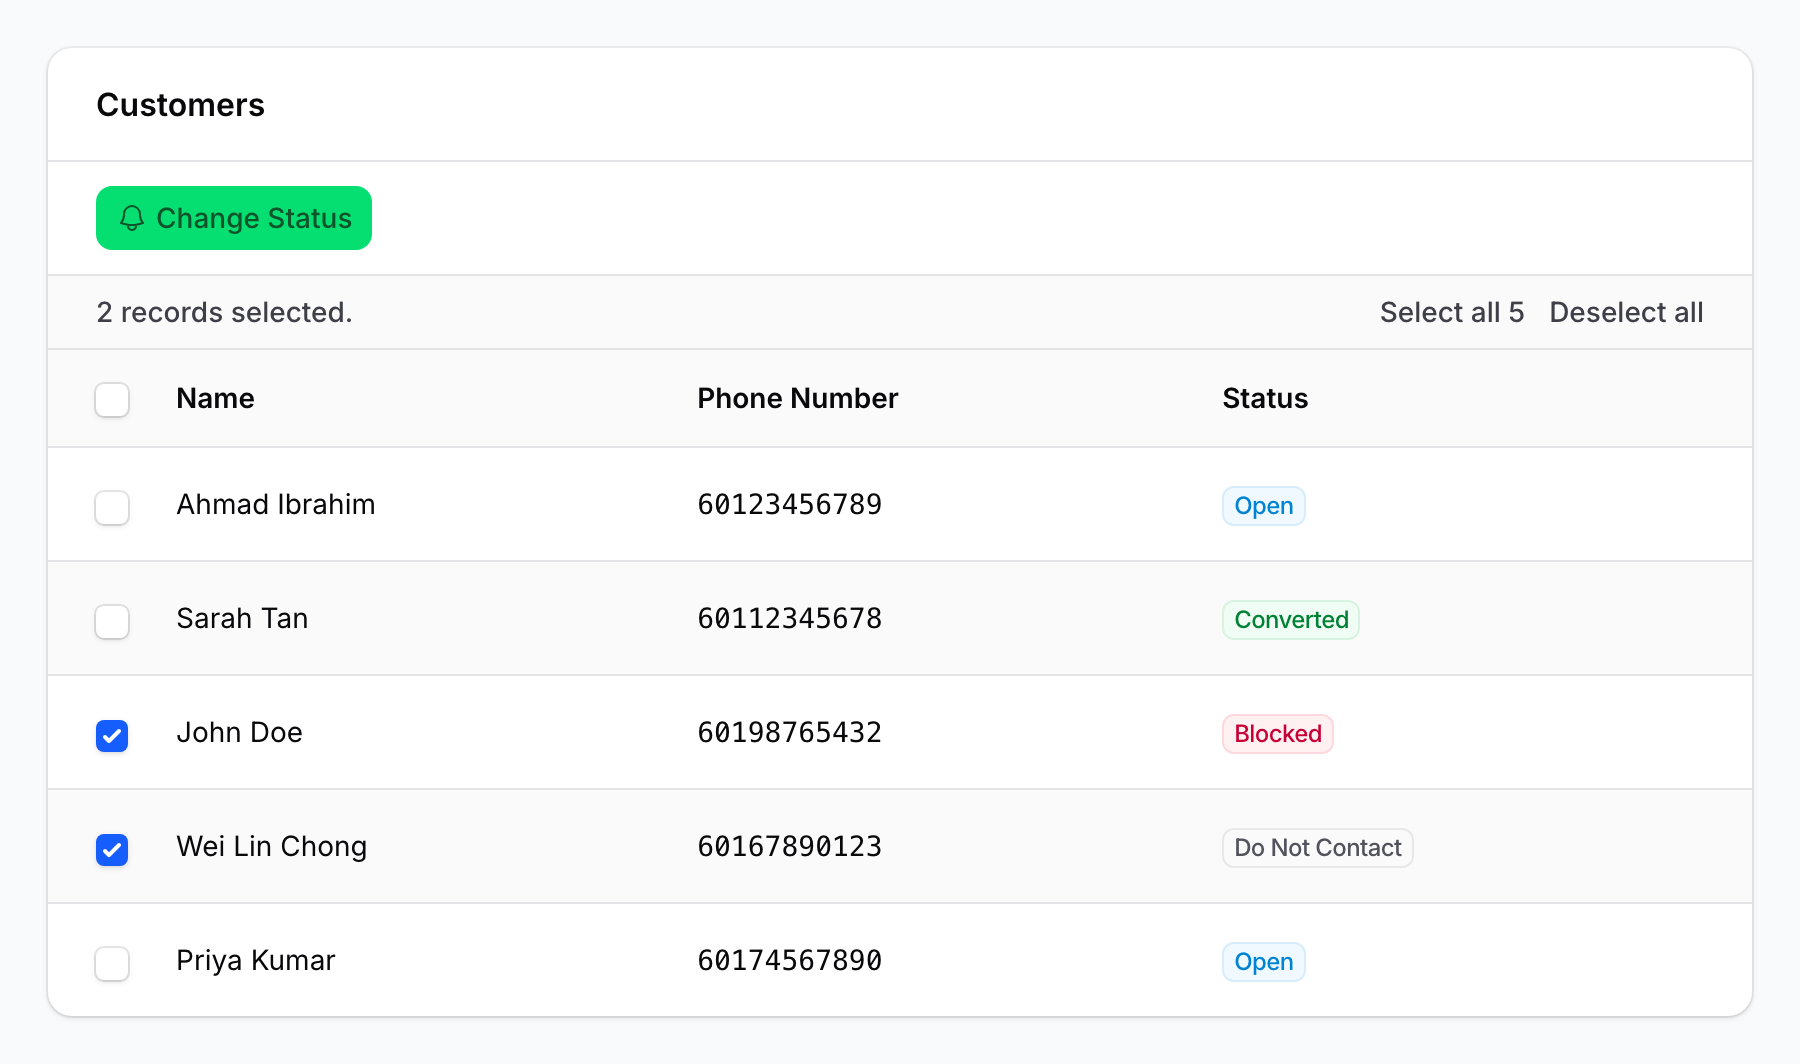
- Go to CRM → Customers and tick the checkboxes next to each customer you want to block. A toolbar will appear showing the number of records selected and the Change Status action button.
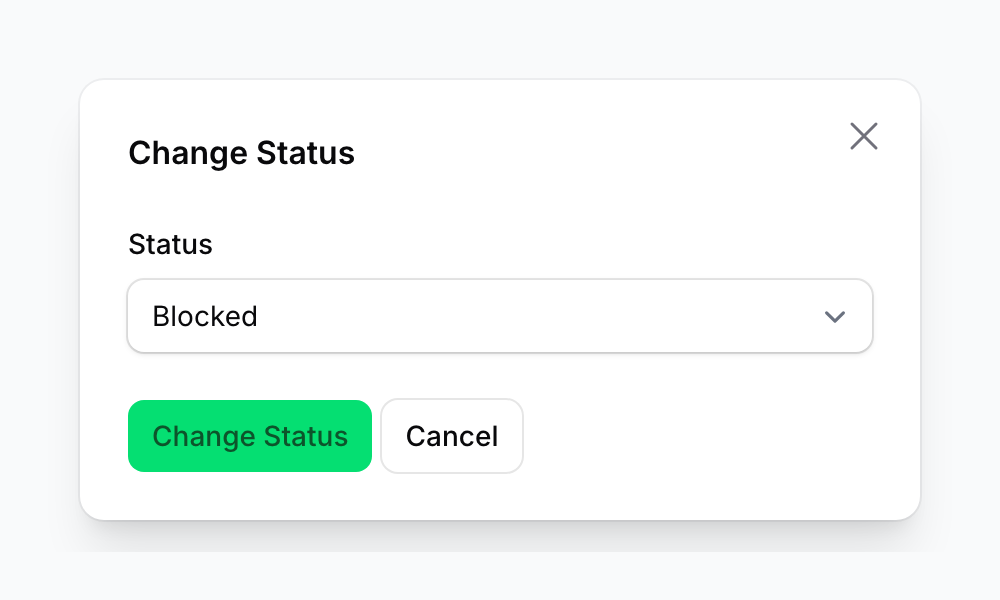
- Click Change Status, then select Blocked from the dropdown and click Change Status to confirm.
All selected customers will be blocked at once.
Unblocking a Customer
To unblock a customer, open their profile, change Status from Blocked back to Open (or another appropriate status), and click Save. They'll immediately regain access.
What Your Customers Will See
When a blocked customer tries to log in to the customer portal, they'll see a message:
"This phone number is blocked. Contact the vendor's customer service to get details."
They won't receive any notification that they've been blocked — they'll only find out when they try to log in.
Good to Know
- Nothing is deleted — Blocking only changes the status. All points, rewards, and history are kept. Unblocking restores everything.
- The block is tied to the phone number — They could register with a different number, so watch for duplicates if this is a concern.
- Already-sent campaigns still deliver — If a campaign was already in progress before you blocked the customer, those messages may still go through. Future campaigns will exclude them automatically.
- POS systems are notified — If you use an integrated POS (e.g., Zeoniq), the system will show the customer as blocked when looking them up.
- All changes are logged — You can see when a customer was blocked and who made the change.
- Not sure which status to use? Use Do Not Contact if you just want to stop sending messages but still let the customer use the portal. Use Blocked if you want to completely cut off access. The difference: Do Not Contact still lets them log in and earn rewards; Blocked removes all access.
What's Next?
- Learn about the Do Not Contact status and when to use it instead of Blocked
- Use bulk actions to manage large groups of customers at once
- Review your customer list regularly to keep statuses up to date