
How to Create a Pixalink Voucher Your Zeoniq POS Can Apply
What Is This?
Turn a Pixalink reward into a voucher your cashier can apply at the Zeoniq counter. You set the discount once. The cashier picks it from the customer's voucher list. Connect Zeoniq first.
Real-Life Example
Aishah runs a cafe. She creates a RM5 cash discount reward with the Type Code RM5.
Wei Lin redeems the voucher in the customer portal. At the counter, the cashier looks up Wei Lin's phone number, taps Get Discount Voucher and picks the voucher. RM5 comes off the bill. When Wei Lin pays, the voucher becomes Used.
How to Set It Up
-
Go to Admin Panel → Loyalty Program → Rewards.

Rewards is the item in the blue box.
-
Click New Reward.

New Reward is at the top right.
-
Type a Reward Name, such as "RM5 Off Your Bill". Fill in the other required details.

Fields marked with a red star are required. See How to Create a Reward for each one.
-
Click the Configurations tab.

Configurations is the fifth tab.
-
Turn on Enabled in Zeoniq Integration Settings.
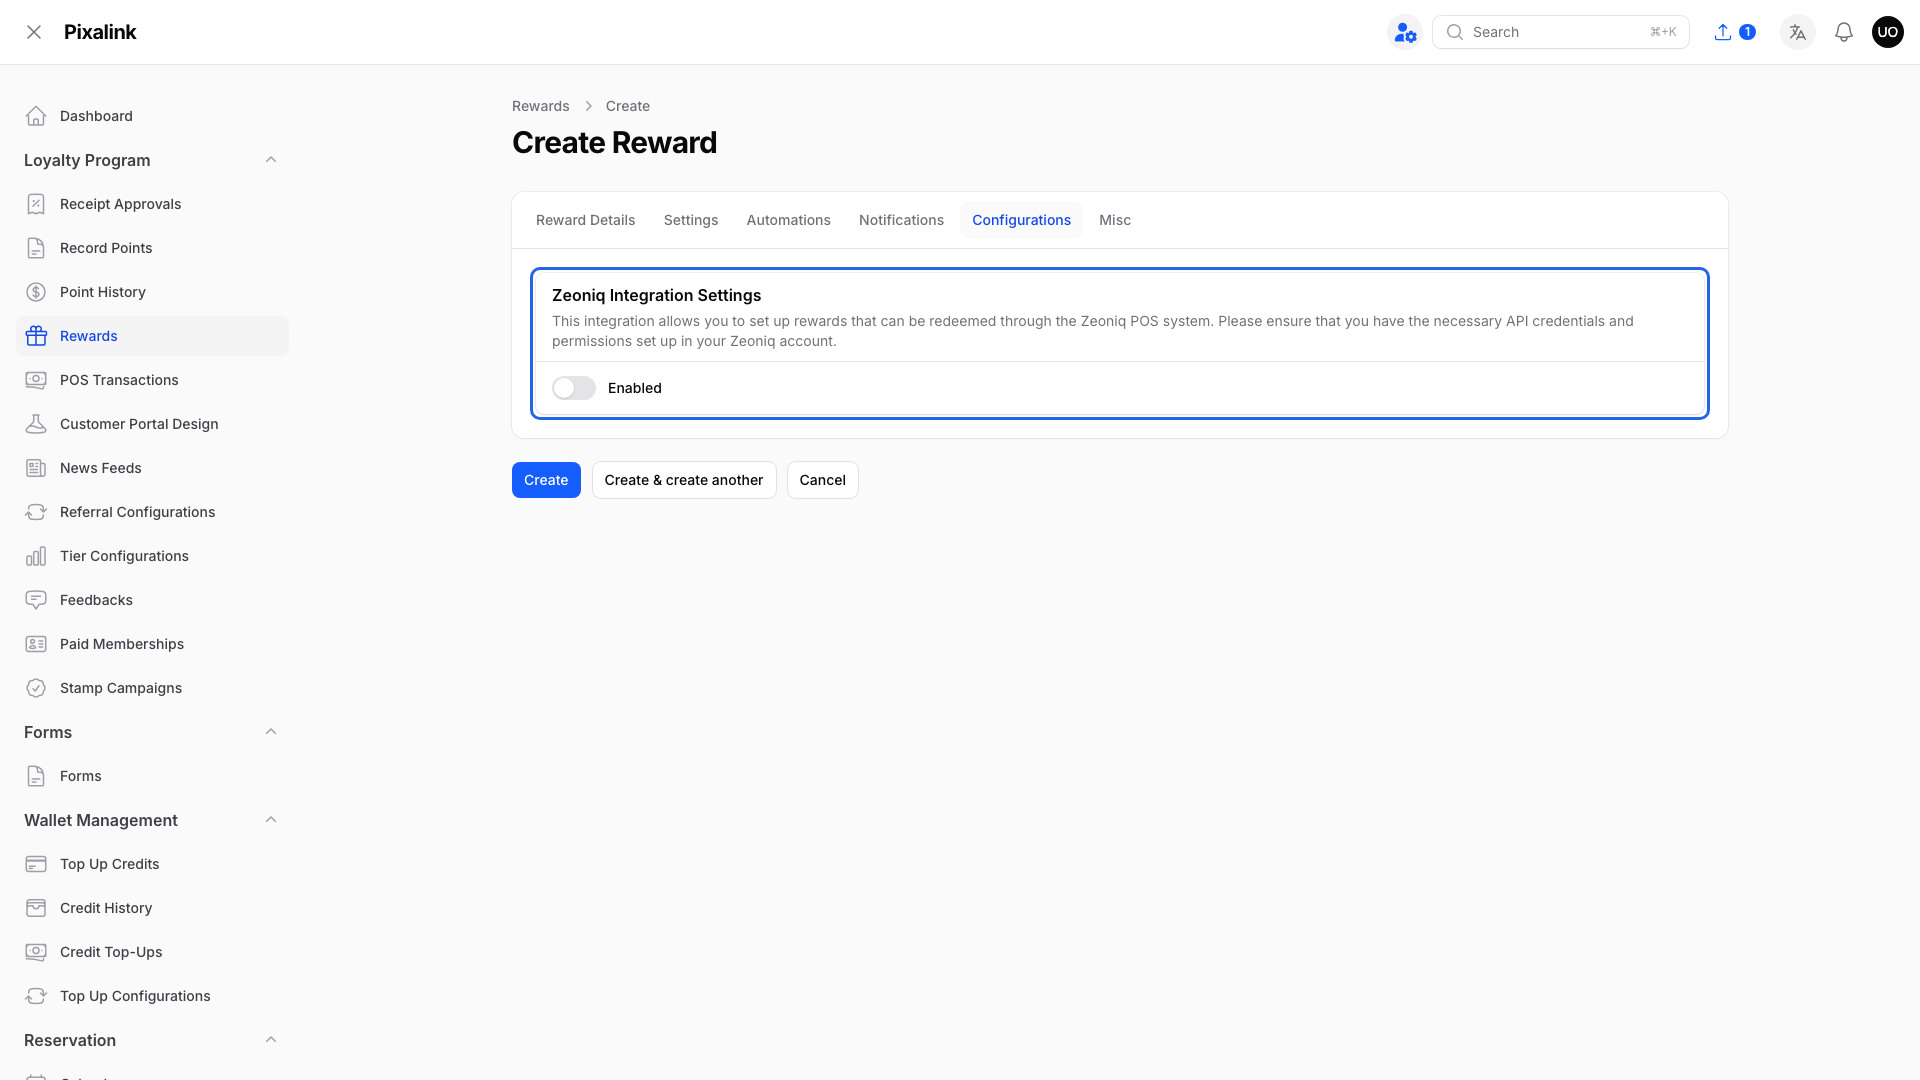
The toggle is off. Turn it on to see more fields.
-
Choose an Offer Type:
- Percentage Discount on Whole Bill: a percentage off the bill, up to 100.
- Cash Discount on Whole Bill: a fixed RM amount off the bill.

Aishah picks Cash Discount on Whole Bill.
-
Type the Discount Amount and a Type Code. For a percentage offer, type the discount percentage instead.
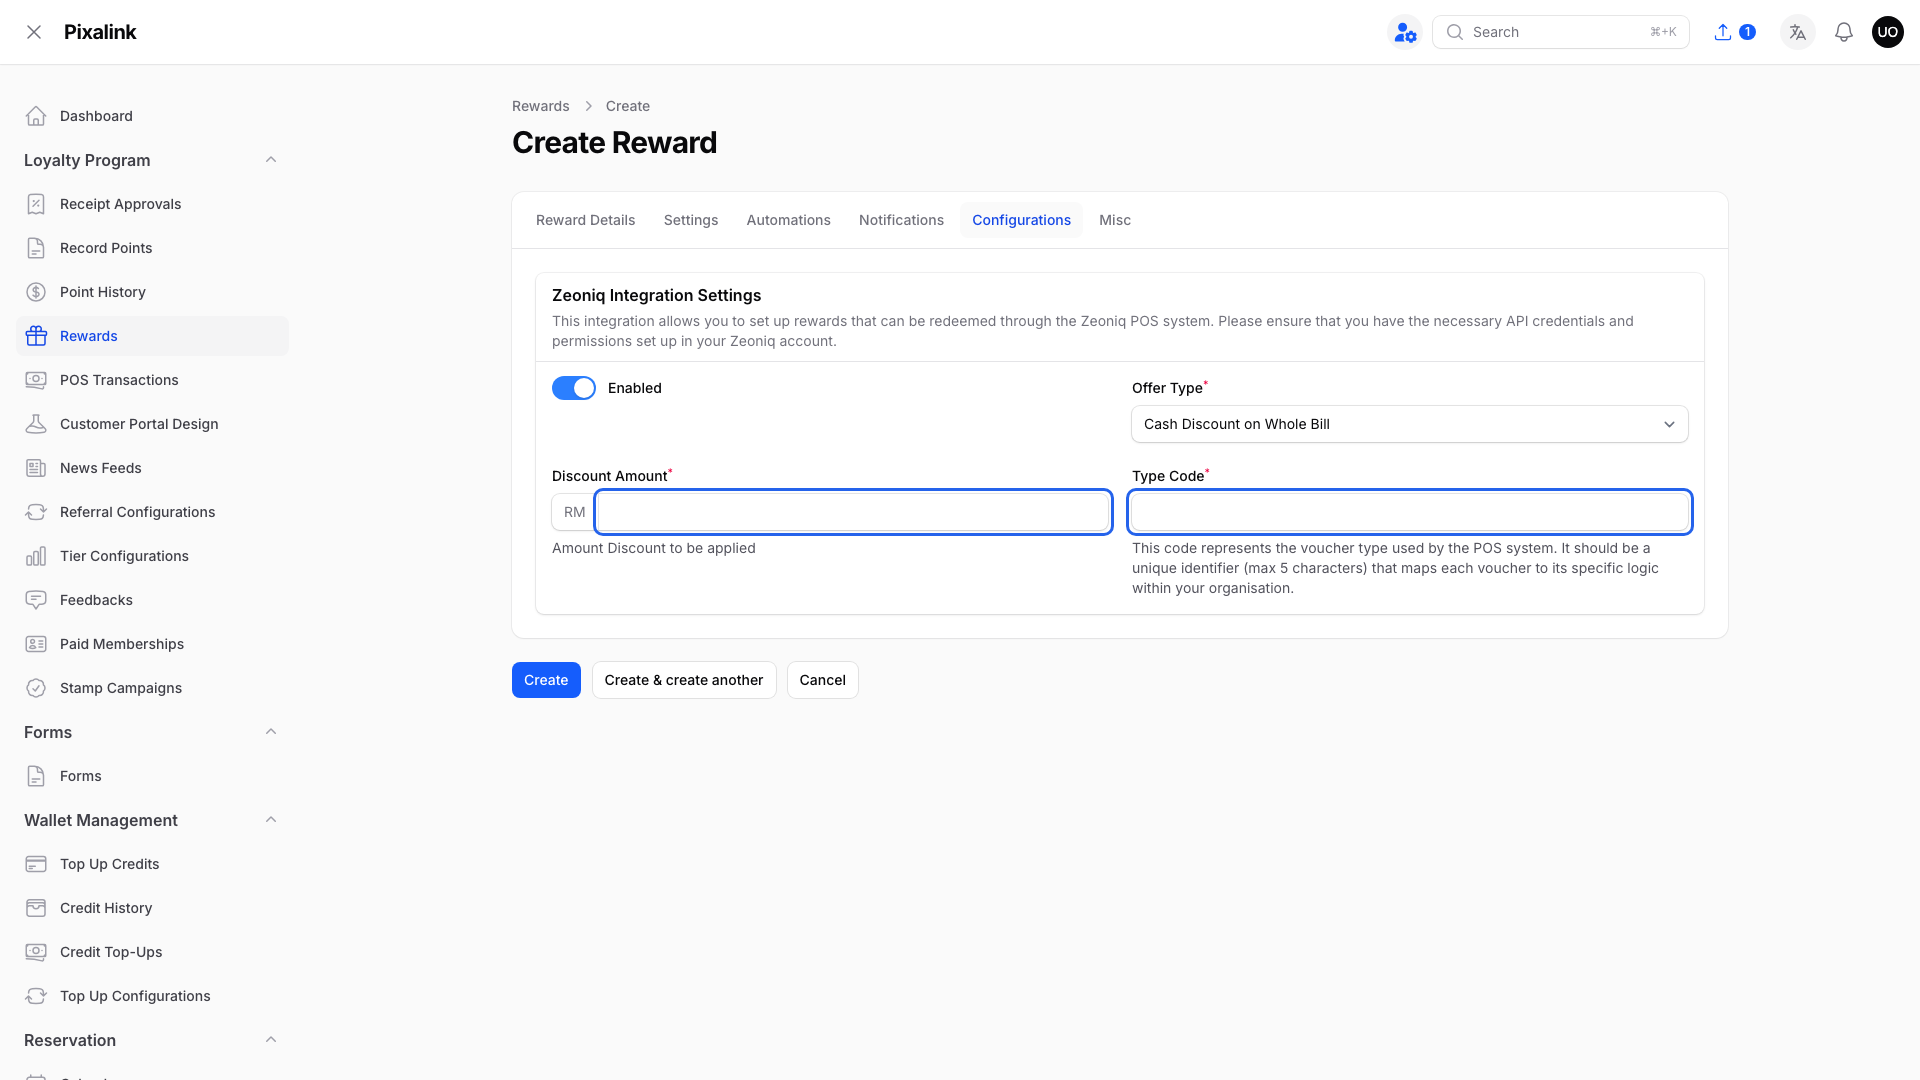
Type Code takes up to 5 characters. Zeoniq uses it to identify this voucher.
Important
Send each Type Code to your Zeoniq vendor. They map it to a matching voucher in Zeoniq. Until they do, the voucher won't apply at the counter.
-
Click Create.
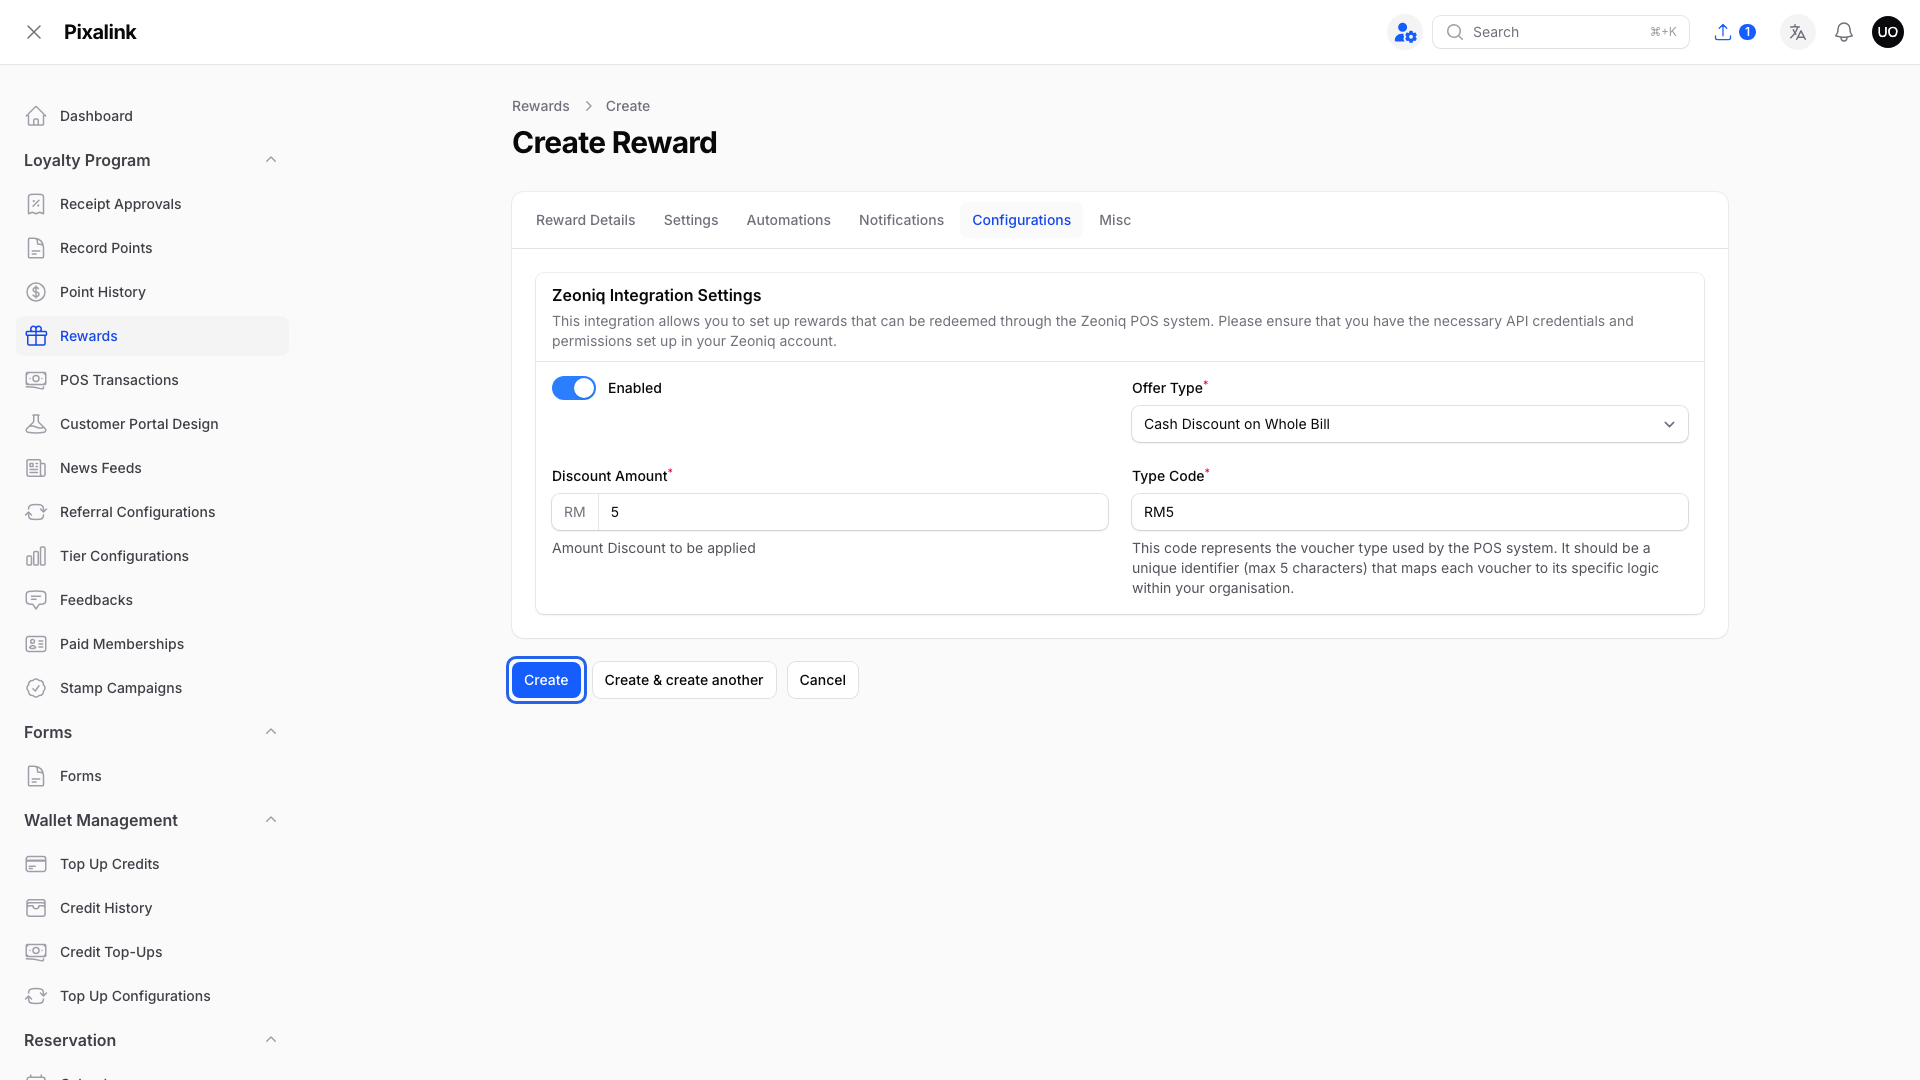
Create saves the new reward.
What Your Customers Will See
Customers must hold the voucher first. They redeem the reward in the portal, you give it to them, or the cashier swaps their points for it.
The cashier looks up the customer's phone number. The list shows unused, unexpired vouchers only. Their reward must be Active, Distributable and Zeoniq Enabled.
The voucher becomes Used when the customer pays. If Zeoniq voids the sale, the voucher goes back to unused until it expires.
Good to Know
- If you change a Type Code later, send the new one to your Zeoniq vendor too.
- Zeoniq doesn't check the reward's day limits, activation delay, tiers, tags or outlets.
- Turn off Active or Distributable and held vouchers disappear from the counter list. Keep Distributable on, even for rewards you only give out.
- A duplicated reward starts inactive with Zeoniq off. Turn on Active and Enabled, then add a new Type Code.
Need Help?
If you don't see Zeoniq Integration Settings on Configurations, ask the Pixalink team to set up Zeoniq as your POS.