
How to Give AutoCount Customers a Redeemable Voucher
How to Give AutoCount Customers a Redeemable Voucher
What Is This?
Turn any reward into a voucher your customers can spend at your AutoCount till. Pixalink sends the voucher codes straight to AutoCount, so your cashier takes money off the bill the moment a customer redeems. No more writing codes by hand or wondering if one has been used twice.
Real-Life Example
Wei Lin runs a busy seafood restaurant in Klang and rings up every sale in AutoCount. She wanted to thank her regulars with a free mud crab, worth RM25. Before, she printed paper coupons that were easy to fake. Now she sets the reward's cash value to RM25 and gives it a short batch prefix. When a regular claims the reward, the code appears at her AutoCount till. Her cashier keys it in, RM25 comes off the bill, and the code is used up for good. Wei Lin rewards her best diners without a single paper coupon.
How to Set It Up
You'll only see these settings once AutoCount is connected as your till.
Important
Voucher redemption is part of the AutoCount Point of Sale module. Open your AutoCount desktop and check the top menu bar for Point of Sale → Maintenance → Voucher Maintenance. If that menu is not there, your AutoCount does not include POS and vouchers cannot be redeemed at your counter — ask your AutoCount dealer about adding the module. Your customers, points and rewards all keep working either way; see Redeeming Away From the Till for how to handle vouchers meanwhile.
-
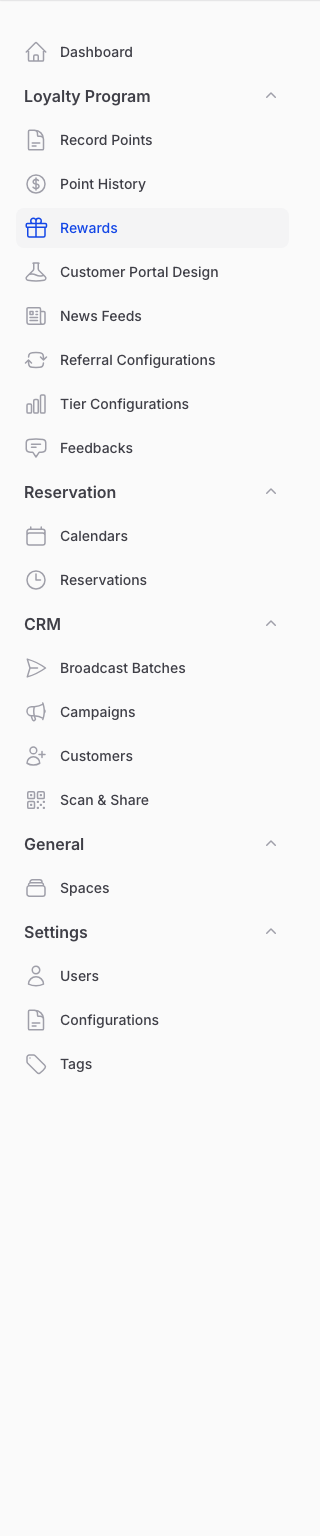
Go to Admin Panel → Loyalty Program → Rewards.
-
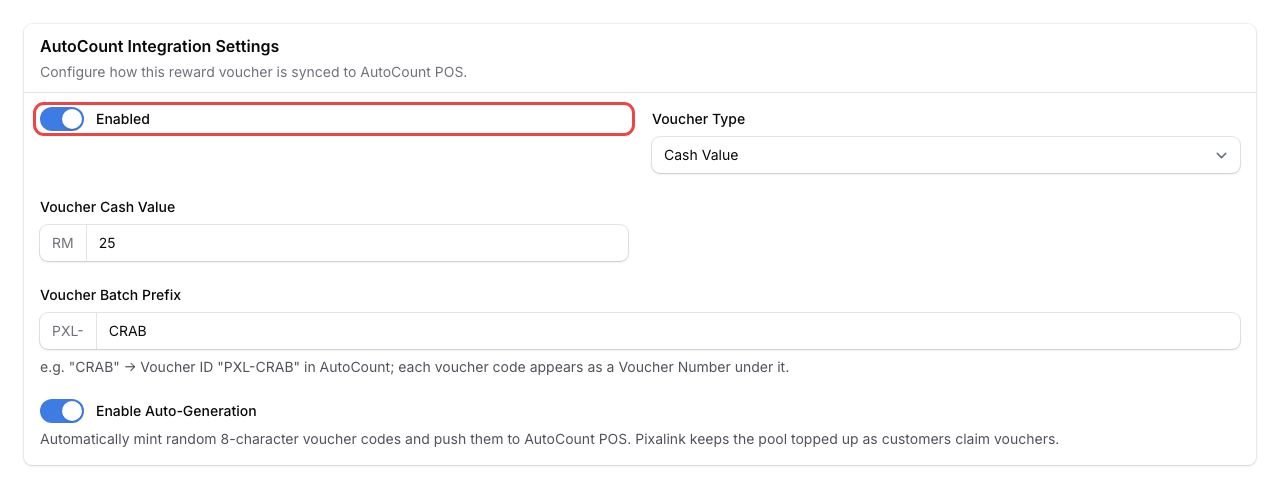
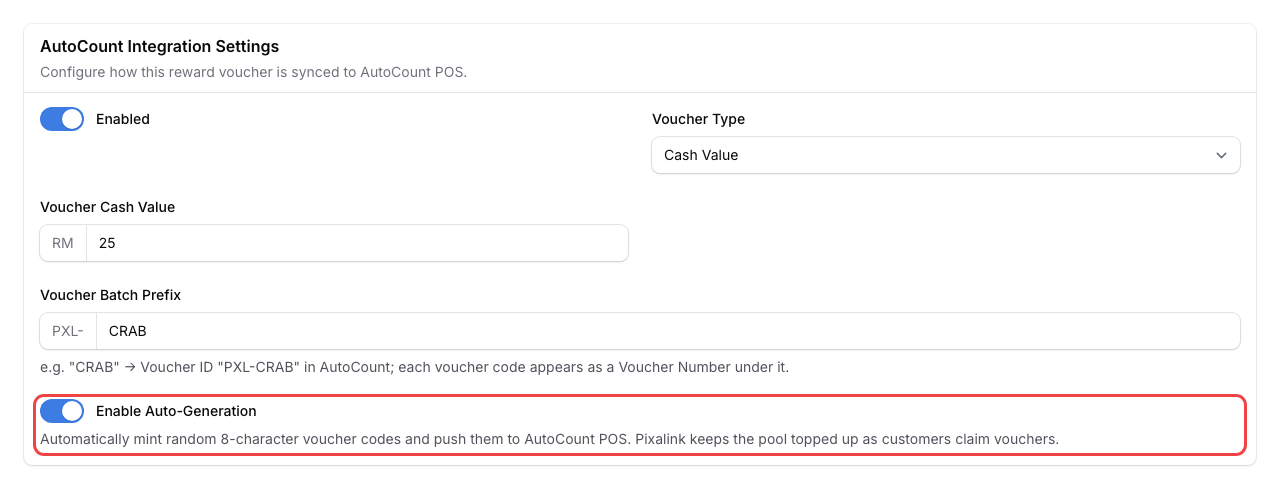
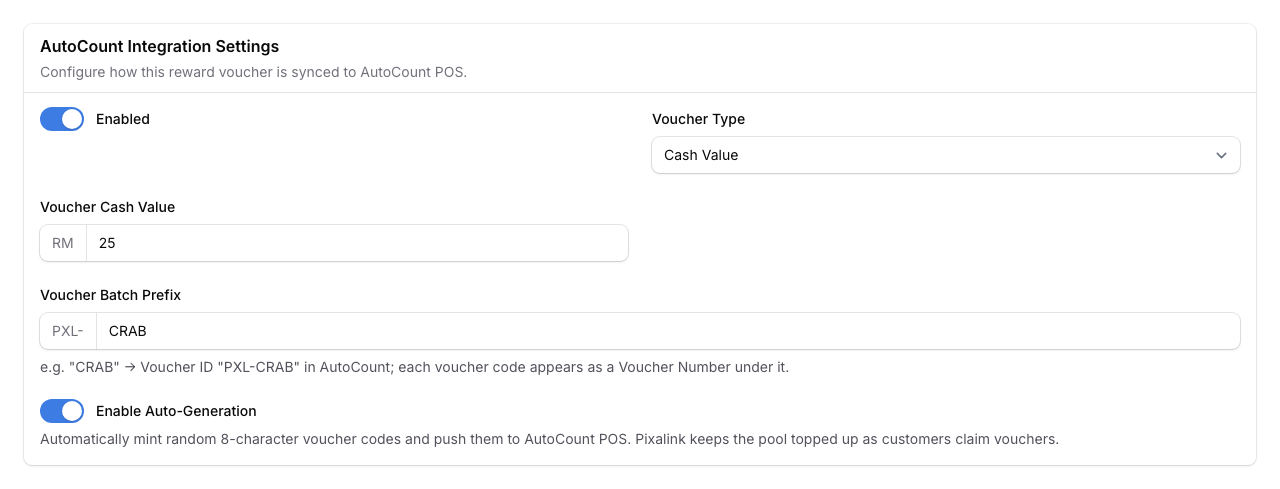
Open the reward you want to give, open the Configurations tab, then switch on Enabled under AutoCount Integration Settings.
-
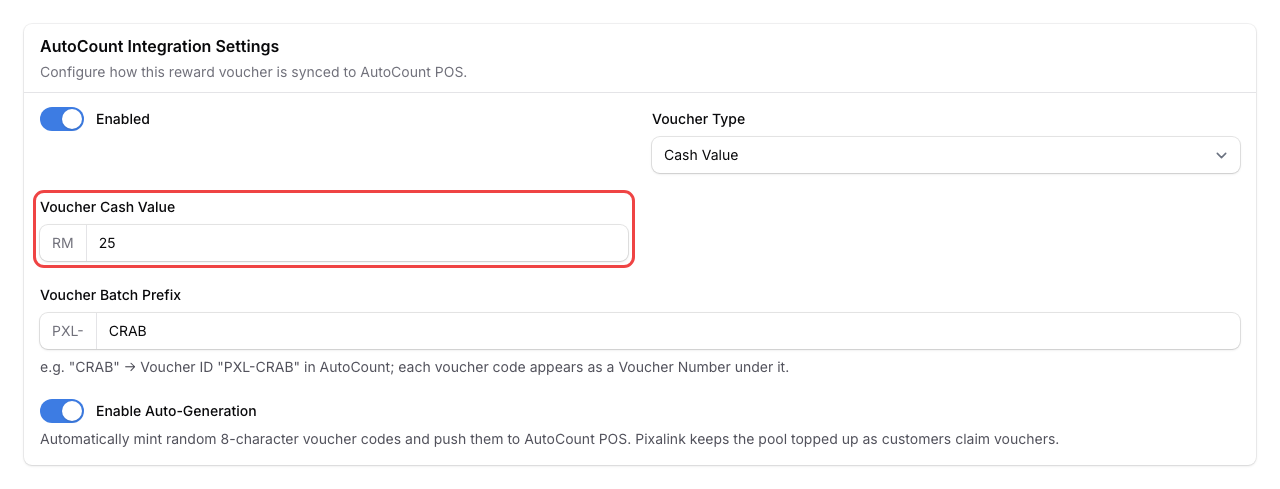
Leave Voucher Type on Cash Value. Then set Voucher Cash Value to the amount taken off your customer's bill at the till.
-
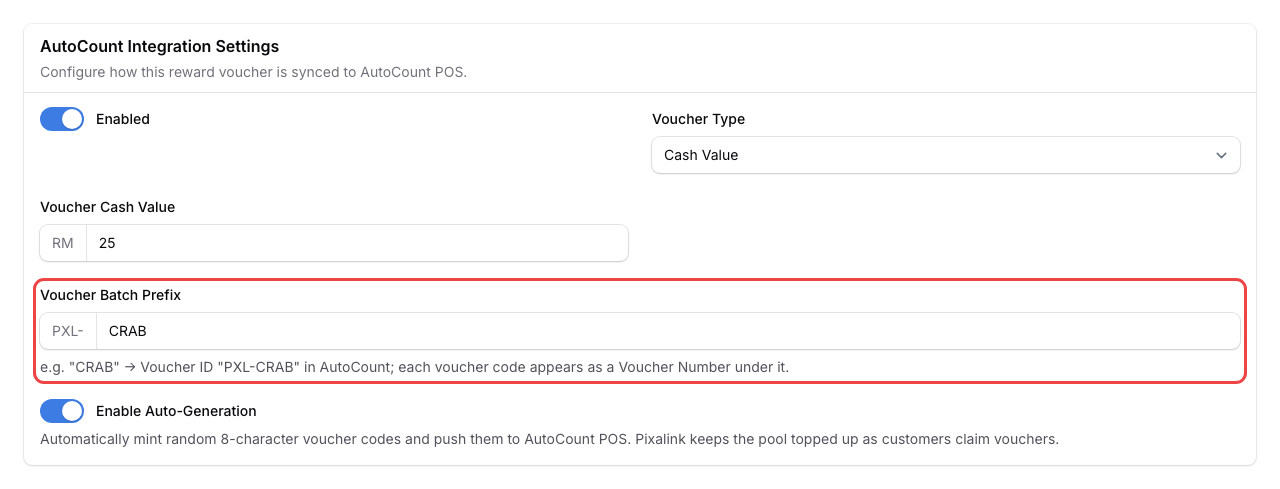
Enter a Voucher Batch Prefix, such as CRAB. Pixalink adds PXL- in front, so your voucher shows in AutoCount as PXL-CRAB.
-
Keep Enable Auto-Generation switched on. Pixalink then creates fresh codes and keeps a supply ready for your customers.
-
Click Save changes.
What Your Customers Will See
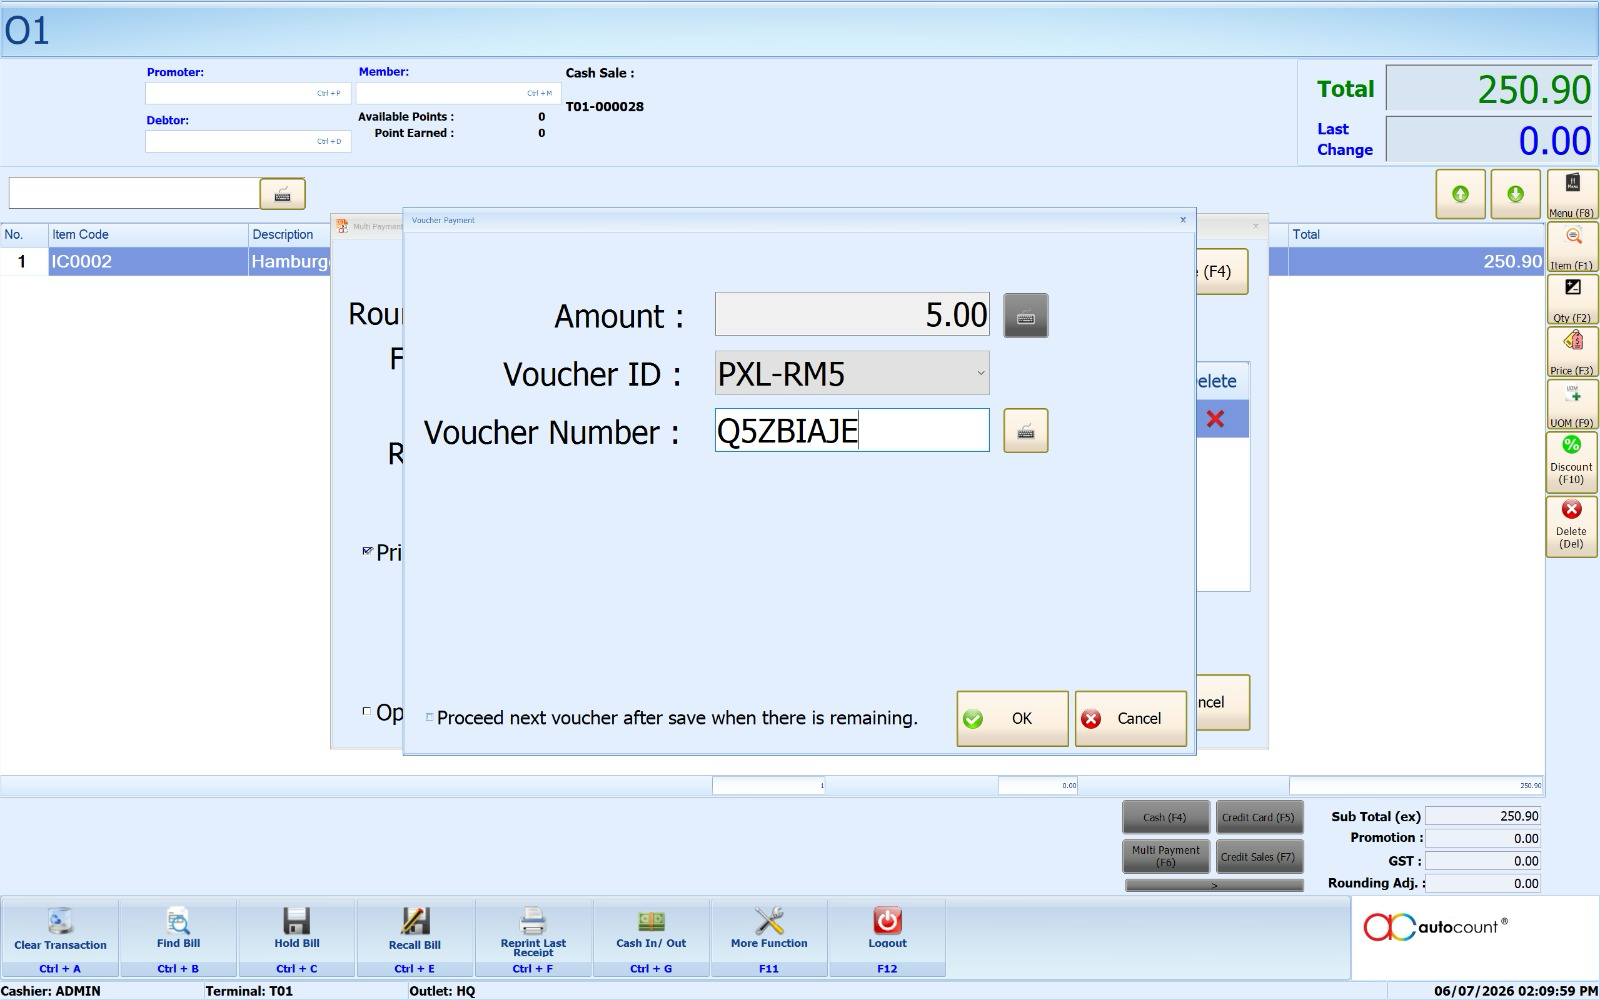
Your customer claims the reward in their Pixalink account and gets a voucher code. They show that code at your counter. Your cashier enters it into AutoCount, and the cash value comes off the bill straight away.
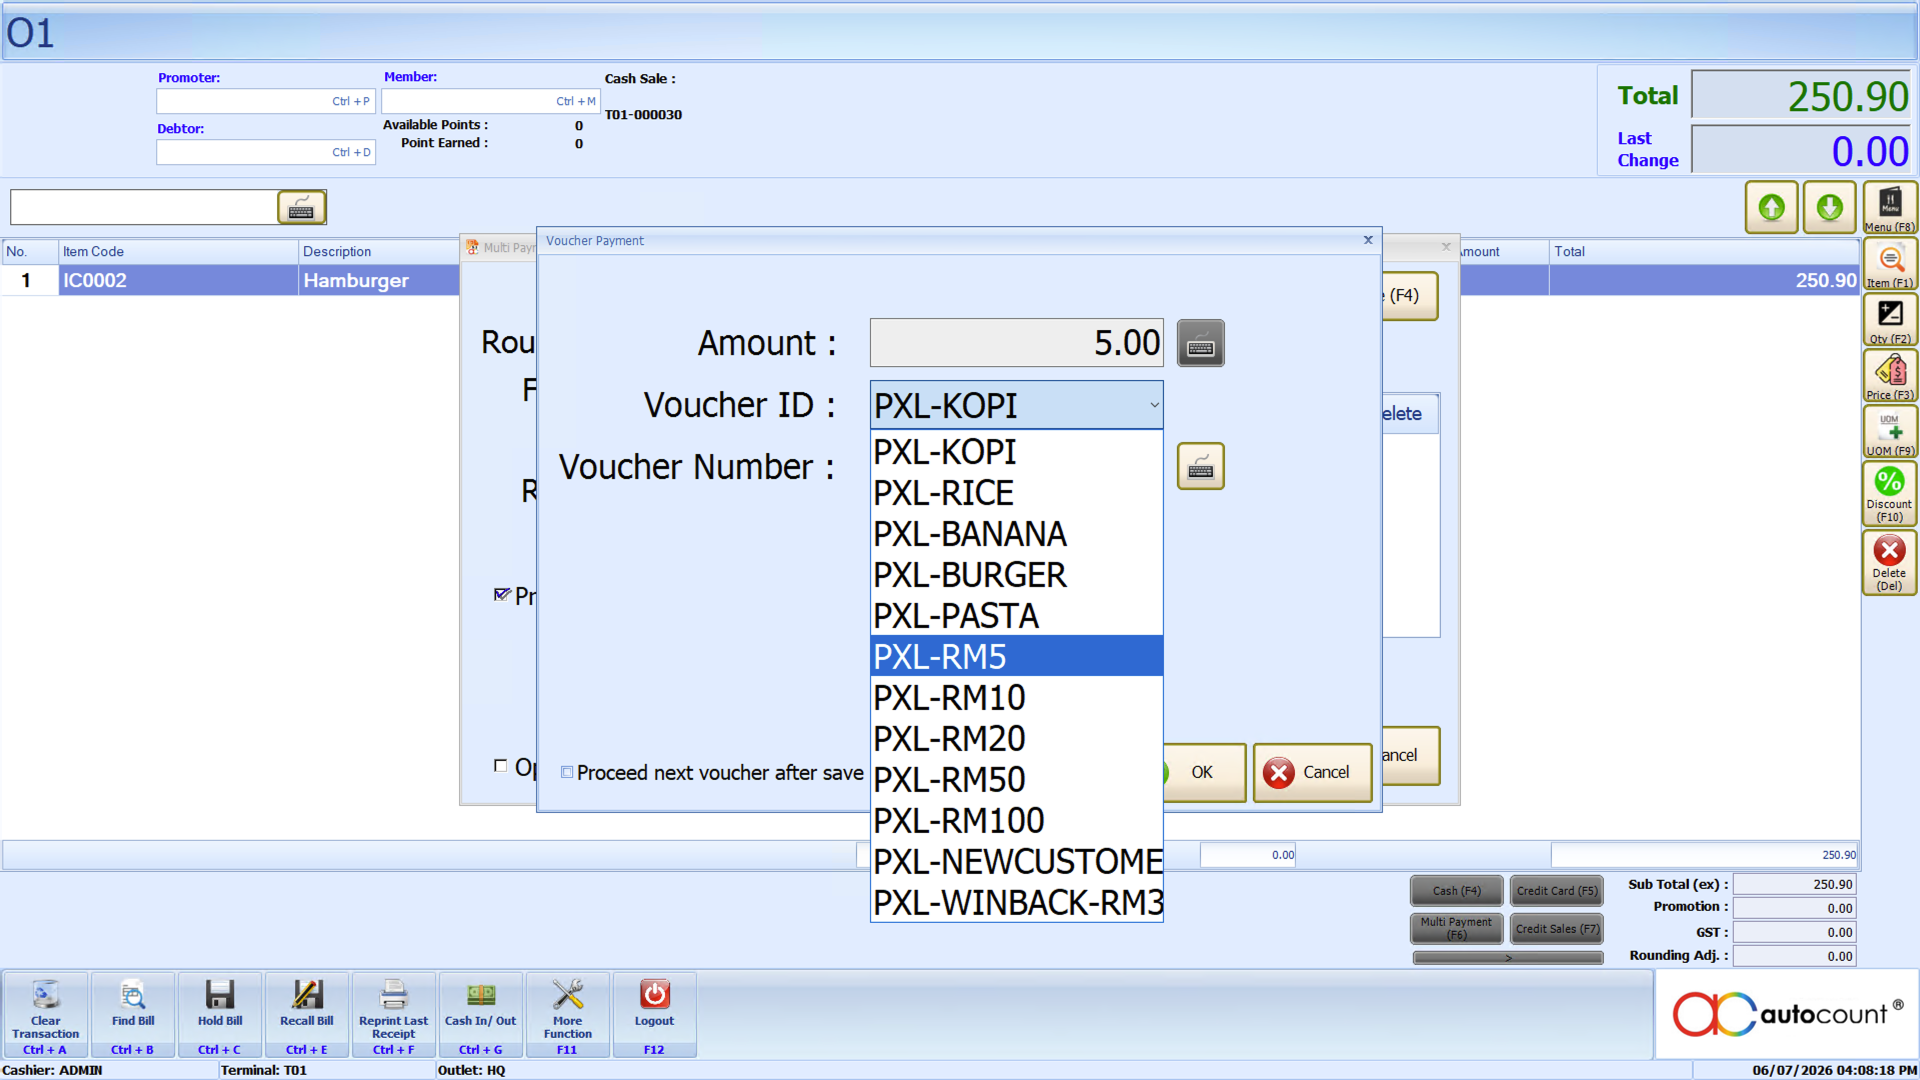
At the counter, your cashier picks this reward's batch from the voucher list. Each reward you set up appears here as its own PXL- entry.
Redeeming Away From the Till
Voucher payment is a feature of the AutoCount POS front counter only. A back-office sales invoice (the kind your online or B2B sales team raises and collects payment on later) has no voucher screen, so a code cannot be applied there.
For those sales, redeem the voucher manually instead:
- In Pixalink, go to Admin Panel → Loyalty Program → Customer Rewards, enter the customer's phone number, and click Validate on their voucher — or open the customer's profile and use Mark as Used on the voucher. Either way the code is spent and cannot be used again.
- In AutoCount, key the voucher's value as a normal discount on the invoice.
This keeps the voucher honest in Pixalink while your accounting shows the discount the customer received.
Good to Know
- Give each reward its own Voucher Batch Prefix. Two rewards can't share the same one.
- A prefix can use capital letters, numbers, hyphens and underscores, up to 10 characters. Once vouchers exist for the reward, it locks and cannot be changed.
- Once a customer redeems a code at your till, it can't be used again — AutoCount marks the code spent instantly, even though the voucher may still show as unused in the customer's Pixalink app for a few minutes until the next sync catches up.
- The customer's voucher shows as a QR code plus the code itself. Your cashier can scan it with a phone camera or type the code in — when scanned at the Voucher Payment screen, the right voucher batch is selected automatically. If your counter uses a barcode scanner that cannot read QR codes, ask us to switch the format to a barcode.
- Enable Auto-Generation means you never run out of codes. To change how many are made, see the voucher pool guide below.
Need Help?
Our support team is happy to help you set up your first AutoCount voucher.