
How to Create a Custom Role for Your Staff
What Is This?
Give each staff member only the screens they need, so fewer mistakes happen and your business data stays safe. A custom role does this for you. Your cashier can give points without opening your billing, and your marketing helper can send campaigns without touching rewards.
Real-Life Example
Wei Lin runs a cafe and just hired Lim Wei Jie as a part-time cashier. Every new staff login got full access, so Wei Jie could see billing, campaigns and the whole customer list. Wei Lin only wanted him to give points and use customer rewards at the counter. She made a role called "Cashier" from the Staff - Points Only template and gave it to Wei Jie. Now his menu shows only Dashboard, Record Points, Point History and Top Up Credits. He learnt the screens in ten minutes, and Wei Lin no longer worries about wrong clicks.
How to Set It Up
-
Go to Settings → Roles and click New Role.

The page lists only the roles you made yourself. It's empty the first time.
-
Click the Information tab.

The page opens on Permissions. Start on Information to name the role.
-
Type a Role Name, then pick a Start from Template if one fits.

A template ticks the right boxes for you. You can still change them.
-
Click the Permissions tab.

Each box on this tab is one area of the Admin Panel.
-
Tick the boxes this role needs, or turn on Toggle All to give a whole section.

Here the template has ticked the point boxes in Transaction. See the tables below for every section.
-
Click Create.
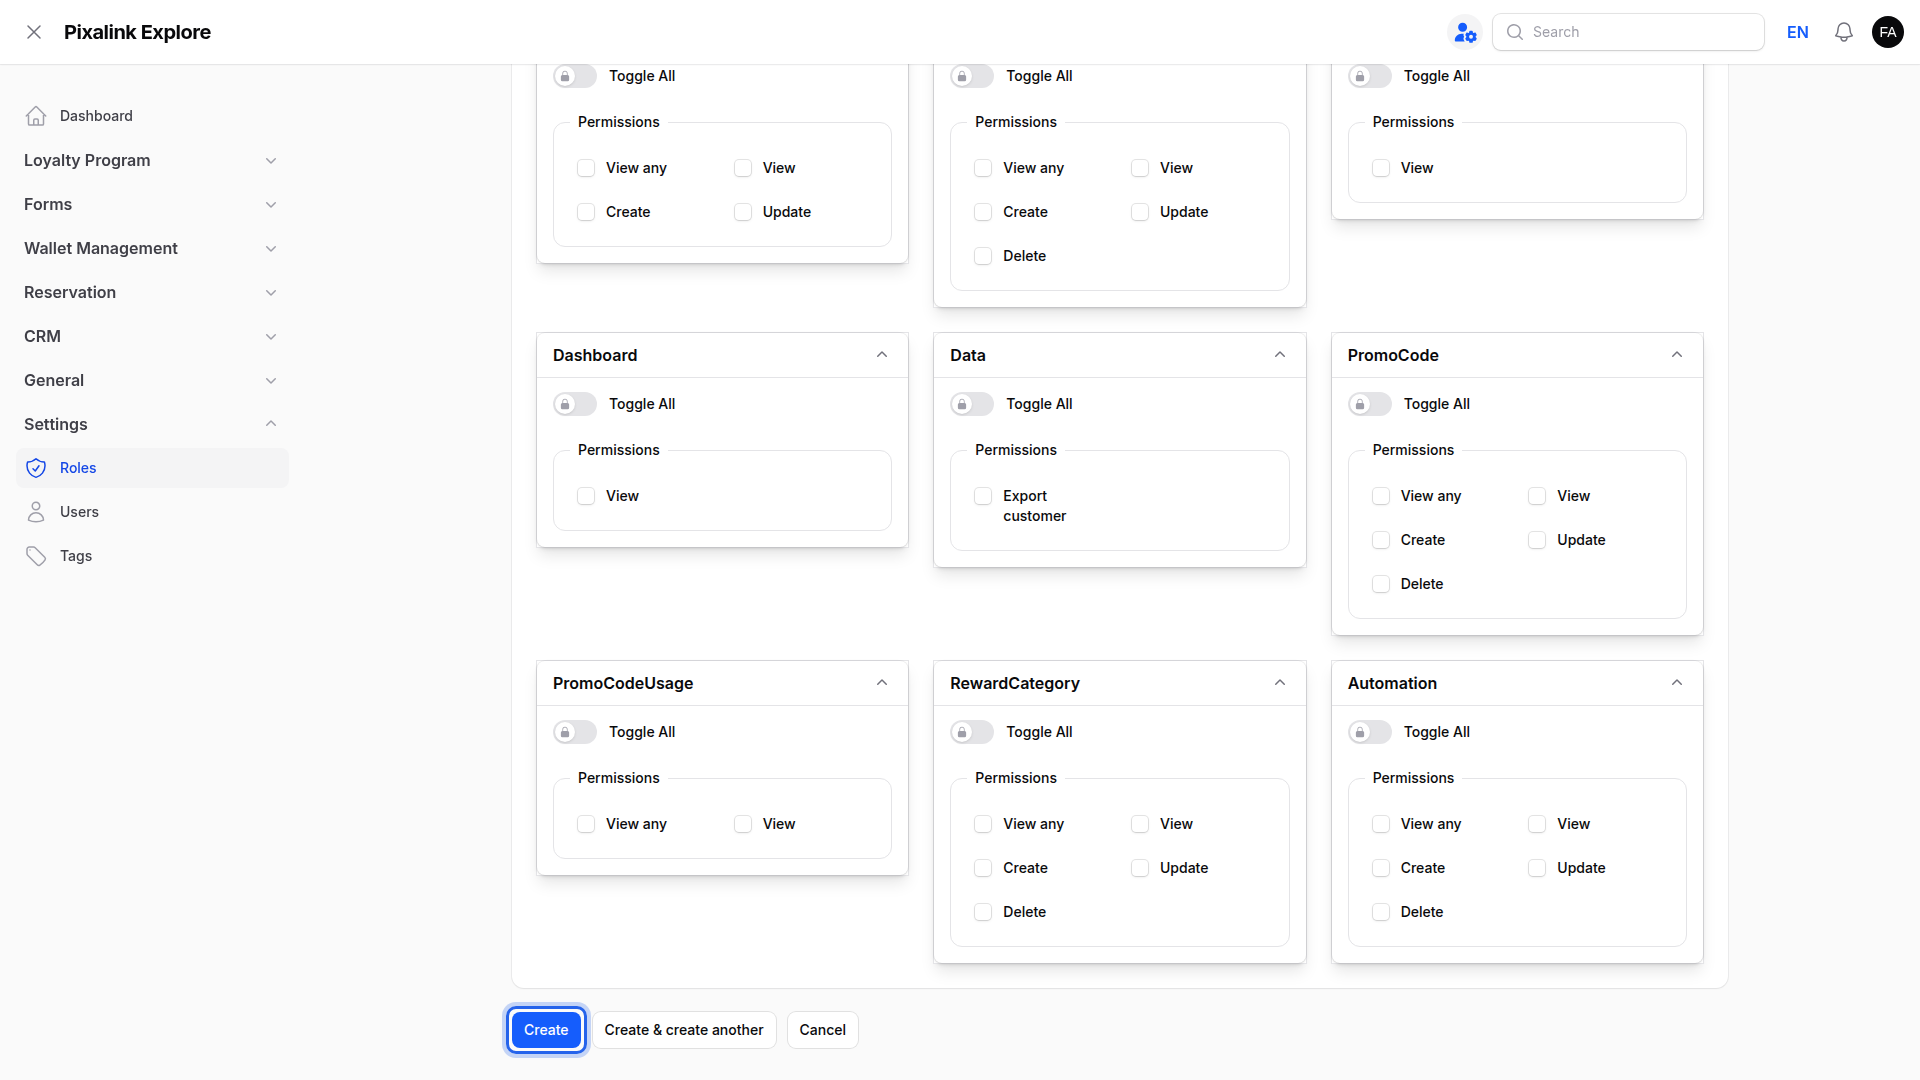
Create is at the very bottom, under the last section.
-
Go to Settings → Users and click Edit next to the staff member.
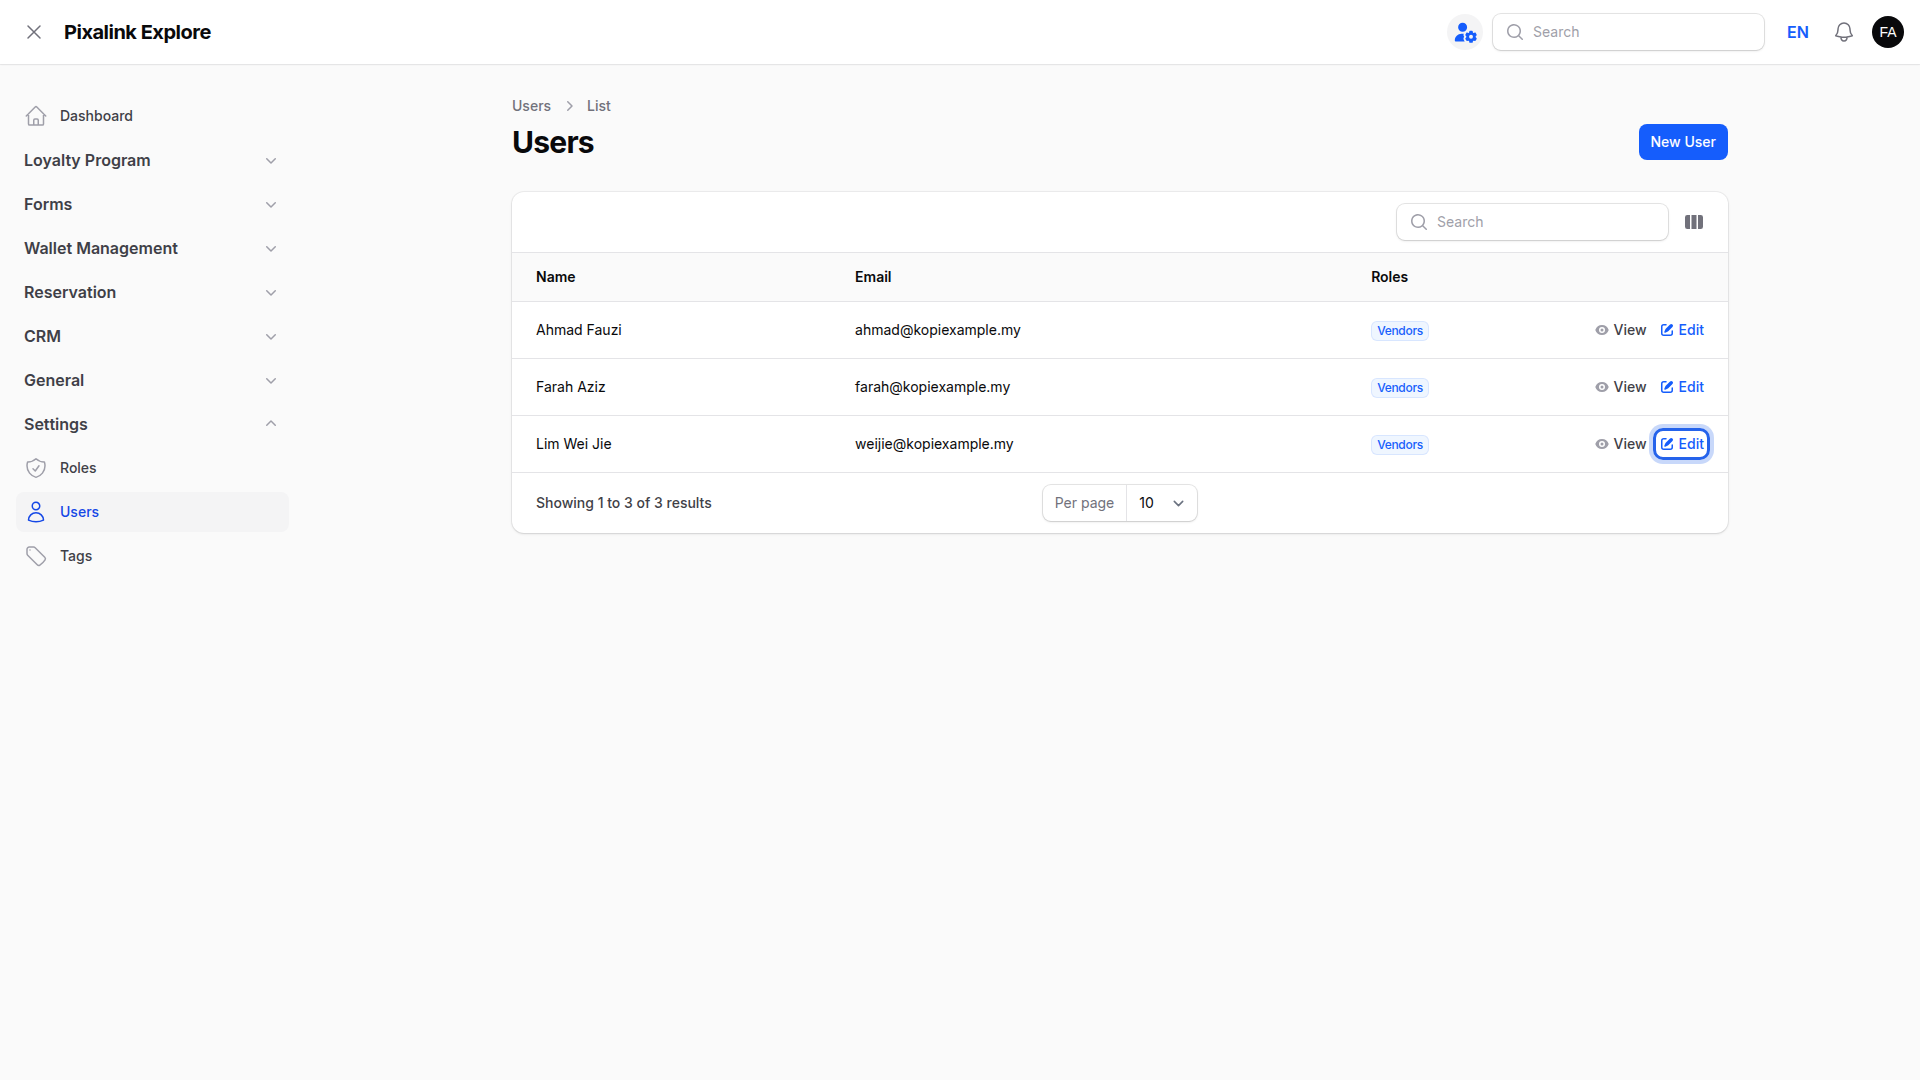
The Roles column shows each person's current role.
-
In Roles, click the × next to Vendors.

Each staff member holds one role, so remove the old one first.
-
Pick your new role from the list, then click Save changes.

Your own roles are listed together with the built-in ones.
The Built-In Roles
You can give these to staff without making your own role. You can't change their boxes.
| Role | What it's for |
|---|---|
| Vendors | Full access to every section below. New staff get this when you leave Roles empty. |
| Vendor - Staff | Counter staff: give points, give and use rewards, take reservations, top up credits. |
| Staff - Points Only | Cashiers: give and take away points, and use customer rewards. |
| Vendor - Branch Manager | Outlet managers: customers, reservations, calendars and outlet details, plus points and rewards. |
The last template in the Start from Template list is for connecting a POS terminal. Don't use it for a staff role.
What Each Box Means
Every section has the same kinds of boxes:
- View any shows the menu and the list.
- View opens one item to see its details. Tick it with View any.
- Create adds new items.
- Update edits items.
- Delete removes items. Restore brings deleted ones back. Force delete removes them for good.
Customers and Points
| Section | Where it is | Extra boxes |
|---|---|---|
| Customer | CRM → Customers | Erase opens Settings → Data Requests and approves a customer's request to delete their data. |
| Transaction | Loyalty Program → Point History and Record Points | Create gives points. Deduct shows the Deduct Point button, and Import adds the upload, bulk deduct and bulk reward buttons, and Export adds the download button, when these are turned on for you. |
| CustomerReward | Rewards a customer holds | Update uses (validates) a reward. Create gives one to a customer. |
| Credit | Wallet Management → Top Up Credits and Credit History | Create tops up credits. |
| PosTransaction | Loyalty Program → POS Transactions | Void lets a connected POS terminal cancel a receipt. |
| PosCredit | Wallet Management → POS Credits | |
| EcommerceTransaction | Loyalty Program → Ecommerce Transactions | |
| Payment and Folio | Tabs on a customer's page | |
| Data | Settings → Data Requests, when turned on | Export customer approves a request for a copy of a customer's data. |
| Feedback | Loyalty Program → Feedbacks | |
| Tag | Settings → Tags |
Rewards and Loyalty
| Section | Where it is |
|---|---|
| Reward, RewardVoucher | Loyalty Program → Rewards, and the voucher codes inside a reward |
| RewardCategory | Loyalty Program → Reward Categories |
| RewardBundle, RewardBundleItem | The Manage Reward Bundles button on Loyalty Program → Rewards (when turned on), and the items inside |
| QrReward | CRM → Scan & Share |
| PromoCode, PromoCodeUsage | Loyalty Program → Promo Codes, and who used each code |
| TierConfiguration, Tier | Loyalty Program → Tier Configurations, and the tiers inside |
| PaidMembershipType | Loyalty Program → Paid Memberships |
| ReferralConfiguration, Referral, ReferralItem | Loyalty Program → Referral Configurations, its referrals and its rewards |
| StampCampaign | Loyalty Program → Stamp Campaigns |
Marketing and Your Portal
| Section | Where it is |
|---|---|
| Campaign, Broadcast | CRM → Campaigns, and the messages each one sent |
| BroadcastBatch | CRM → Broadcast Batches |
| Automation | CRM → Automations |
| NewsFeed | Loyalty Program → News Feeds |
| CustomerPortalTheme | Loyalty Program → Customer Portal Design |
| Form, FormSubmission | Forms → Forms, and the answers people sent |
Reservations and Ordering
| Section | Where it is |
|---|---|
| Reservation | Reservation → Reservations |
| Calendar | Reservation → Calendars |
| ReservableUnit | Reservation → Tables |
| Order | Ordering → Orders and Subscriptions |
| Product, ProductCategory | Ordering → Products and Product Categories |
Your Business and Settings
| Section | What it unlocks |
|---|---|
| Dashboard | View shows the figures on the Dashboard. |
| Organisation | Update opens business details, billing, notification settings, WhatsApp templates, top-up settings and CRM → Pixalink SMS Credits. |
| Configurations | View opens the change history pages, and Settings → Configurations once WhatsApp is set up. |
| Space | General → Spaces (your outlets). |
| User | Settings → Users. |
| Role | Settings → Roles. |
| FolioConfiguration | Settings → Folio Configurations. |
| WebhookConfiguration, PersonalAccessToken | Links to other systems. These only show when turned on for your business. |
| AutoTaggingConfiguration | Not used any more. You can leave it off. |
What Your Customers Will See
Nothing changes for your customers. Roles only change what your staff see in the Admin Panel.
Good to Know
- Each staff member has one role. Remove the old role before you pick a new one.
- You can't change your own role. Another staff member with access to Users must do it.
- Changing a role's boxes changes them for every staff member with that role.
- You can't delete a role while staff still use it. Move them to another role first.
- Roles decide what staff can do. Limit Access to ... decides which outlets they see. Use both together.
- StampCampaign, WebhookConfiguration and PersonalAccessToken only show when that feature is on for your business.
Need Help?
If you don't see Roles under Settings, ask the Pixalink team to turn on custom roles for your business.