
How to Invite Your Team and Manage Roles
How to Invite Your Team and Manage Roles
What This Does
Invite your staff to help run your business on Pixalink. Each teammate gets their own login, and you choose which outlets they can manage so head-office staff see everything while branch staff only see their own outlet.
Real-Life Example
Aishah runs Aroma Cafe with three outlets across Klang Valley. She just hired Wei Lin as the Bangsar branch manager and Siti as the KLCC branch manager. She also needs Ahmad, her head-office assistant, to handle marketing across all three outlets.
Aishah opens Pixalink and invites all three by email. She ticks "Aroma Cafe — Bangsar" only for Wei Lin so he can run the loyalty programme and reservations for his branch without seeing other outlets' reservations or sales figures. She does the same for Siti with the KLCC outlet. For Ahmad, she leaves the outlet field blank so he can manage rewards, broadcasts, and reports across every Aroma Cafe location. Within minutes, all three receive their invite emails and are working in Pixalink before lunch.
How to Invite a Teammate
-
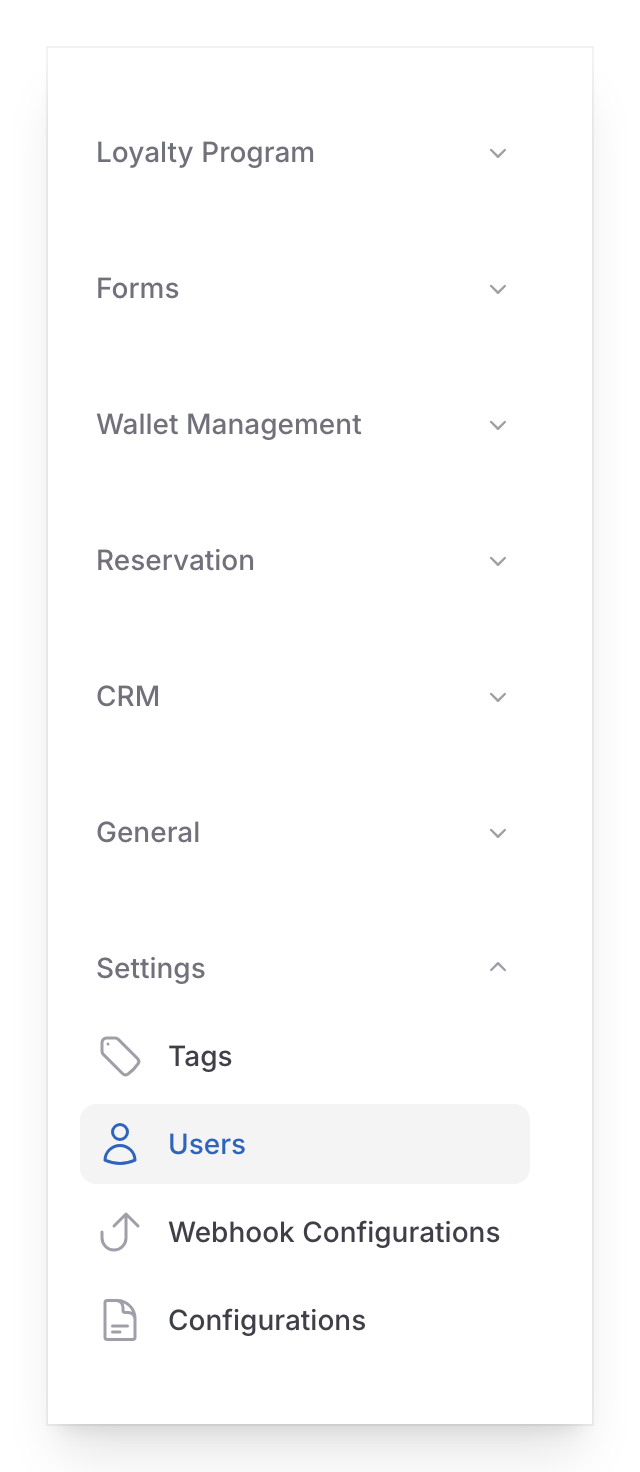
Go to Admin Panel → Settings → Users.
-
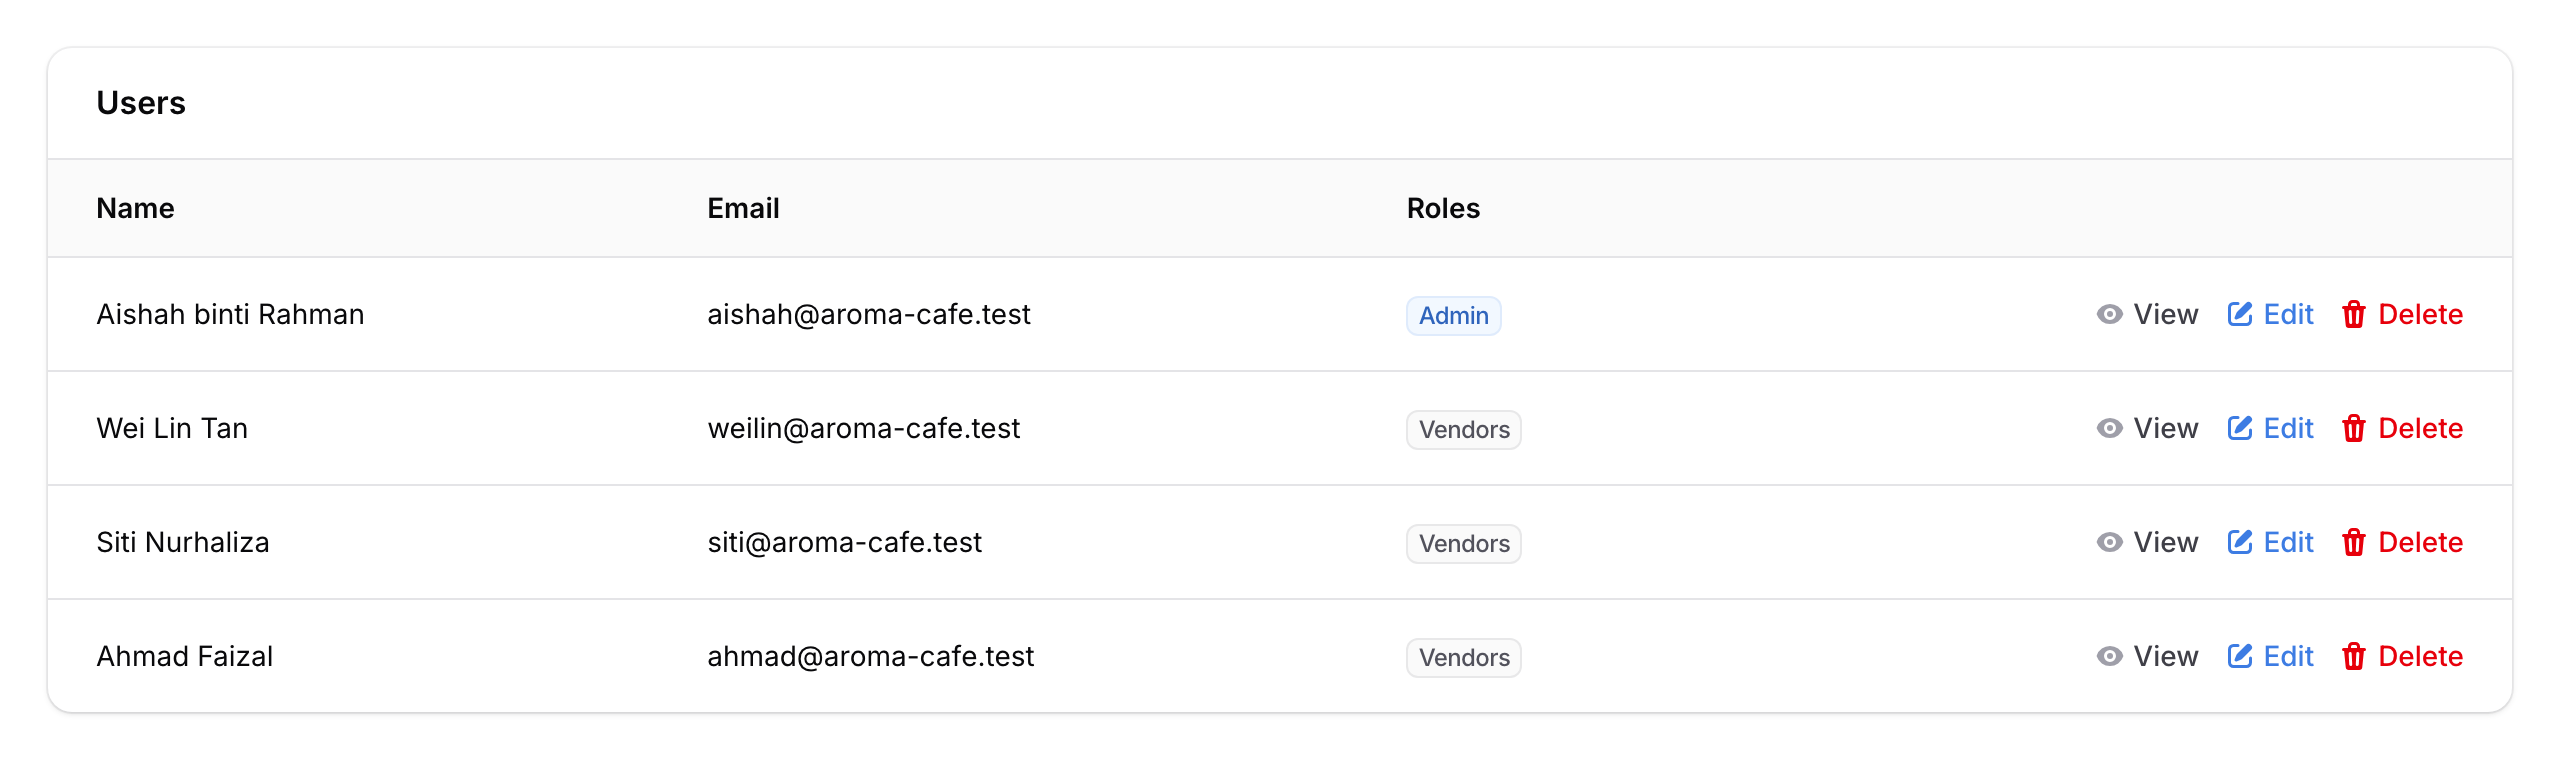
Click + New User at the top right of the Users list.
-
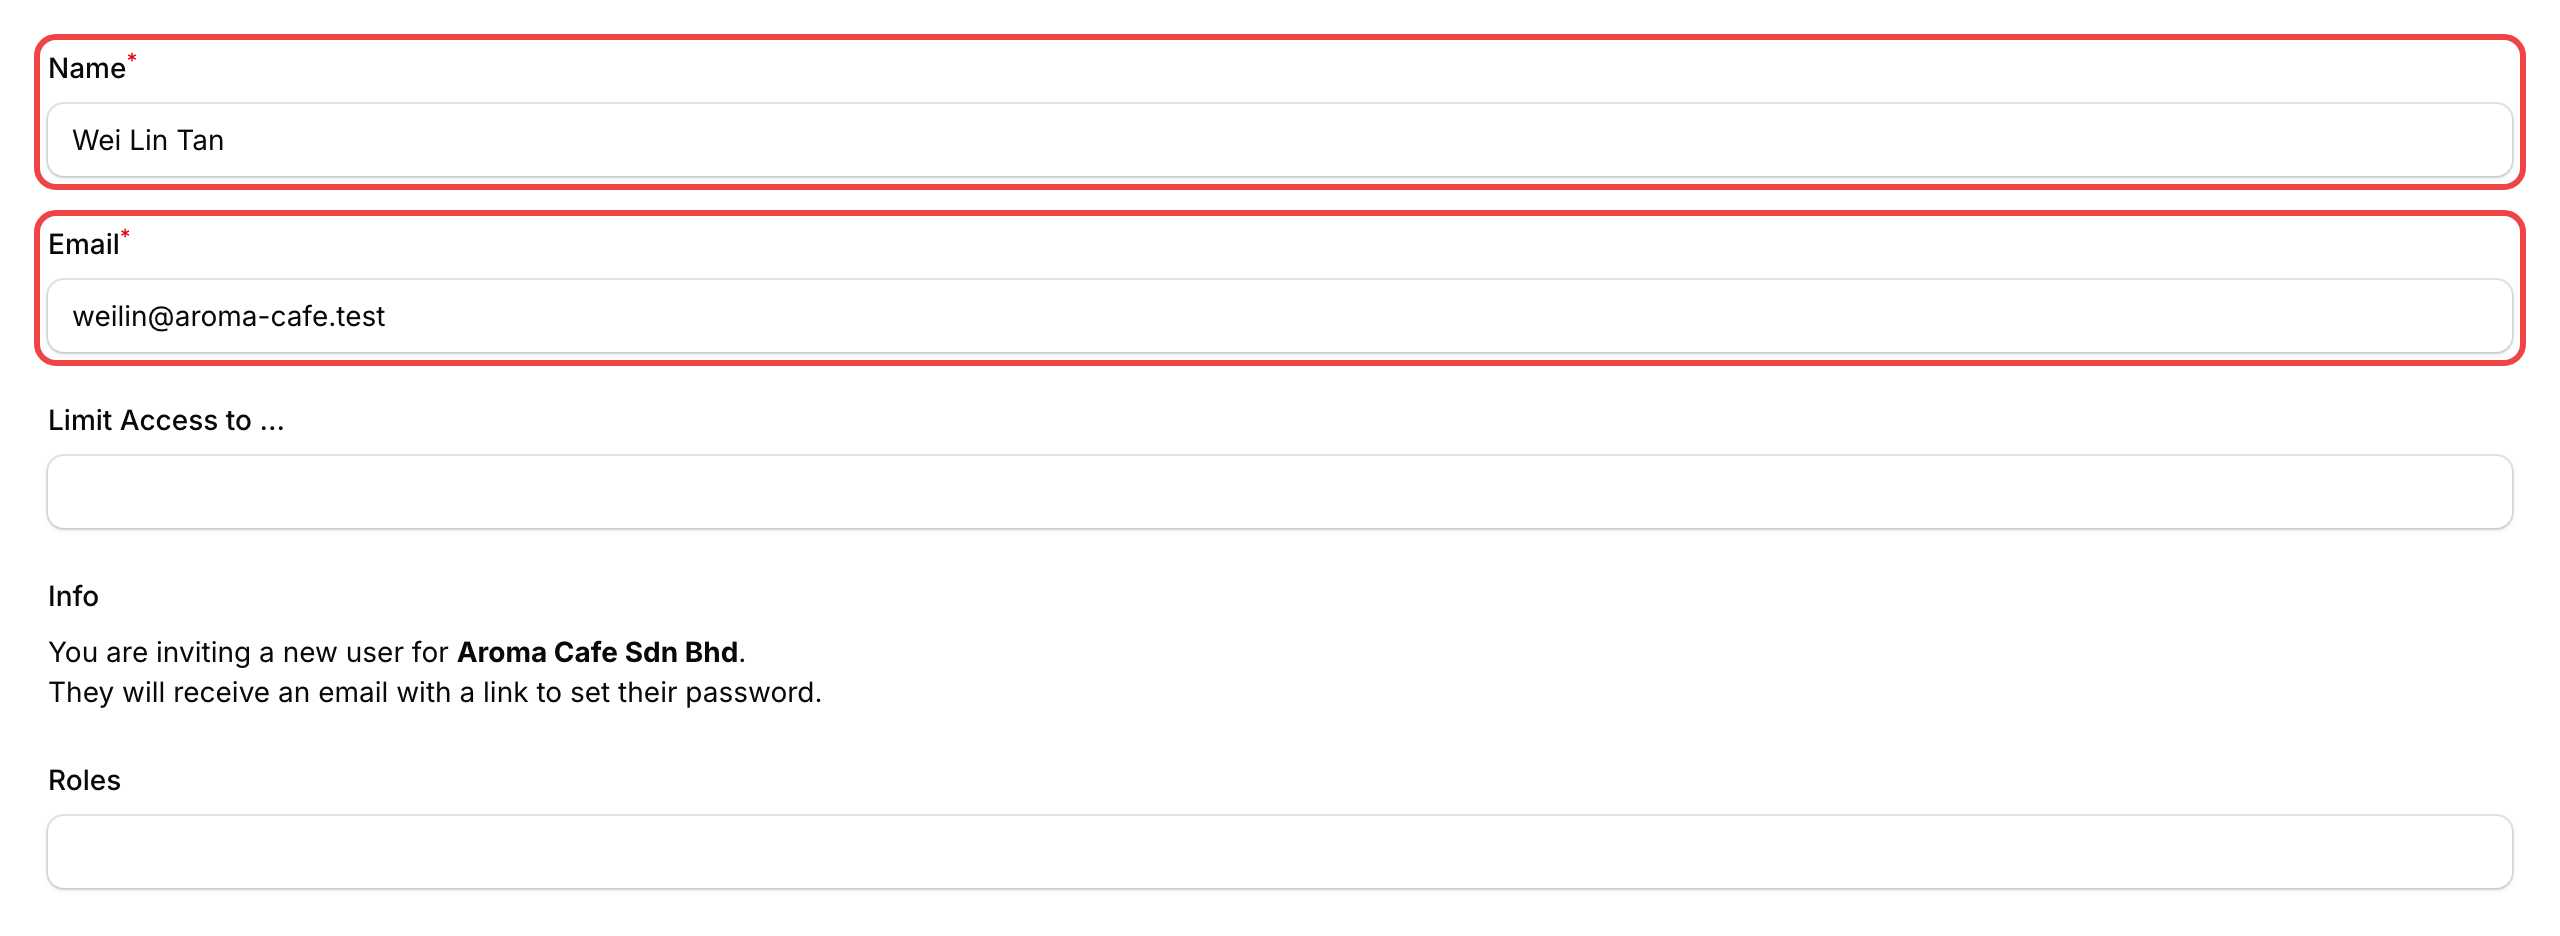
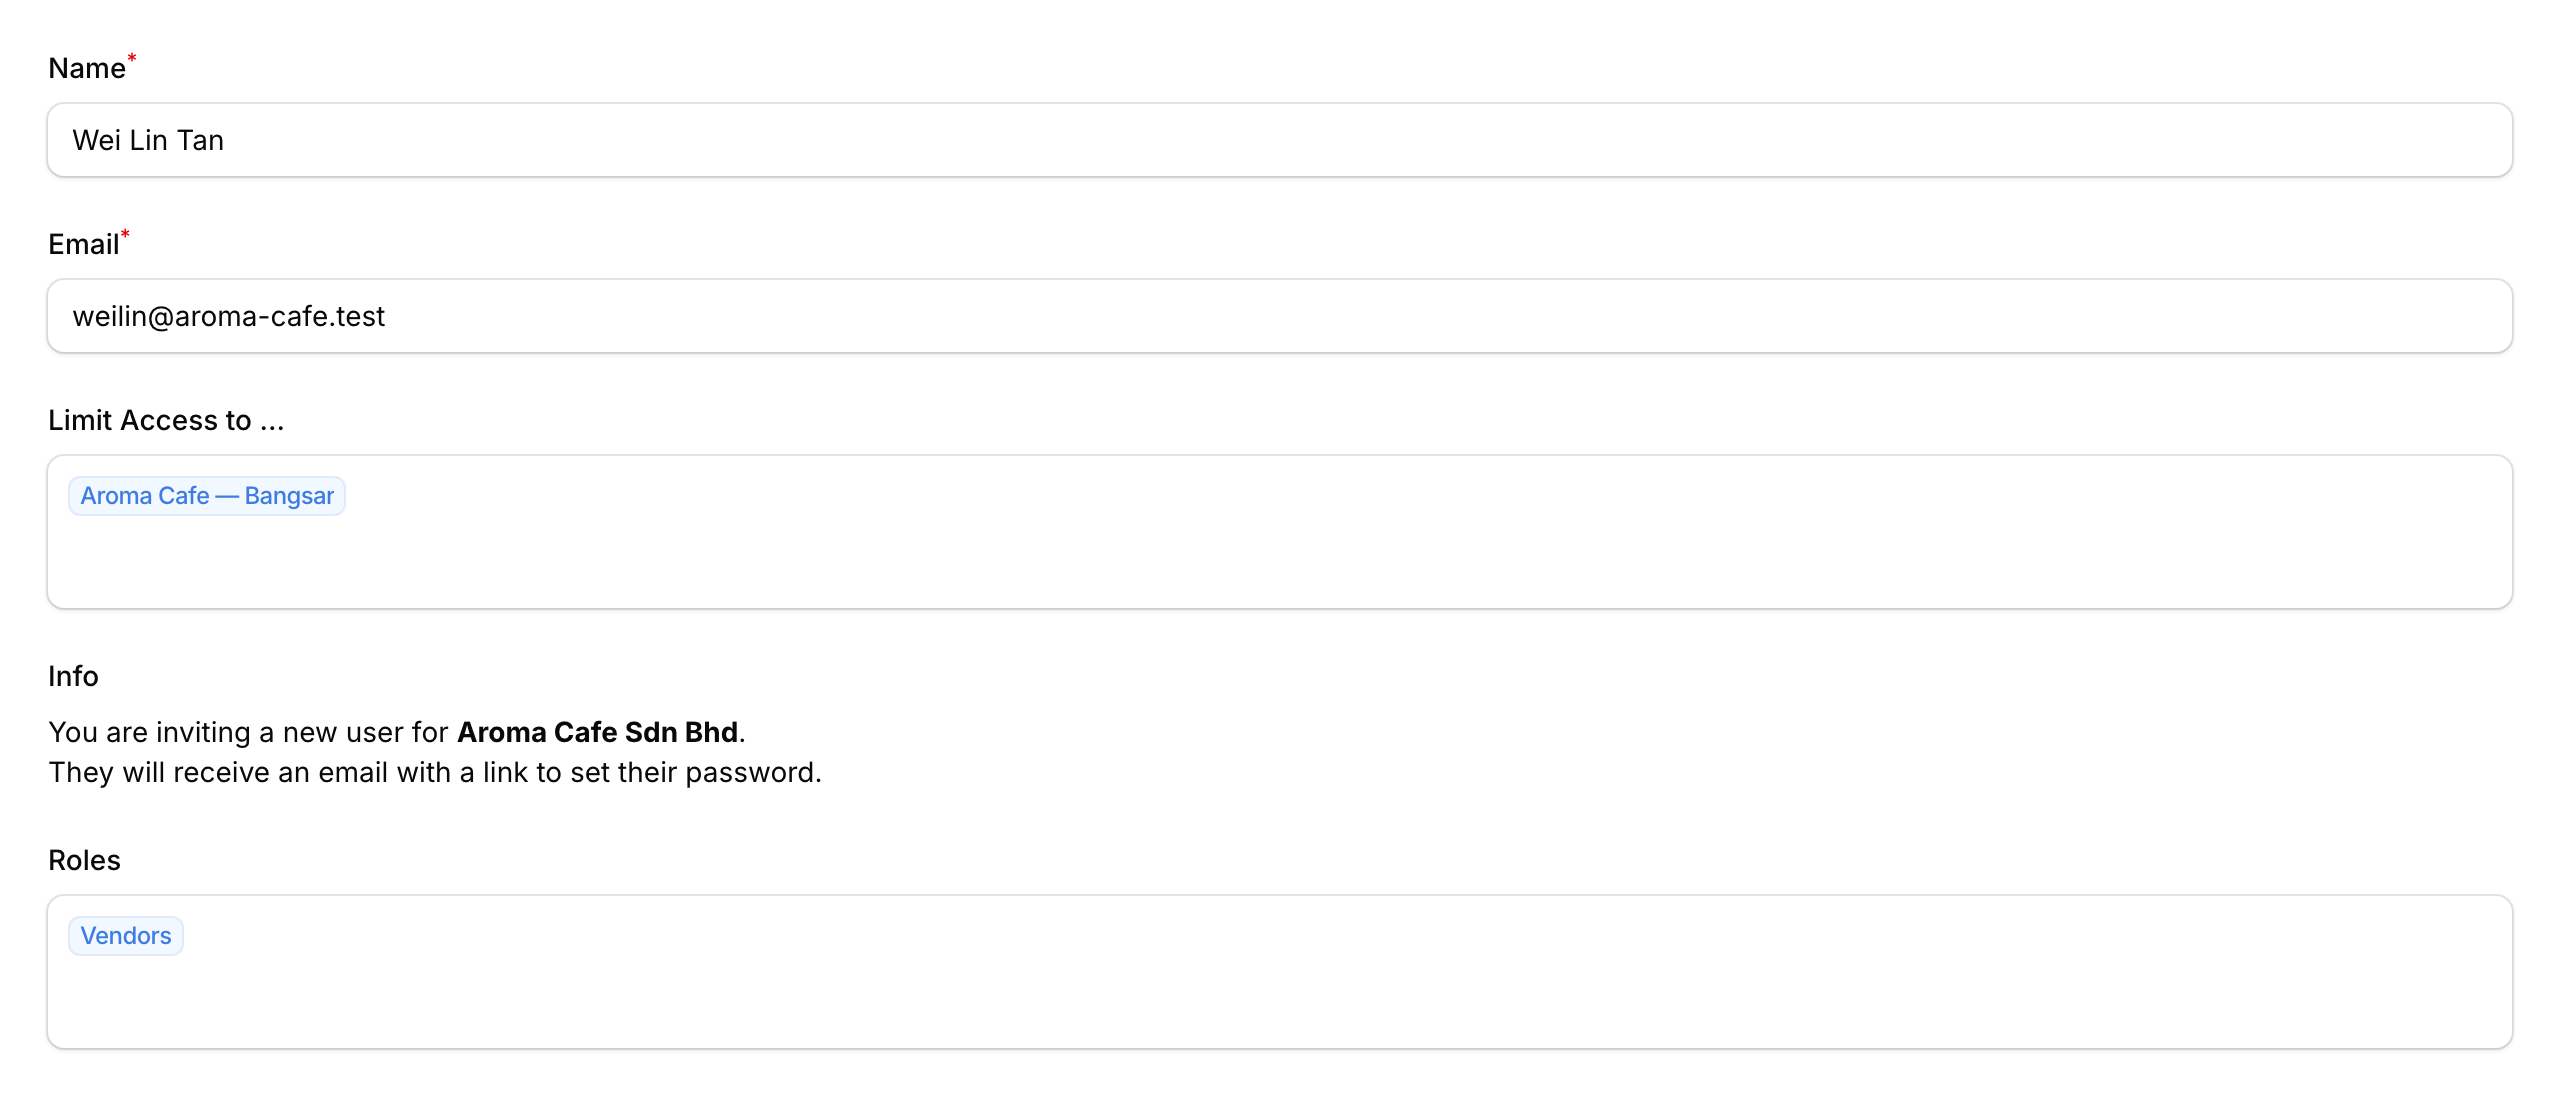
Fill in your teammate's Name and Email. Use the email they actually check — that's where the invite link is sent.
-
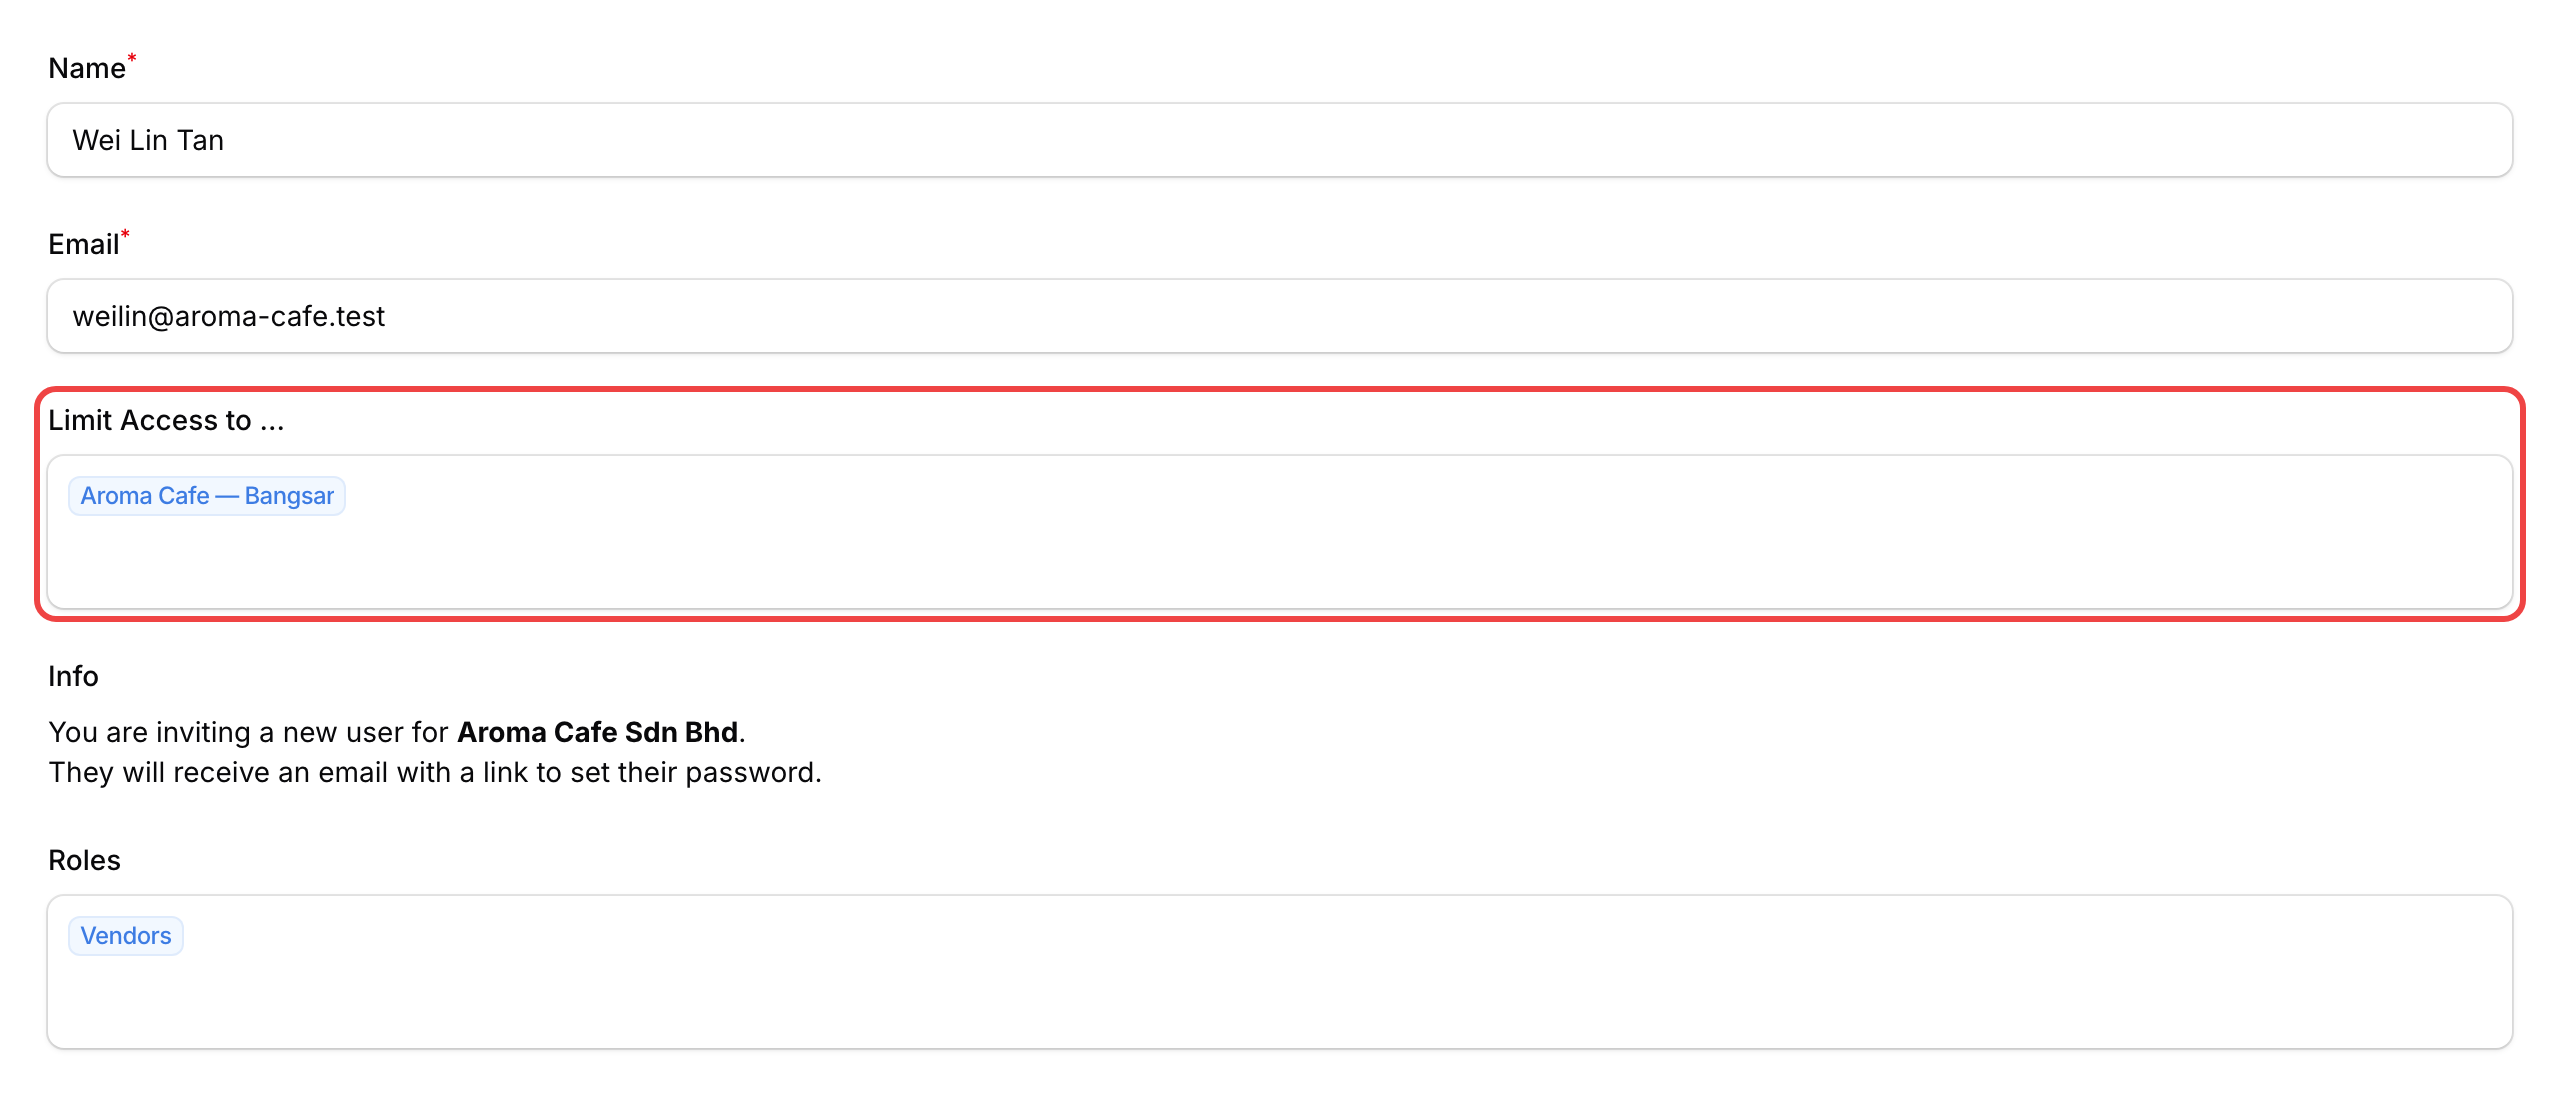
Pick the outlets they can manage in Limit Access to .... Leave it empty if they should see every outlet, or pick one or more outlets to restrict their access.
-
Leave the Roles field as Vendors — this is the only option available. Click Create to send the invite.
Your teammate gets an email with an Accept Invite button. They click it, set their own password, and they're in. The invite link is good for one week.
Roles Explained
Pixalink uses one role for vendor team members:
- Vendors — full access to run the business. They can manage customers, rewards, points, reservations, campaigns, broadcasts, forms, tiers, credits, the customer portal, and reports. They cannot delete the organisation itself or change billing.
The role is set automatically when you invite someone, so you don't need to choose between role types. To control what each teammate sees and touches, use outlet access (described below) rather than separate roles.
Custom Roles (When Enabled for Your Business)
Some businesses also have custom roles turned on. You will then see Admin Panel → Settings → Roles, where you choose which menus a role can open. Each menu has its own box with a Toggle All switch.
Stamp Campaigns has its own box, shown as StampCampaign. To hide Stamp Campaigns from a role, such as a Reservation role, switch that box off and save. The box only appears when stamp campaigns are turned on for your business.
Restricting Access to Specific Outlets
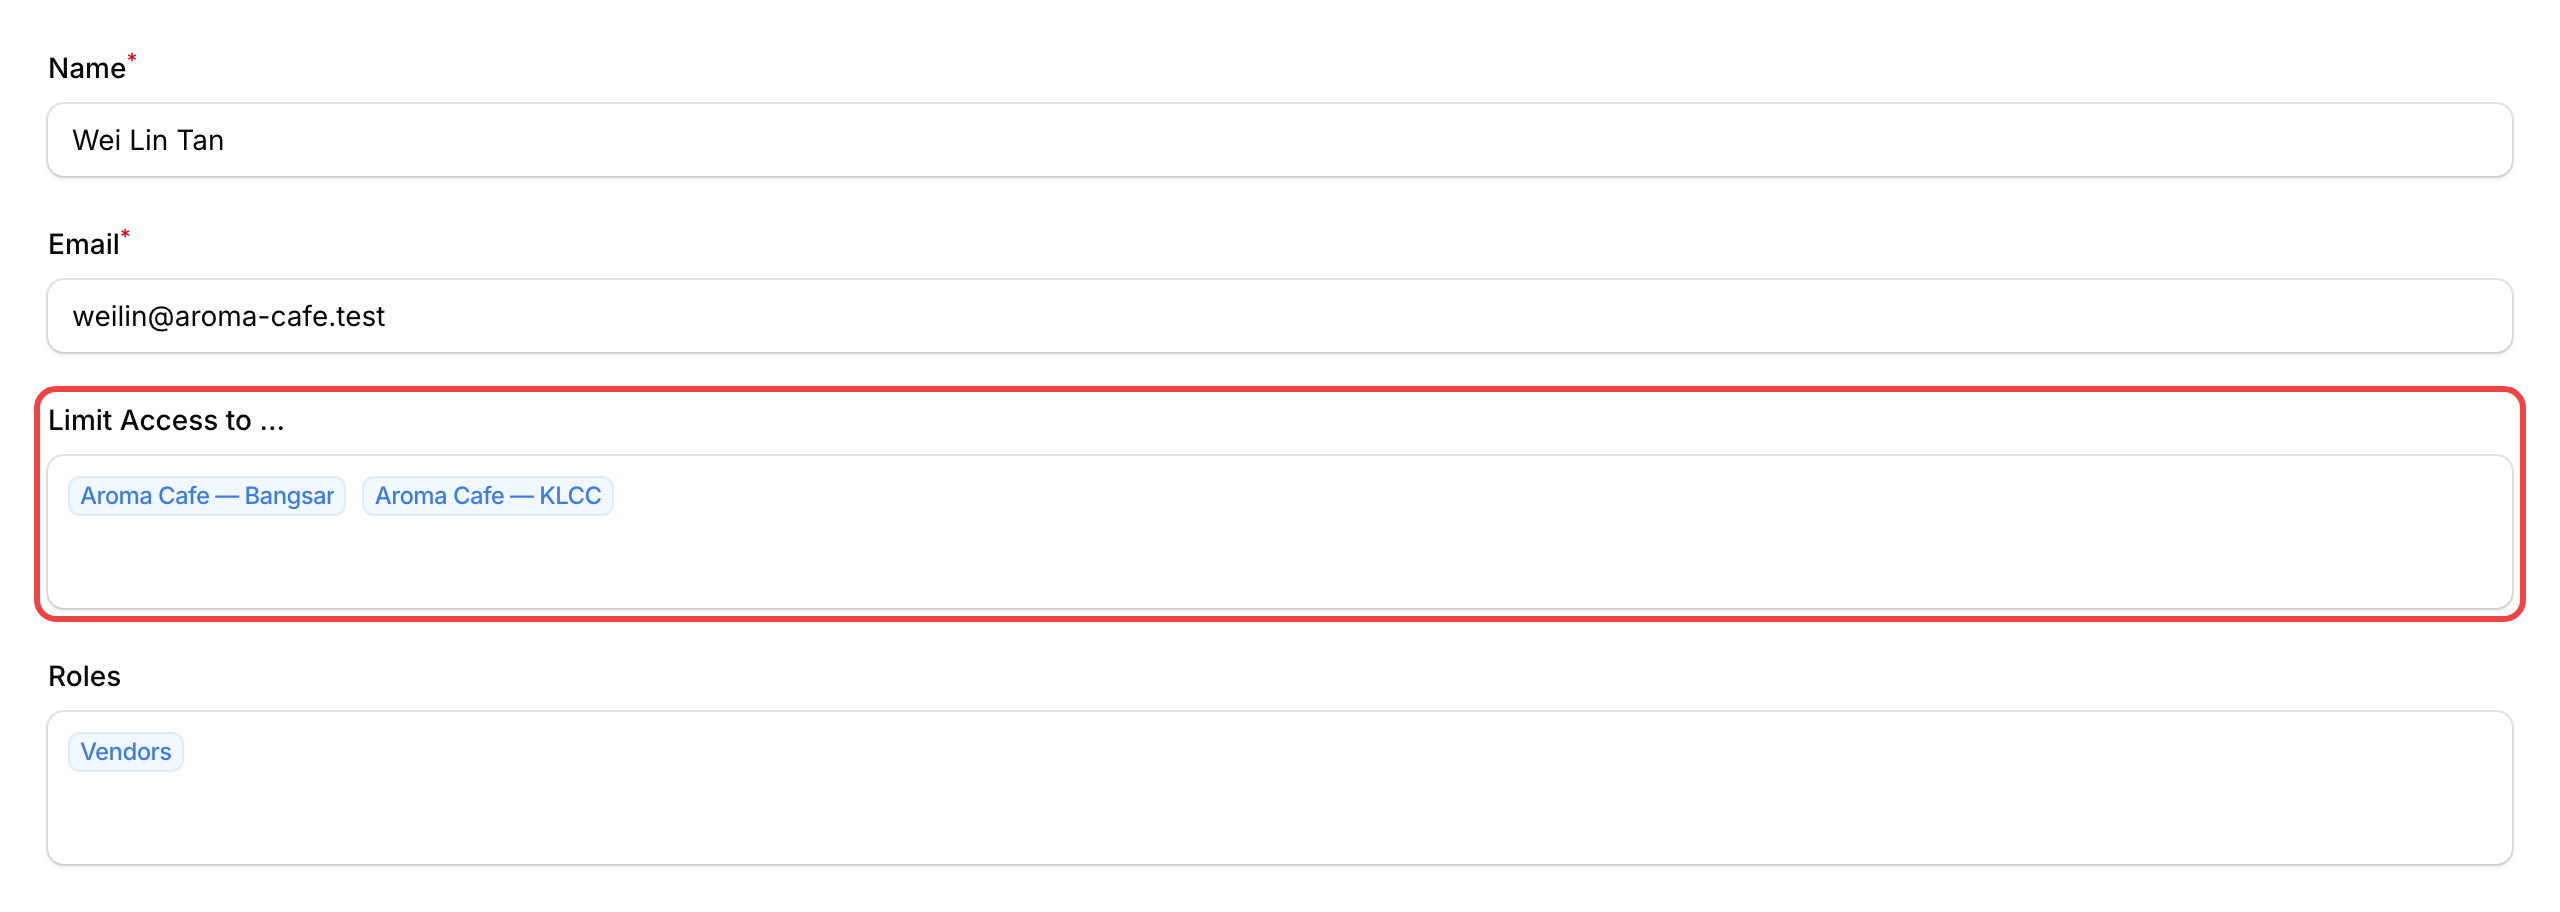
If you have more than one outlet, Limit Access to ... is your main control:
- Leave it empty — the teammate sees every outlet. Use this for owners, head-office staff, or marketing leads.
- Pick one outlet — the teammate only sees that branch's reservations, point history, credit history and dashboard figures, and can only pick that outlet when recording points or validating vouchers. They can still look up every customer. Use this for branch managers or store staff.
- Pick multiple outlets — the teammate sees only the outlets you tick. Use this for area managers covering a few branches.
Customers, POS transactions and rewards are shared across all your outlets, so every teammate can still look them up. For the full list of what outlet access limits, see How to Give Staff Access to Only Their Outlet.
You can change a teammate's outlet access any time by going to Users, clicking Edit on their row, and updating the Limit Access to ... field.
What Your Customers Will See
Your customers are not affected by this — these settings only change what your team sees and can do.
Removing or Updating a Teammate
From the Users list, every row has three actions:
- View — see the teammate's profile and the outlets they can access.
- Edit — change their name, email, or outlet access.
- Delete — remove them. They lose access immediately and can no longer log in.
When someone leaves your team, delete their account on the same day to keep your data safe.
Good to Know
- Teammates set their own password during the invite, so you never need to share or reset one for them.
- The invite email link expires after 7 days. If a teammate misses it, delete their account and invite them again.
- You cannot change your own role — only another team member can do that for you.
- Outlet access only filters what a teammate sees. If you want to fully block someone from the system, delete their account instead.
- Anyone you invite can also invite more teammates, so be selective.
- Deleting a teammate is permanent — it cannot be undone, and their past activity log entries will no longer show their name.
Need Help?
Reach out to our support team — we're happy to walk you through your first invite or help you tidy up team access.
What's Next?
- How to Add a New Team Member — the short version of this guide
- Understanding Spaces — What They Are and When to Use Them — set up outlets before you invite branch staff