
Sharing Your Reservation Booking Link and Viewing Bookings
Sharing Your Reservation Booking Link and Viewing Bookings
What Is This?
Every booking calendar in Pixalink has its own public booking page. Customers open the link, pick a date and time, and book on their own. You can share the link on WhatsApp, print its QR code, and watch every booking arrive in your admin panel.

Real-Life Example
Wei Lin runs Glow Salon in Mont Kiara. Her phone rang all day with booking requests. She often missed calls while doing treatments, and those customers booked elsewhere. So she copied her calendar's booking link from Pixalink. She pasted it into her WhatsApp auto-reply and her Instagram bio. She also printed the QR code and placed it at the counter. Now customers book on their own, and her chairs stay full.
How to Set It Up
-
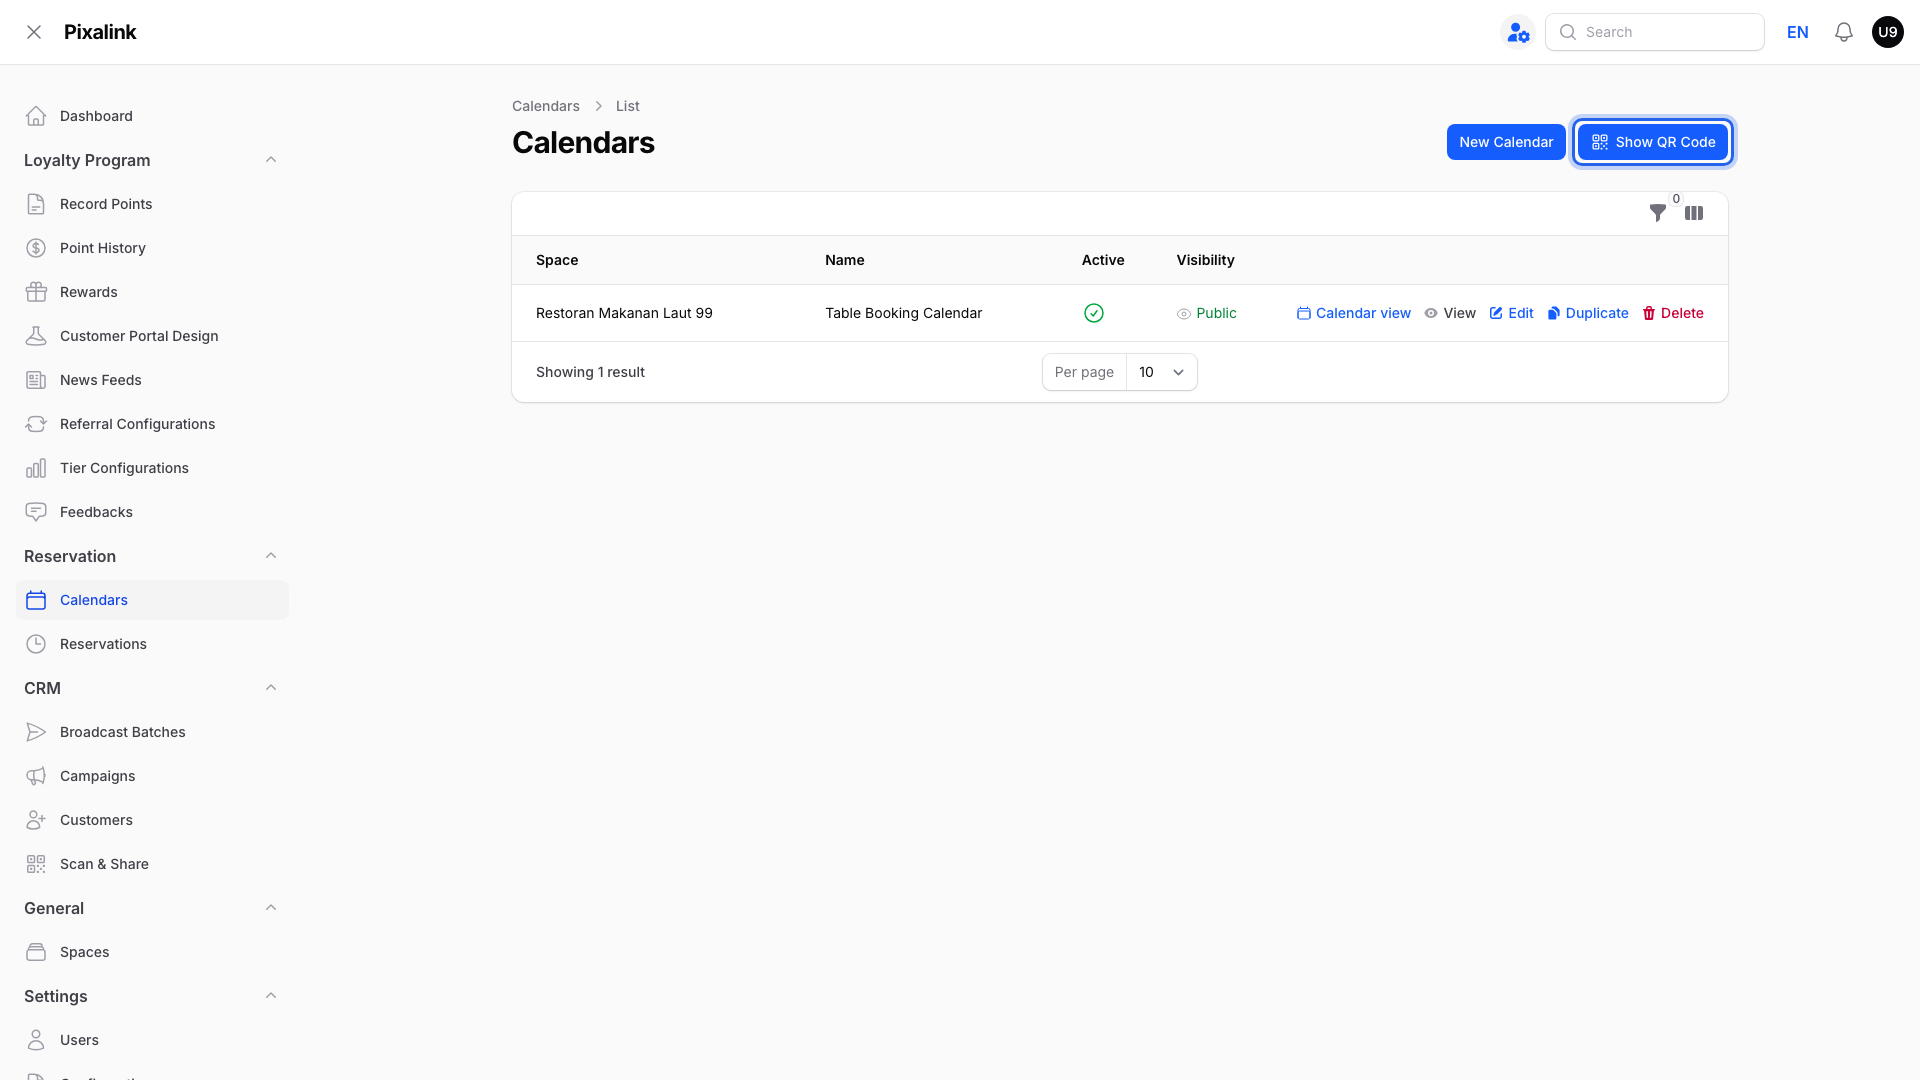
Go to Admin Panel → Reservation → Calendars.

-
Click Show QR Code at the top right of the page.
-
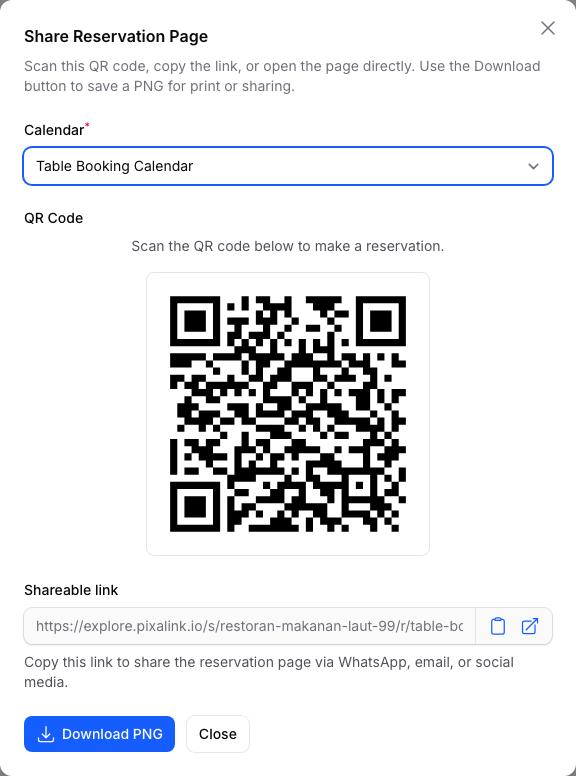
Choose your calendar, then copy the shareable link or click Download PNG. Paste the link into WhatsApp, or print the QR code for your counter.
-
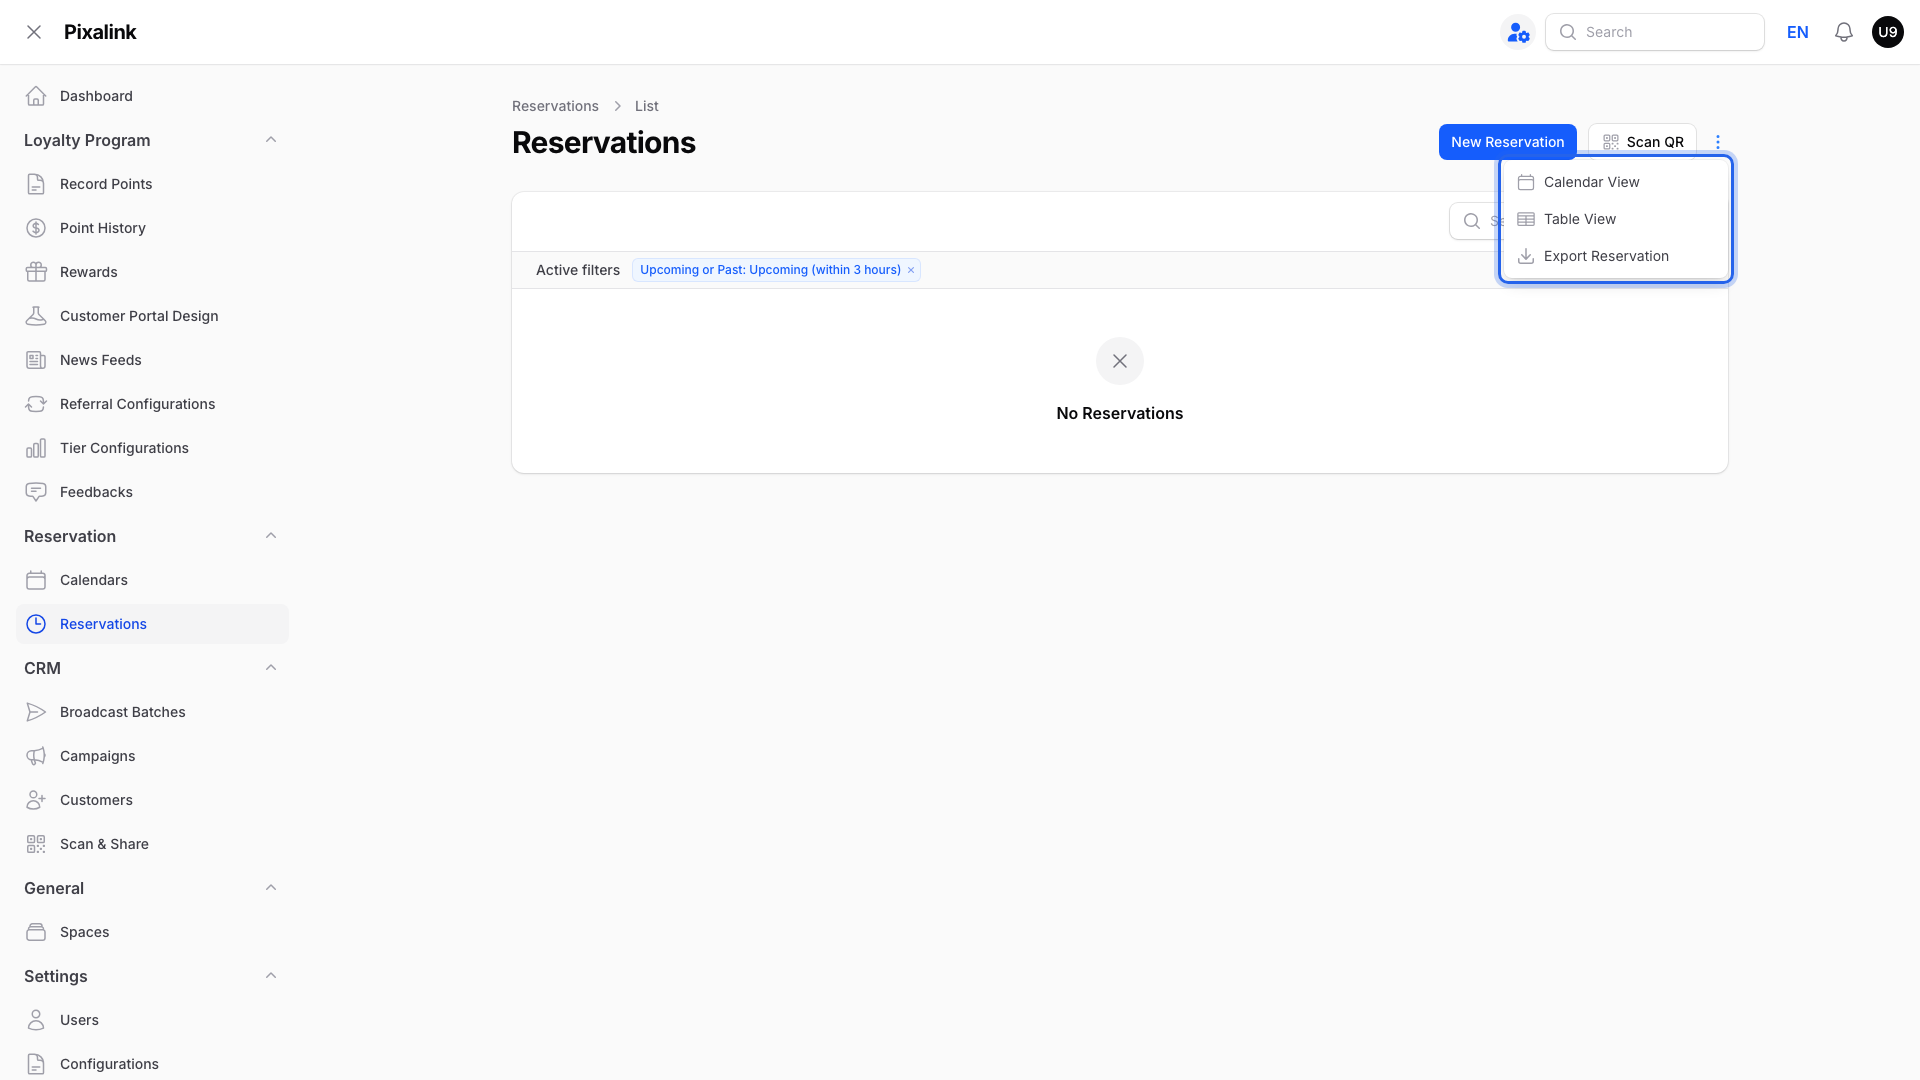
Go to Admin Panel → Reservation → Reservations to see your bookings. If your calendar needs approval, new bookings show Approve and Reject buttons.

-
Click the three-dot menu at the top right to change your view.
-
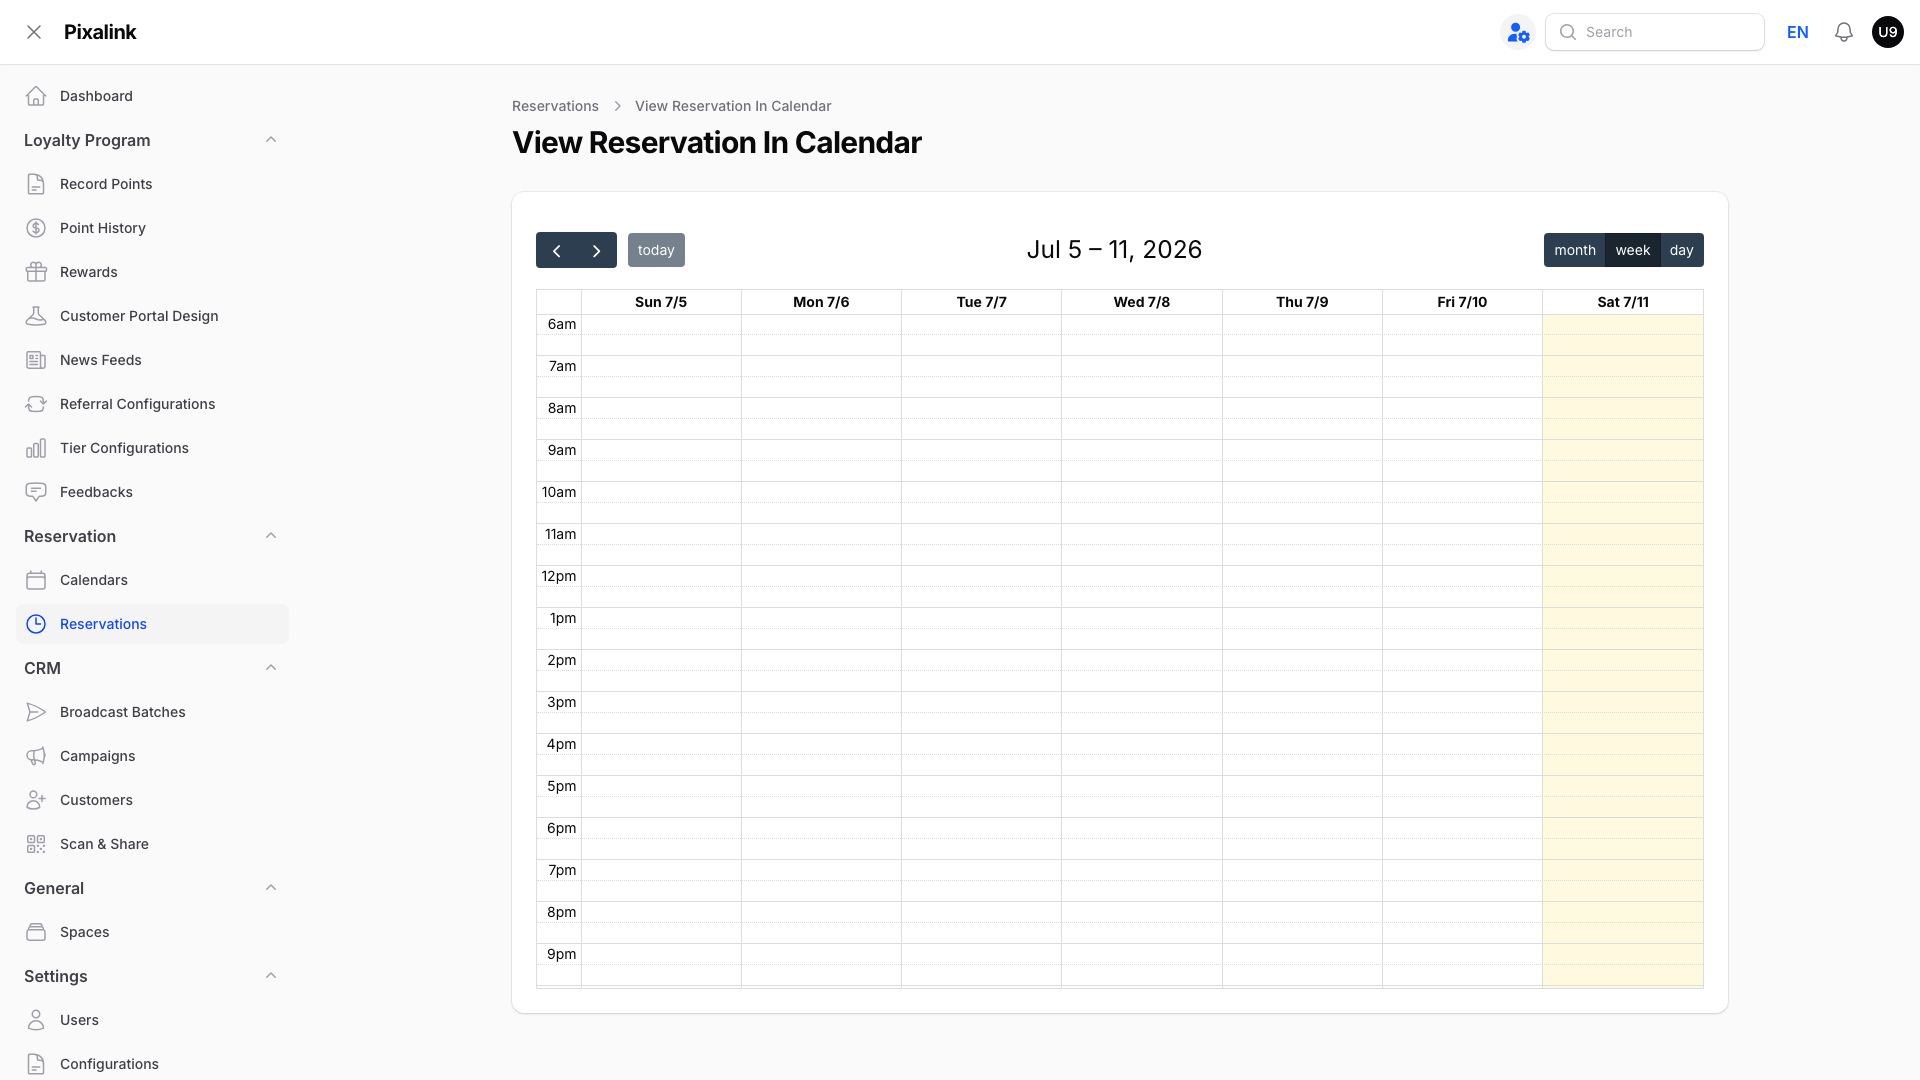
Click Calendar View to see bookings on a date grid, by month, week, or day.
What Your Customers Will See
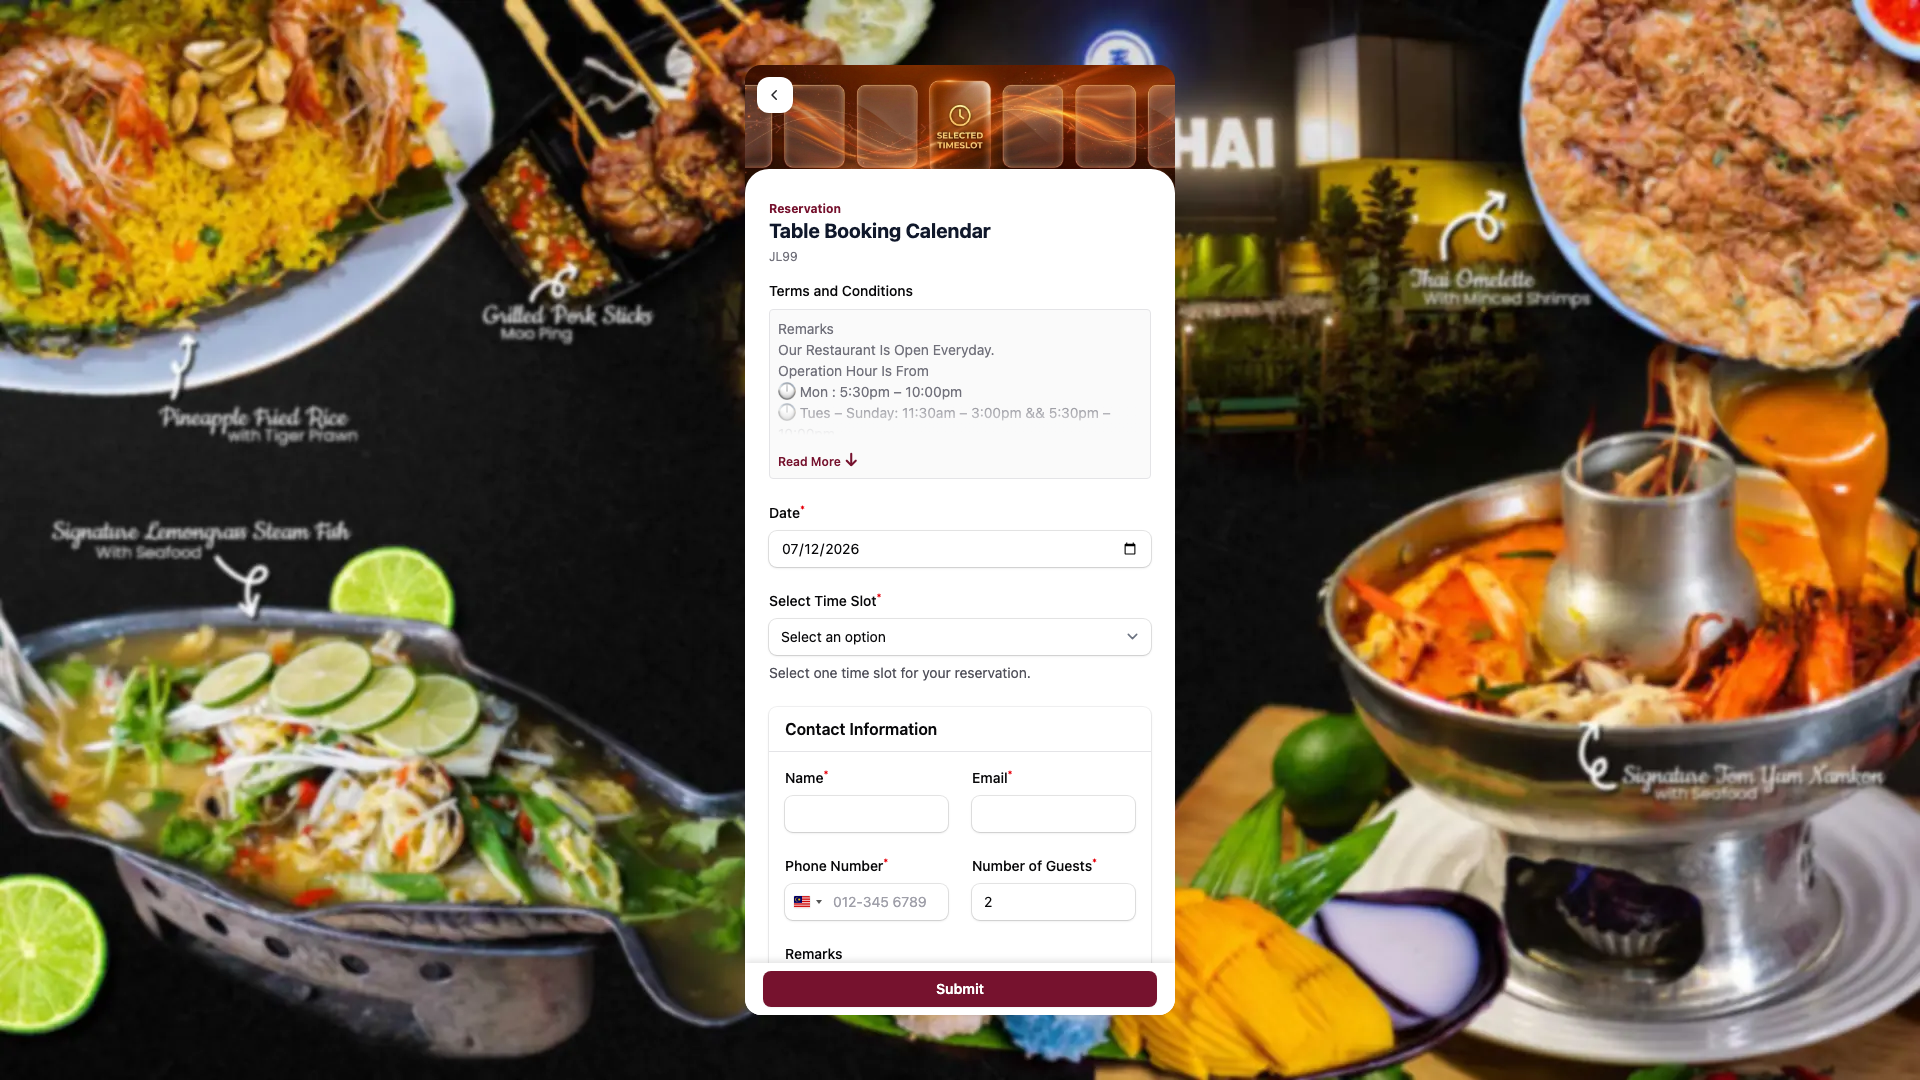
Customers see your calendar's name with your business name under it. They pick a date and a time slot. Then they fill in their name, phone number, and number of guests. After booking, they get a confirmation page with the booking number, your outlet name, and your address.
Good to Know
- Renaming a calendar does not change its booking link. Shared links and printed QR codes keep working.
- If a staff account is limited to certain outlets, that staff member only sees bookings for those outlets.
- Customers who are logged in to your customer portal can also find your booking pages there.
- The Table View option shows the same bookings in a compact table you can export.
Need Help?
If anything looks different on your screen, contact the Pixalink support team and we'll walk you through it.