How to Block Dates on Your Calendar
How to Block Dates on Your Calendar
What Is This?
Blocked dates prevent customers from booking on days or timeslots that aren't available. You can close off a single day, a whole date range, or individual timeslots — customers simply won't see those options when booking.
Real-Life Example
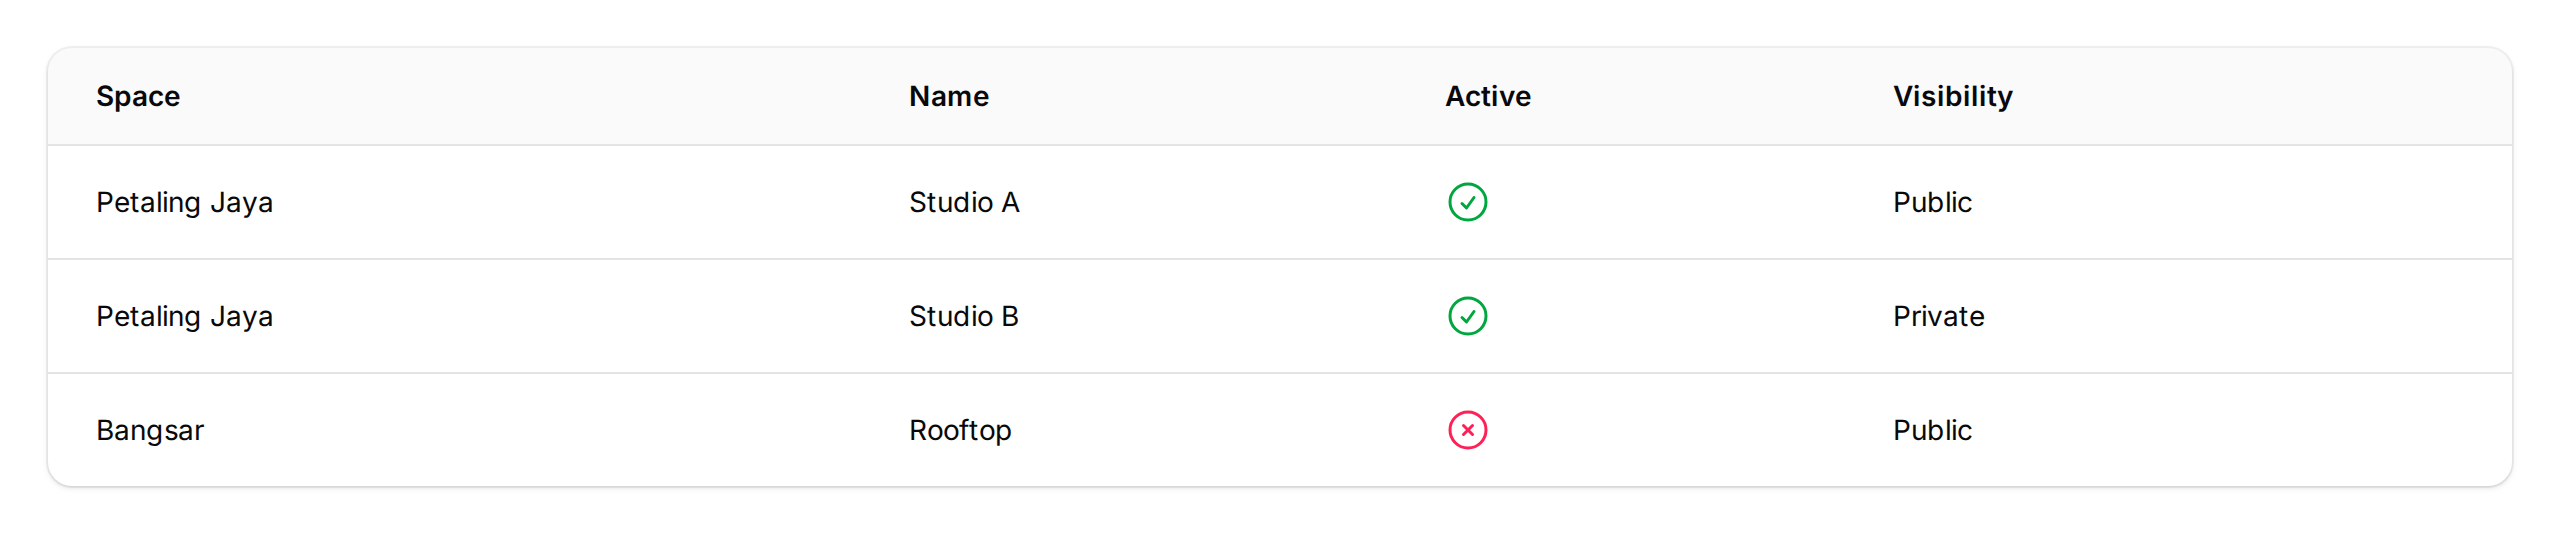
Aishah runs a wellness studio in Petaling Jaya. She's renovating the treatment rooms for a week in April. Instead of manually turning away each booking request, she blocks 7 to 13 April as a date range on her calendar. All those days are instantly removed from the booking page — customers automatically see only the dates before and after the closure.
Which Block Type Should I Use?
| Block Type | Use When | Example |
|---|---|---|
| Specific Date | The whole day is unavailable — a one-off closure | Public holiday, a private event, a single day off |
| Range of Dates | Multiple consecutive days are fully closed | Renovation week, staff retreat, seasonal shutdown |
| Specific Timeslot on Day | You're still open that day, but certain slots are taken | An afternoon meeting, a reserved slot, staff training |
Quick rule: if the whole day is unavailable, use Specific Date or Range of Dates. If only part of the day is blocked, use Specific Timeslot on Day.
How to Set It Up
-
Go to Admin Panel → Reservation → Calendars.
-
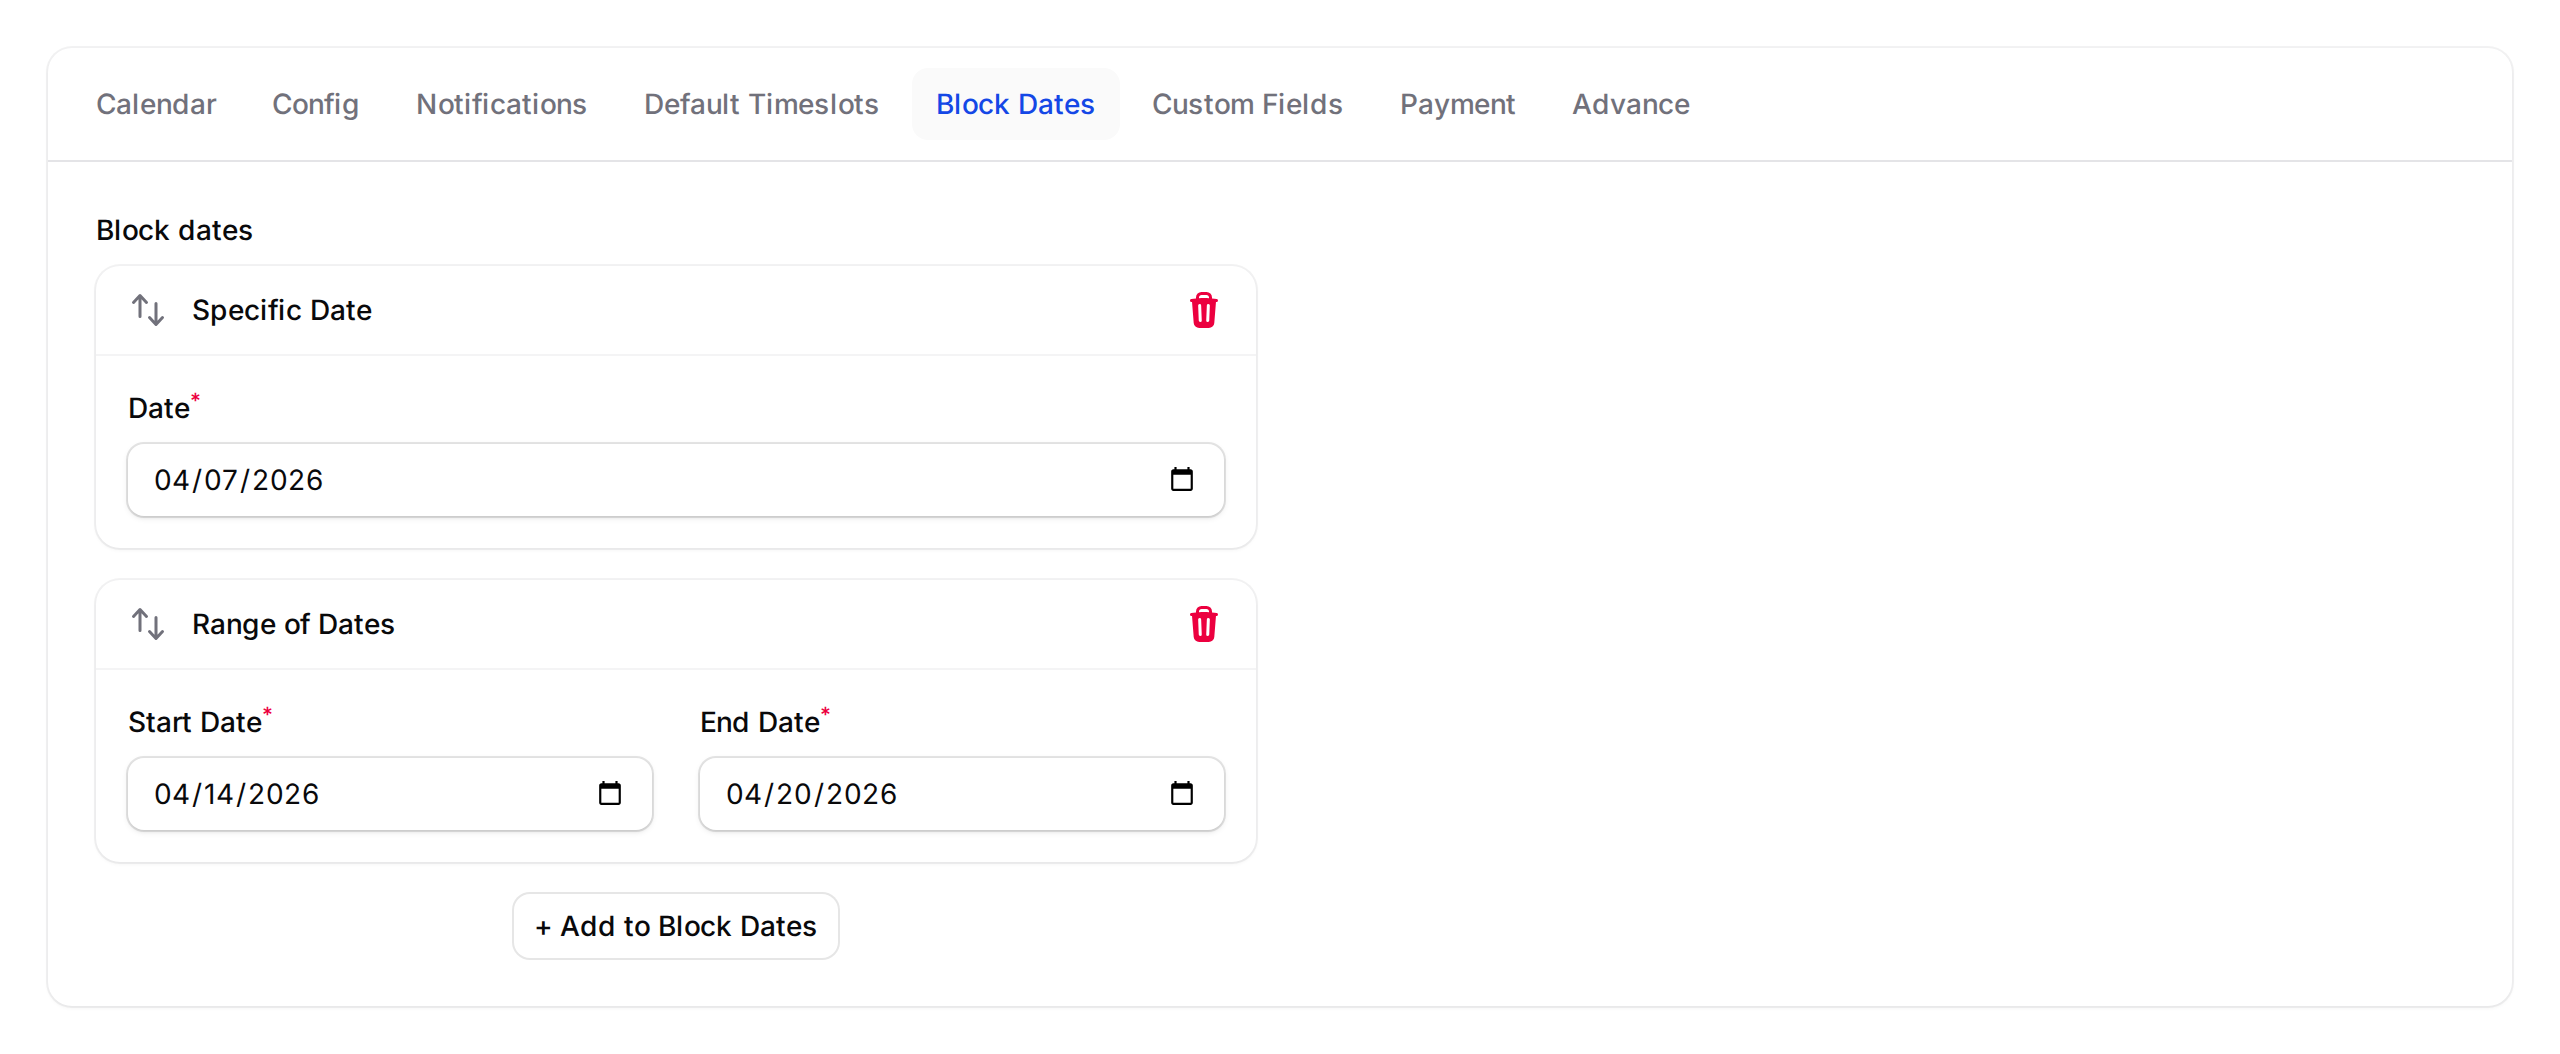
Click the calendar you want to manage, then open the Block Dates tab.
-
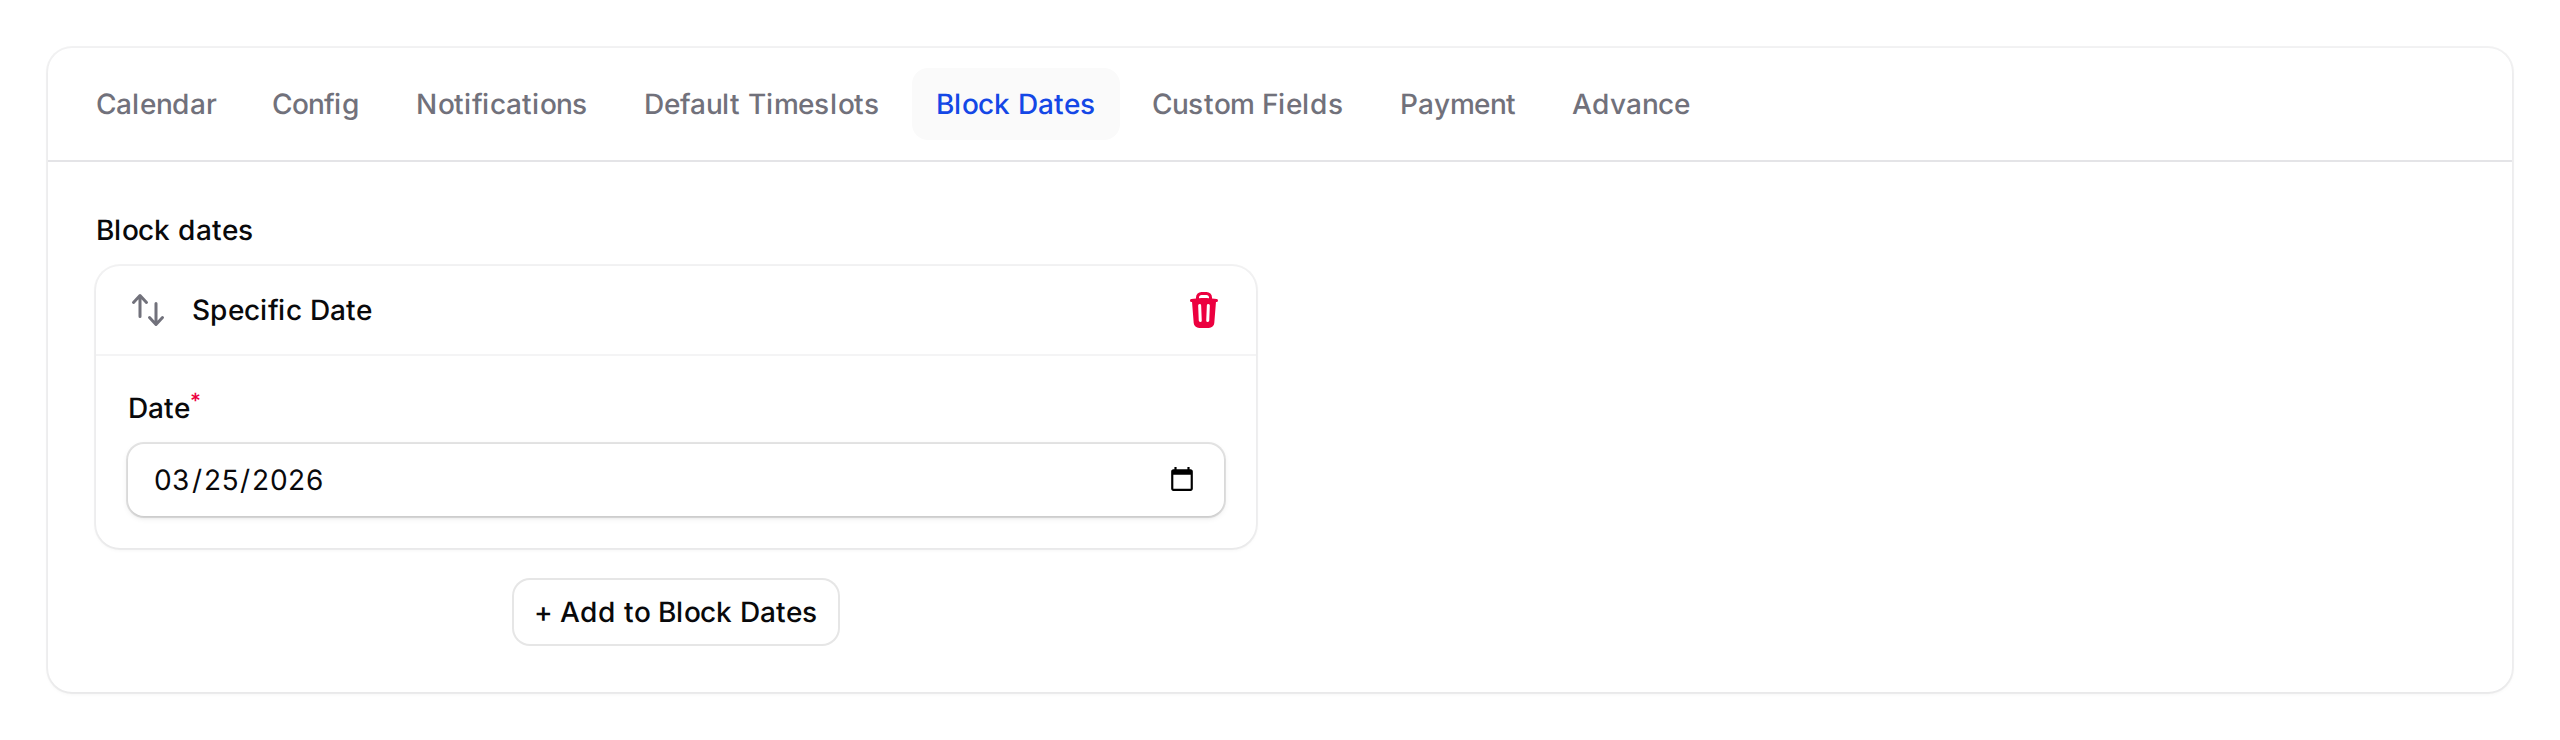
Click + Add to Block Dates and choose Specific Date. Pick the Date you want to close, then click Save.
-
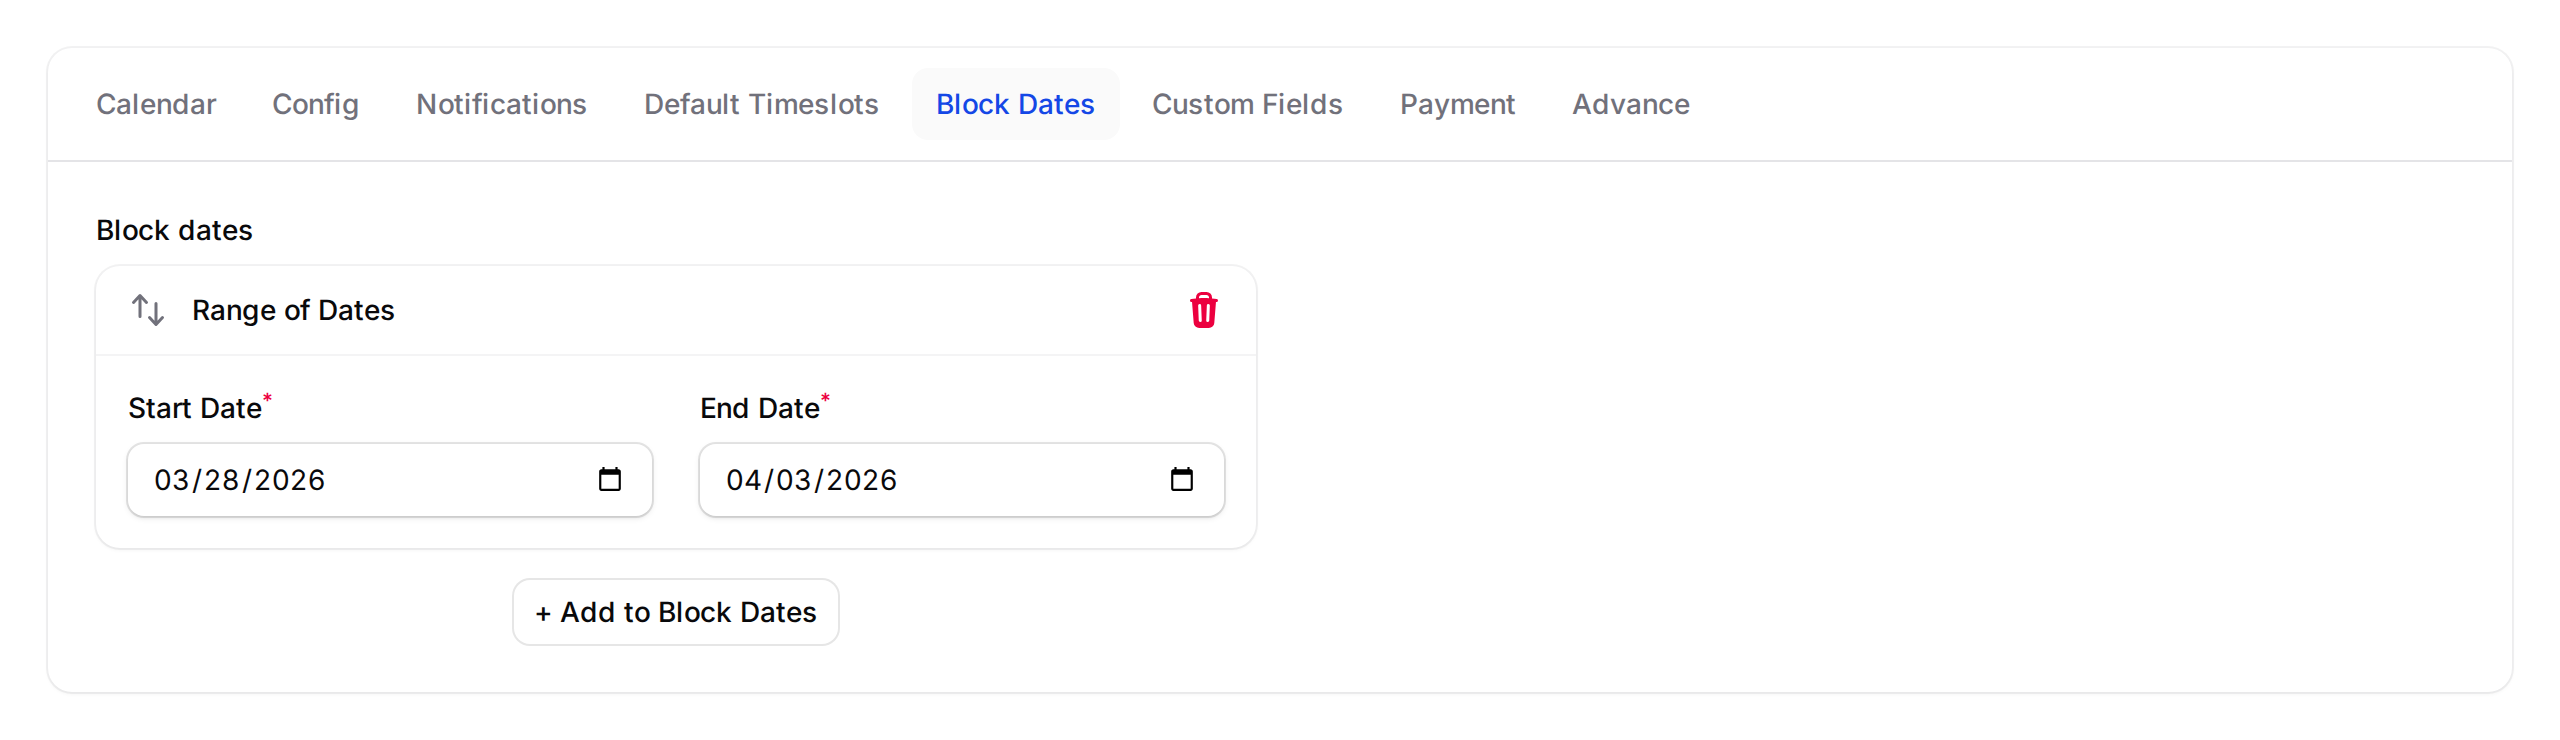
To close multiple consecutive days at once, choose Range of Dates instead. Set the Start Date and End Date, then click Save.
-
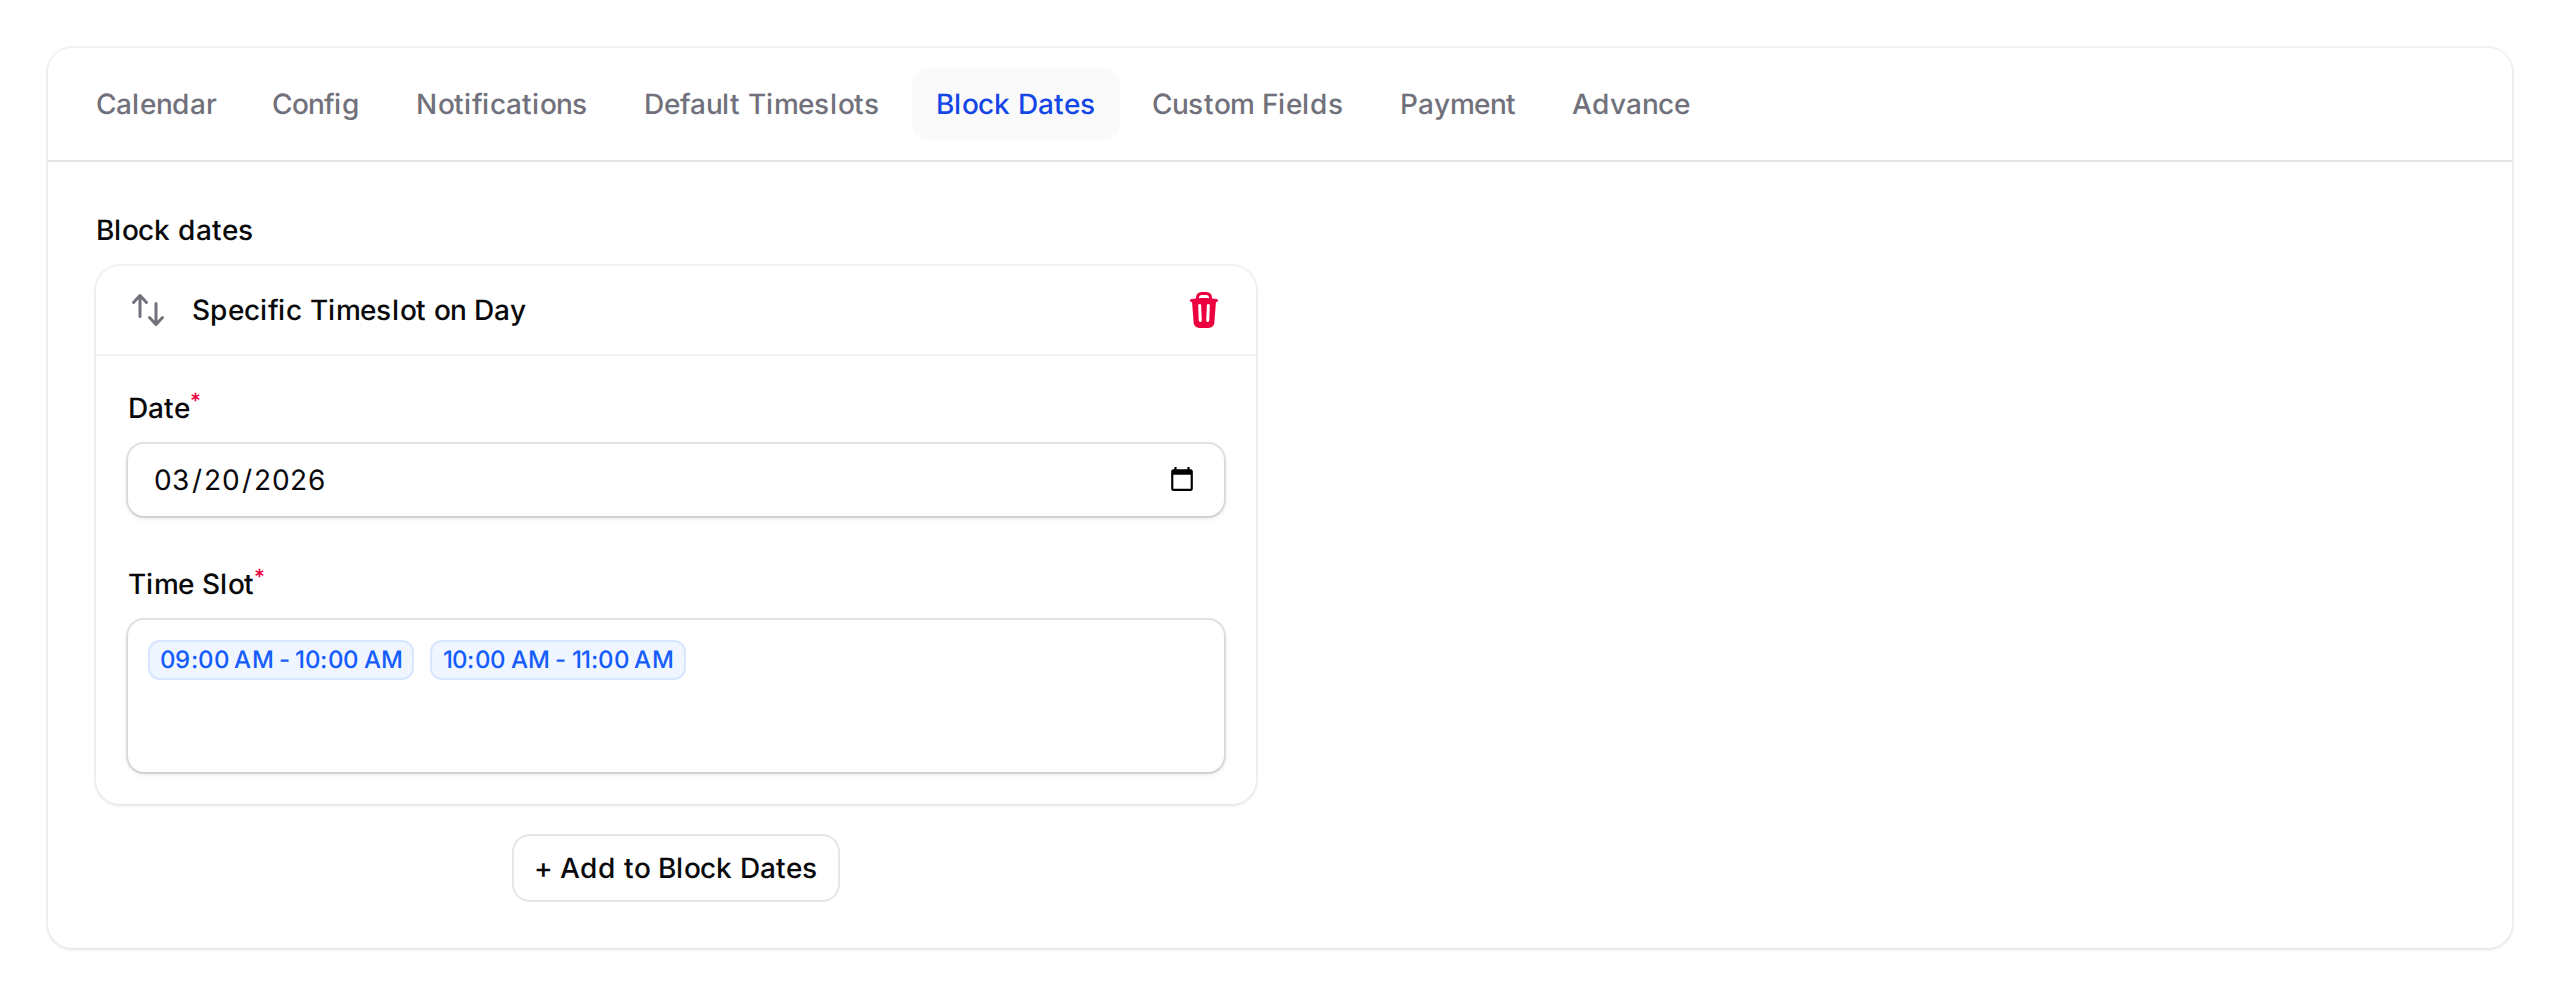
To block only certain timeslots on a day (leaving the rest open), choose Specific Timeslot on Day. Pick the Date, select the Time Slots you want to close, then click Save.
You can add multiple blocks of different types on the same calendar.
What Your Customers Will See
Blocked dates appear greyed out in the booking calendar — customers can't select them. For blocked timeslots, those time slots won't appear in the dropdown when customers book. The rest of the calendar stays available as normal.
Good to Know
- Date ranges cover every day from the start date to the end date, inclusive
- You can add as many blocks as you need — mix and match all three types on the same calendar
- Blocks take effect immediately after saving
- If a date is already fully blocked, it won't appear in the date picker when you add a Specific Timeslot on Day block — it's automatically excluded