How to Add Custom Fields to a Calendar Reservation Form
How to Add Custom Fields to a Calendar Reservation Form
What Is This?
Custom fields let you collect extra information from customers when they book through your calendar. Whether it's dietary needs, group size, or a preferred service — you decide what to ask, and customers fill it in during booking.
Real-Life Example
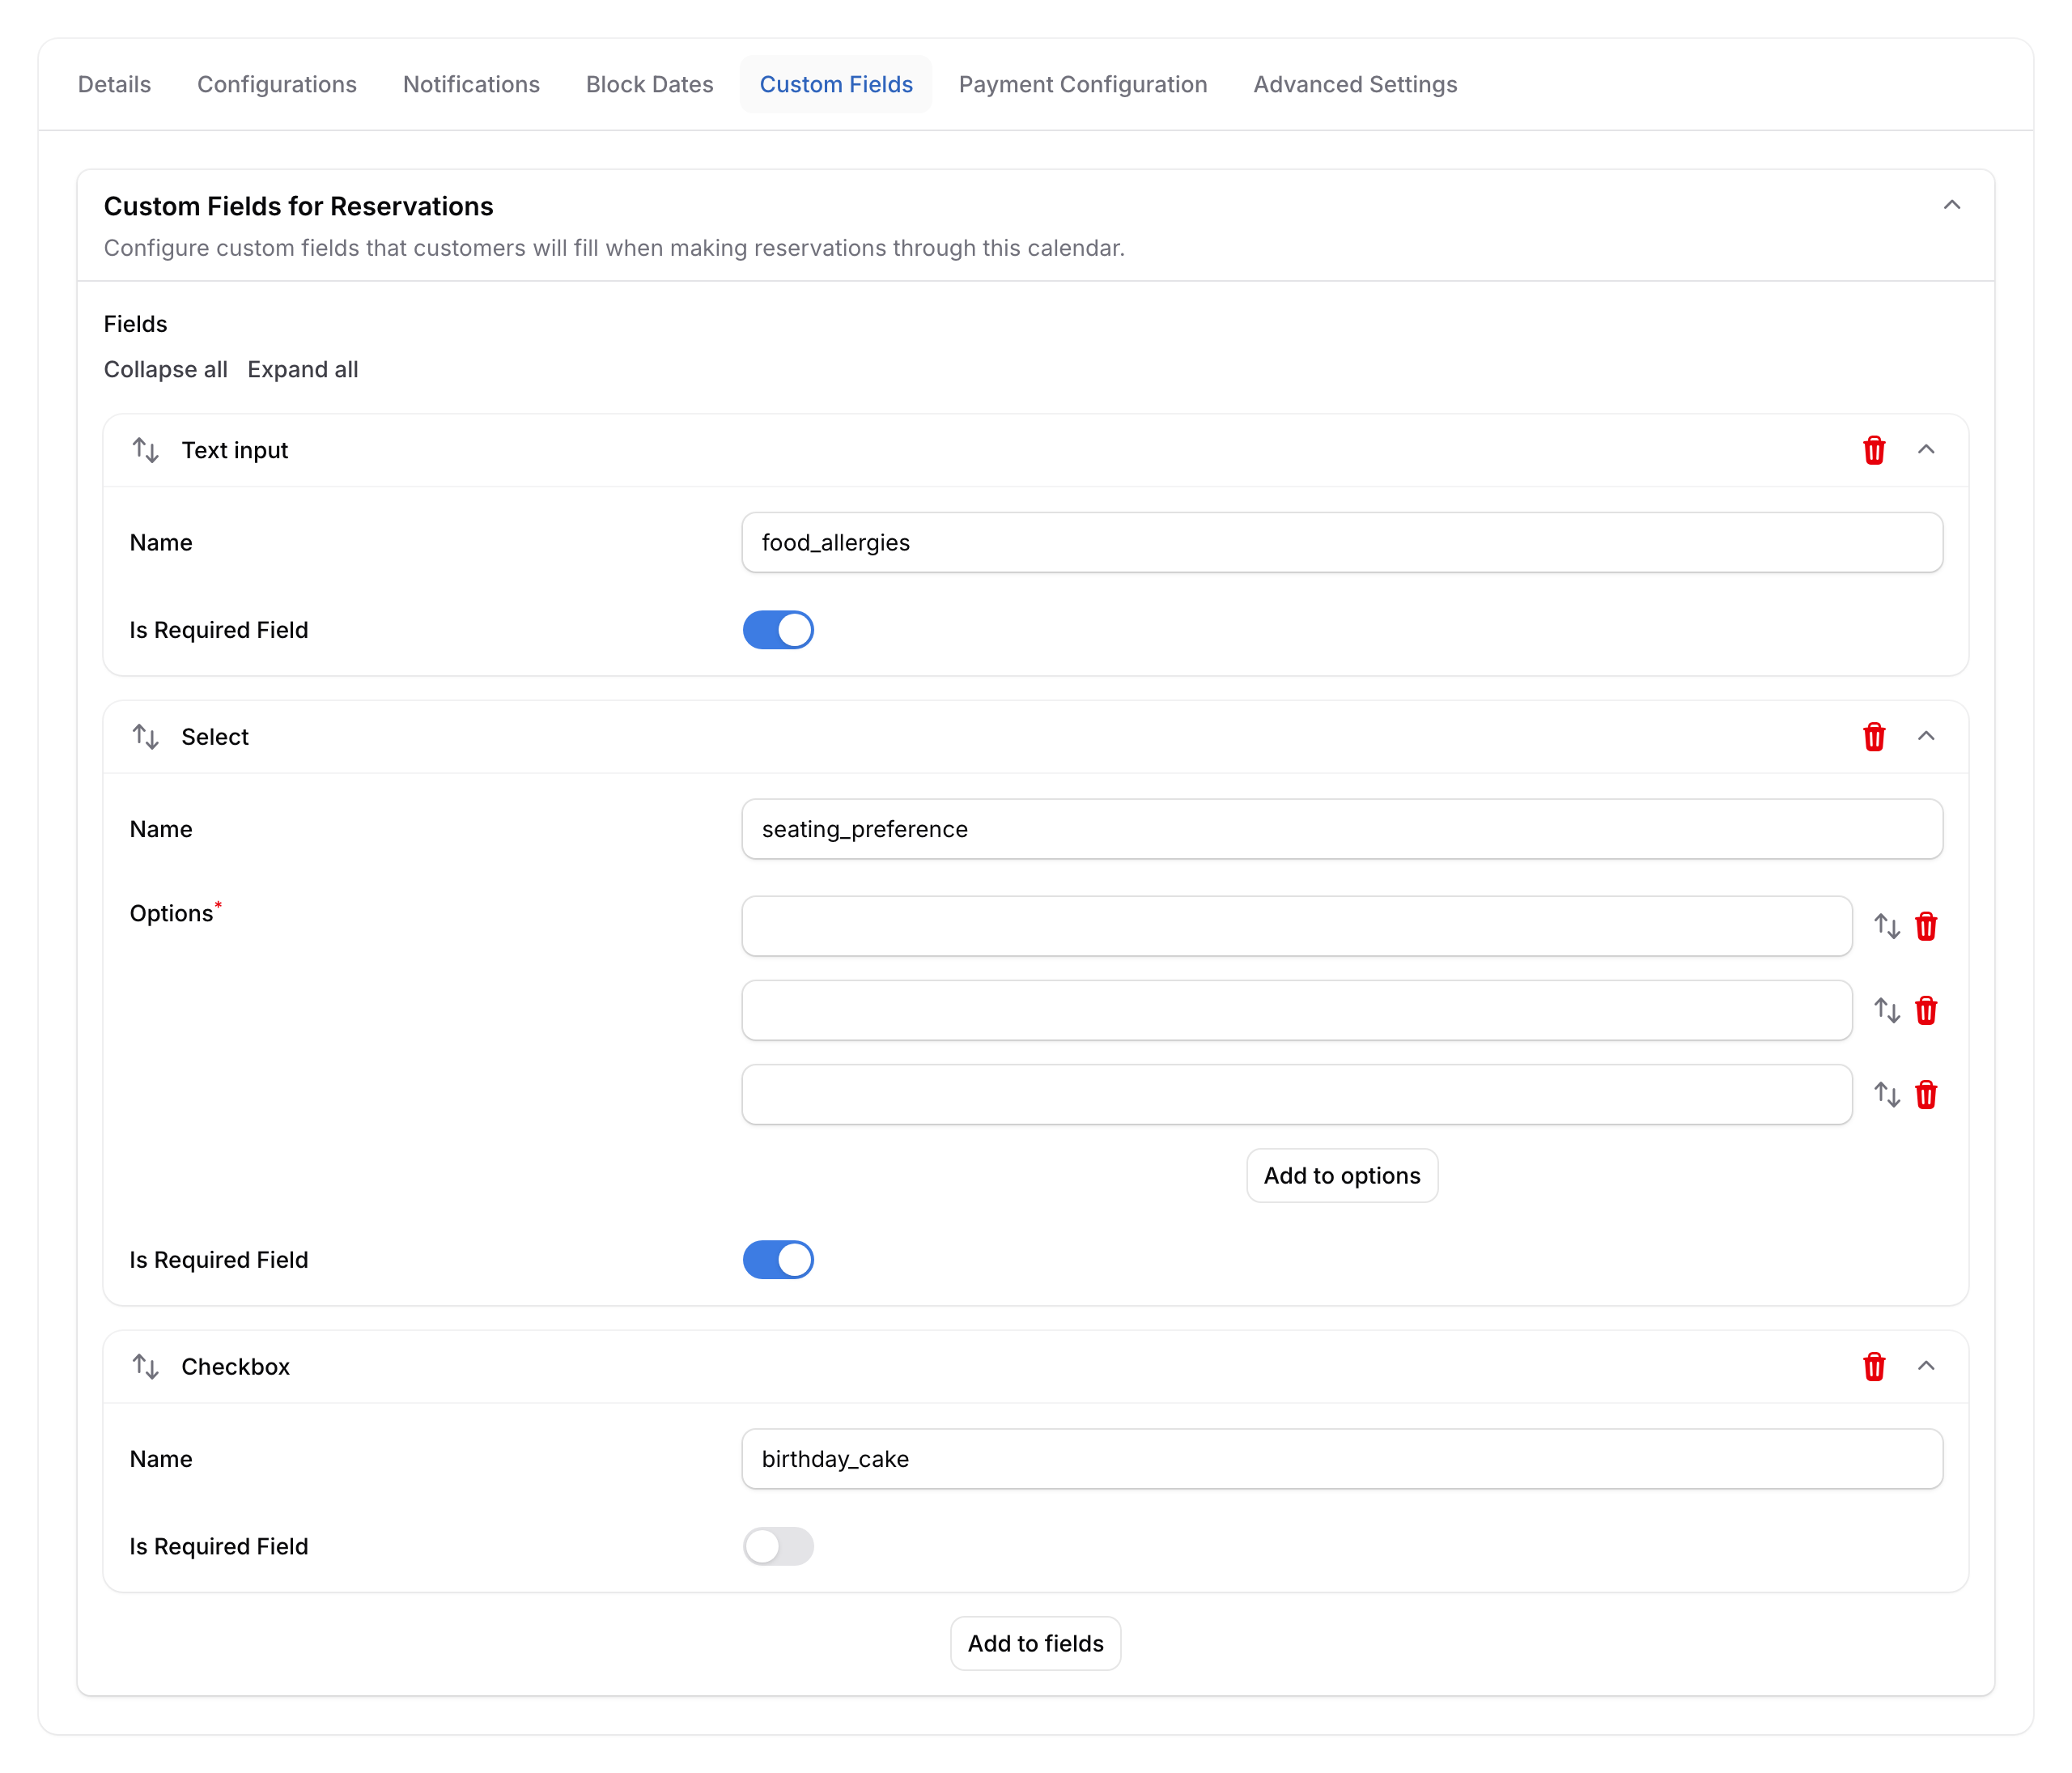
Aiman runs a restaurant in Kuala Lumpur that takes online reservations. Some guests have food allergies, and his kitchen needs to know before they arrive. Aiman adds a "Food Allergies" text field and a "Seating Preference" dropdown to his reservation form. Now every booking comes with the details his team needs — no more last-minute surprises.
How to Set It Up
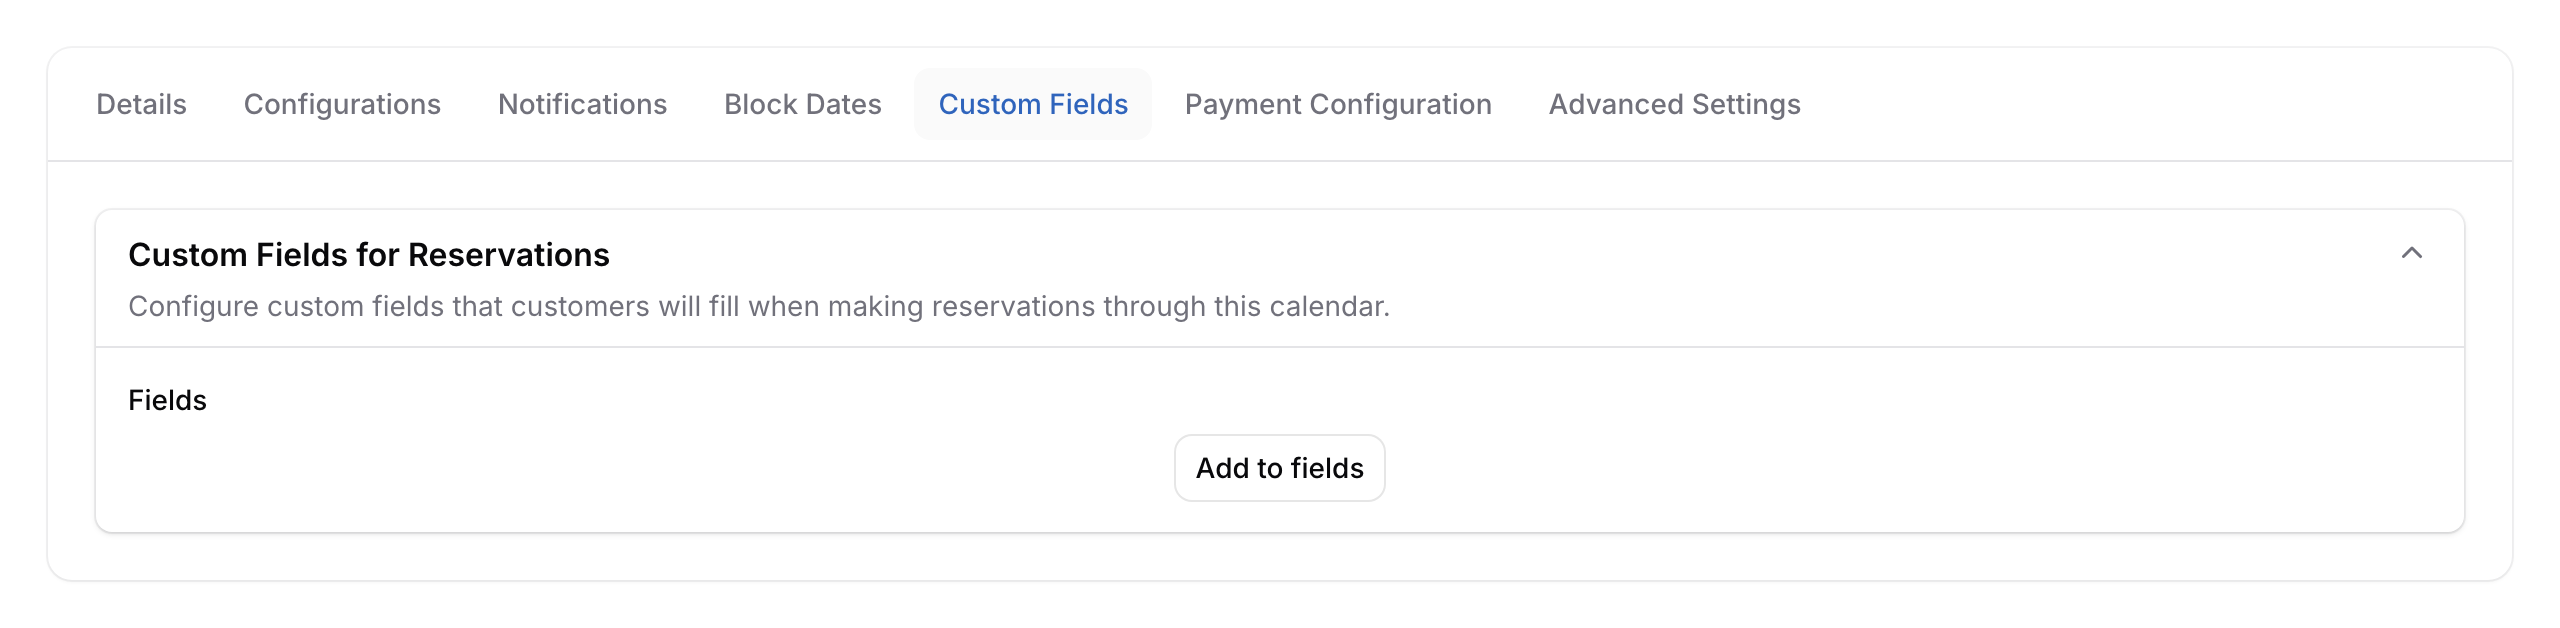
Before you start: The Custom Fields feature needs to be enabled by the Pixalink team. If you don't see the Custom Fields tab on your calendar, contact support and they'll turn it on for you.
- Go to Admin Panel → Reservation → Calendars and open the calendar you want to edit.
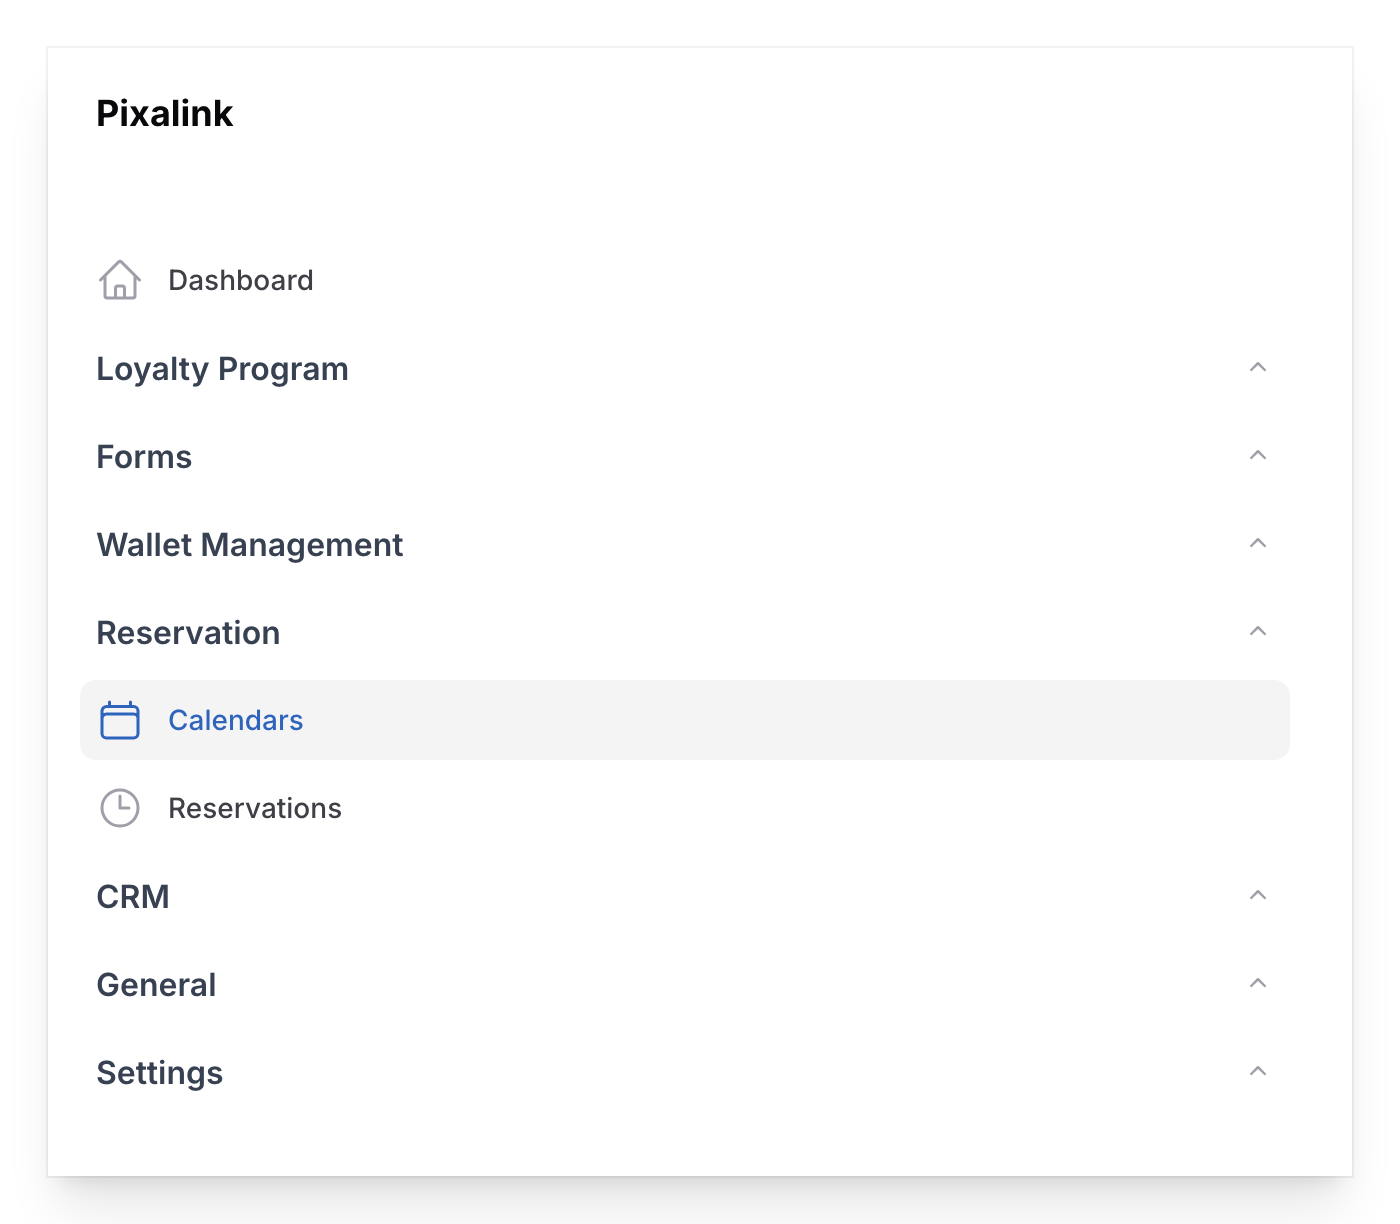
- Select the Custom Fields tab.
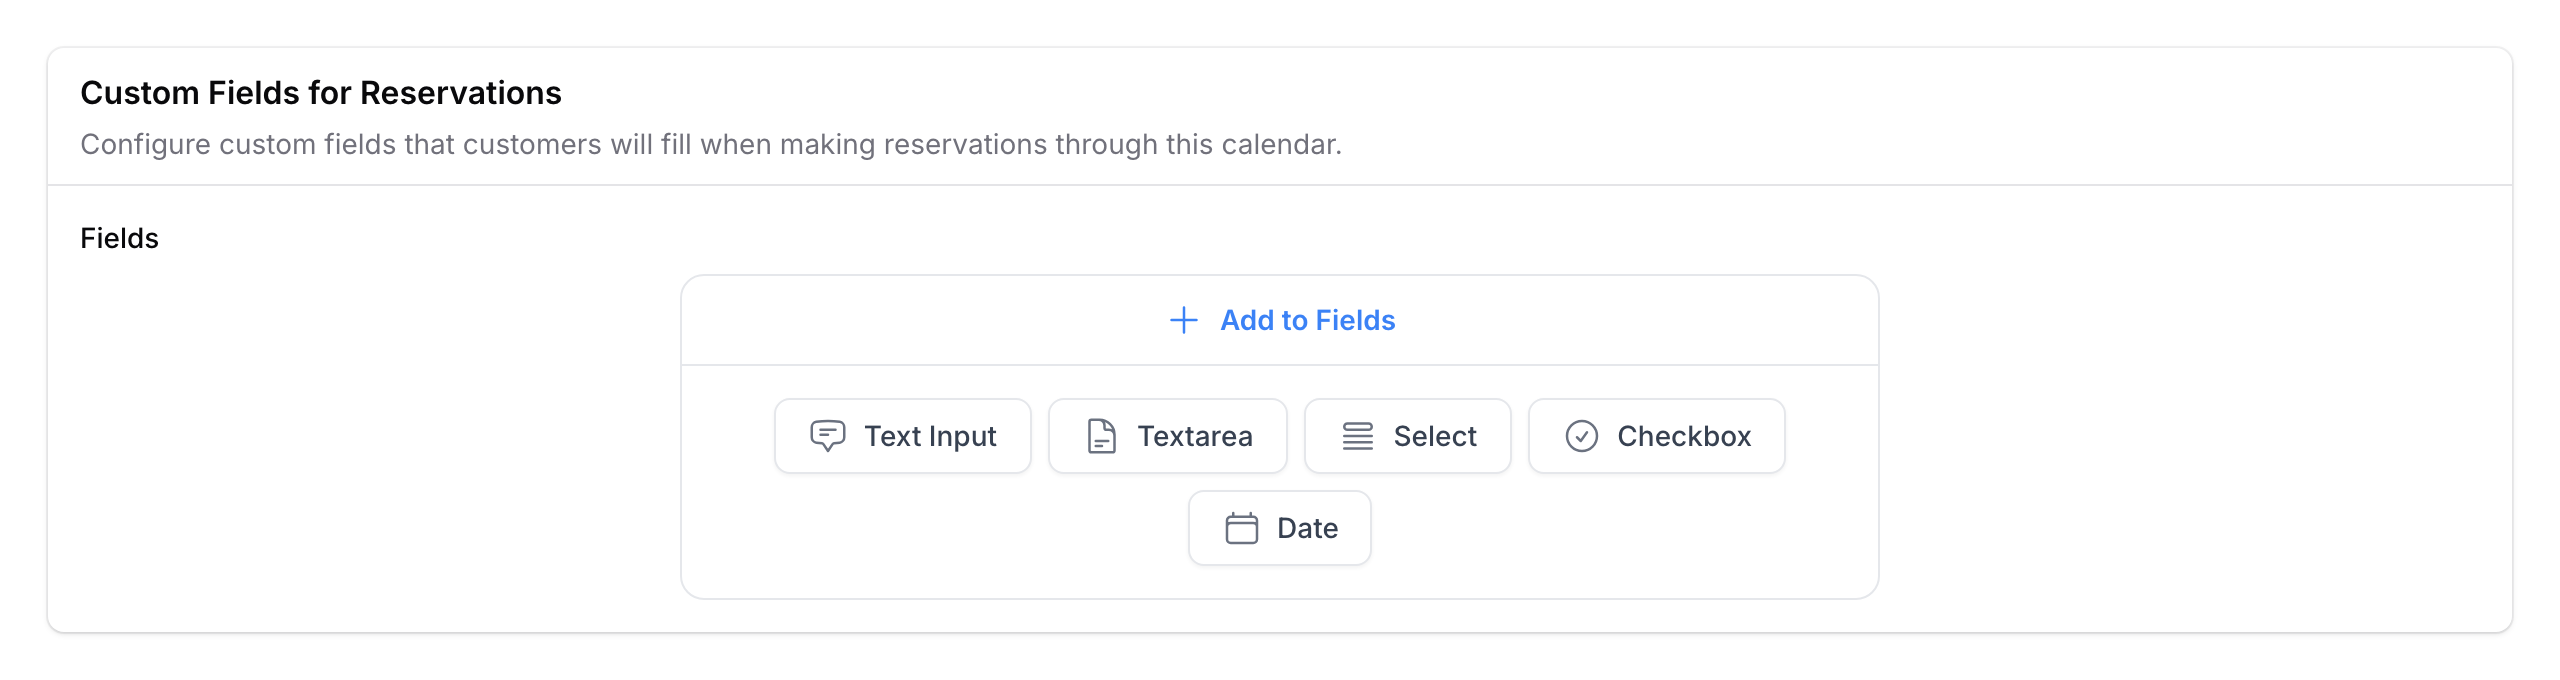
- Tap a field type button to add a new field:
- Text Input — short answer (names, allergies, special requests)
- Textarea — longer answer (detailed notes)
- Select — dropdown list (seating preference, service type)
- Checkbox — yes/no tick box ("Bring a birthday cake")
- Date — date picker (event date, arrival date)
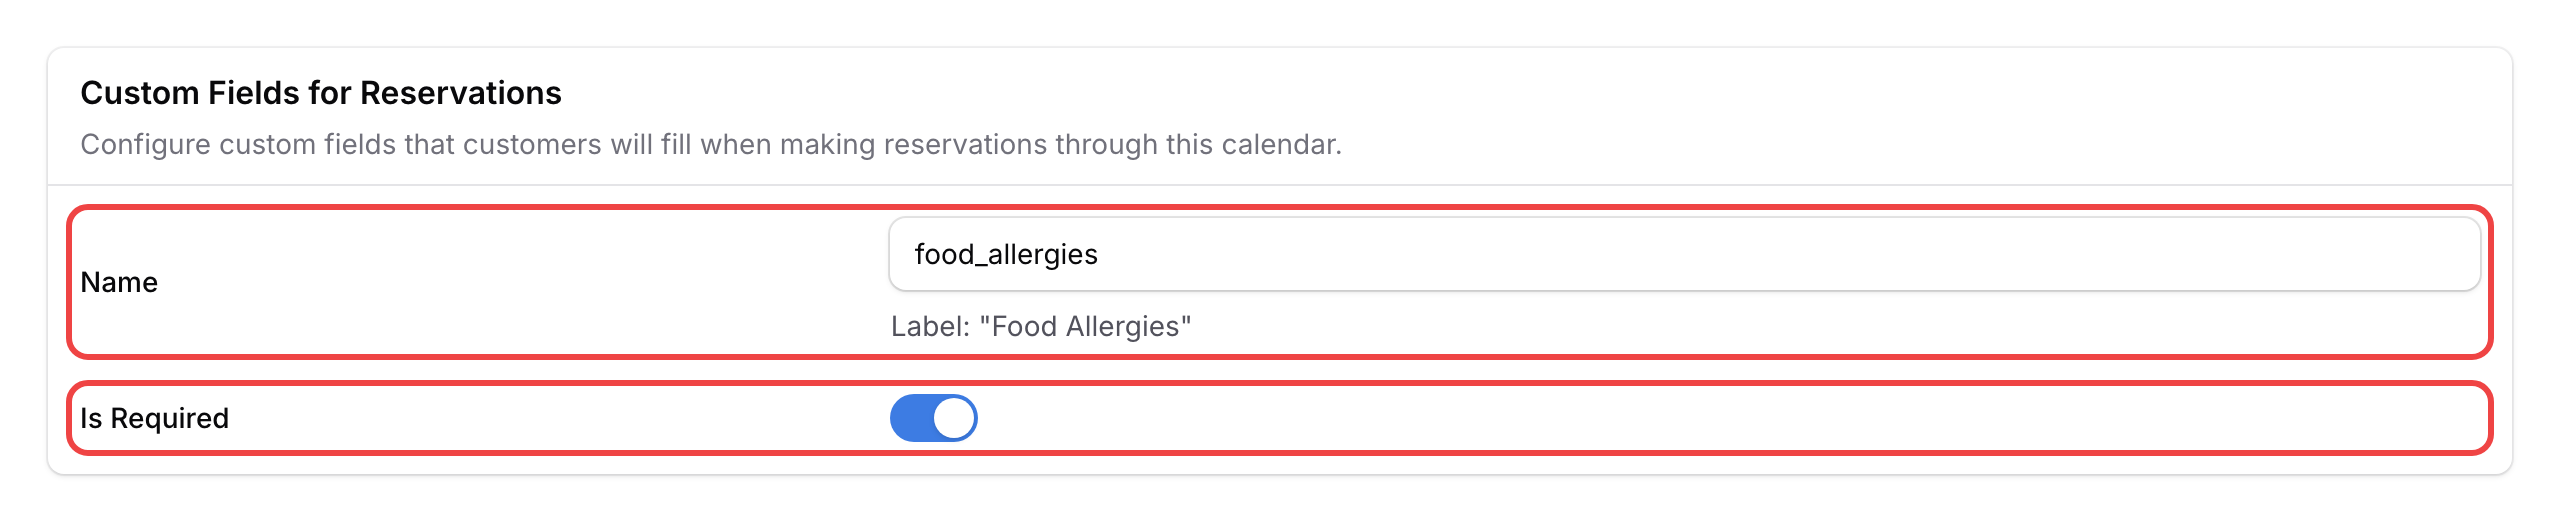
- Type a Name for your field — this becomes the field key, and the system creates a readable label from it automatically (e.g., typing "food_allergies" shows as "Food Allergies" to customers). Turn on Required if they must fill it in. For Select fields, add your list of options.
- Drag fields up or down to reorder, then Save the calendar.
What Your Customers Will See
When booking, customers will see an Additional Information section with your custom fields. Required fields are marked with an asterisk (*).
Good to Know
- Can't see the Custom Fields tab? This feature needs to be enabled for your account. Reach out to support and they'll turn it on for you.
- Where to find the answers — Open any reservation from your Reservations list and scroll to the Custom Fields section.
- Select fields work best for fixed choices. Use Text Input for free-form answers.
- Changes to fields apply to future bookings only — existing bookings aren't affected.
What's Next?
- Block dates — close off specific days on your calendar.
- Set up timeslots — define when customers can book.
- Set up payment — charge customers for paid reservations.