How to Set Up Payment for Calendar Reservations
How to Set Up Payment for Calendar Reservations
What Is This?
Paid reservations let you charge customers when they book a timeslot. This helps reduce no-shows and earn revenue from classes, sessions, and appointments directly through Pixalink.
Real-Life Example
Aisyah runs a Pilates studio in Petaling Jaya. She used to offer free bookings, but half her class slots went to no-shows. After turning on payment, customers now pay RM35 when they book. No-shows dropped overnight because people don't skip something they've already paid for.
How to Set It Up
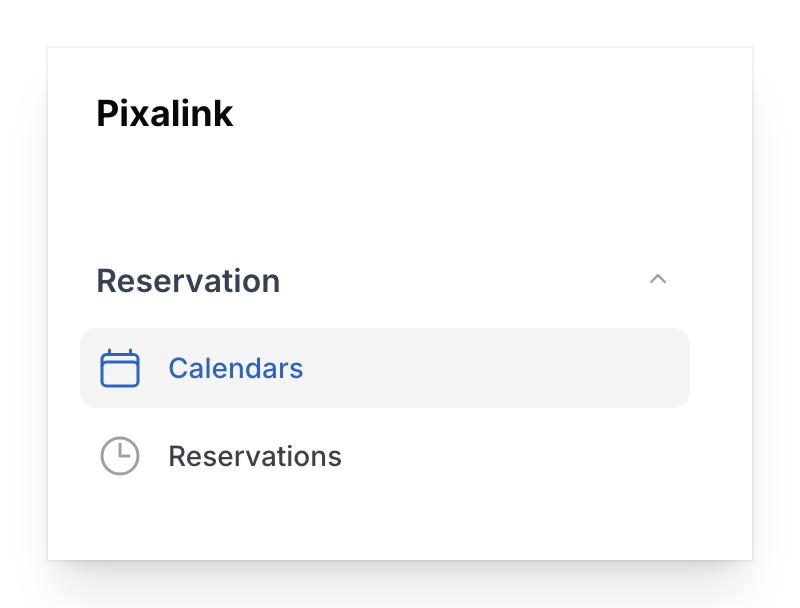
- Go to Admin Panel → Reservation → Calendars and open the calendar you want to charge for.
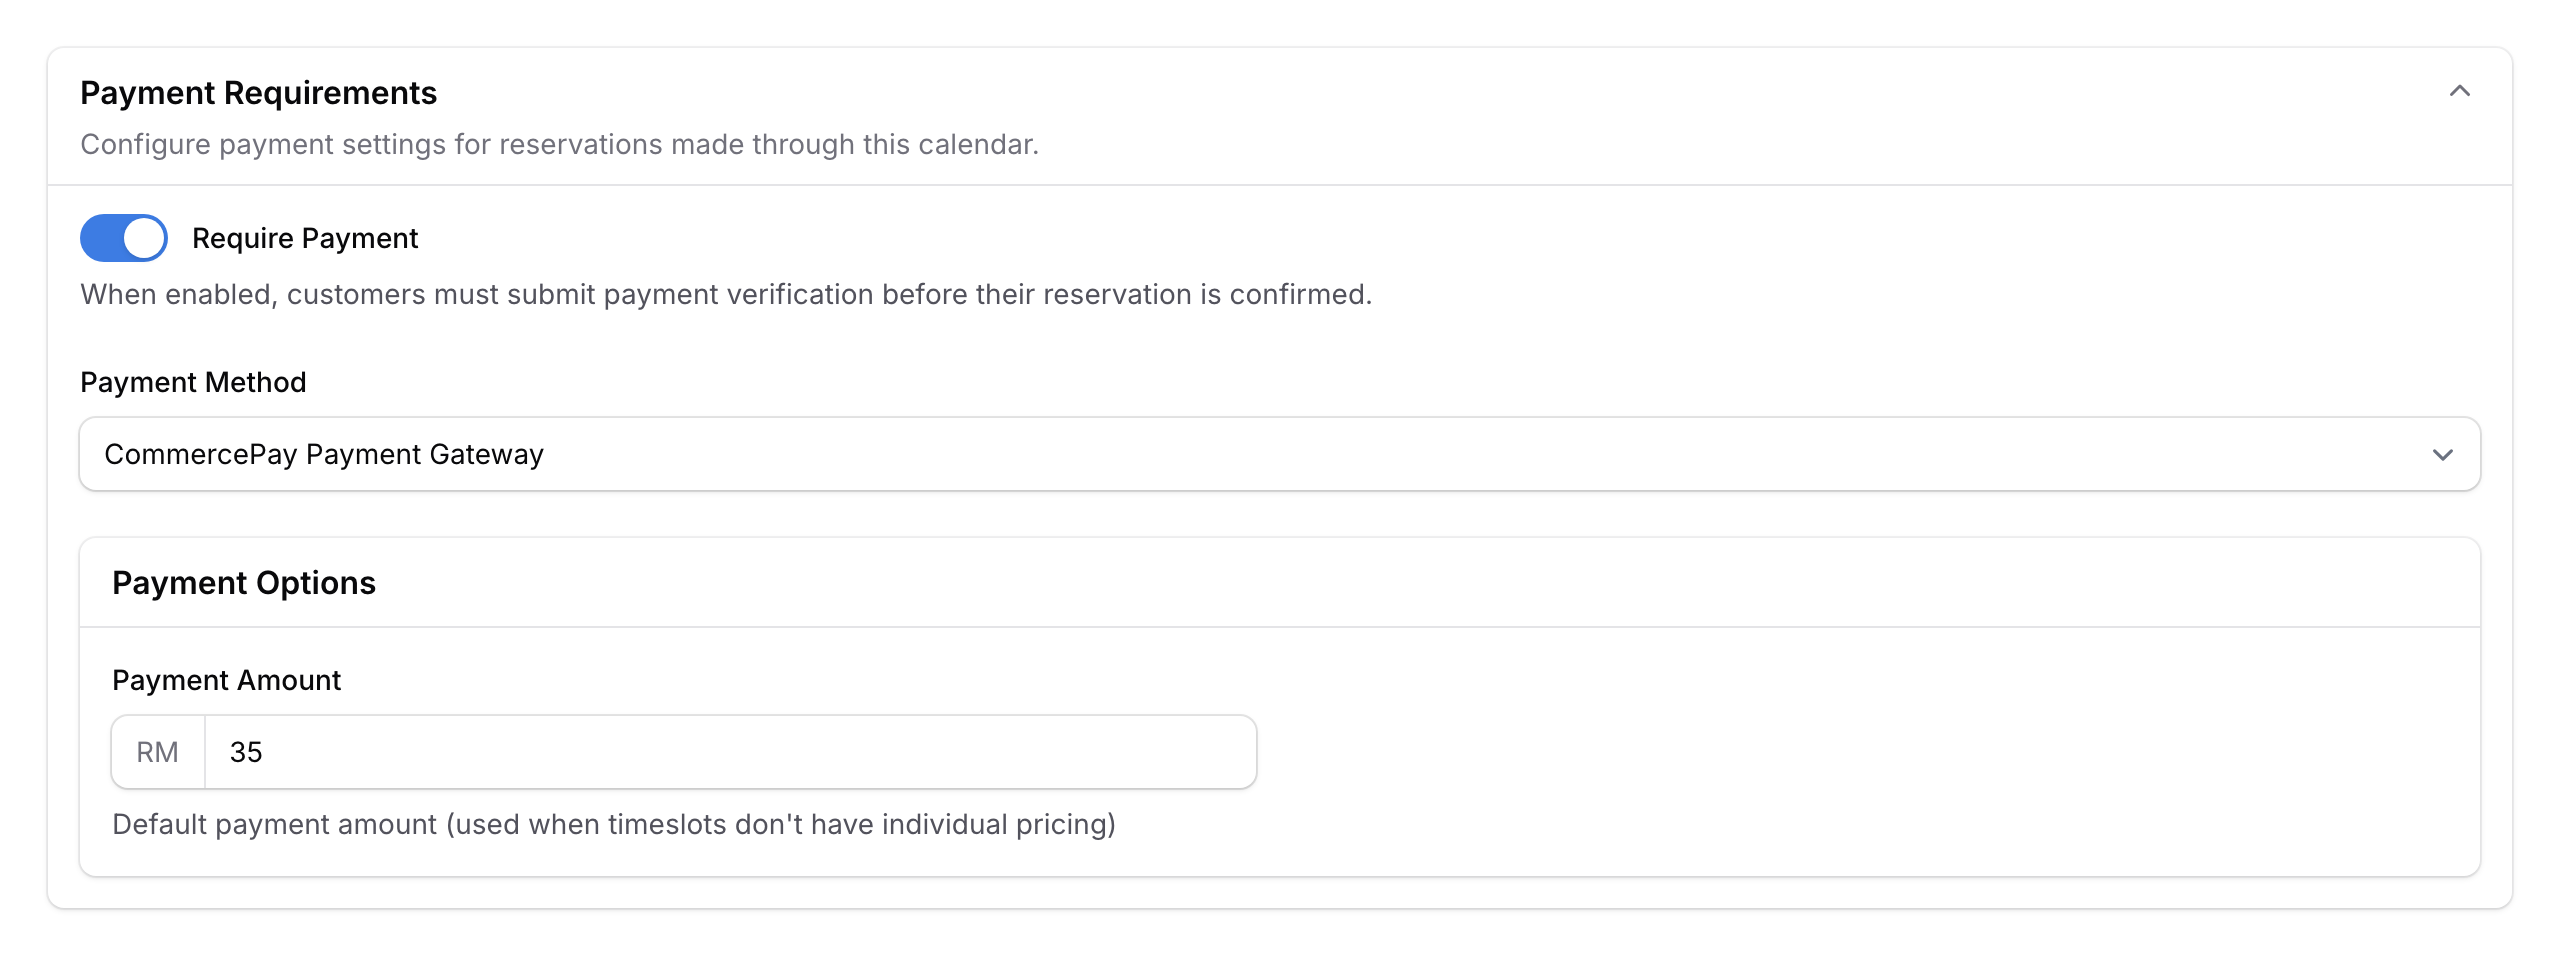
- Select the Payment Configuration tab, then turn on Require Payment. Your calendar will automatically switch to Private visibility — customers must log in before booking.

- Choose your Payment Method and set the Payment Amount:
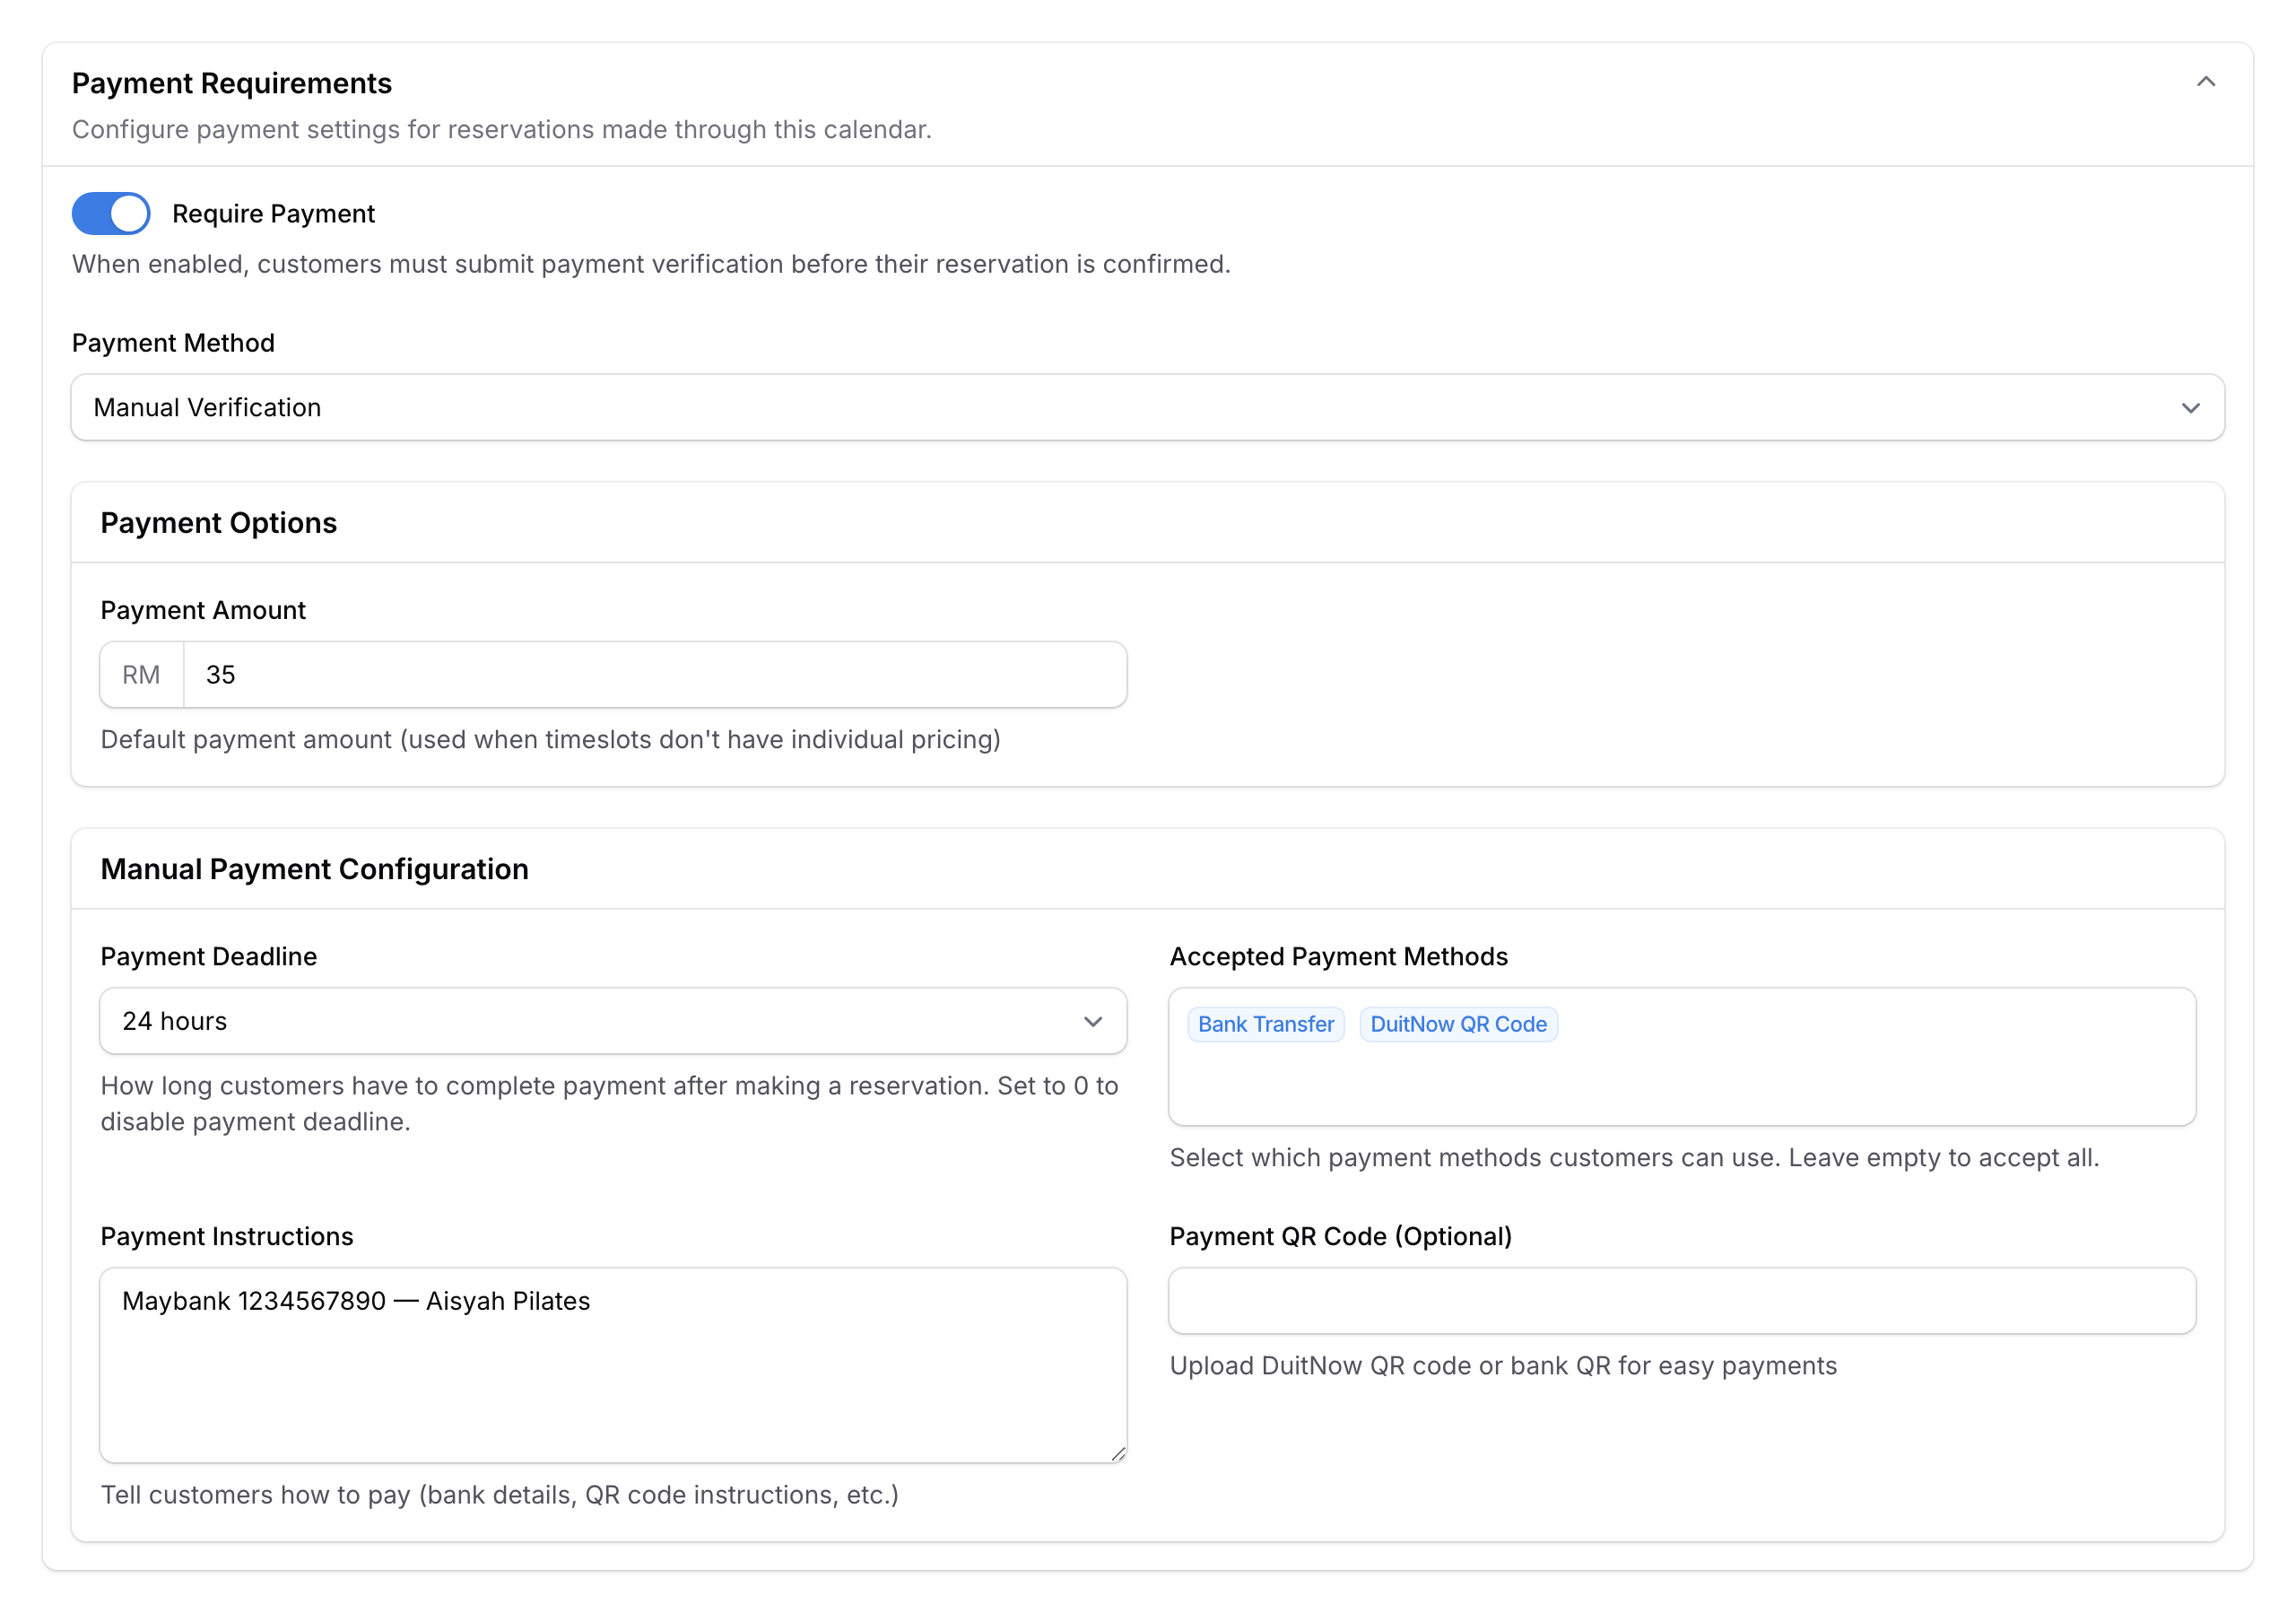
- Manual — customers pay via bank transfer, DuitNow QR, or cash, then submit proof
- CommercePay — customers pay through an online payment gateway automatically
- For Manual payments, fill in the extra fields — Payment Deadline (how long to pay), Accepted Payment Methods, Payment Instructions (e.g., "Maybank 1234567890"), and optionally upload a Payment QR Code.
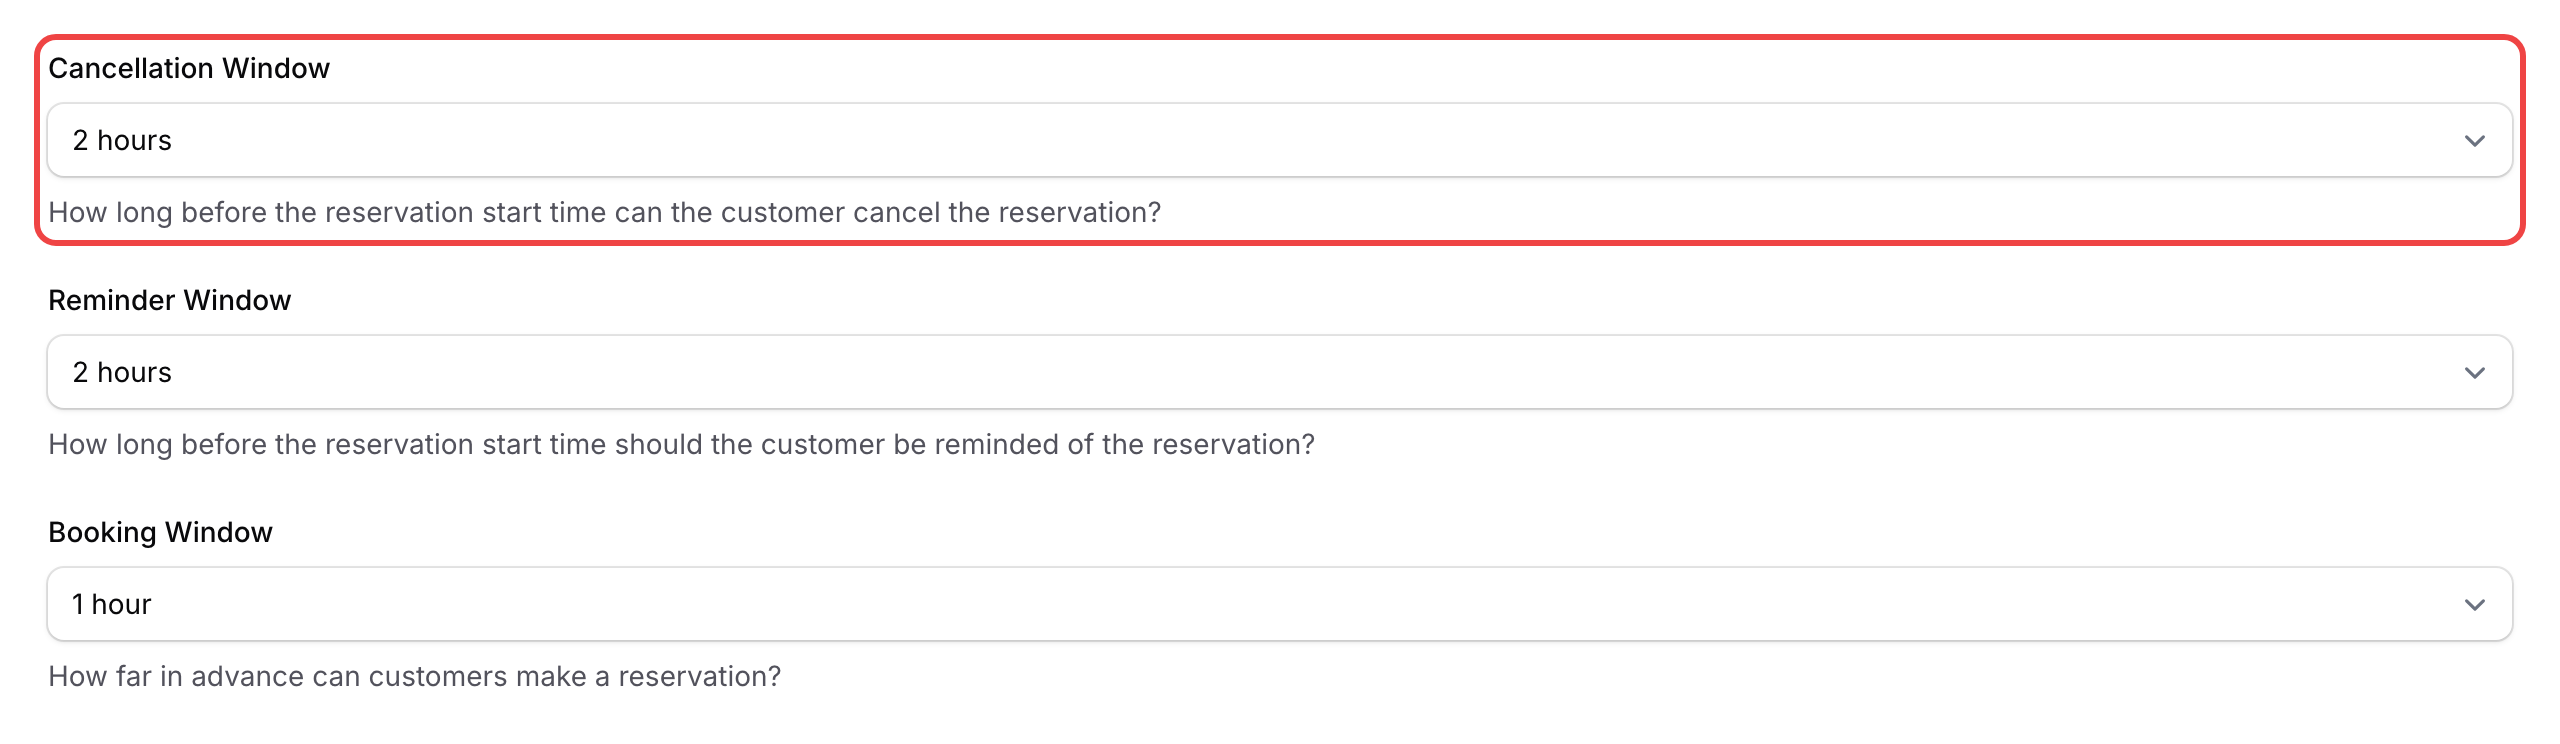
- Set the Cancellation Window to control how far in advance customers can cancel — from 30 minutes up to 1 day, or block cancellations entirely. Then Save.
What Your Customers Will See
When booking a paid timeslot, customers see the payment amount and instructions. For manual payments, they upload proof of payment. For CommercePay, they're taken to a secure payment page. The reservation stays pending until payment is completed.
Good to Know
- Auto-approve — if your calendar requires approval, you can turn on auto-approve when payment is verified, and auto-reject when payment fails.
- Timeslot pricing — individual timeslots can have their own price. The calendar-level amount is the default.
- Private only — paid calendars can't be public. Customers must be logged in so the system can track payment.
What's Next?
- Add custom fields — collect extra details from customers when they book.
- Block dates — manage availability alongside paid bookings.