
How to Tag All Existing Members Without an Import File
What Is This?
You can tag every existing member in one go, straight from your customer list. There's no need to export a file, edit it and import it back. Tick, select all, pick a tag, and Pixalink tags everyone in the background.
Real-Life Example
Aishah runs a bubble tea shop in Petaling Jaya with about 1,500 members. She wants to tag all of them "Founding Member" before her anniversary promotion. Instead of editing a spreadsheet, she selects all 1,500 members and adds the tag in under a minute. Later, she sends her anniversary broadcast only to customers with that tag.
How to Set It Up
-
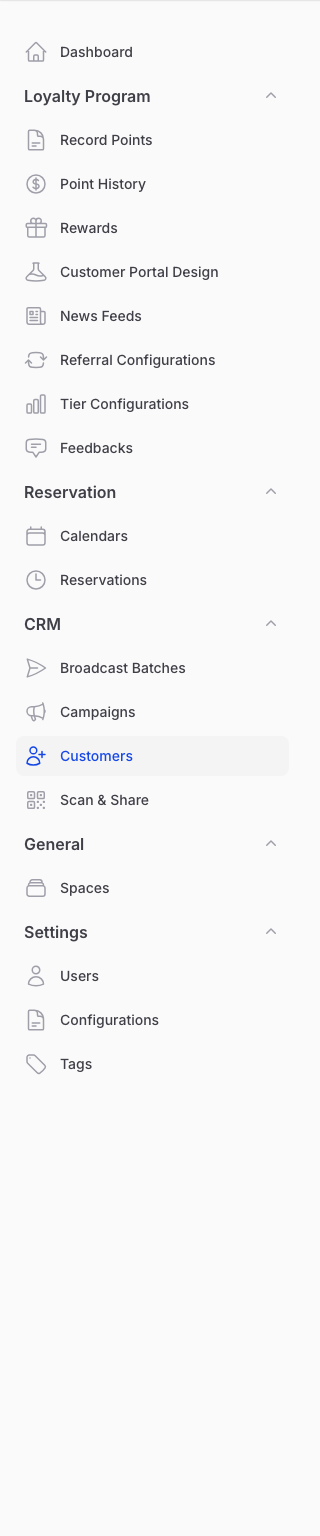
Go to CRM → Customers in the sidebar.
-
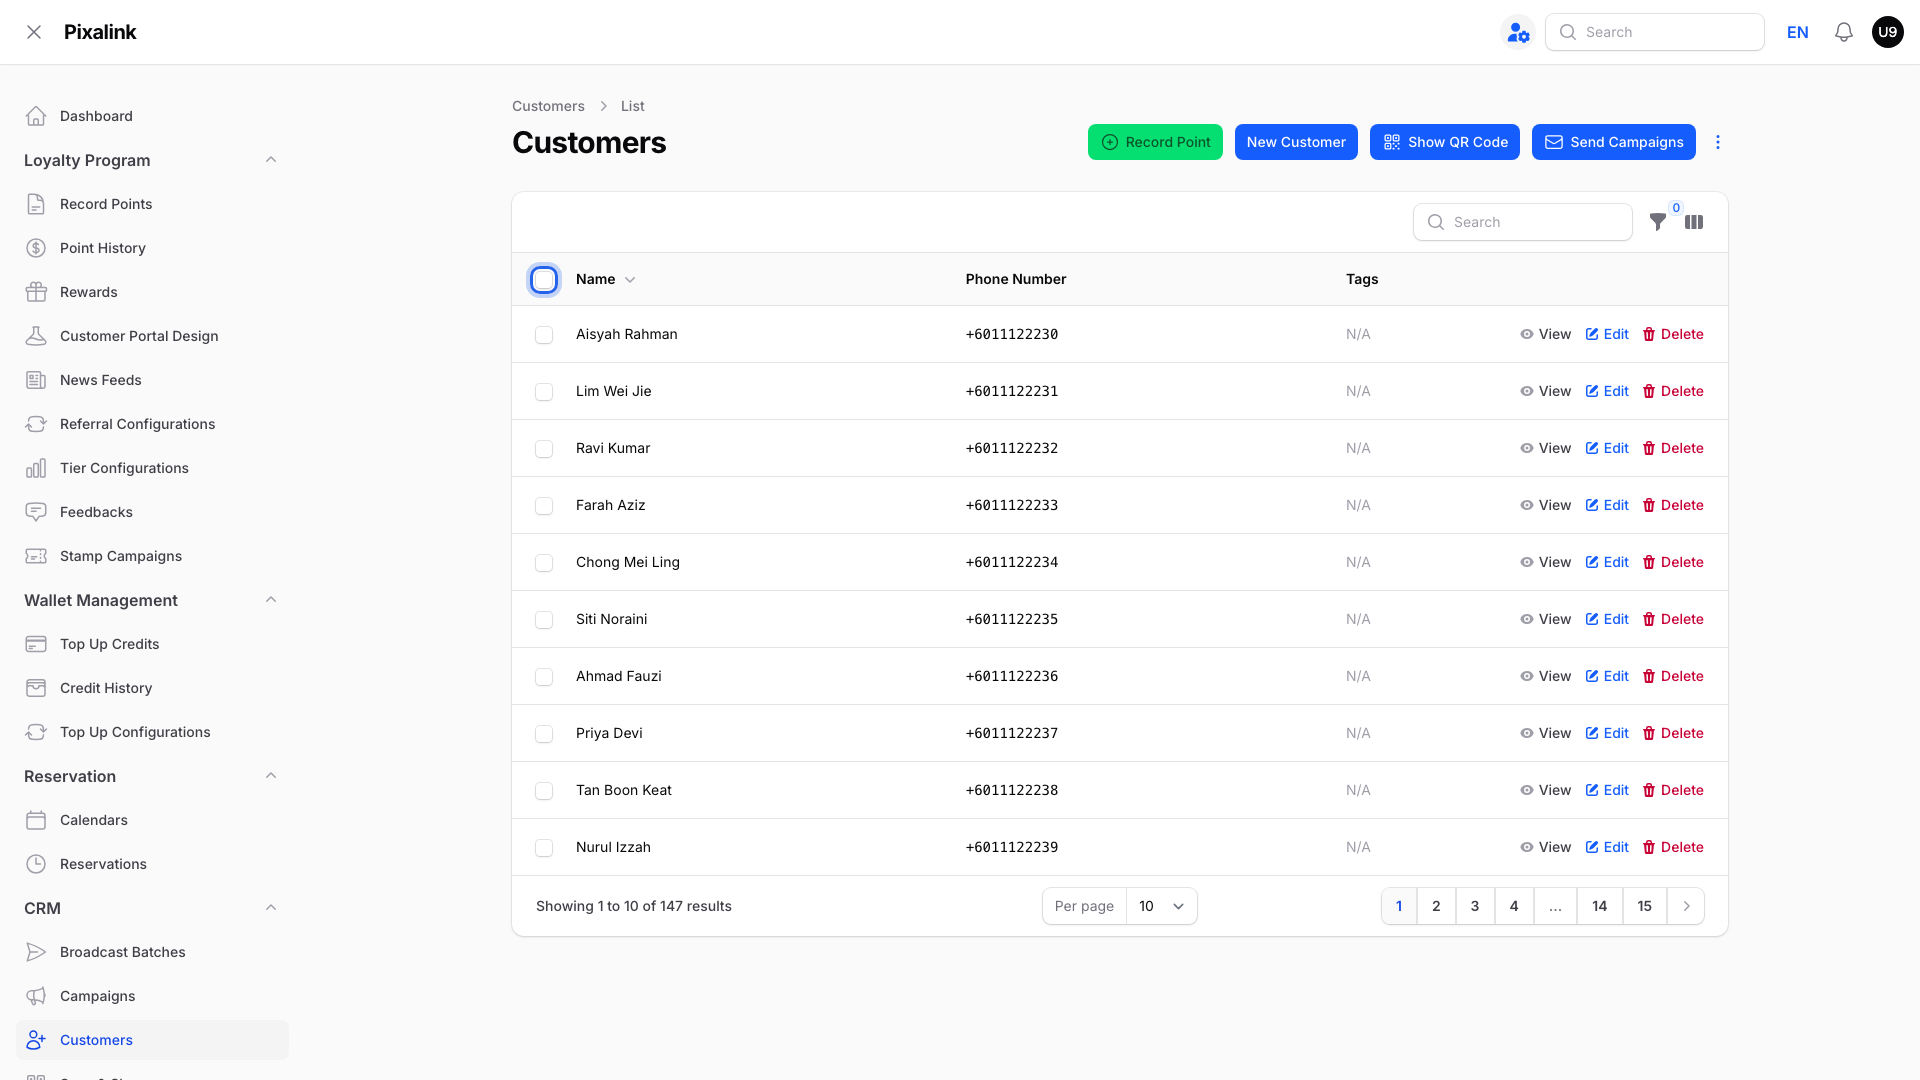
Tick the box at the top of the Name column. This selects every customer on the page you are looking at.
-
Click Select all in the bar above the list. The number next to it is your total, so every page is now included.
-
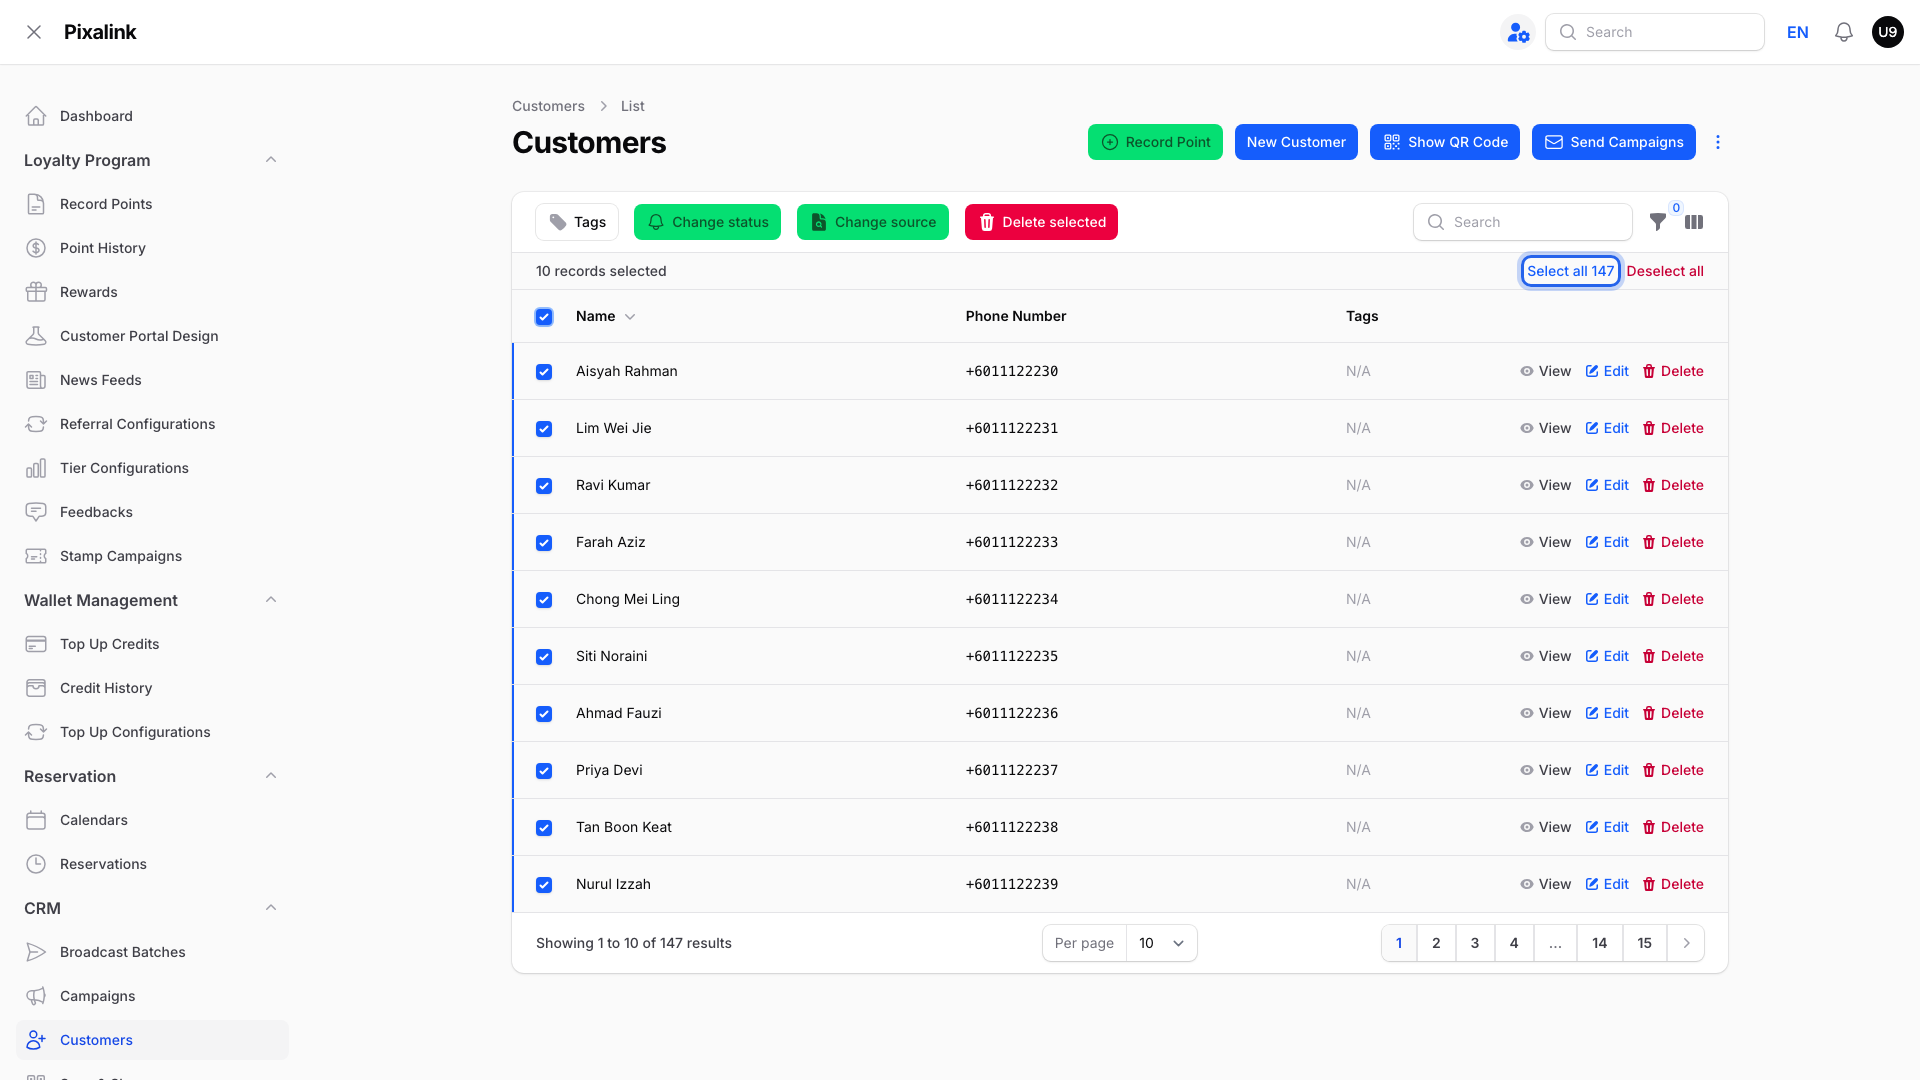
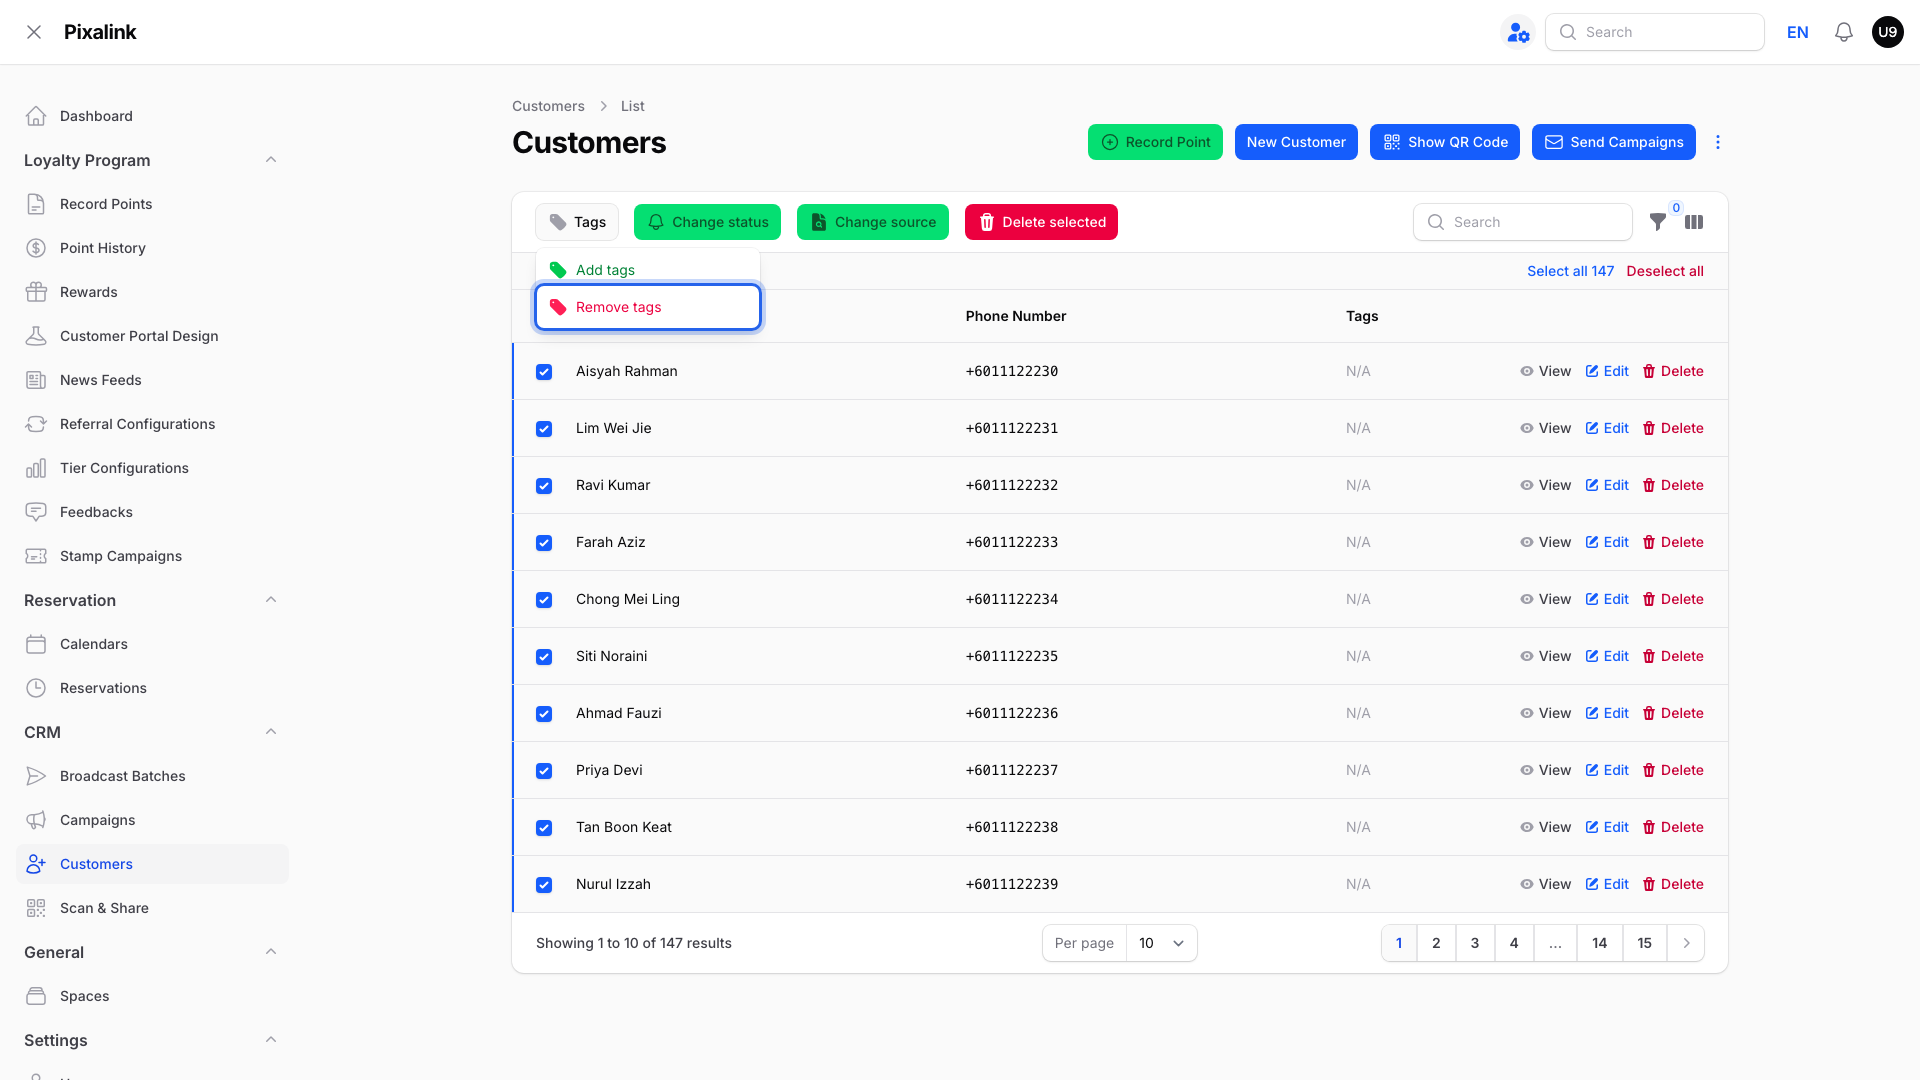
Click Tags, then choose Add tags.
-
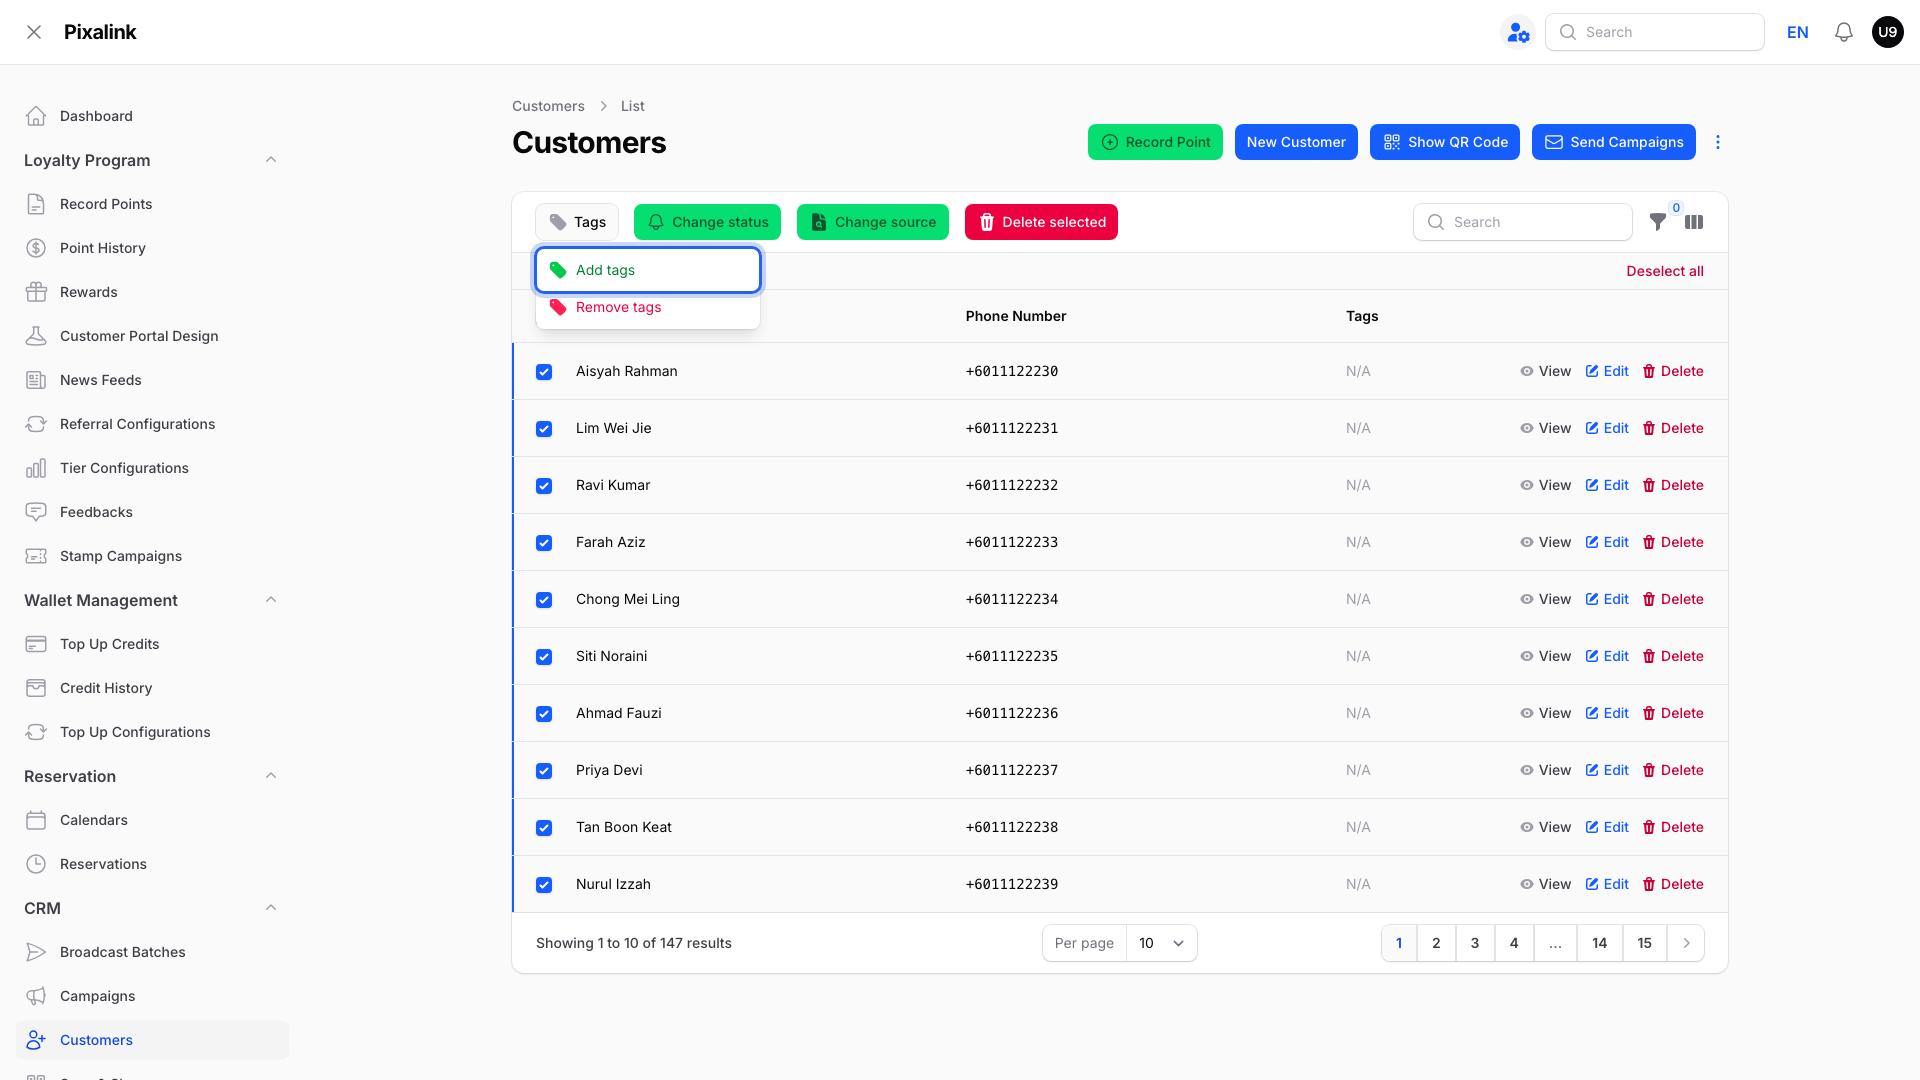
Type the tag name, press Enter, then click Submit.
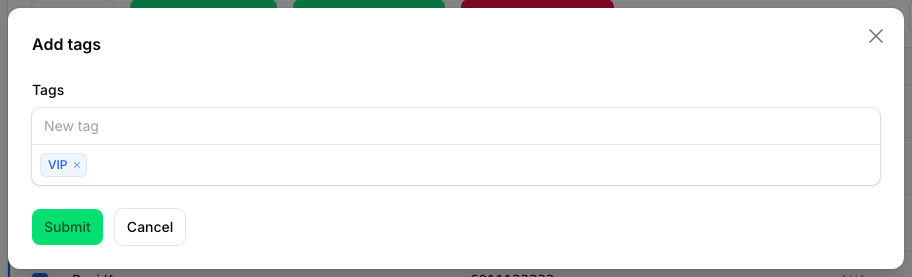
Pixalink shows "Tags will be updated in the background". When it finishes, a "Bulk Customer Tagging Complete" message appears under the bell icon.
What Your Customers Will See
Usually nothing. Tags are labels for you and your team.
Note
If a reward is set to go out automatically for that tag, eligible customers may also get it. Customers who already have that reward are skipped, and reward limits still apply.
Good to Know
Tag only a group
Click the filter button (the funnel next to the search box) to open the Filters panel. Pick what the group has in common, for example a Tier, a Tag or a Birthday Month, then click Apply filters. The list now shows only matching customers, and Select all picks only them.
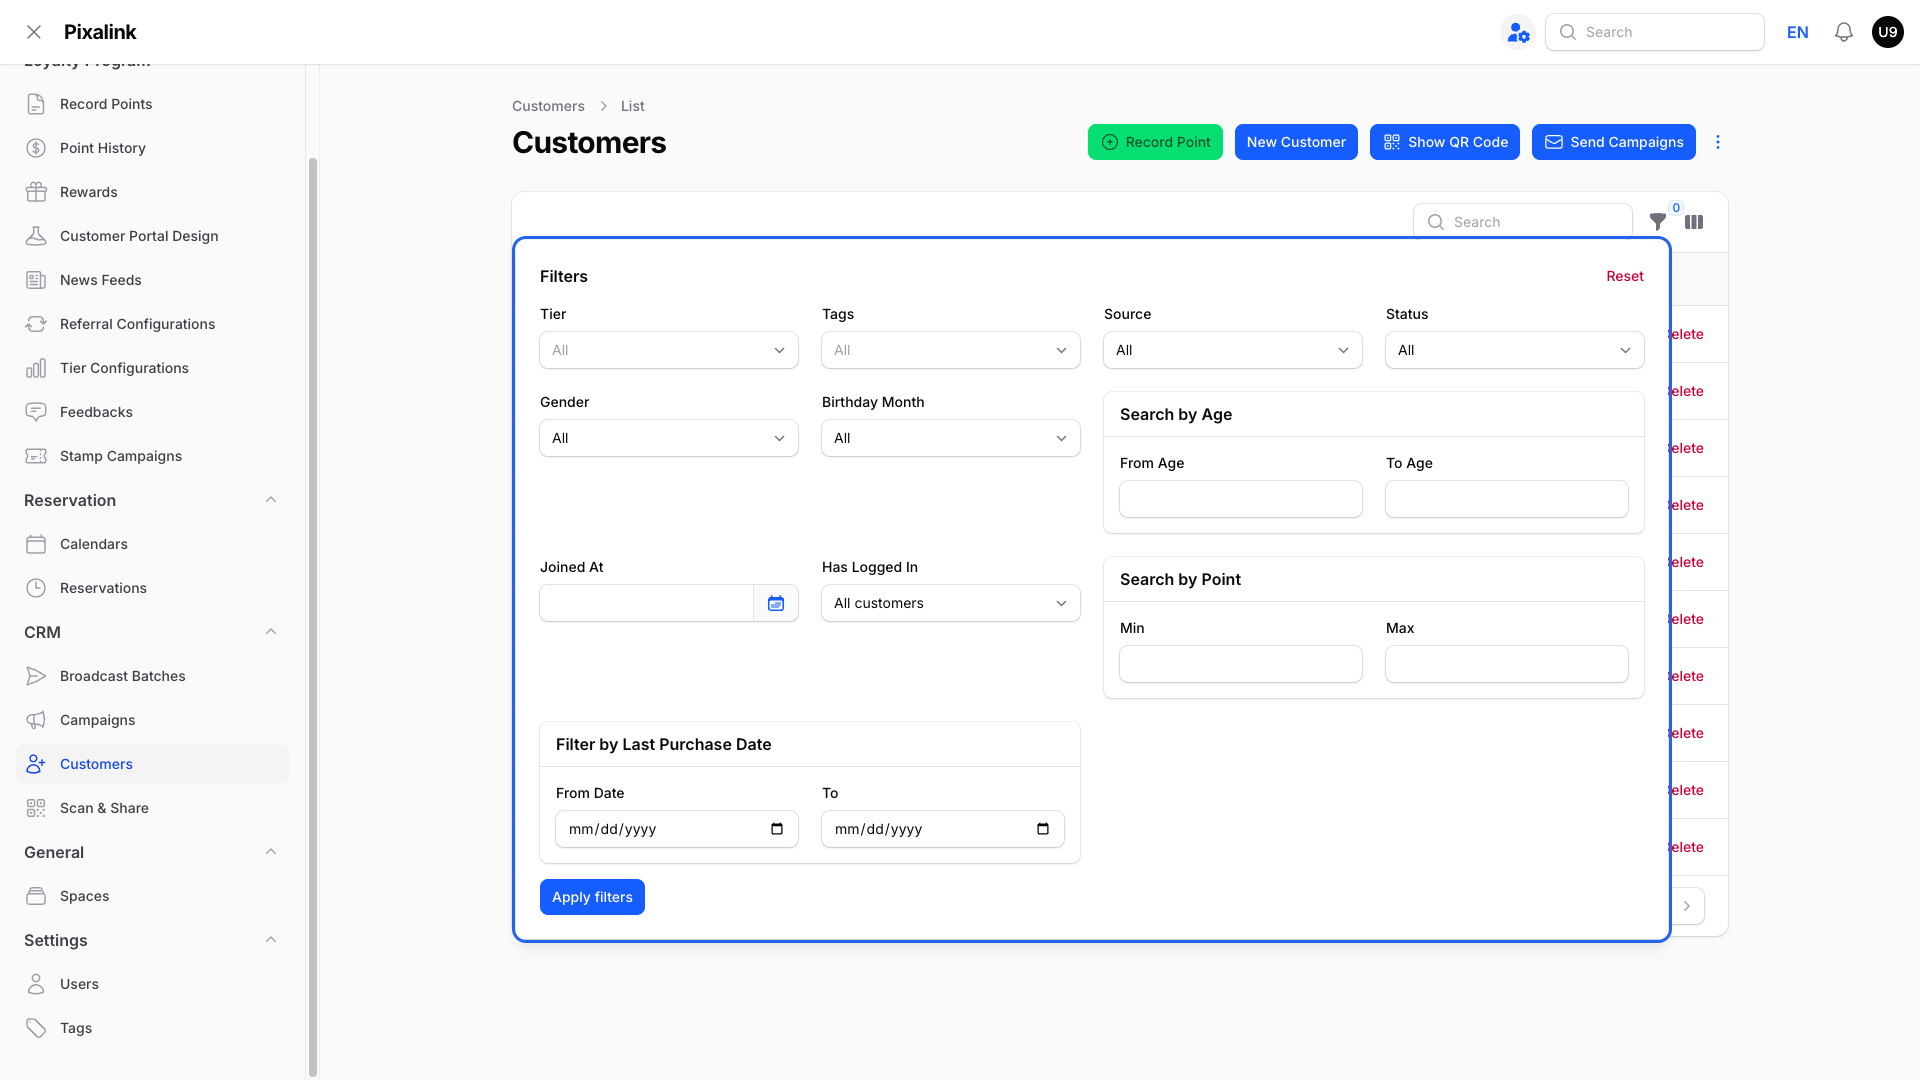
You can also type a name or phone number in the search box to narrow the list.
Remove a tag added by mistake
Select the same customers, click Tags, then Remove tags.
Warning
Removing a tag does not take back a reward that was already given.
Other things to know
- Existing tags are kept. Adding a tag never removes a customer's other tags.
- Wait for the bell message before you send a broadcast to the new tag.
- New tag names are created for you. You don't need to make the tag first.
Need Help?
If the tags don't show up after the bell message, contact our support team and tell us the tag name.