
How to Set Up Booking Notification Emails per Space
How to Set Up Booking Notification Emails per Space
What Is This?
Each space (outlet or branch) in your account can have its own email address for receiving booking notifications. This means staff at each location get their own reservation alerts, instead of every notification going to one shared inbox.
Real-Life Example
Siti runs a chain of three salons called Glow Studio. She has locations in Bangsar, Mont Kiara, and TTDI. When a customer books an appointment, the notification always goes to Siti's personal email because she set the same address for every space. Her salon manager in TTDI, Farah, keeps missing new bookings because she never sees them. Siti fixes this by updating each space's email field -- Bangsar gets bangsar@glowstudio.my, Mont Kiara gets montk@glowstudio.my, and TTDI gets ttdi@glowstudio.my. Now Farah receives booking notifications directly, and each location manages their own appointments.
Video Walkthrough
How to Set It Up
You'll do two things: set a unique email on each space, then make sure your calendar has email notifications turned on.
Part A: Set the space email
-
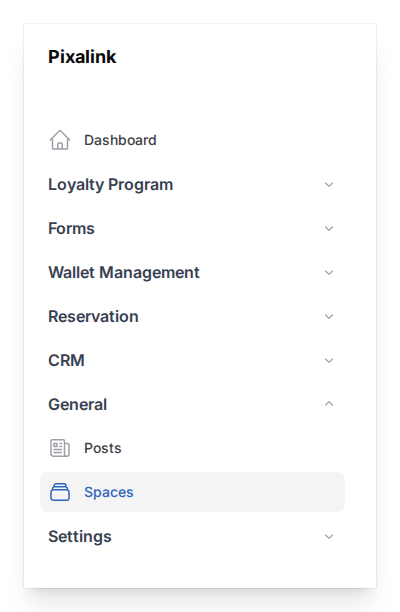
Go to Admin Panel → General → Spaces.
-
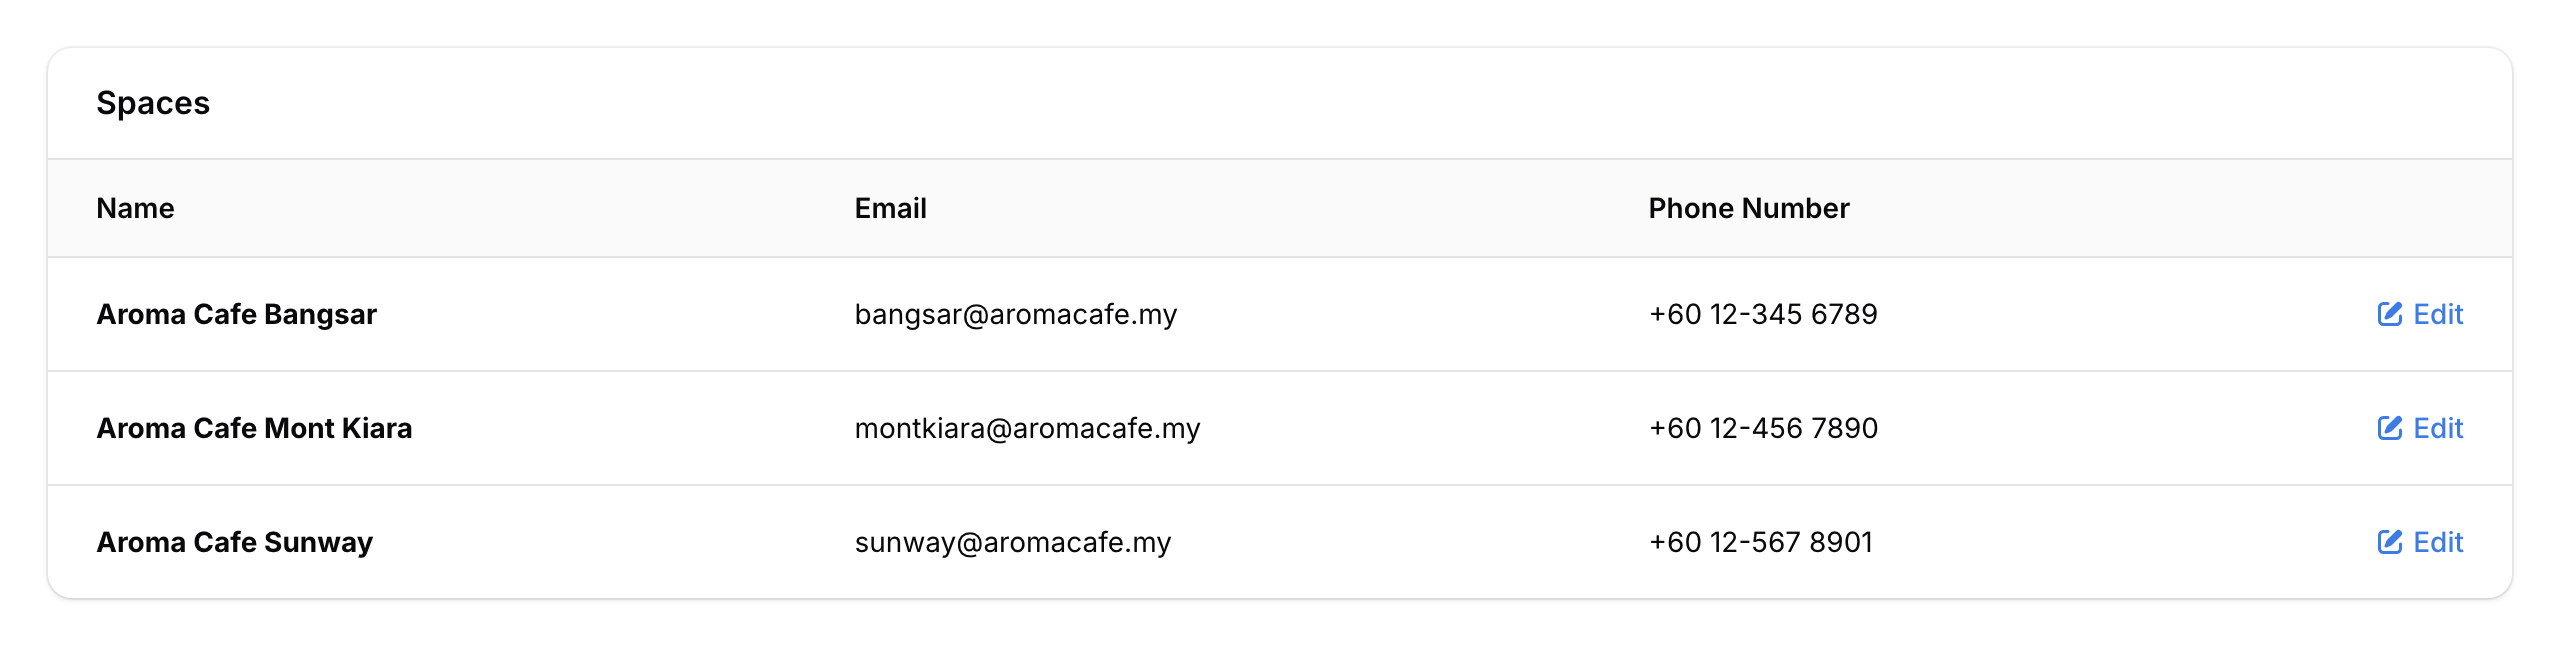
Click Edit on the space you want to update.
-
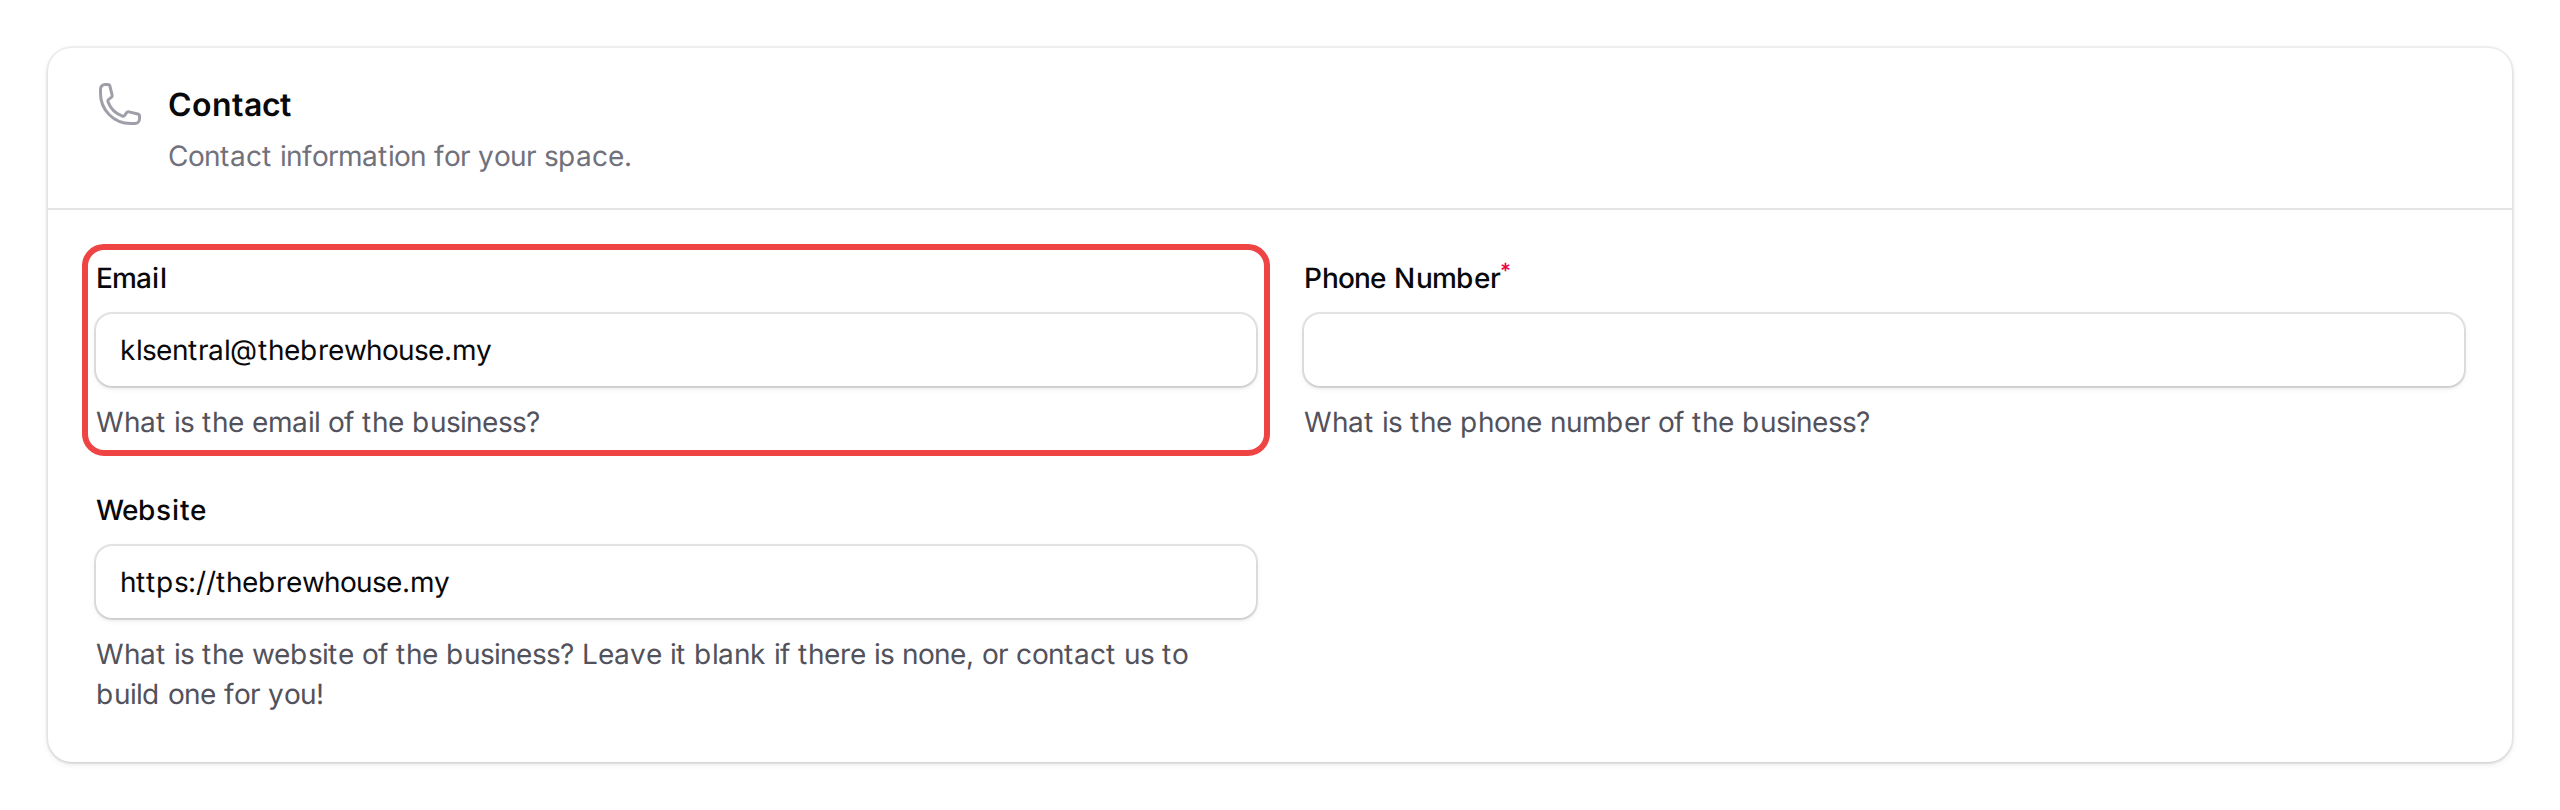
Click the Contact tab, then type the email address for this location into the Email field. This is where booking notifications will be sent.
-
Click Save changes to update the space.
-
Repeat for each space that needs its own email.
Part B: Turn on email notifications for the calendar
-
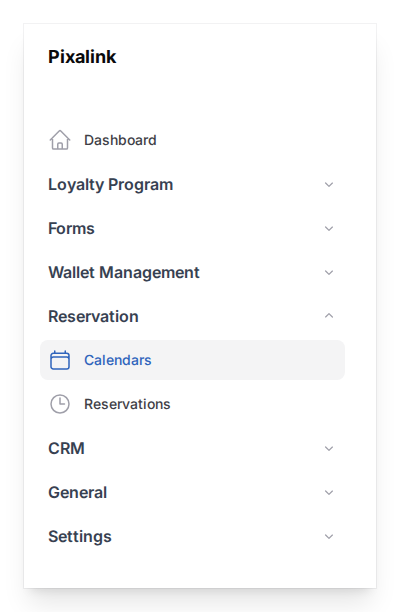
Go to Admin Panel → Reservation → Calendars.
-
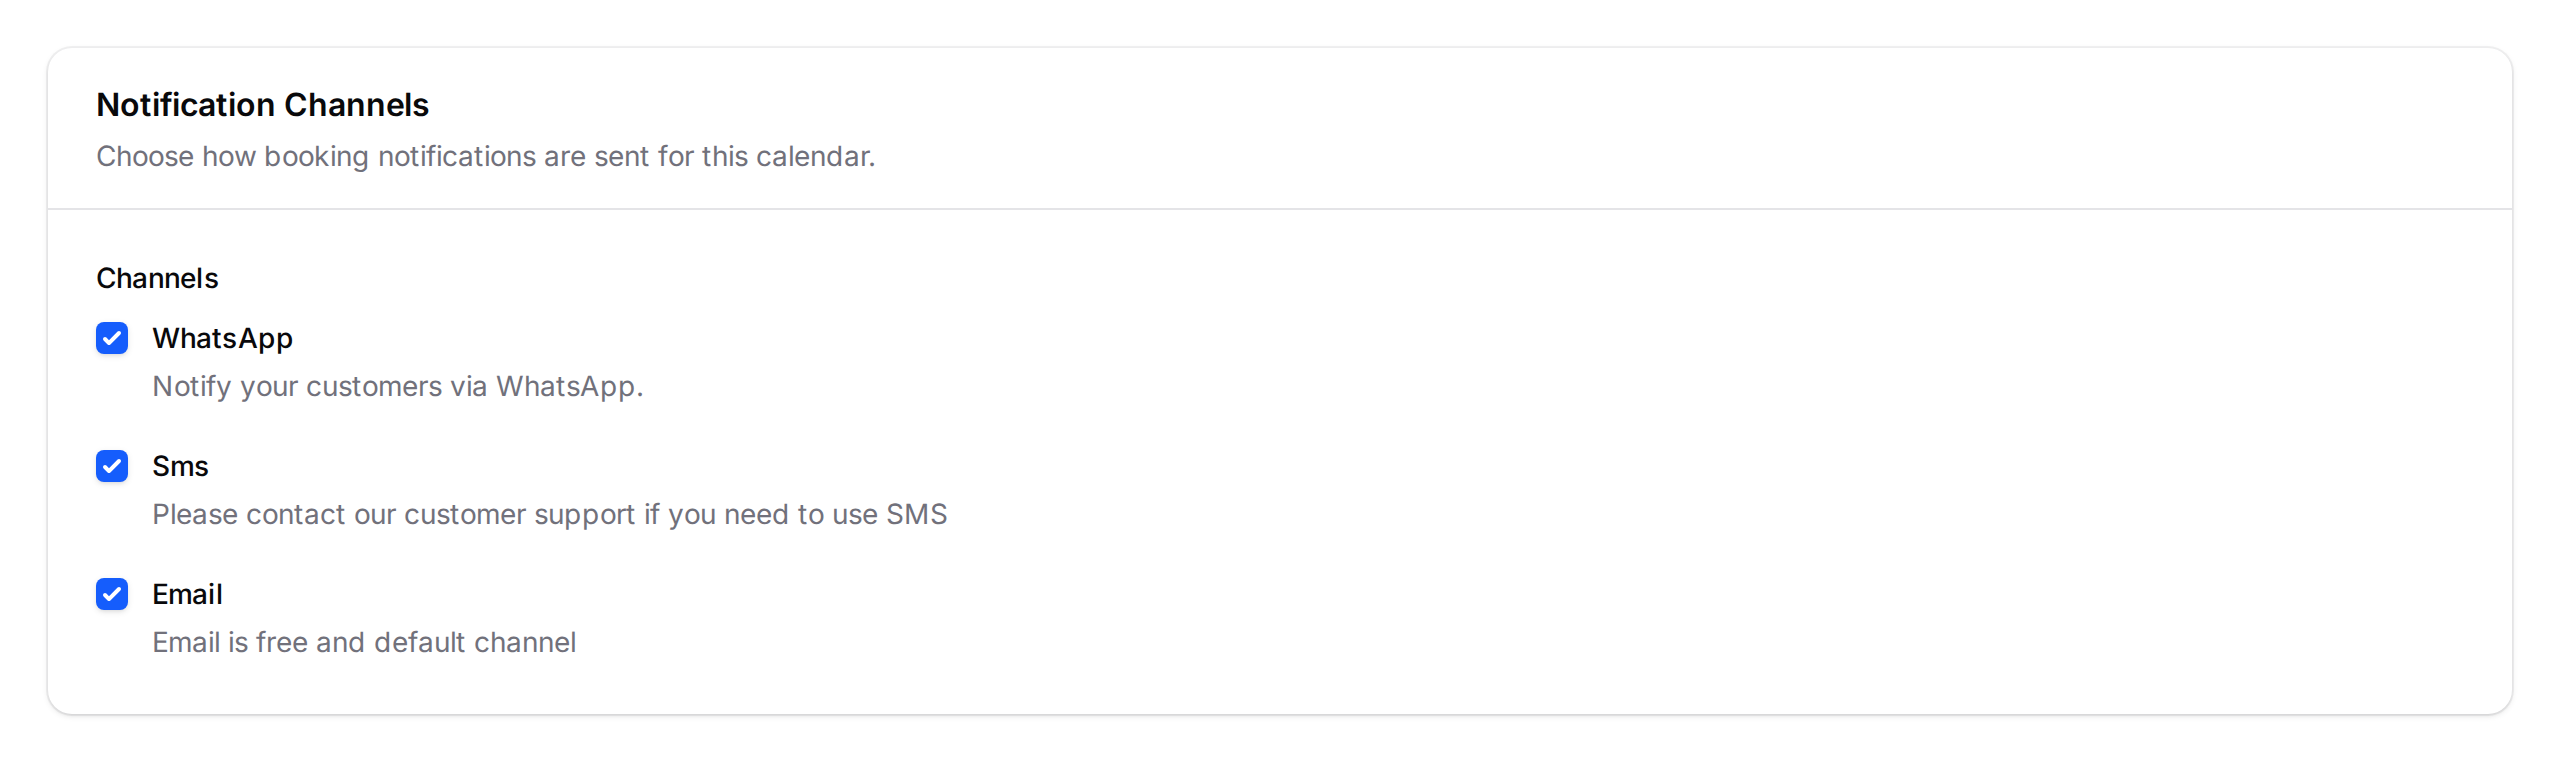
Click Edit on the calendar you want to update, then open the Notifications tab. Make sure Email is ticked under Channels.
-
Click Save changes to apply the changes.
Good to Know
- If you leave the email blank, that space's booking alerts go to your business email (the one in Organisation Info) instead, together with the alerts of any other space that has no email. Give each space its own email so each location only gets its own bookings.
- Each calendar inherits the space it belongs to. The notification email comes from the space, not from the calendar itself. So if two calendars are under the same space, they both send to that space's email.
- This only affects vendor/staff notifications. Customer notifications (confirmations, reminders) are sent to the email the customer enters when booking -- not to your space email.
- You can also use WhatsApp and SMS. Email is free and on by default. WhatsApp needs your WhatsApp number connected, and SMS has to be switched on by our team first. The channels you tick are used for both your team's alerts and the customer's messages.
- Only one email per space. To reach several people, use a shared inbox, distribution list or forwarding address, for example bookings@yourcafe.my that forwards to several staff.
- Changes apply from the next booking. Past bookings aren't sent again.
Need Help?
Reach out to our support team -- we're happy to help you get each location's notifications sorted.