
How to Set Up Auto-Tagging Rules
How to Set Up Auto-Tagging Rules
What Is This?
Auto-tagging rules automatically add tags to your customers based on their behaviour. Instead of manually tagging hundreds of customers, the system does it for you every day. This saves you time and keeps your customer segments up to date for targeted campaigns.
Real-Life Example
Siti runs a bubble tea chain with three outlets. She noticed that many customers sign up, visit once or twice, then stop coming back. She had no easy way to identify who these inactive customers were — until she set up an auto-tagging rule.
Siti created a rule that tags any customer who hasn't made a purchase in 60 days as "Inactive." Within a day, 340 customers were automatically tagged. She then sent a broadcast campaign offering RM5 off their next drink to just those customers. Over the next week, 47 of them came back. Now Siti runs this win-back campaign every month without lifting a finger to sort through customer lists.
How to Set It Up
-
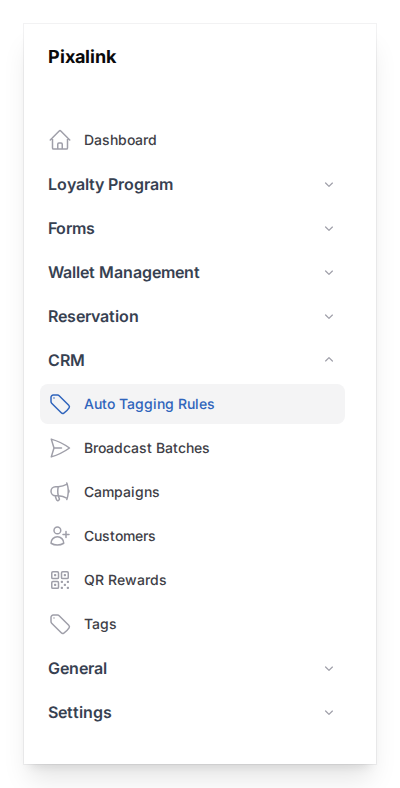
Go to Admin Panel → CRM → Auto Tagging Rules
-
Click Enable Auto-Tagging at the top of the page. A confirmation dialog will appear — click Enable to confirm. This is the master switch that controls whether any auto-tagging rules run. Once enabled, the button changes to Disable Auto-Tagging, which you can click at any time to pause all rules.
-
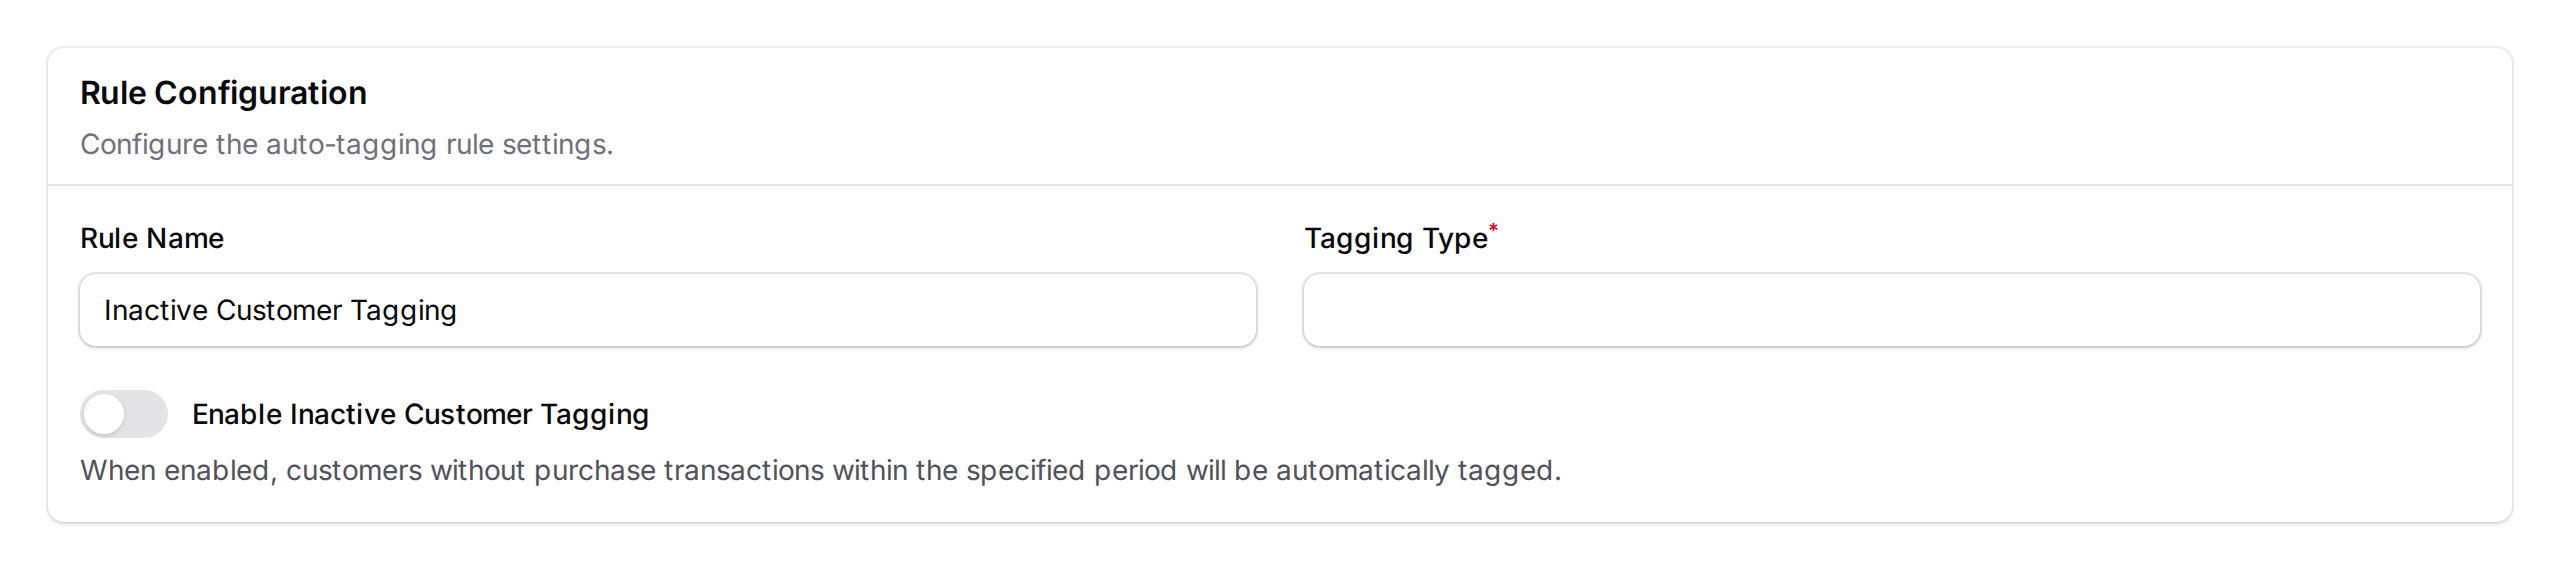
Click New Auto Tagging Rule to create your first rule. Fill in the Rule Name (e.g., "Inactive Customer Tagging") and choose the Tagging Type.
- Currently available: Inactive Customers — tags customers who haven't made a purchase within a set number of days
-
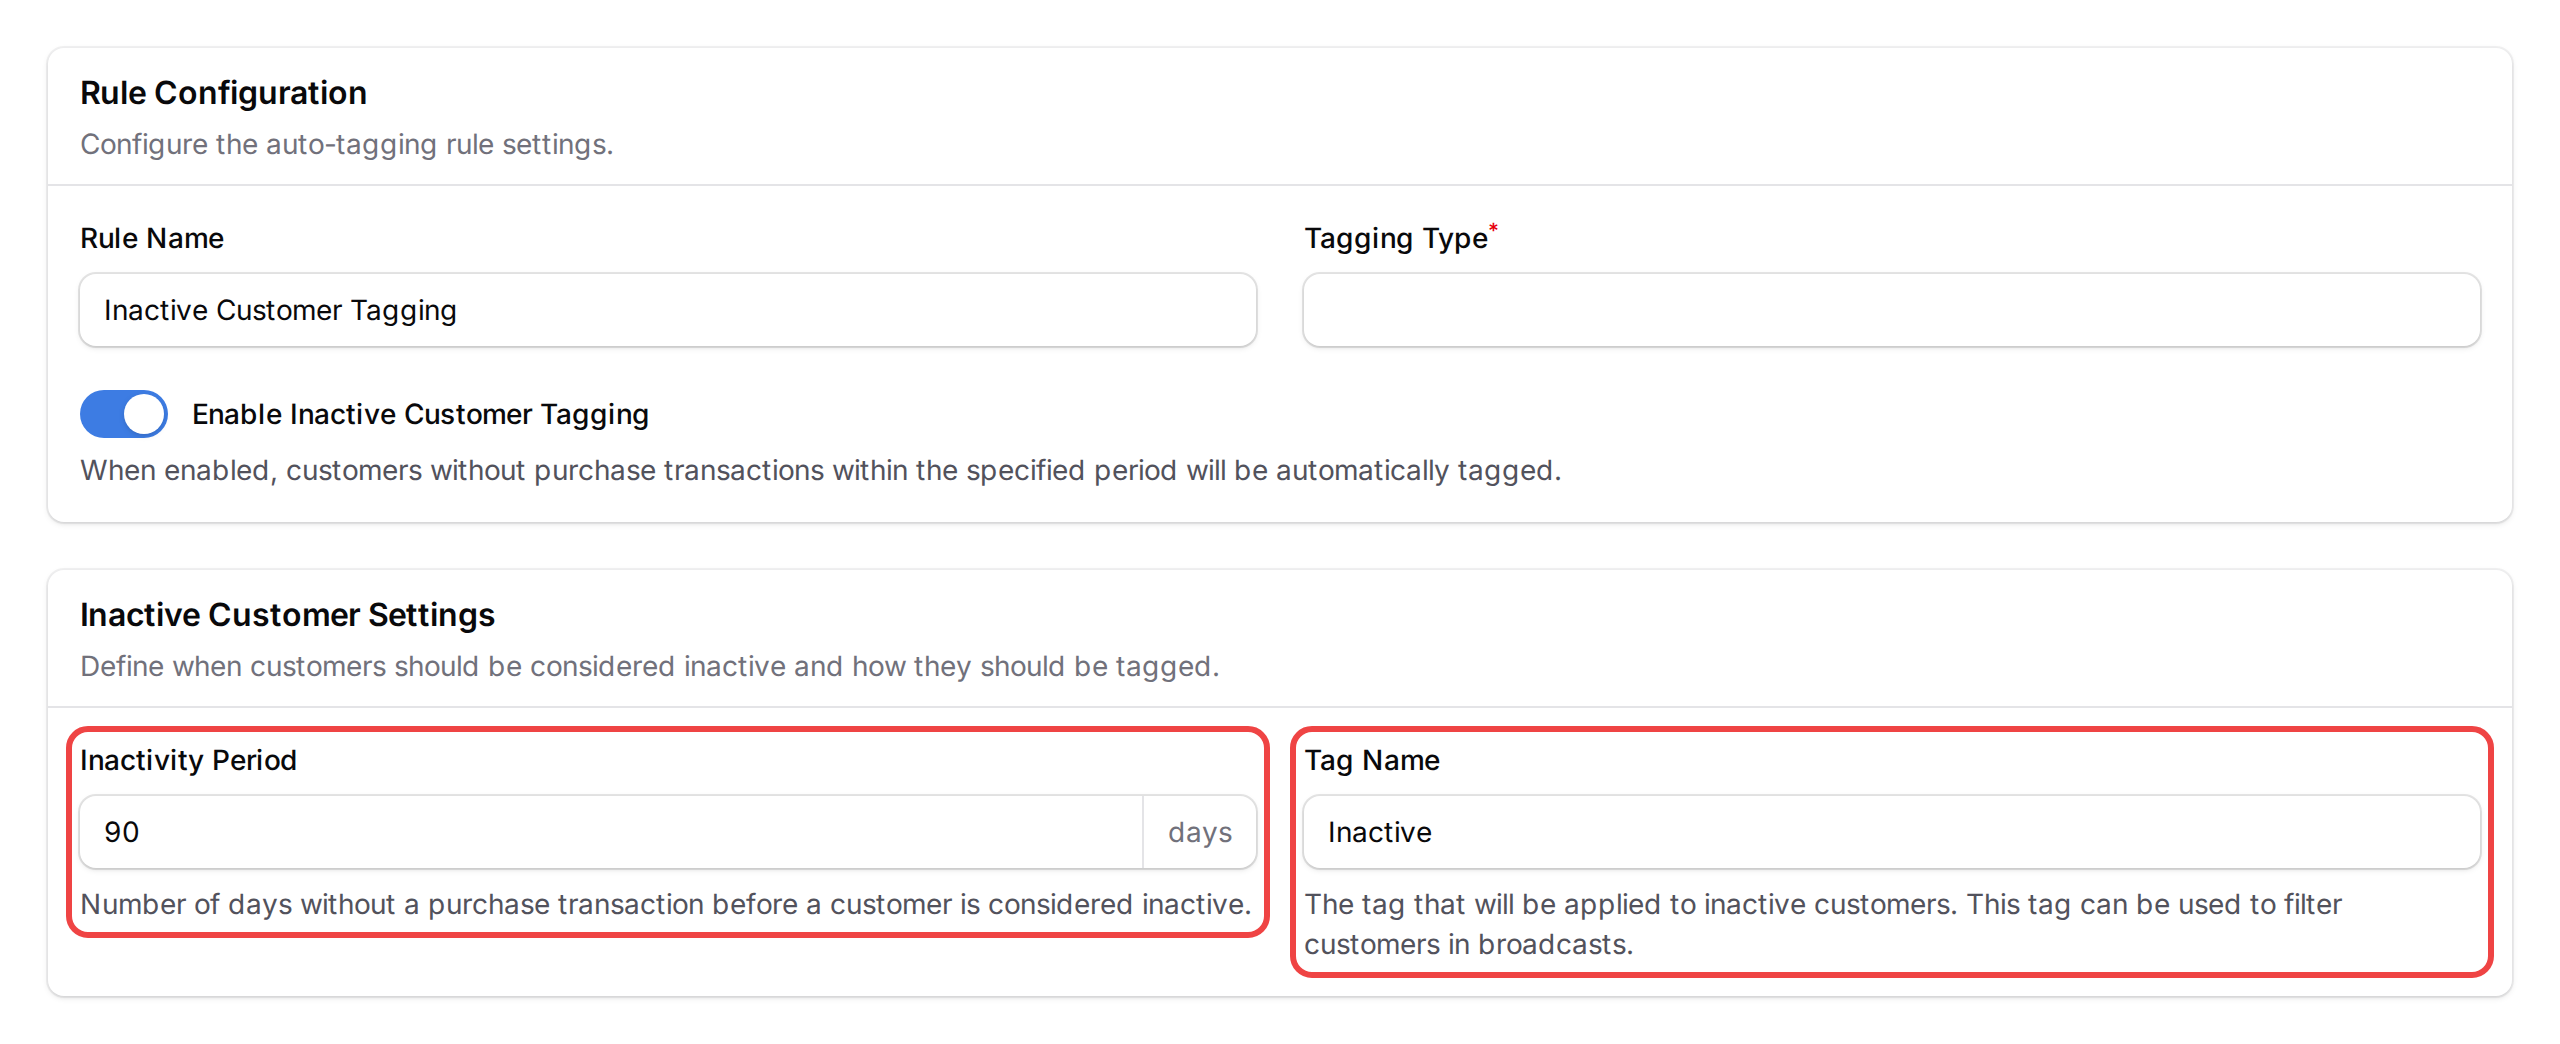
Turn on the Enable Inactive Customer Tagging toggle to activate this rule. Then select the Tagging Type (e.g., "Inactive Customers") and more fields appear: You'll see:
- Inactivity Period — how many days without a purchase before a customer is considered inactive (default: 90 days, range: 1–730 days)
- Tag Name — the tag that will be added to inactive customers (default: "Inactive"). You can change this to anything you like, such as "Lapsed" or "Needs Attention"
-
Once the Enable Inactive Customer Tagging toggle is on, a Preview section appears. Check it to see how many customers would be tagged based on your current settings.
-
Click Create to save your rule.
Your rule will now run automatically every night, in the early morning (around 4:30 AM). You can see all your rules on the main Auto Tagging Rules page. Each rule also appears under CRM → Automations, marked as managed from the auto tagging rule — edit or delete it here on the Auto Tagging Rules page, not from Automations.

Good to Know
- Runs nightly — the system checks all your customers once a night (around 4:30 AM) and applies or removes tags automatically.
- Tags are removed too — if a customer tagged as "Inactive" comes back and makes a purchase, the tag is automatically removed. You don't need to clean up tags manually.
- One rule per type — you can only have one "Inactive Customers" rule. If you need different inactivity periods, update the existing rule.
- Use tags in campaigns — once customers are tagged, you can filter by that tag when sending broadcast campaigns. This is perfect for win-back offers.
- Two-level control — there are two switches: the Enable Auto-Tagging button on the list page (master switch for all rules) and the Enable Inactive Customer Tagging toggle inside each individual rule. Both must be on for a rule to run. If you turn off the master switch, no rules will run regardless of their individual settings.
- Only purchase transactions count — the system looks at purchase transactions only. Points earned from referrals or manual adjustments don't reset the inactivity counter.
Need Help?
Reach out to our support team — we're happy to help you get started.
What's Next?
- How to Create and Use Tags — learn more about managing tags manually
- How to Send a Broadcast Campaign — send targeted messages to tagged customers
- Auto-Assign Rewards by Customer Tag — automatically give rewards to customers with specific tags