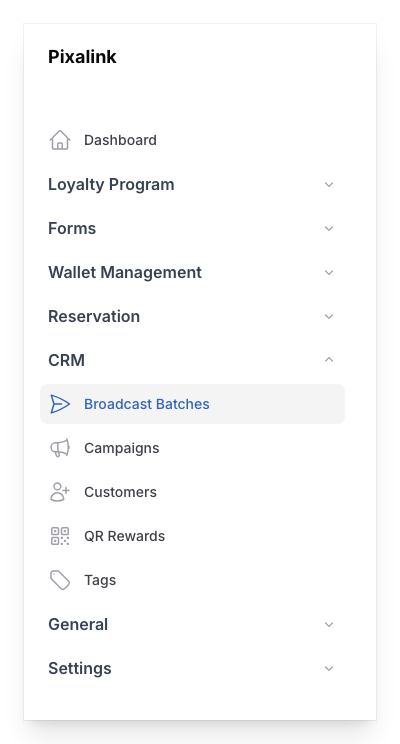
How to Send a Broadcast Campaign
What Is This?
A Broadcast is how you send a campaign message to a group of customers all at once. Unlike templated campaigns that trigger automatically, broadcasts are manual — you choose the campaign, pick the audience, set the schedule, and hit send. It's your go-to tool for promotions, announcements, and seasonal marketing.
Video Walkthrough
Real-Life Example
Encik Kamal runs Grill House in Johor Bahru. He wants to promote a weekend BBQ special to customers who haven't visited in the last 30 days. He creates a broadcast, filters for inactive customers, attaches his campaign with a mouth-watering photo, and schedules it for Thursday evening so customers have time to plan their weekend.
How to Send a Broadcast
Step 1: Open the Broadcasts Page
From the Admin Panel sidebar, go to CRM → Broadcasts. Click Create to start a new broadcast.
You can also start a broadcast from the Customers list page by clicking the Send Campaigns button.
Step 2: Select Your Campaign and Audience
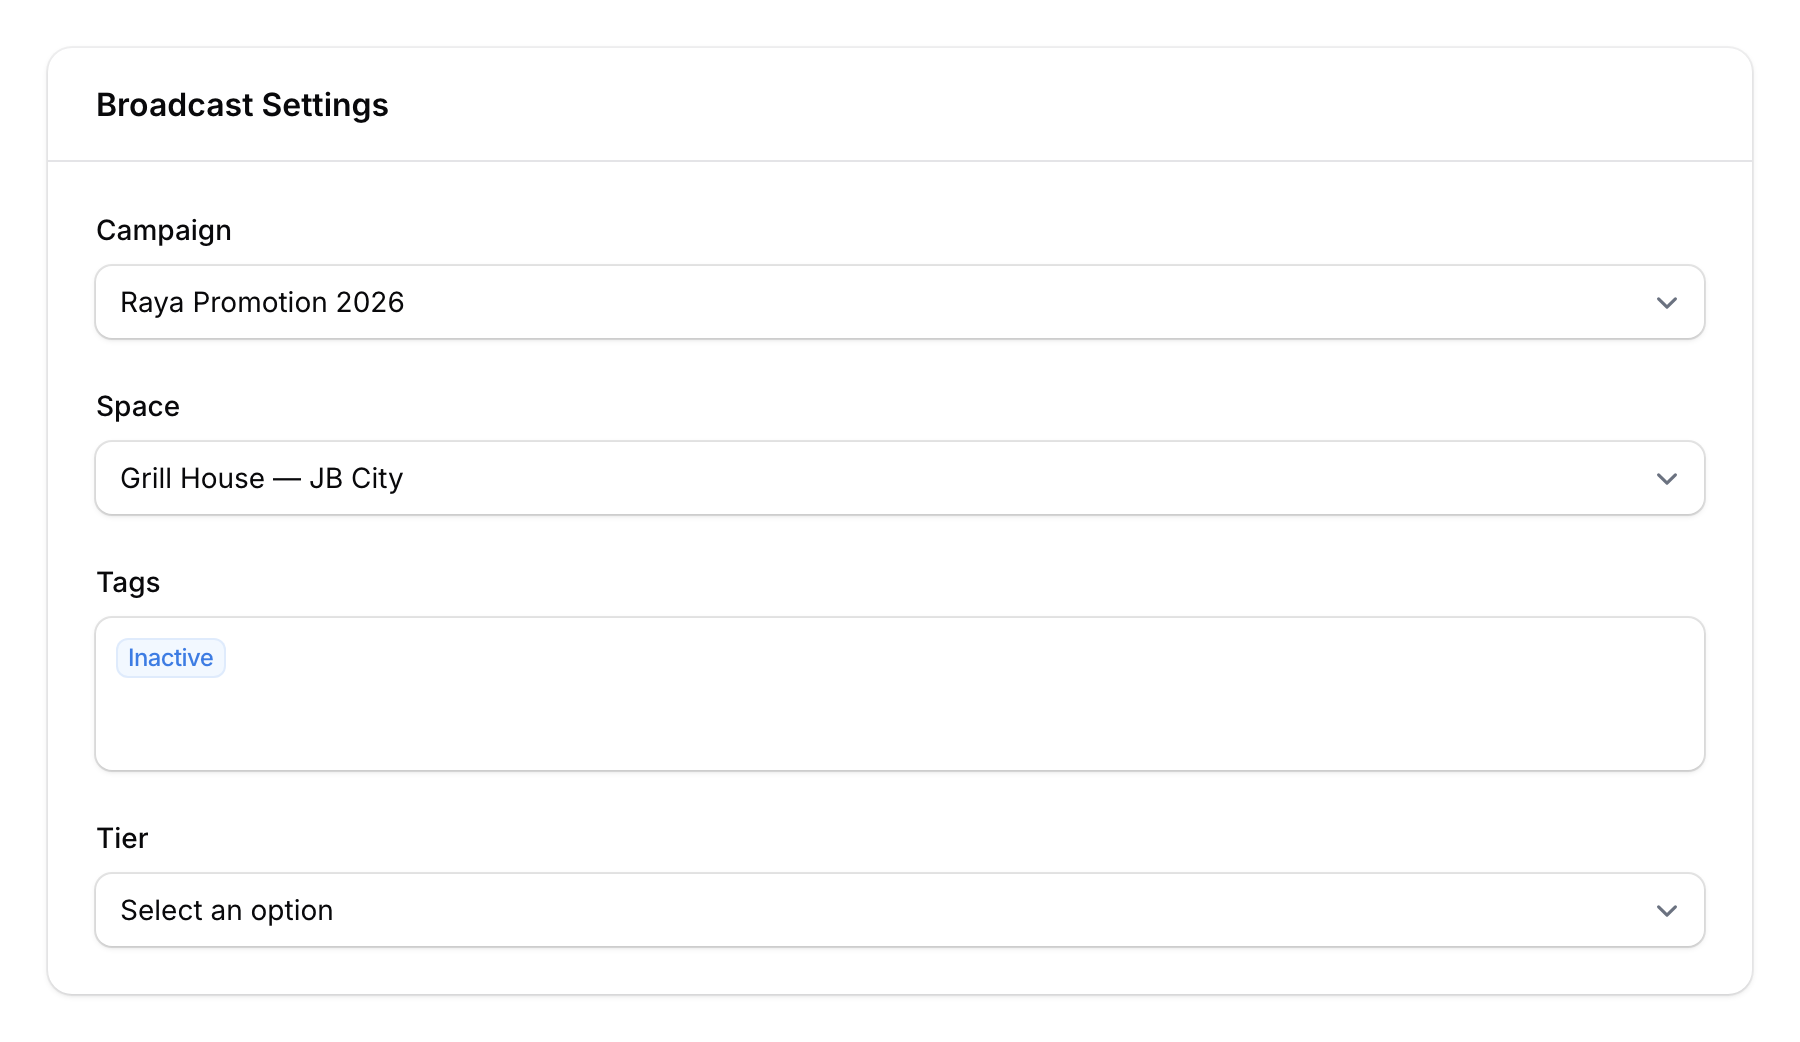
Choose a Campaign:
- Select an existing campaign from the dropdown, or create a new one inline.
Filter Your Audience: Use the filter options to target specific customers:
- Space — Filter by outlet
- Tags — Only send to customers with specific tags
- Tier — Filter by loyalty tier
- Custom Fields — Filter by any custom field you've set up
- Specific Customer — Select individual customers by name or phone
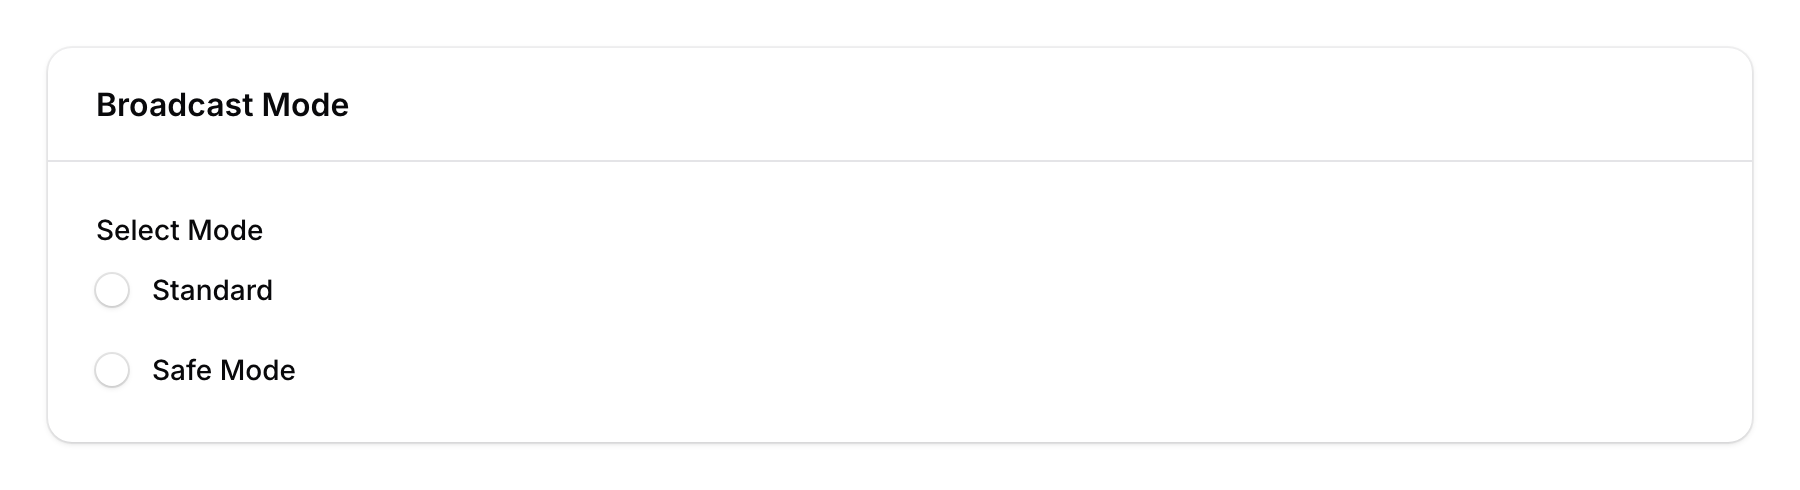
Step 3: Choose Broadcast Mode
Select how you want to send your messages:
| Mode | Best For | How It Works |
|---|---|---|
| Standard | Small audiences (<500) | Sends at a set interval, straightforward |
| Safe Mode | WhatsApp campaigns (500+) | Safer delivery with fixed interval presets and weekend control |
Step 4: Configure Schedule
Based on your selected mode, configure the timing:
- Standard — Set the interval between messages
- Safe Mode — Select an interval preset (1 min, 2 min, 4 min, or 5 min) and toggle weekend sending on or off

Step 5: Review and Launch
Review your settings — the campaign, audience count, mode, and schedule. When you're satisfied, click Create to launch the broadcast.
Monitoring Your Broadcast
After launching, you can monitor the broadcast from the Broadcasts list:
- Status — Scheduled, Ongoing, Paused, Finished, or Suspended
- Mode — Standard or Safe Mode
- Progress — How many messages have been sent
- Total Customers — Number of customers in the audience

Good to Know
- Pause and resume — You can pause an ongoing broadcast and resume it later.
- WhatsApp rate limits — Use Safe Mode for WhatsApp broadcasts to avoid hitting Meta's sending limits. The interval between messages helps stay within limits.
- Weekend control — For non-urgent campaigns, disable weekend sending so customers aren't disturbed during off hours.
- Customer filters are powerful — Combine multiple filters to create precise audience segments (e.g., "Gold tier customers in KL who haven't visited in 60 days").
- One campaign per broadcast — Each broadcast sends one campaign. To send different messages to different groups, create separate broadcasts.