What Are Campaigns and How to Create One
What Is This?
Campaigns are automated or manual messages you send to your customers through WhatsApp, SMS, or Email. They help you stay in touch with your customers — welcoming new signups, wishing them on birthdays, winning back inactive customers, or promoting special offers.
Pixalink supports two types of campaigns:
- Templated Campaigns — Pre-built automations that trigger based on events (new customer joins, birthday, customer goes inactive, etc.)
- Custom Campaigns — Freeform messages you write for any purpose, then send via Broadcast
Video Walkthrough
Real-Life Example
Encik Zul runs Warung Sedap in Cyberjaya. He sets up three campaigns:
- A New Customer campaign that sends a welcome message with a 10% discount 30 minutes after signup
- A Birthday campaign that gives customers a free dessert voucher on their birthday
- A custom Raya Promotion campaign he broadcasts to all customers before Hari Raya
How to Create a Campaign
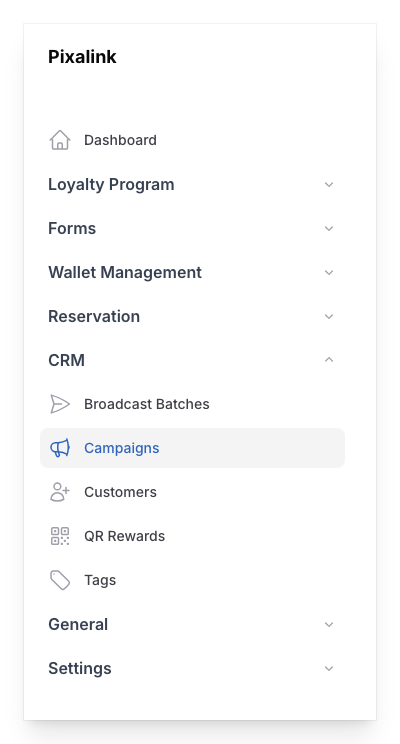
Step 1: Open the Campaigns Page
From the Admin Panel sidebar, go to CRM → Campaigns.
Step 2: Choose Your Campaign Type
You have two options:
- Create (top-right button) — Creates a custom campaign with no trigger
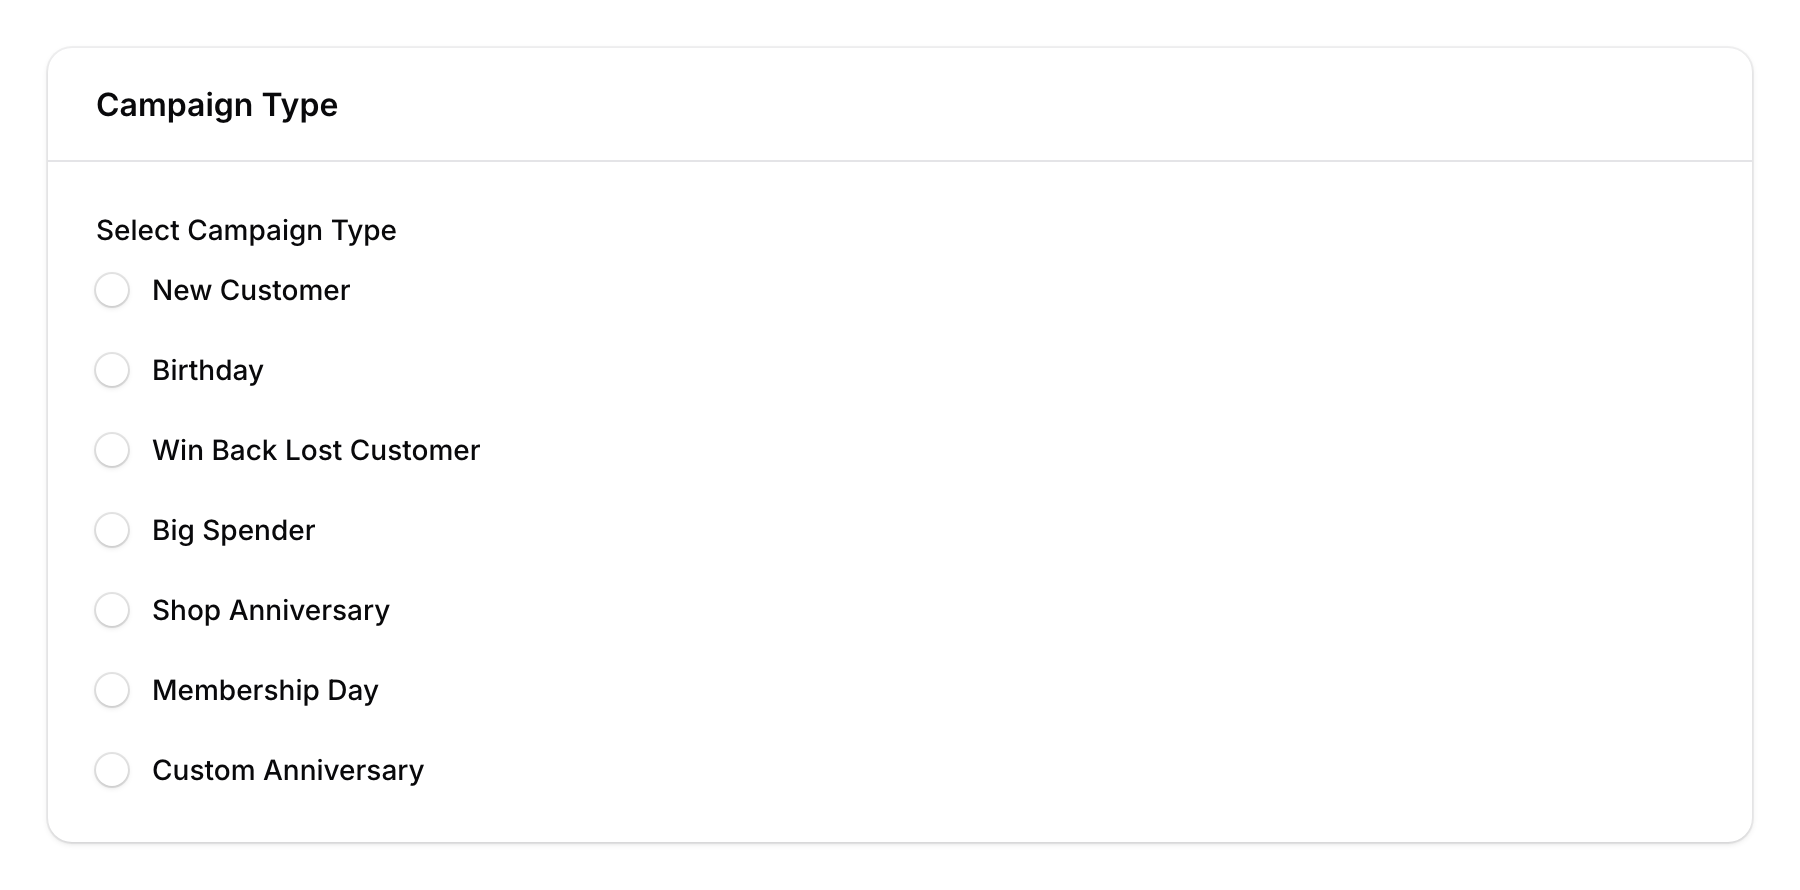
- Create Templated Campaign — Choose from built-in automation types:
- New Customer — Triggers when someone joins your loyalty programme
- Birthday — Sends on the customer's birthday
- Win Back Lost Customer — Triggers when a customer hasn't visited for X days
- Big Spender — Triggers when a customer reaches a spending threshold
- Shop Anniversary — Sends on a specific date each year
- Membership Day — Sends on a recurring monthly/annual membership date
- Custom Anniversary — Triggers on a custom date field you define
Step 3: Configure the Campaign
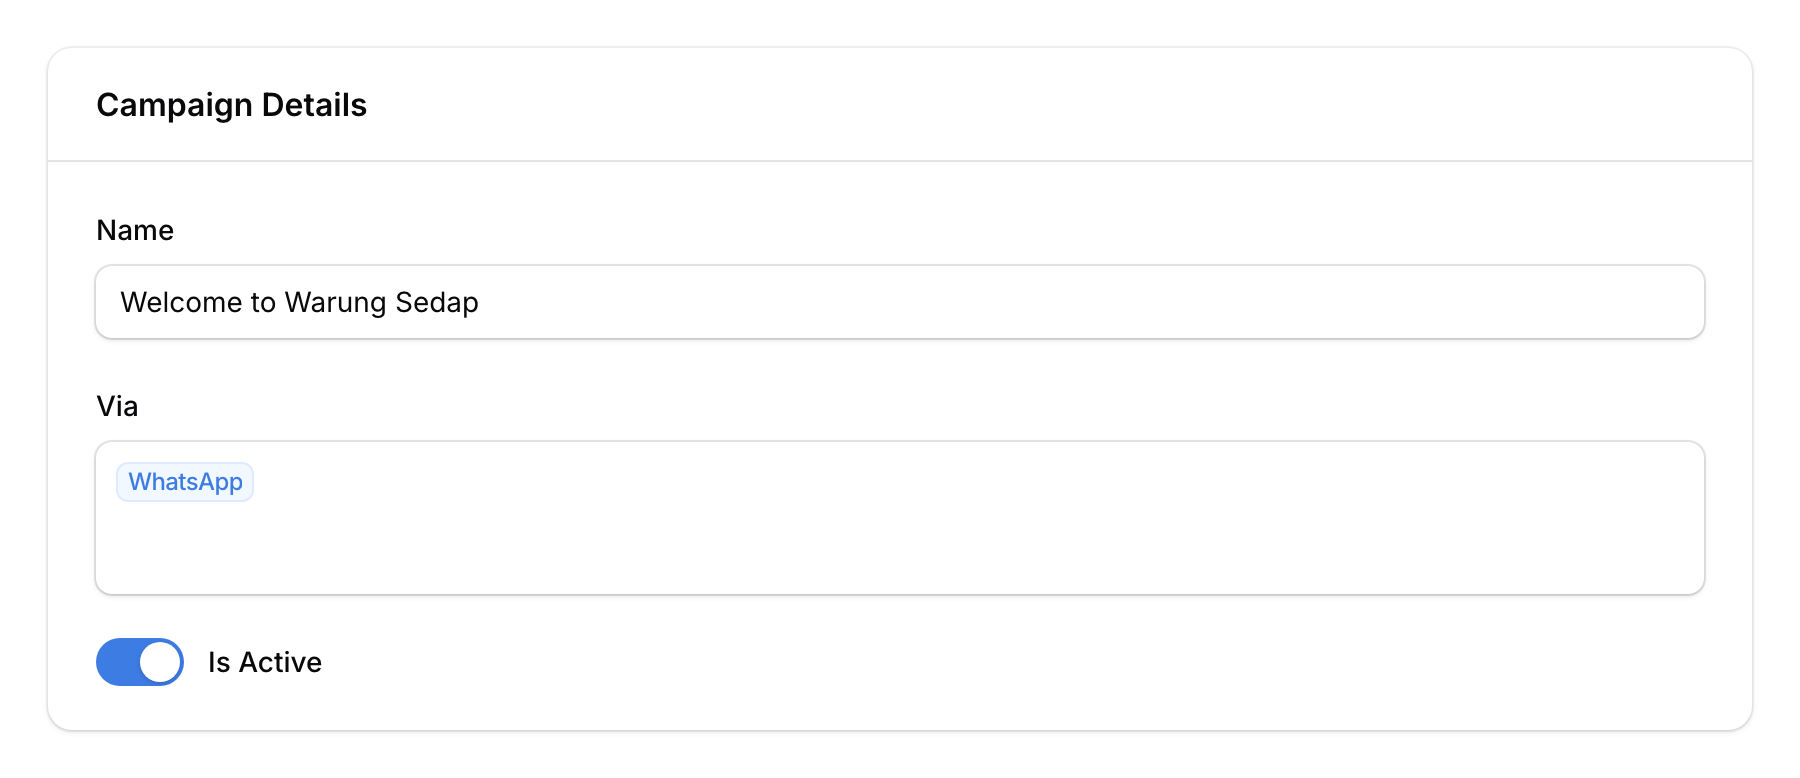
Fill in the campaign details:
- Name — Give your campaign a descriptive name
- Via — Choose your channel(s): WhatsApp, SMS, Email (you can select multiple)
- Is Active — Toggle on to enable the campaign
Then fill in the message for each channel you selected:
For WhatsApp:
- Write your message (up to 4,096 characters)
- Optionally attach an image, video, or PDF
For Email:
- Set the subject line and sender
- Write the email body using the rich editor
- Attach files if needed
For SMS:
- Write your SMS message (character counter shows remaining characters)
Step 4: Configure Trigger Settings (Templated Only)
For templated campaigns, additional settings appear based on the type:
- New Customer — Set a delay (1 minute to 7 days) before the message is sent
- Win Back — Set the number of inactive days before triggering
- Big Spender — Set the minimum spending amount
- Birthday/Anniversary — Set the time of day to send

Step 5: Save
Click Create to save your campaign. Templated campaigns start running automatically when active. Custom campaigns need to be sent manually via Broadcast.

Good to Know
- Template variables — Use placeholders like
{{CUSTOMER_NAME}}in your messages to personalise them automatically. - Broadcast safety — Each campaign has a Broadcast Safety Settings section where you select a message interval from a dropdown (1 minute, 2 minutes, 4 minutes, or 5 minutes) and toggle weekend sending on or off.
- Send in advance — For date-based campaigns (Birthday, Anniversary, Membership Day), you can toggle "Send X days before" to deliver the message ahead of the actual date.
- Tabs in the list — The Campaigns page has two tabs: "All" (custom campaigns) and "Templated" (automation campaigns).