How to Create a New Customer Campaign
What Is This?
A New Customer Campaign is an automated message that goes out to every customer who joins your loyalty programme. It's your digital first impression — a welcome message, a thank-you note, or even a special sign-up offer, sent automatically without your staff lifting a finger.
Real-Life Example
Puan Rina owns Bloom Florist in Damansara. Every time a new customer signs up at her shop, they automatically receive a WhatsApp message 30 minutes later: "Welcome to Bloom Florist! Here's a 15% off voucher for your next bouquet." Puan Rina set this up once and it's been running for months.
How to Create a New Customer Campaign
Step 1: Open the Campaigns Page
From the Admin Panel sidebar, go to CRM → Campaigns. Click Create Templated Campaign.
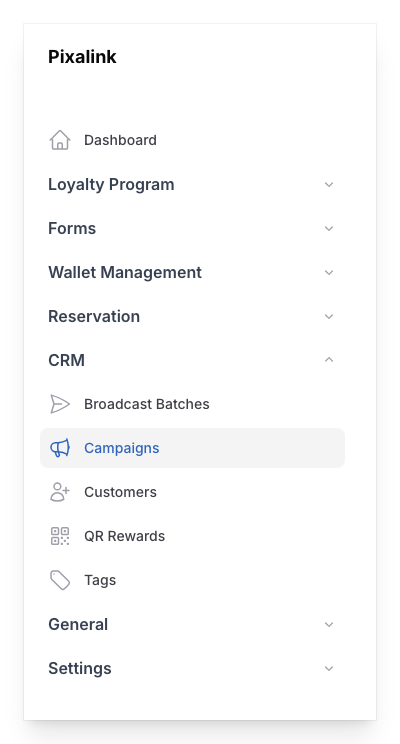
Step 2: Select "New Customer" Type
From the campaign type options, select New Customer. This tells the system to trigger the message whenever a new customer is created.
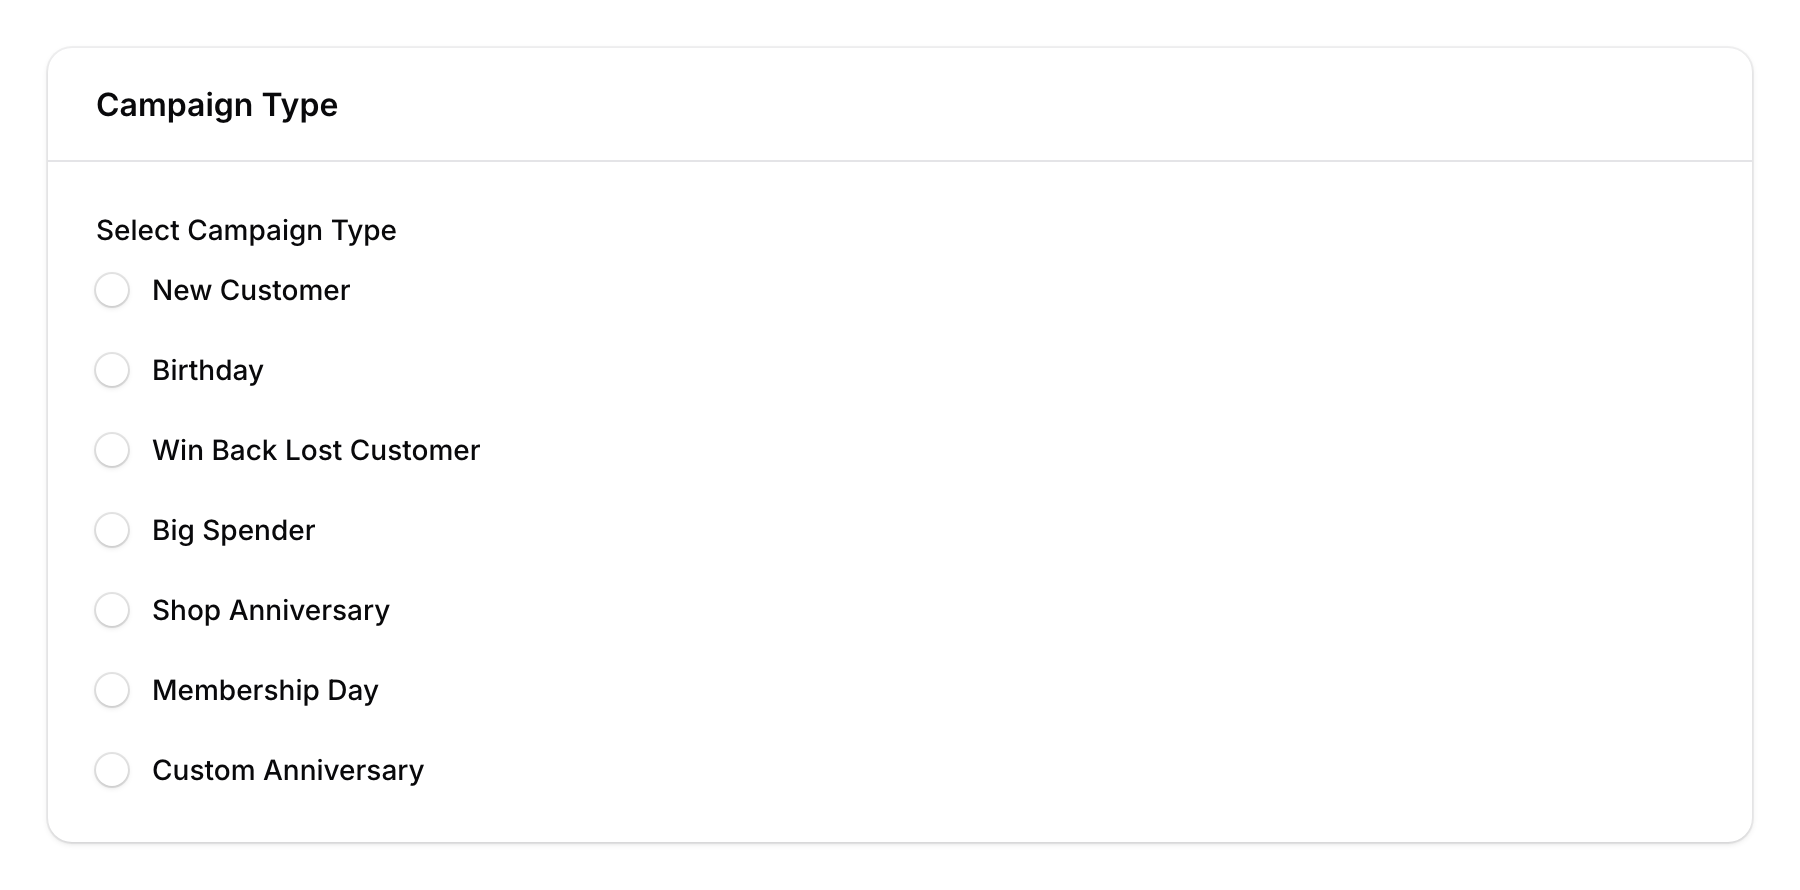
Step 3: Set the Communication Channel
Under Via, select one or more channels:
- WhatsApp — Most popular for Malaysian businesses
- SMS — For customers without WhatsApp
- Email — For formal communications
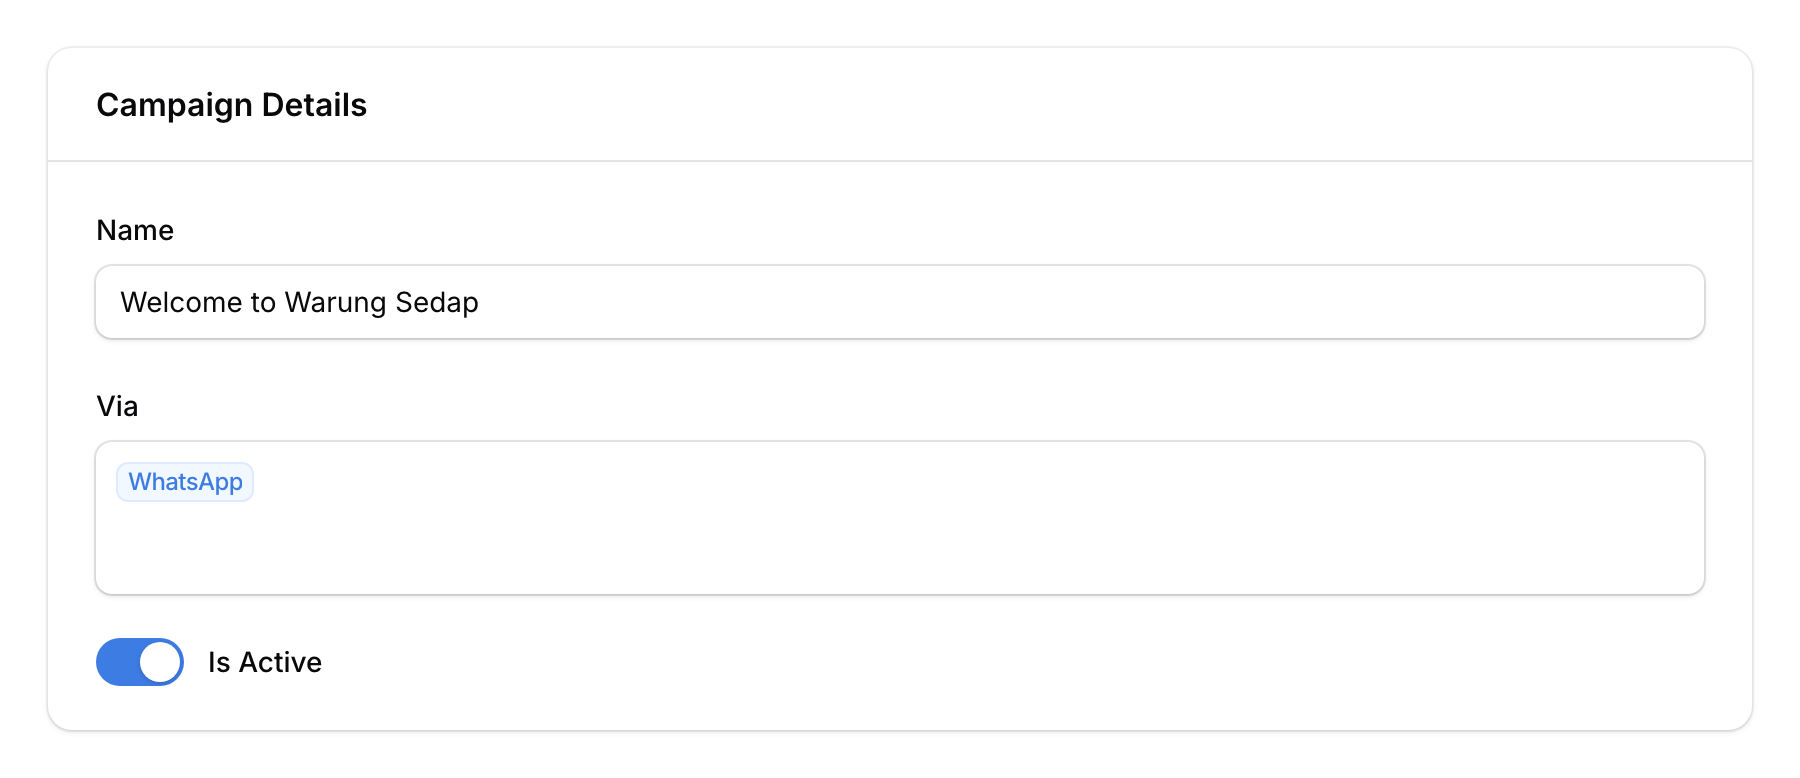
Step 4: Write Your Welcome Message
Write the message for each selected channel. Use template variables to personalise:
{{CUSTOMER_NAME}}— The customer's name{{CUSTOMER_EMAIL}}— The customer's email{{SPACE_NAME}}— Your business/outlet name
Example WhatsApp message:
Hi {{CUSTOMER_NAME}}! Welcome to Bloom Florist. Thank you for joining our loyalty programme. You'll earn points with every purchase. Visit us again soon!
For WhatsApp, you can also attach an image, video, or PDF (e.g., a welcome flyer or menu).
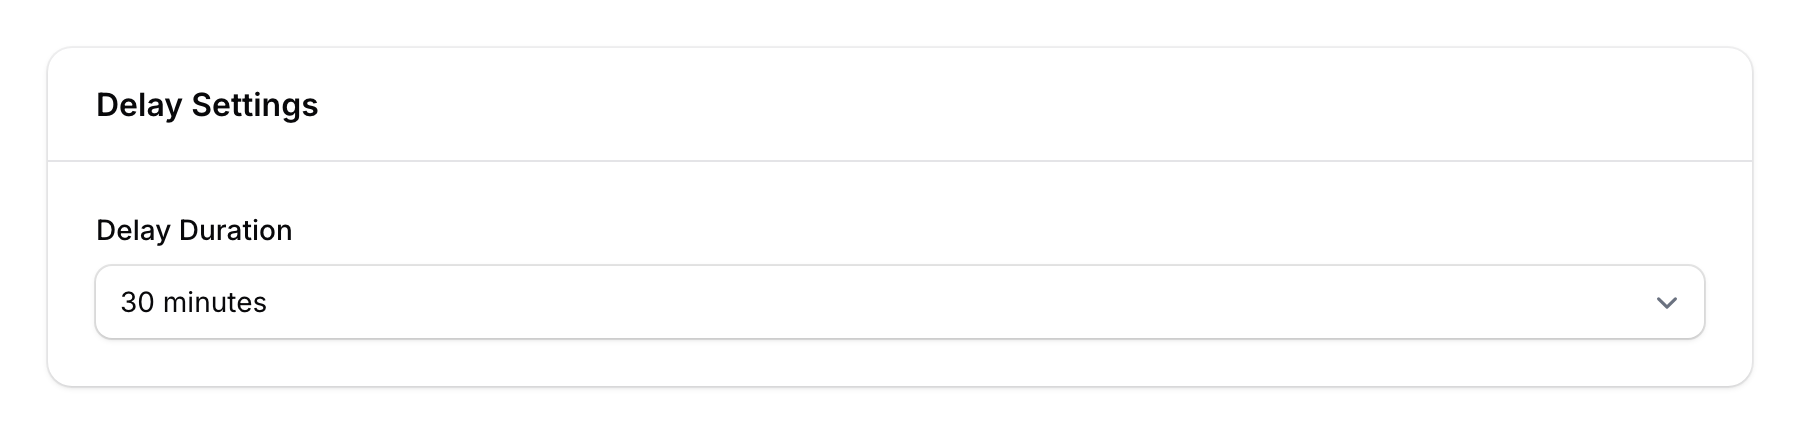
Step 5: Set the Delay
Configure how long to wait before sending the welcome message:
- Delay Duration — Choose from the dropdown: 1 min, 5 min, 10 min, 30 min, 1 hour, 2 hours, 3 hours, 12 hours, 1 day, 2 days, 3 days, or 7 days
- A 30-minute delay is common — it gives the customer time to leave the store before they receive the message
Step 6: Configure Safety Settings
- Broadcast Interval — Select the interval between messages from the dropdown (1 minute, 2 minutes, 4 minutes, or 5 minutes)
- Include Weekends — Toggle off if you don't want messages sent on weekends

Step 7: Activate and Save
Make sure the Is Active toggle is turned on, then click Create. Your campaign is now live — every new customer will receive this message automatically.

Good to Know
- One-time trigger — Each customer only receives this message once, when they first join.
- Delay is important — Sending immediately can feel spammy. A 15-30 minute delay feels more natural.
- Works with all signup methods — Whether the customer signs up via the portal, is added by staff, or imported from CSV, the campaign triggers for all.
- Test it — Create a test customer to make sure your message looks right before going live.