Auto-Assign Rewards by Customer Tag
Auto-Assign Rewards by Customer Tag
What Is This?
Auto-Assign Rewards by Customer Tag lets you automatically hand out a reward to any customer who has a specific tag. Instead of manually finding tagged customers and giving them rewards one by one, the system does it for you — instantly and in the background.
Real-Life Example
Aisha runs a bubble tea chain. She recently ran a "Taste Test" event and tagged all attendees with a "Taste Test VIP" tag. Now she wants to thank them with a free topping voucher.
Without this feature, Aisha would need to look up each attendee and give them the voucher manually. With Auto-Assign by Tag, she creates a reward, turns on the auto-tag option, and picks the "Taste Test VIP" tag. Every customer with that tag immediately receives the voucher — no manual work needed.
Later, when her staff tags a new walk-in customer as "Taste Test VIP", that customer automatically gets the voucher too.
How to Set It Up
Step 1: Create or edit a reward
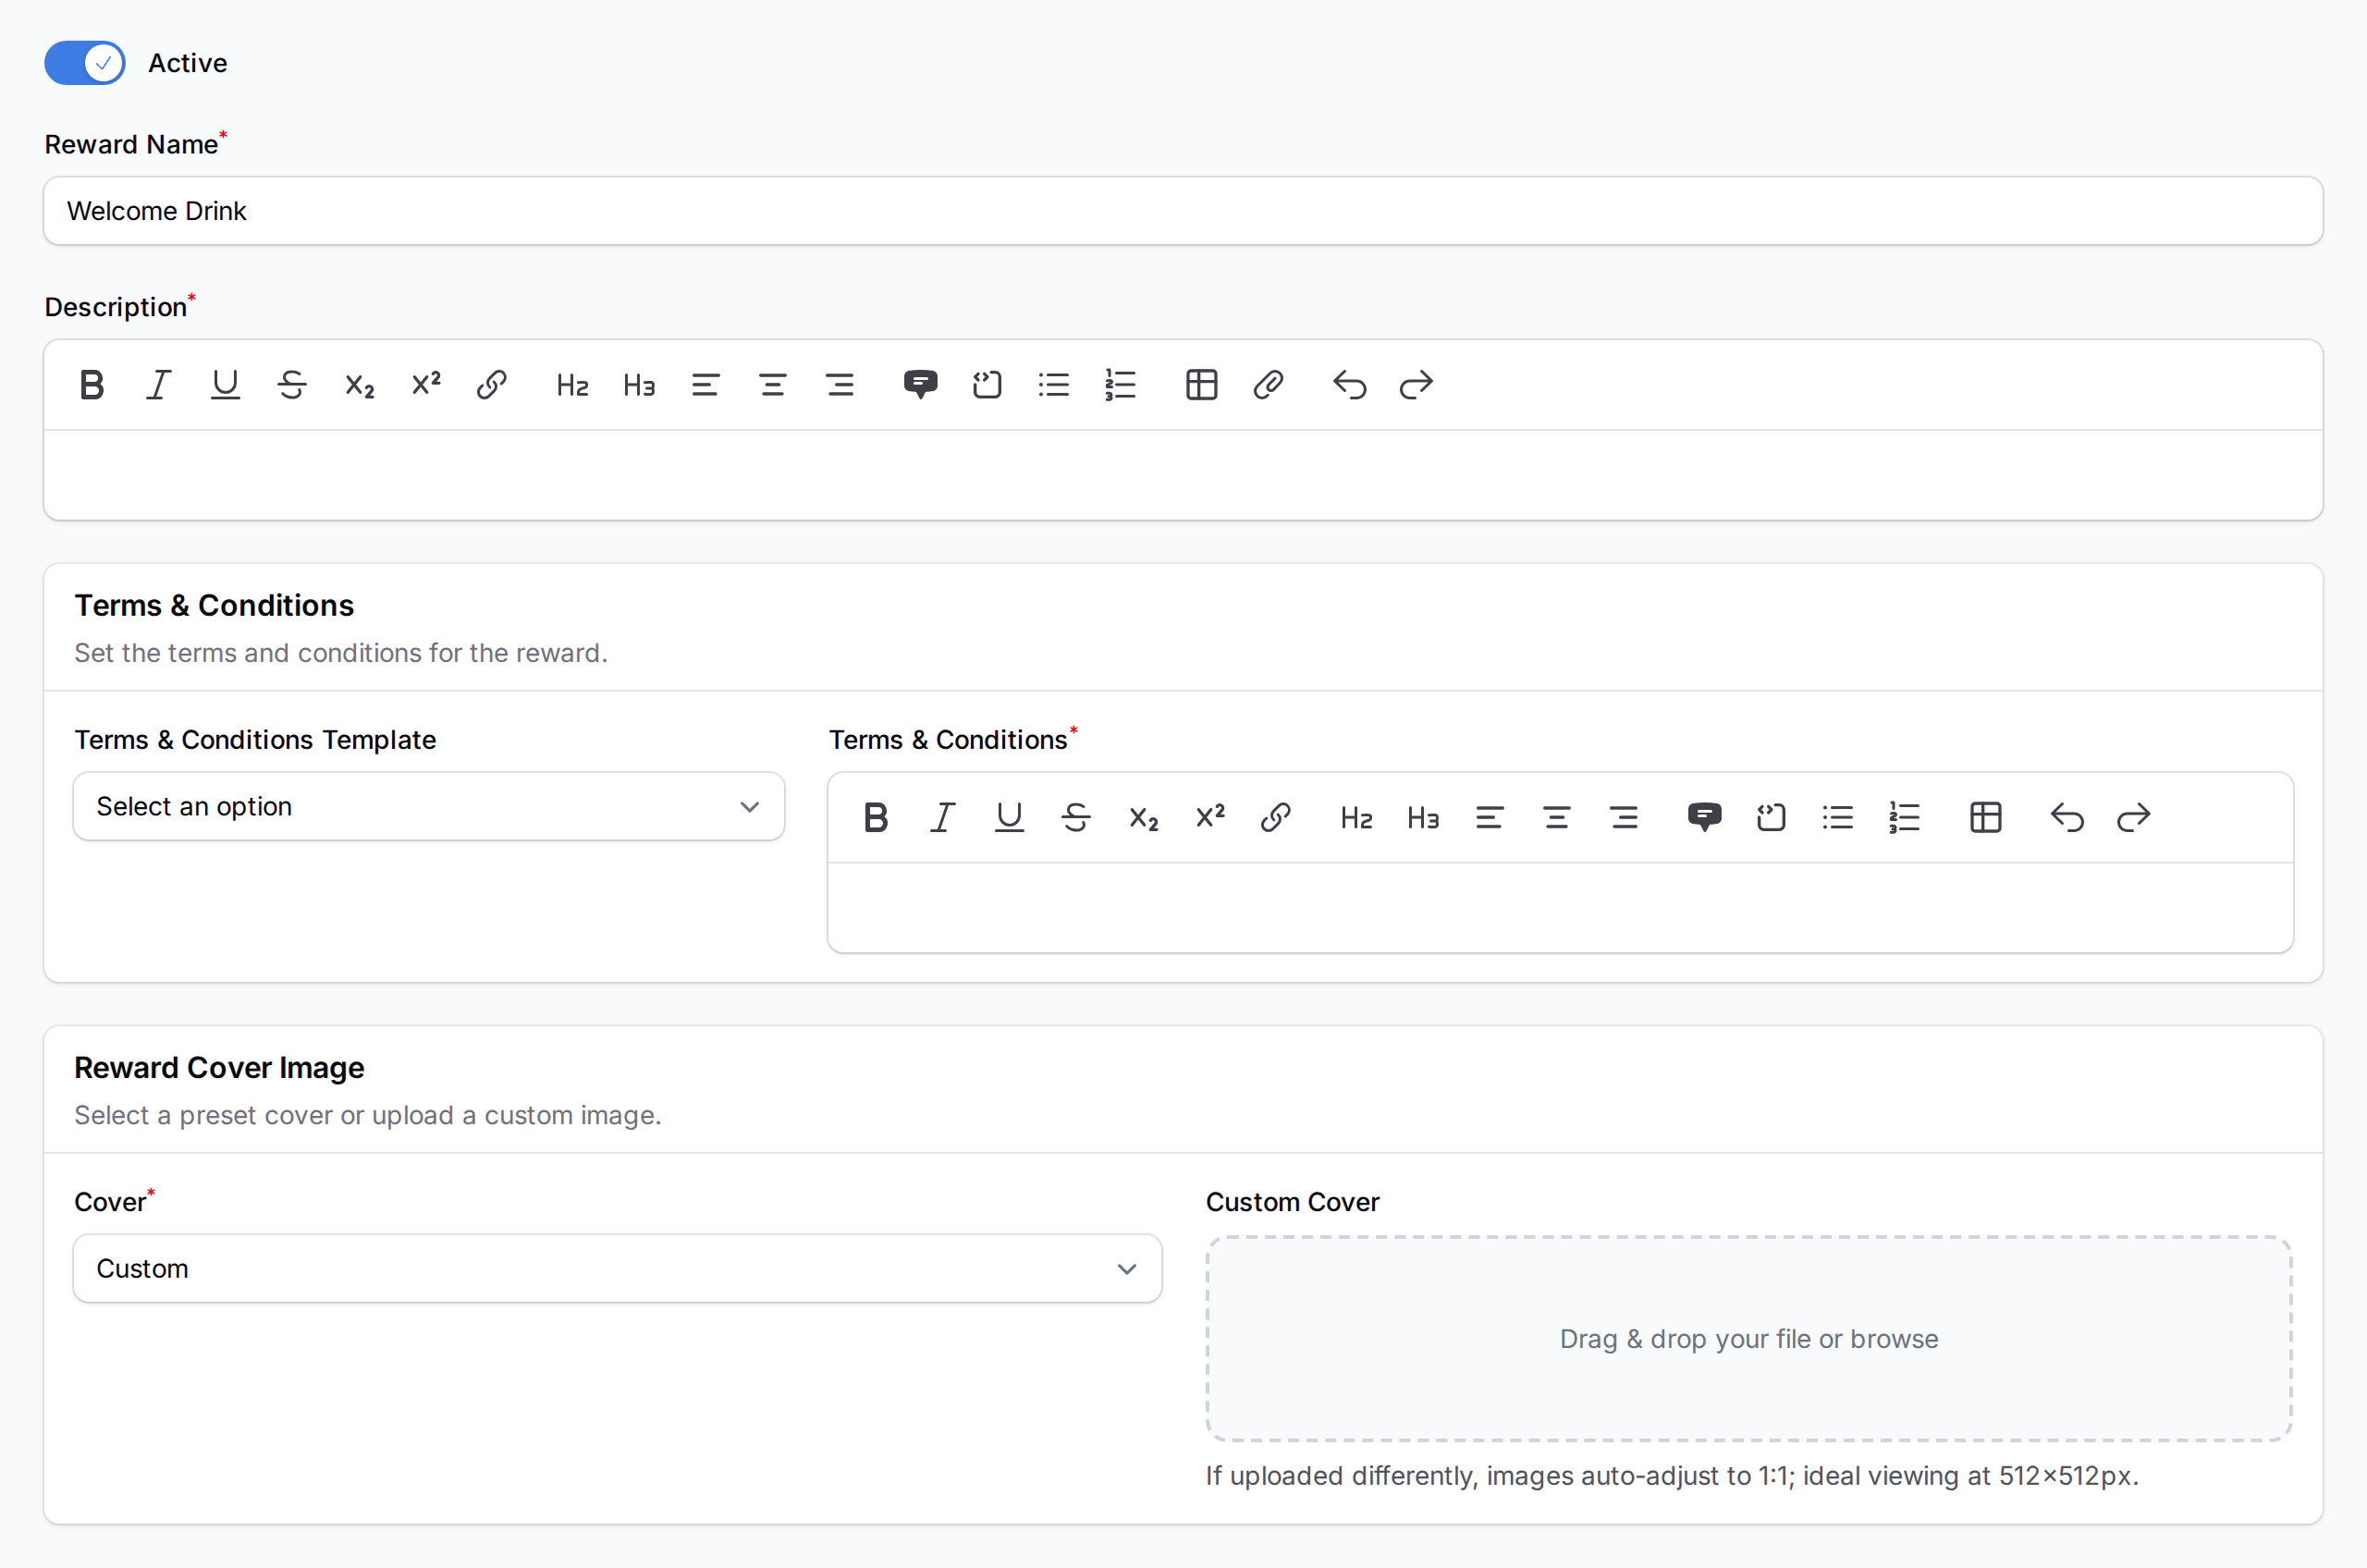
Go to Admin Panel > Loyalty Program > Rewards and click Create, or open an existing reward.

Fill in the Reward Details tab with a name and description.
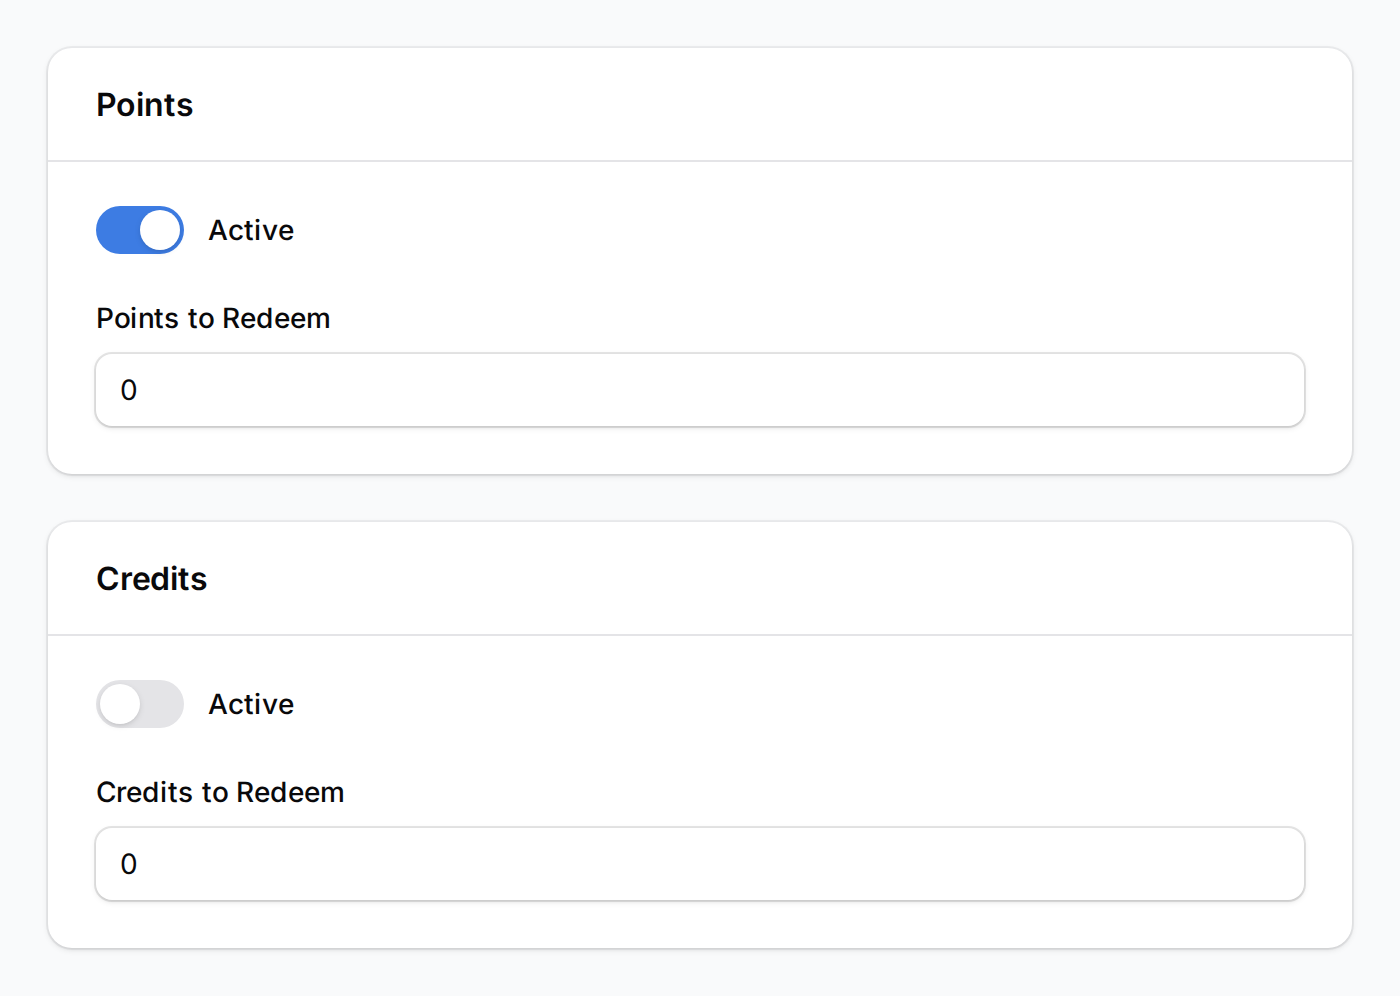
Step 2: Set the cost to zero
Auto-tag rewards are given automatically — they cannot cost any points or credits. Set Points to Redeem to 0.
Step 3: Turn on "Auto-assign to Customers with tags"
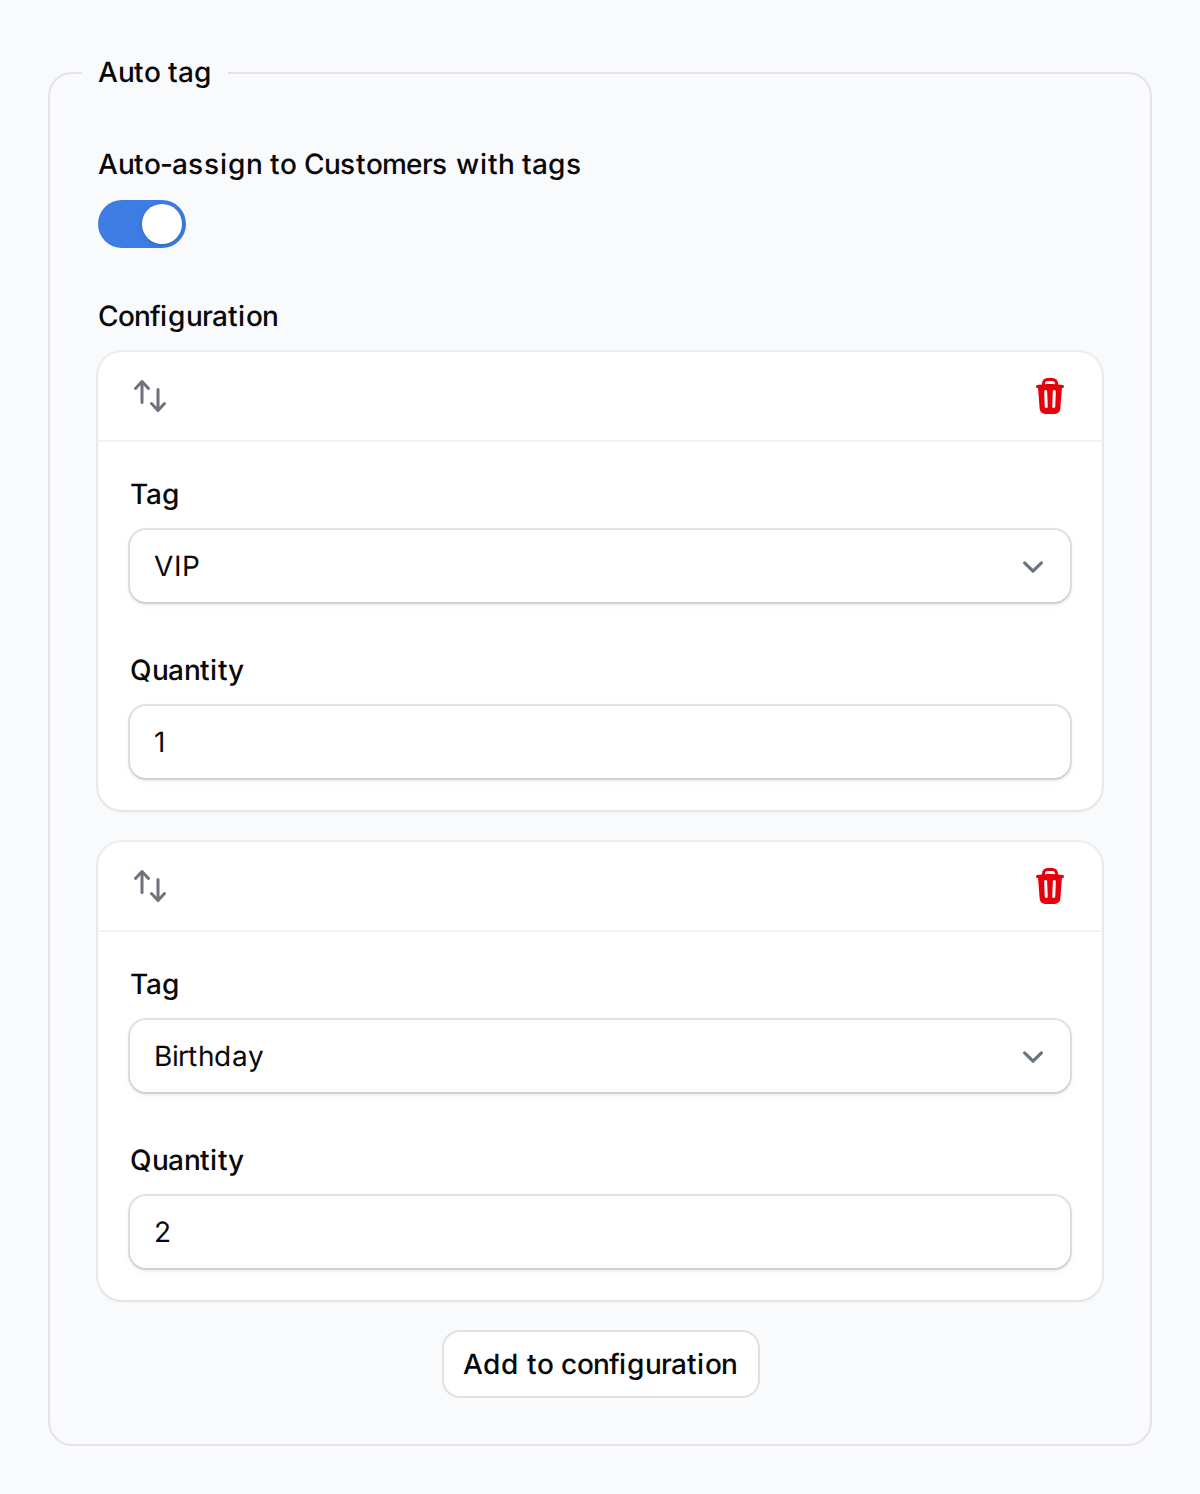
Click the Automations tab. Under Auto tag, toggle on Auto-assign to Customers with tags, then add your tag rules:
- Click Add to configuration to add a new row
- Tag — pick the customer tag from the dropdown
- Quantity — how many of this reward each matching customer gets (default: 1)
You can add multiple tags with different quantities.
Step 4: Activate and save
Make sure the Active toggle is on, then click Save. The system will immediately give this reward to all existing customers who already have the matching tags.

When Does It Trigger?
The reward is given automatically whenever a customer gets a matching tag:
- You manually tag a customer in the Admin Panel
- A customer registers through a custom form set up to auto-tag
- A customer makes a reservation if the calendar is configured to auto-tag on booking
- Customers are imported in bulk with tags included
- You update the reward — the system re-checks all customers with the relevant tags
What Your Customers Will See
Customers will see the reward appear in their rewards list, ready to be redeemed — just like any other reward.
Good to Know
- The reward must be free. Point and credit costs are forced to 0 when auto-tag is enabled.
- Only active rewards are given out. Deactivating the reward stops new assignments.
- Existing customers are included. All customers with the matching tag receive it when you first save — not just future tagging.
- One reward per customer. No duplicates, even if a customer is tagged again or the reward is updated.
- Multiple tags supported. Each tag can have its own quantity.
- Tags come from your CRM. Set up your tags first before using this feature.