
Updated Oct 3, 2026
Zu Wei
2 min read
9 views

How to Scan Customer Barcodes with Your Device Camera

How to Scan Customer Barcodes with Your Device Camera

What Is This?

Typing phone numbers at a busy counter is slow and easy to get wrong. The camera scan button lets your staff scan the customer's member barcode instead. The phone number fills in on its own, so points and rewards move faster.

Real-Life Example

Ahmad runs Kopi Corner, a cafe in Bangsar. His staff used to type each phone number by hand, and typos meant lost points. Now his cashier clicks the camera icon and scans each customer's member barcode. The number appears straight away. The queue moves faster, and points always reach the right person.

Video Walkthrough
How to Set It Up

Before you start, turn on Show Barcode In Profile under Customer Portal Design so customers have a barcode to show.

  1. Go to Admin Panel → Loyalty Program → Record Points
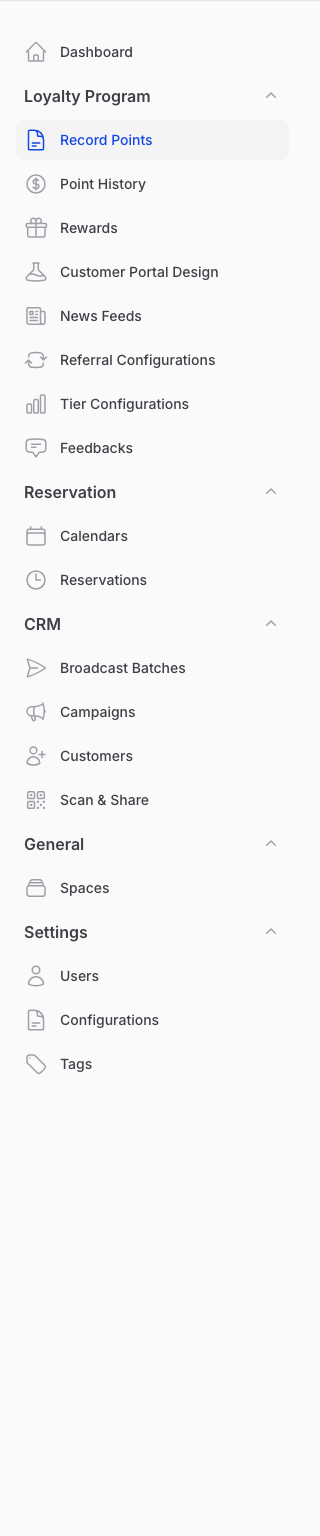
    Pixalink admin sidebar with Loyalty Program expanded and Record Points item highlighted

  2. Ask the customer to tap their photo on their loyalty page. Their member card pops up with a barcode.
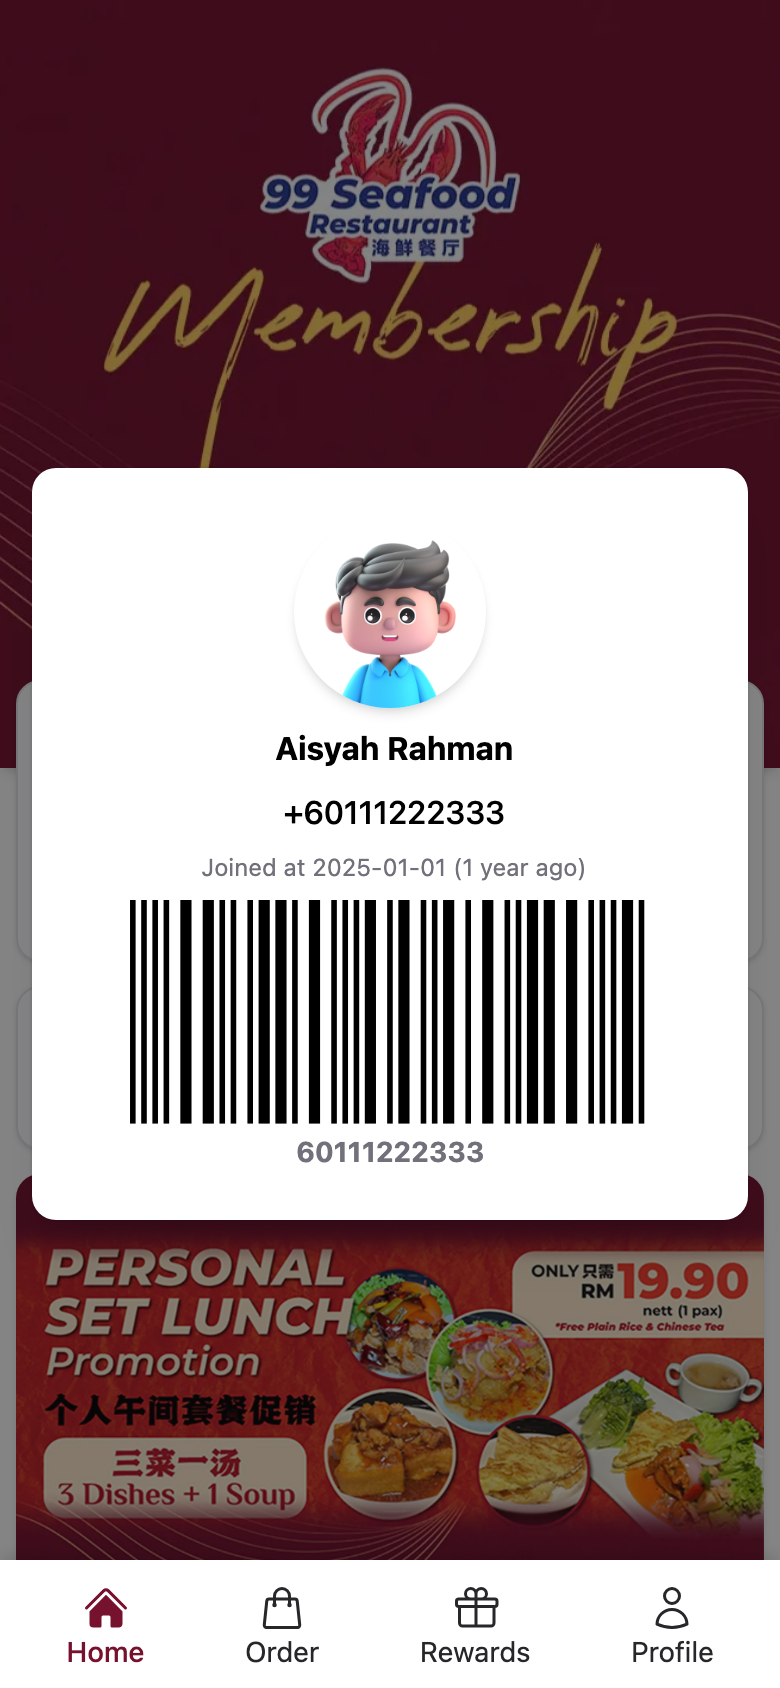
    Customer portal member card pop-up showing the customer's barcode

  3. Click the camera icon at the end of the Phone Number box. If your browser asks to use the camera, choose Allow.
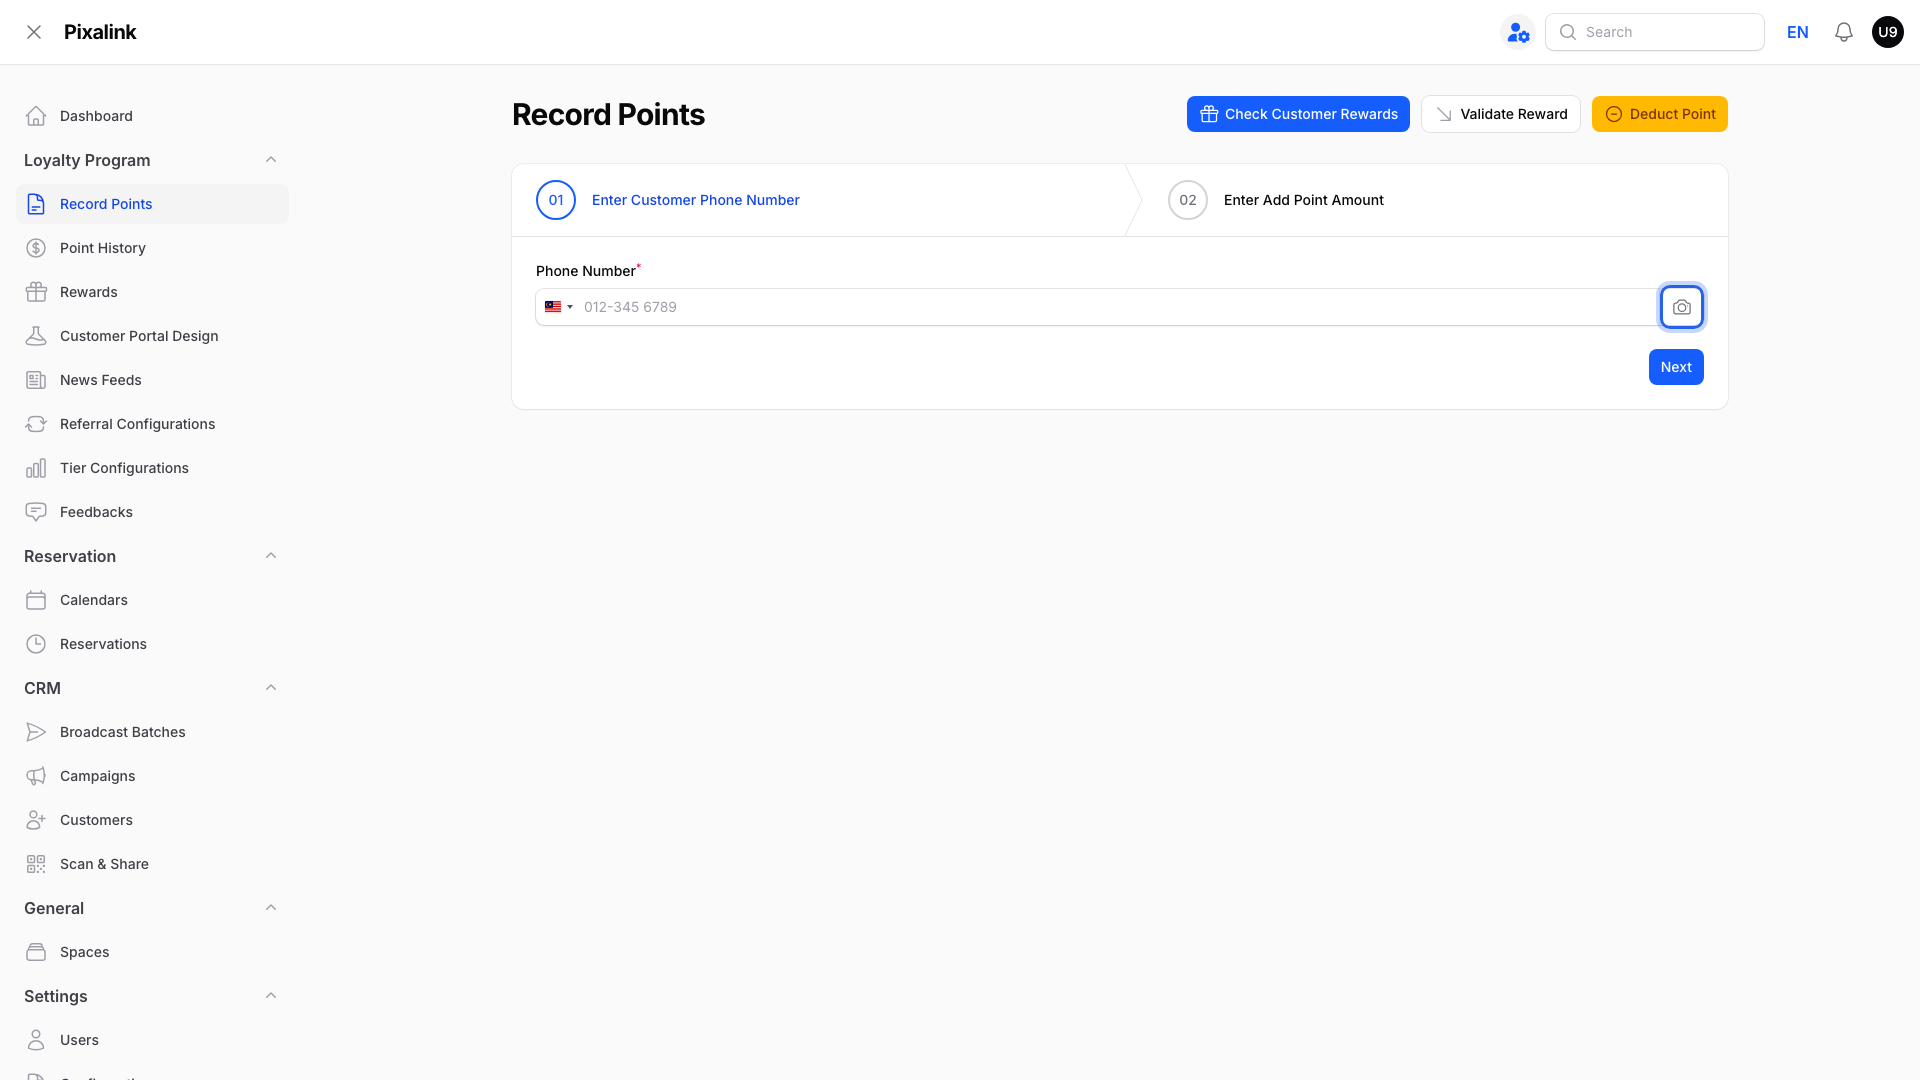
    Record Points page with the camera scan button highlighted at the end of the Phone Number field

  4. Point your camera at the customer's barcode. The phone number fills in on its own.
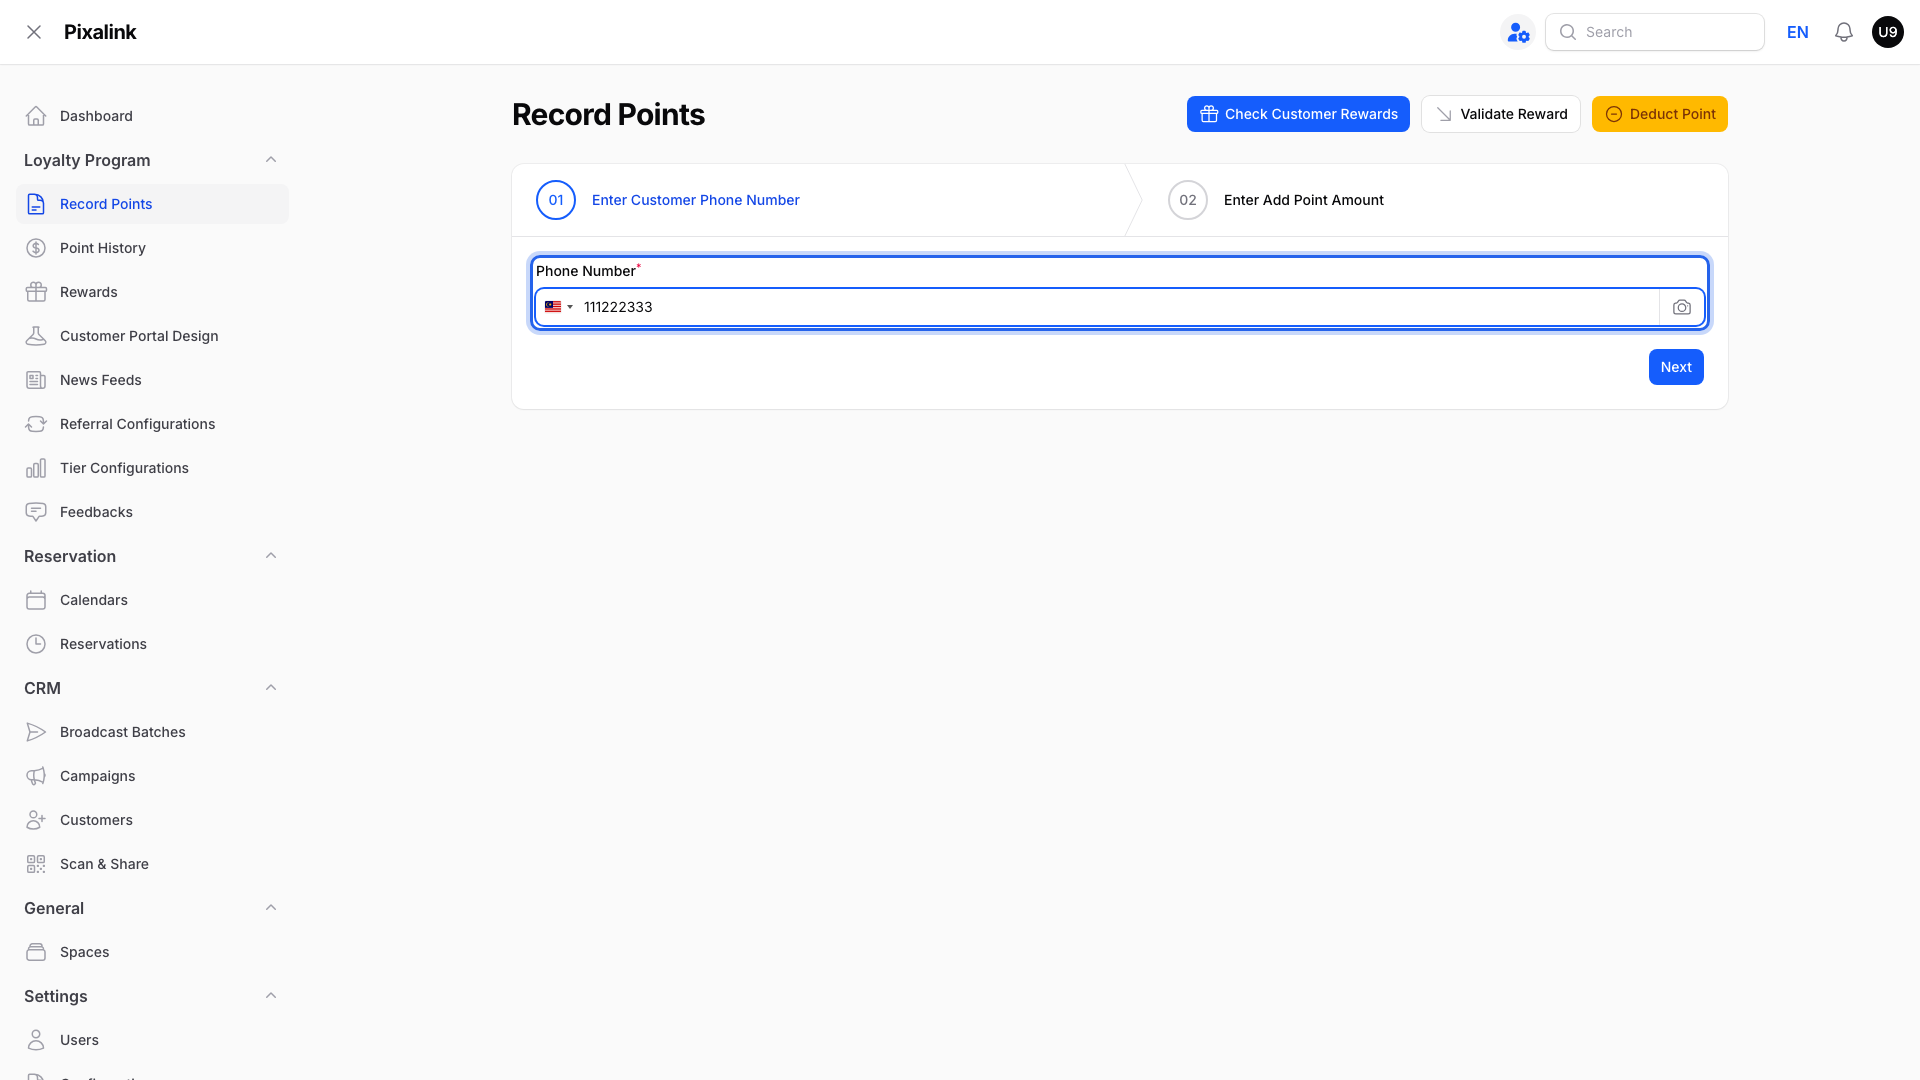
    Record Points page with the customer's phone number filled into the Phone Number field

  5. Click Next to check the customer's details, then record points as usual.
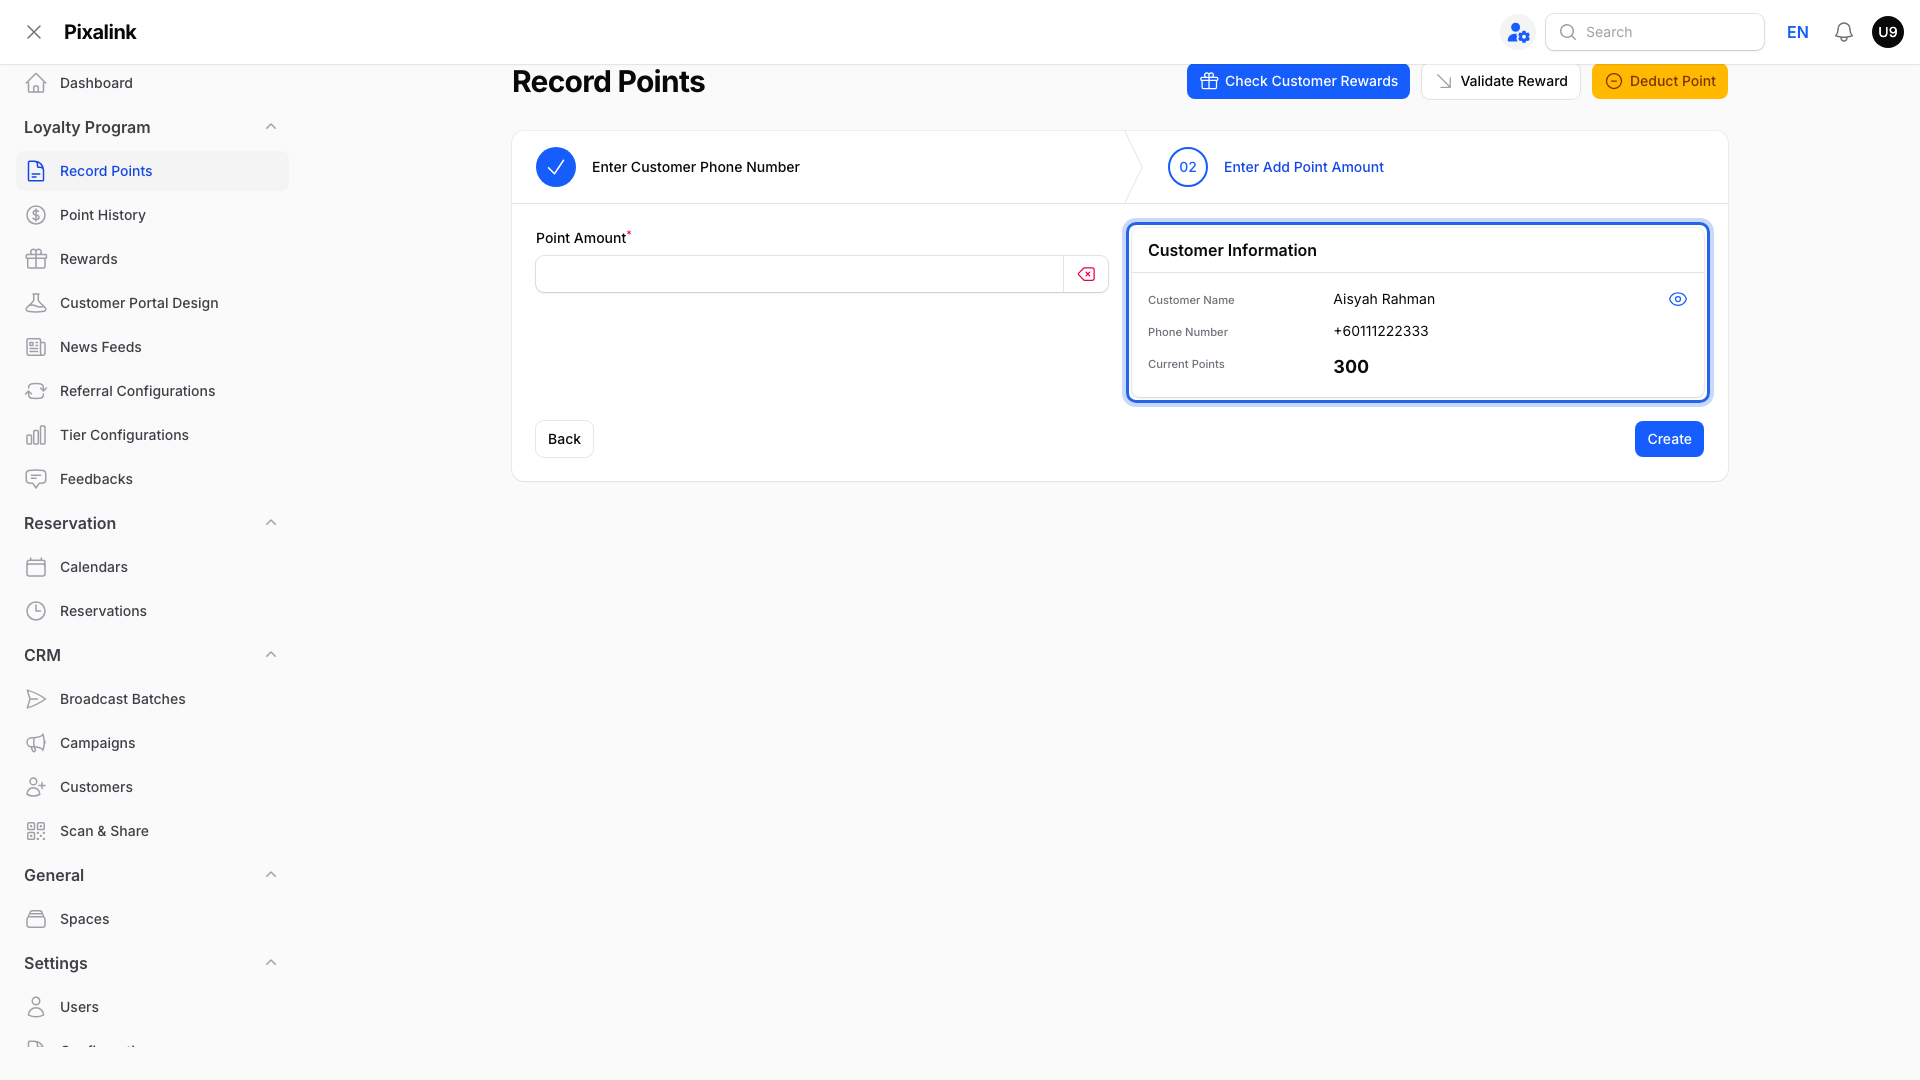
    Record Points step two with the Customer Information panel highlighted showing the customer's name, phone number and points

  6. Click Validate Reward to check a reward code instead, and use the same camera icon there.
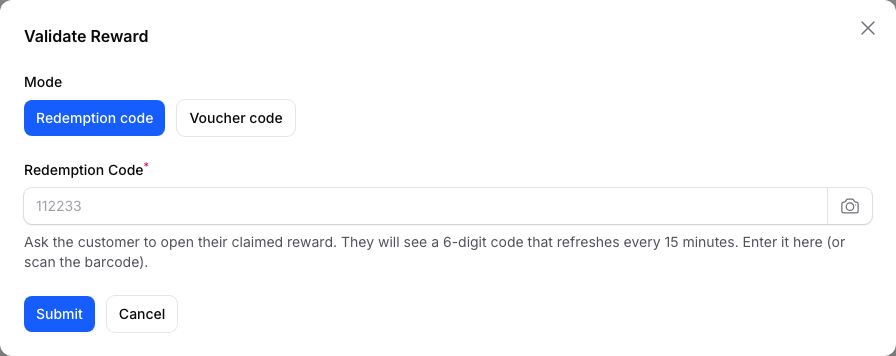
    Validate Reward window with the Redemption Code box and its camera scan button

What Your Customers Will See

They tap their photo on the loyalty page and show you their member card. The barcode usually holds their phone number. If you set a Default Voucher Code Format, their claimed rewards show a barcode too.

Good to Know

  • Printed member cards work too. Some carry an extra padding digit, and the scan tidies that up. No need to trim any digits yourself.
  • Pick the barcode style with the Barcode Type setting on the same page. Choices include QR Code, Code 128, Data Matrix and more. The starting style is Interleaved 2 of 5 (Legacy).
  • Scanning only finds customers when Barcode Identifier Type (on the Style tab of Customer Portal Design) is set to Phone number. With Customer ID, the scan fills the Phone Number box but finds nobody. If no customer appears after a scan, check this setting first.
  • Validate Reward appears only when reward redemption checks are on for your account. Message us if you do not see it.
  • The same camera icon also appears in the Check Customer Rewards window.

Need Help?

Camera or barcode not working? Send our support team a message.

What's Next?

Video transcript: How to Scan Customer Barcodes with Your Device Camera
Typing phone numbers at a busy counter is slow, and one typo sends points to the wrong person. This video shows your staff how to scan the customer's member barcode instead. Every member already carries a barcode on their phone. They tap their photo on the loyalty page, and their member card pops up. First, make sure the barcode is switched on. In the Admin Panel, open Loyalty Program in the left menu, then select Customer Portal Design. Click Edit on your portal. Open the Style tab. Under Custom, turn on Show Barcode In Profile. Save your changes. With Show Barcode In Profile on, the member card shows a barcode. By default, it holds the customer's phone number. Now, at the counter. Open Loyalty Program, then select Record Points. Ask the customer to show their member card. Then click the camera icon at the end of the Phone Number box. If your browser asks to use the camera, choose Allow. Point the camera at the barcode, and the phone number fills in on its own. With the number filled in, click Next. Check the name under Customer Information, then record points as usual. Checking a reward code instead? In Validate Reward, use the same camera icon next to the Redemption Code box. A few things to know. Printed member cards scan too, so there is no need to trim any digits. Keep Barcode Identifier Type on Phone number, on the same Style tab. A Customer ID barcode won't find anyone in the Phone Number box. Barcode Type sets the barcode style. And Check Customer Rewards has the camera icon too. Now your staff can scan instead of type. Camera or barcode not working? Contact our support team.

Was this article helpful?

Thank you for your feedback!

0 found this helpful 0 did not

Search