
How to Raise a Subscription Order for a Customer
What Is This?
Charge one customer a price you set yourself, and let them pay online with a link. It suits a plan, a retainer or a policy. It covers the customer until a date you choose. It is a one-off charge. It does not charge the customer again by itself.
Real-Life Example
Ahmad runs a gym in Ipoh. Siti wants a 12-month plan that he prices by hand at RM600. Ahmad raises a subscription for Siti in Subscriptions. He picks her name, sets the date it runs out and adds the charge. Siti gets an email. She opens My Subscriptions in her portal and pays online. Ahmad checks that the status says Confirmed.
How to Set It Up
-
Go to Admin Panel → Ordering → Subscriptions.
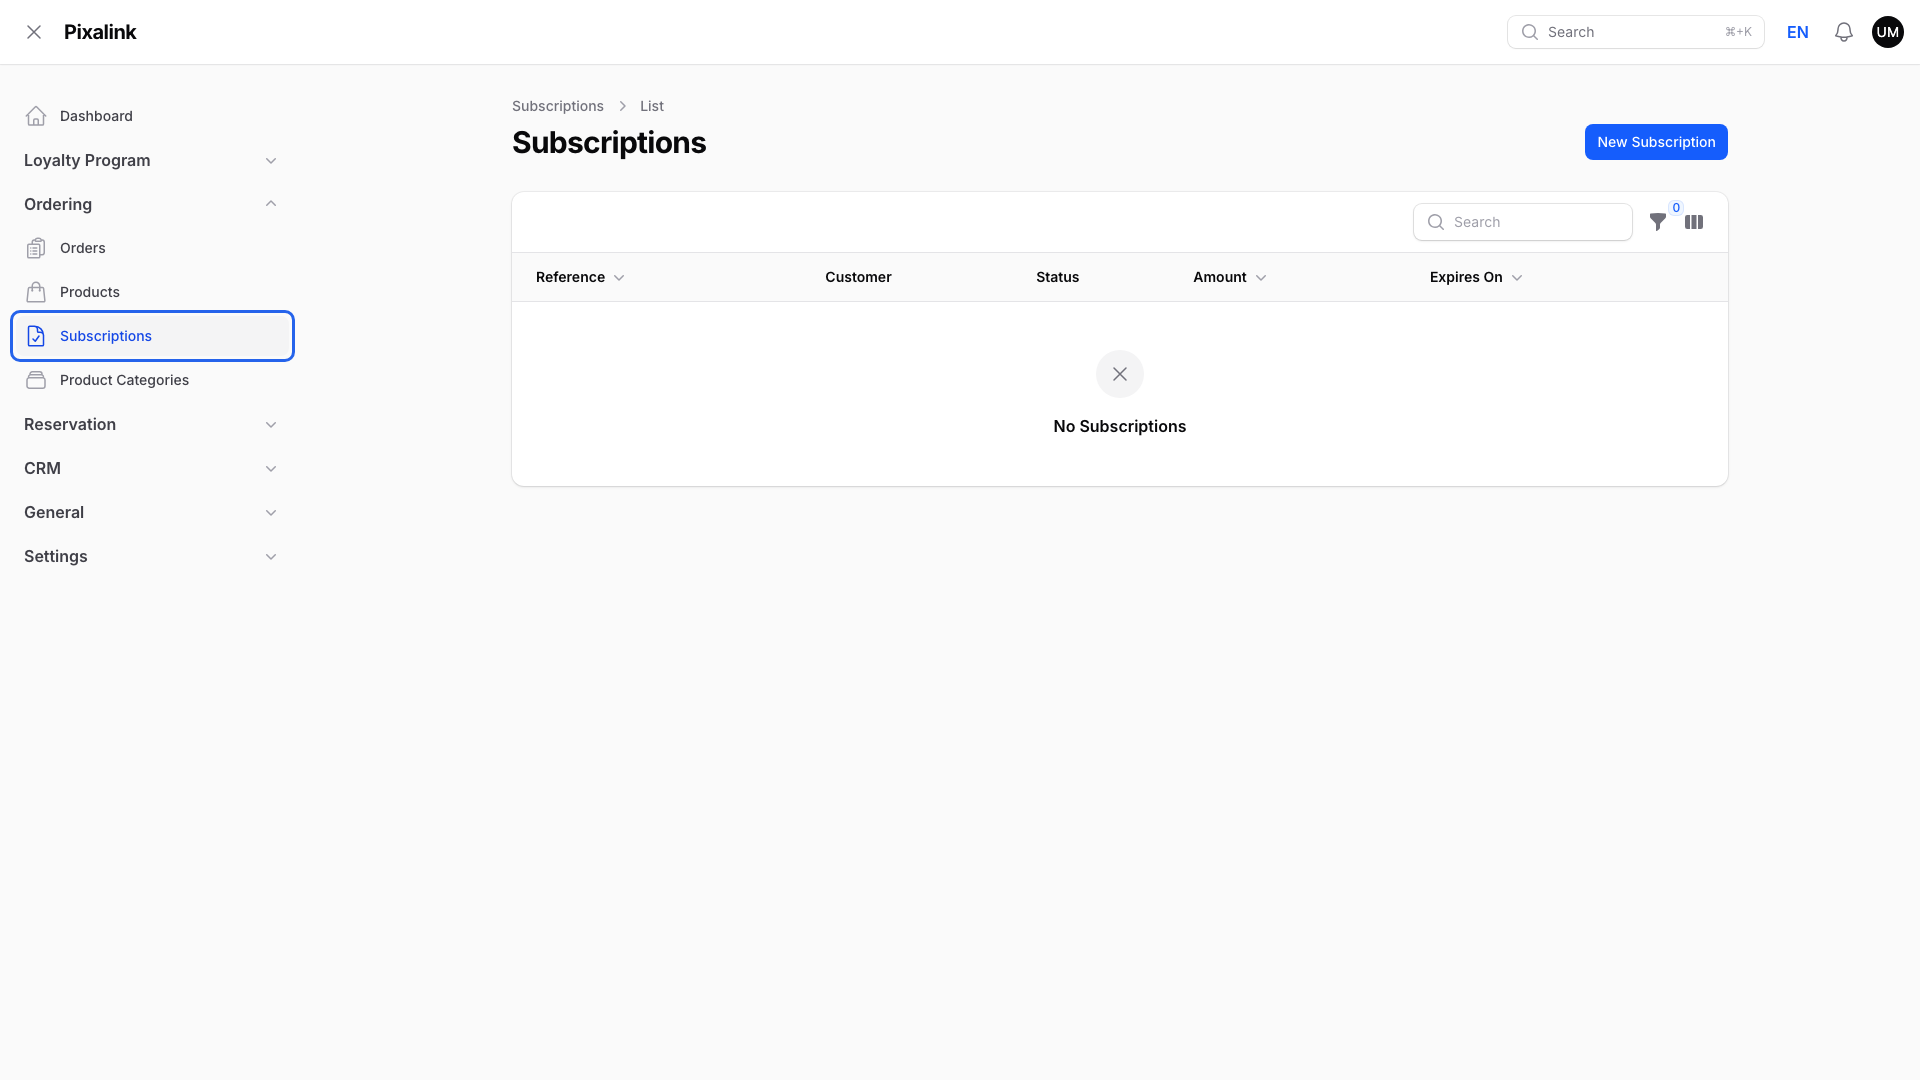
Subscriptions is in the Ordering group.
-
Click New Subscription.
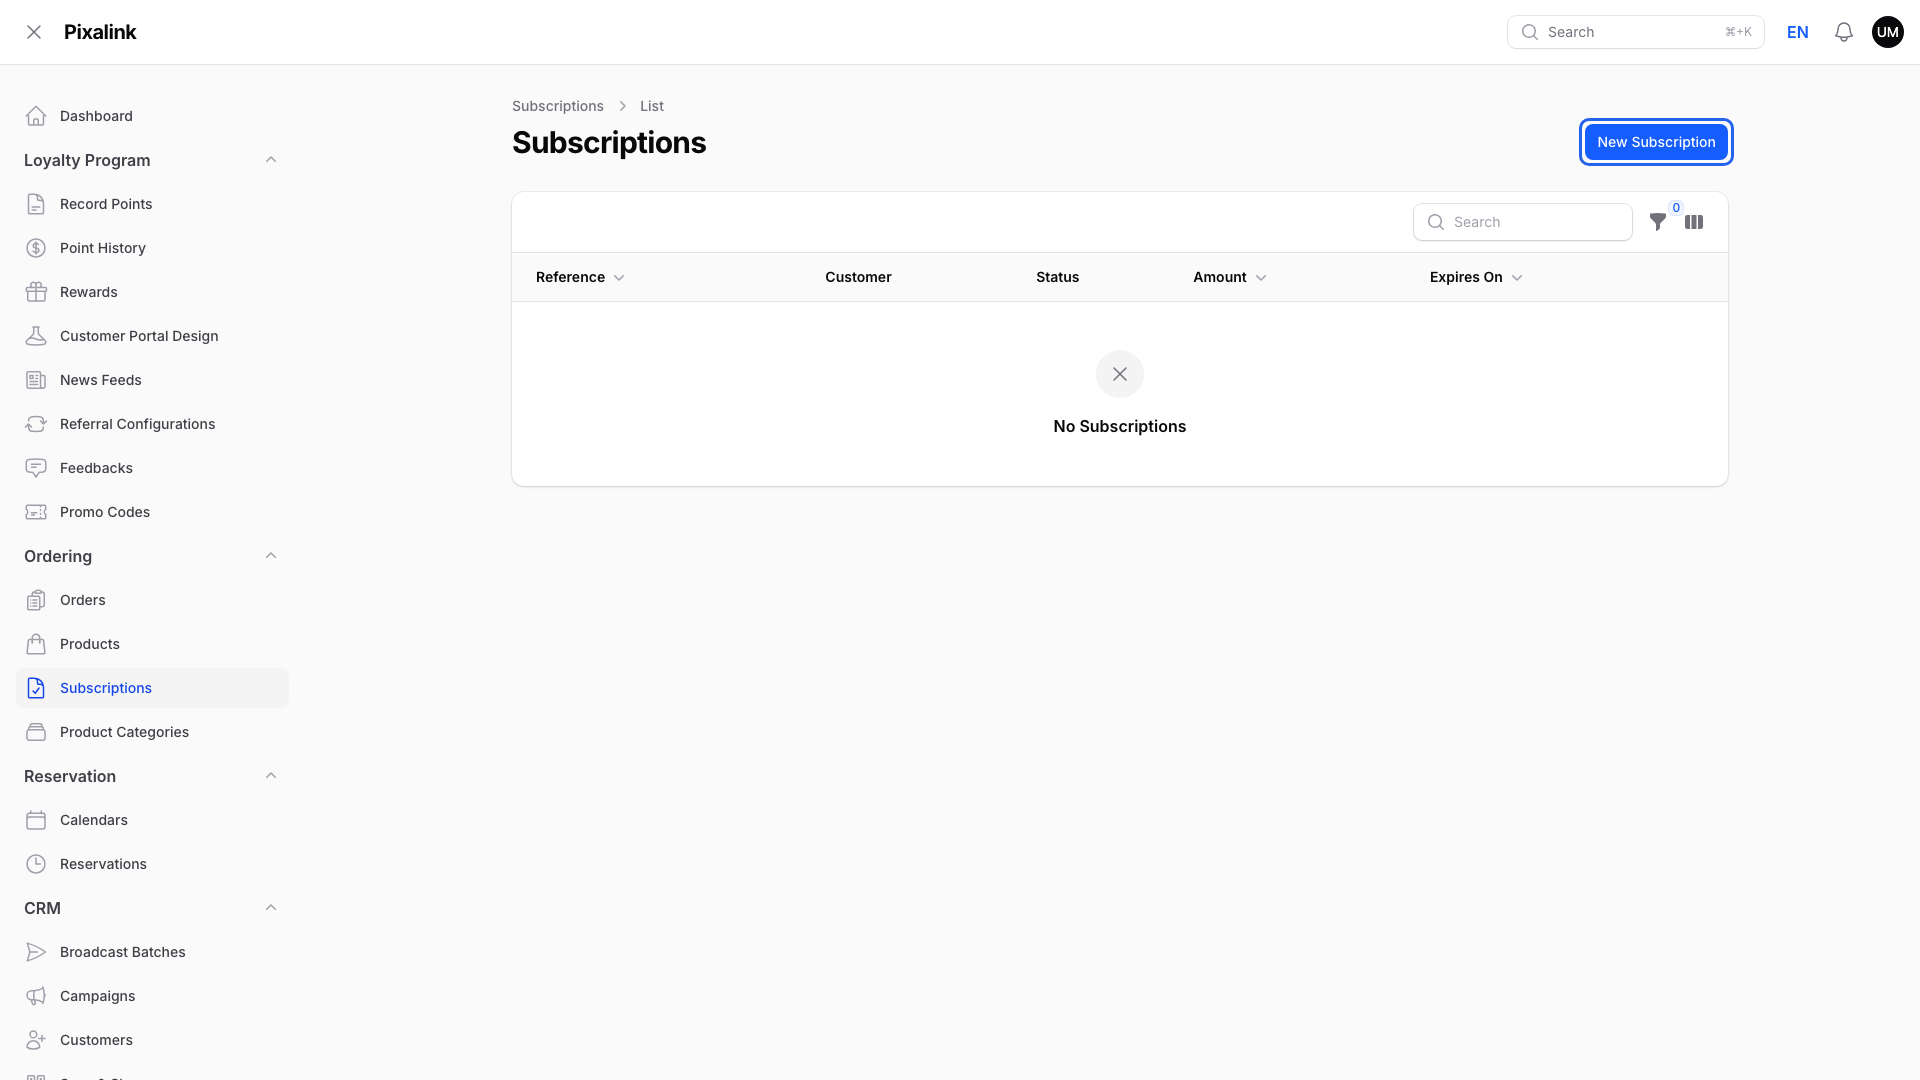
Once you add subscriptions, the list shows each one with its status and expiry date.
-
Pick the Customer.
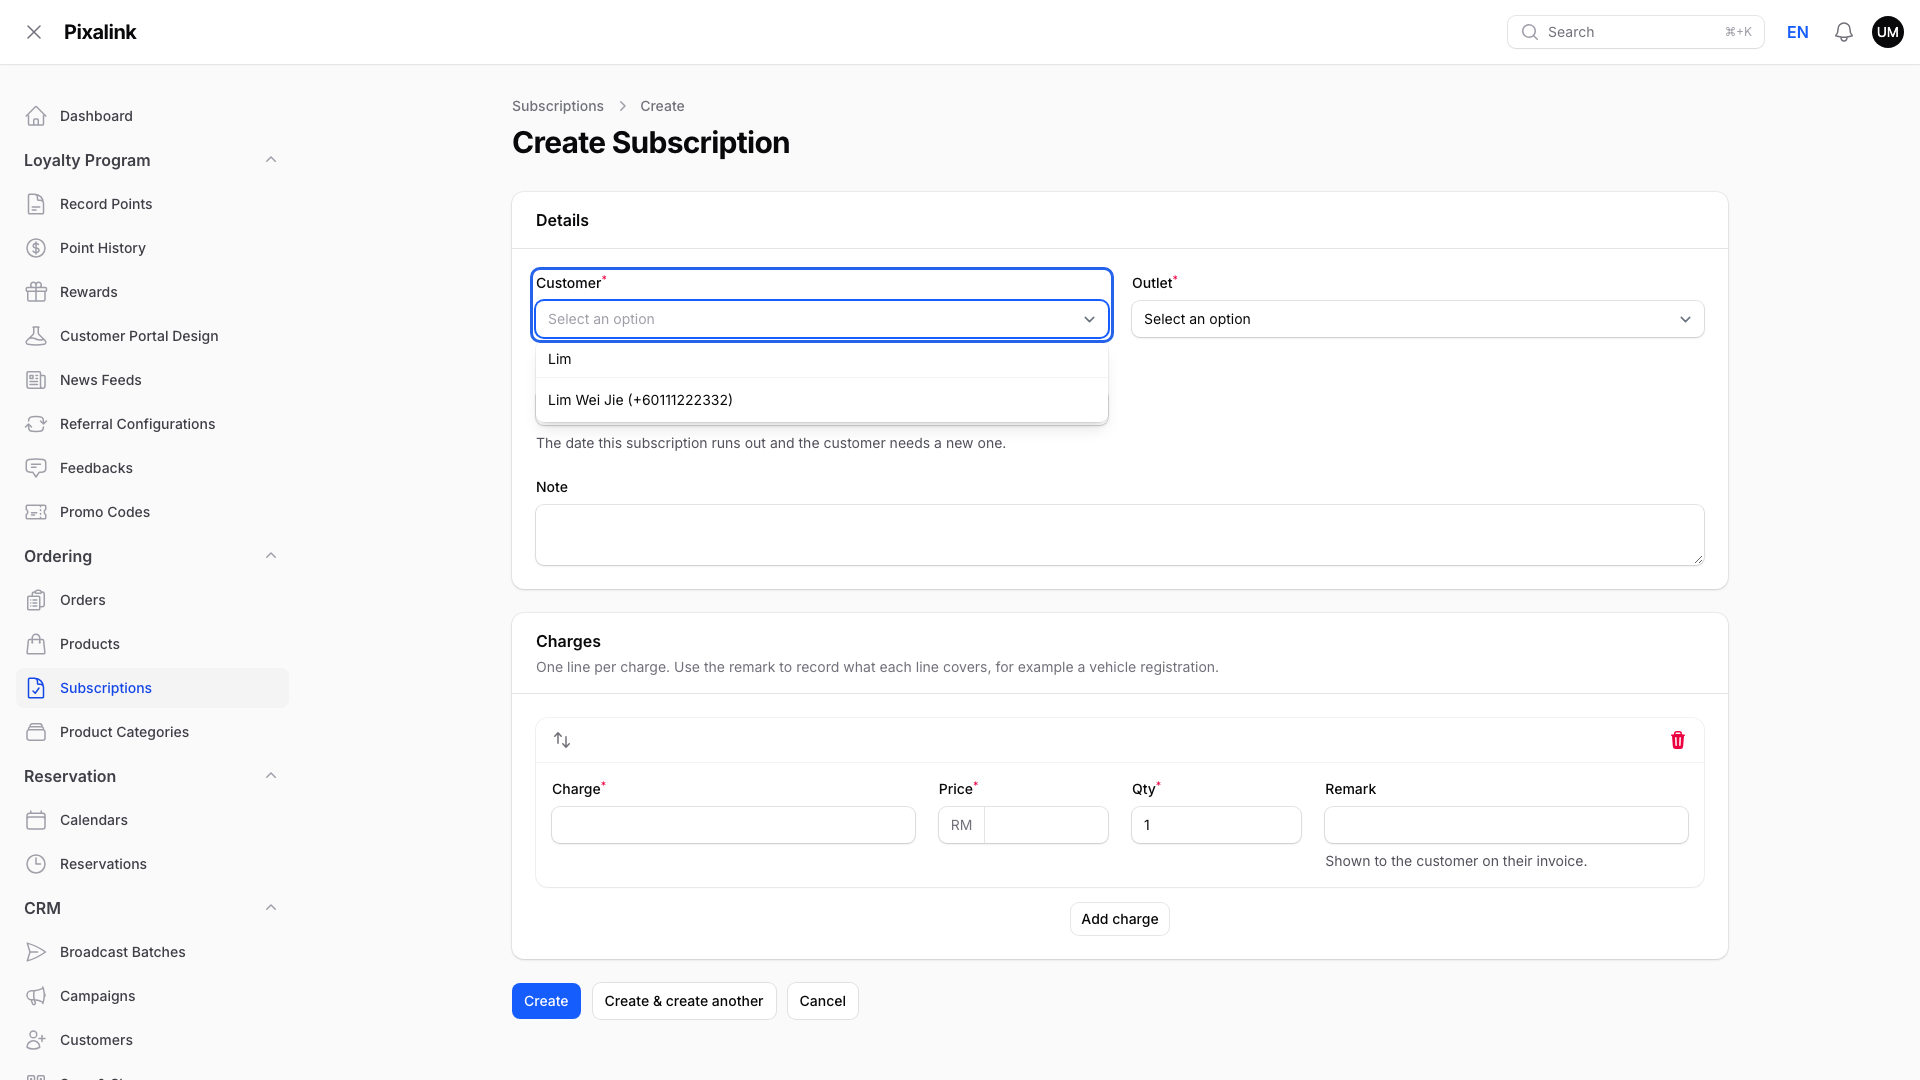
Type a name or phone number to search.
-
Choose an Outlet and set Expires On.

Expires On is the date the subscription runs out. Note is optional.
-
Type a Charge, a Price and a Qty.
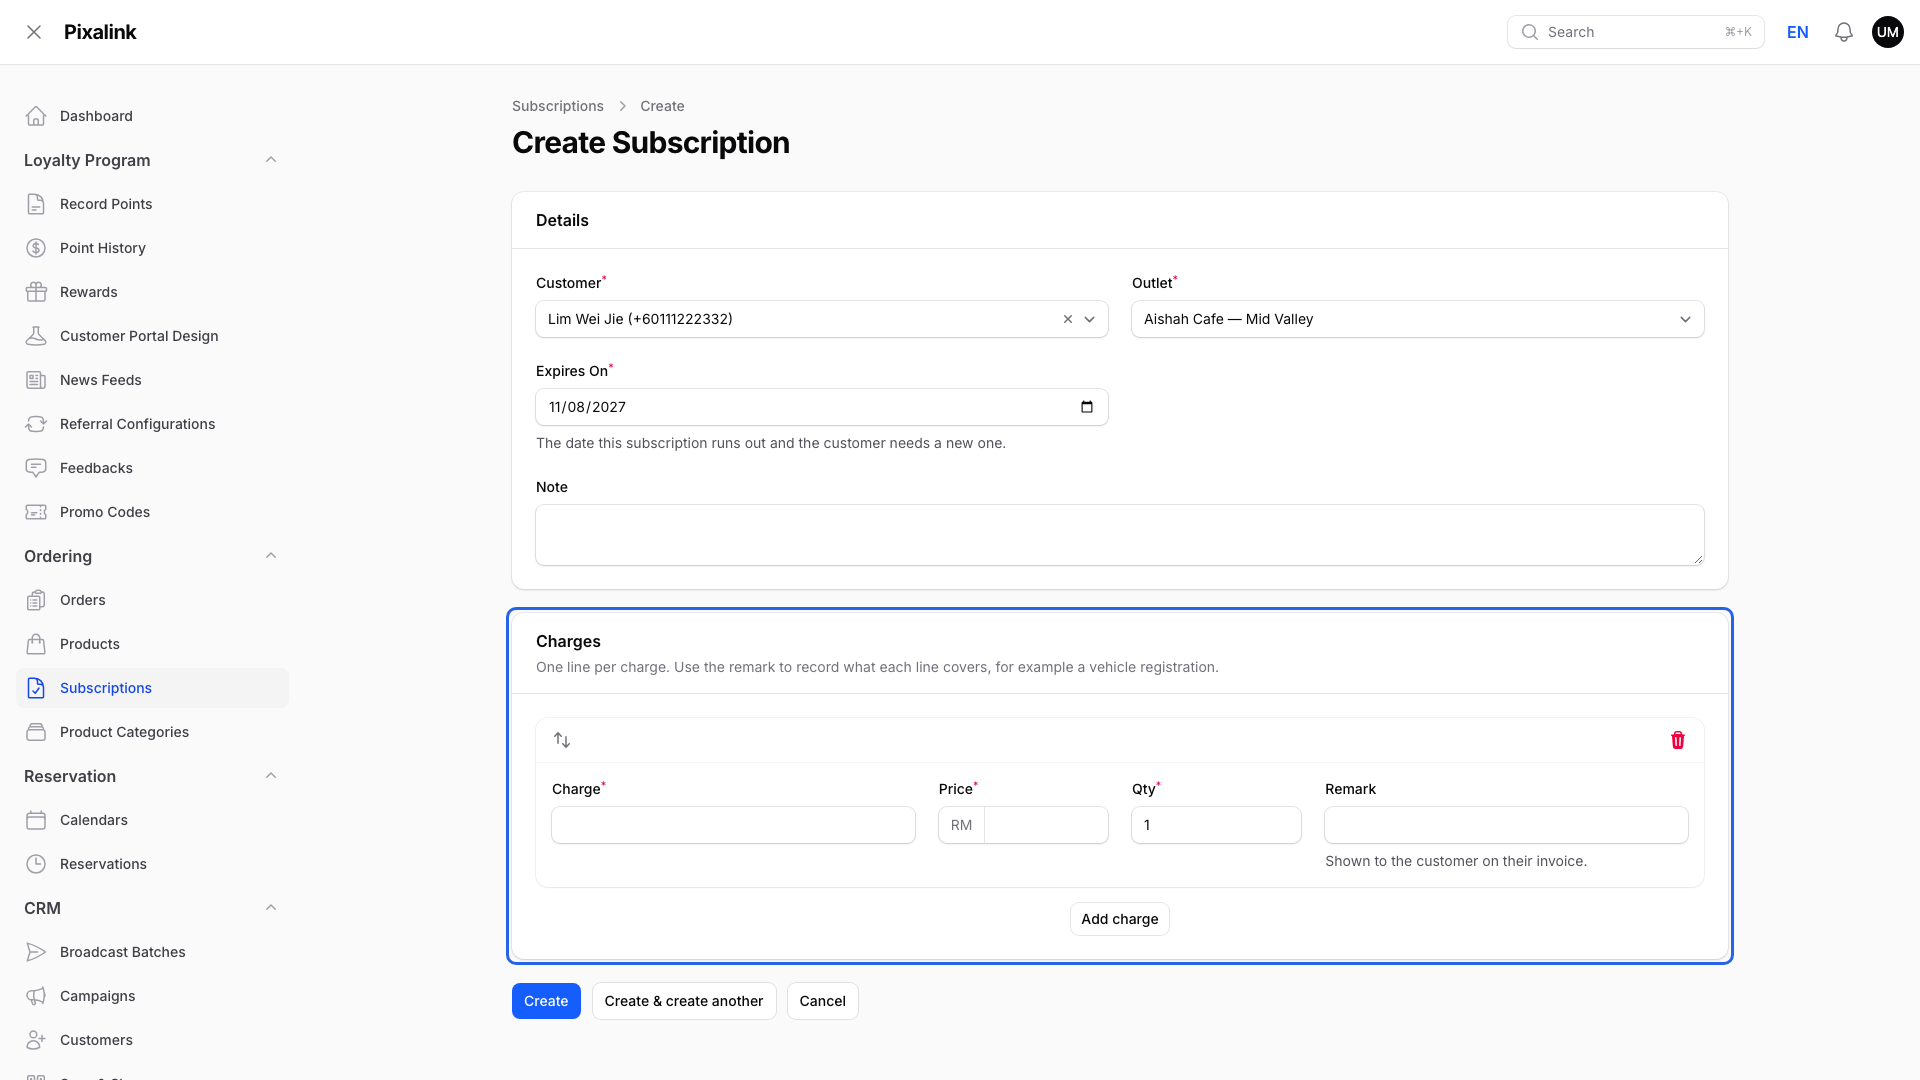
Click Add charge for more lines. Remark shows under that line on the customer's page.
-
Click Create.
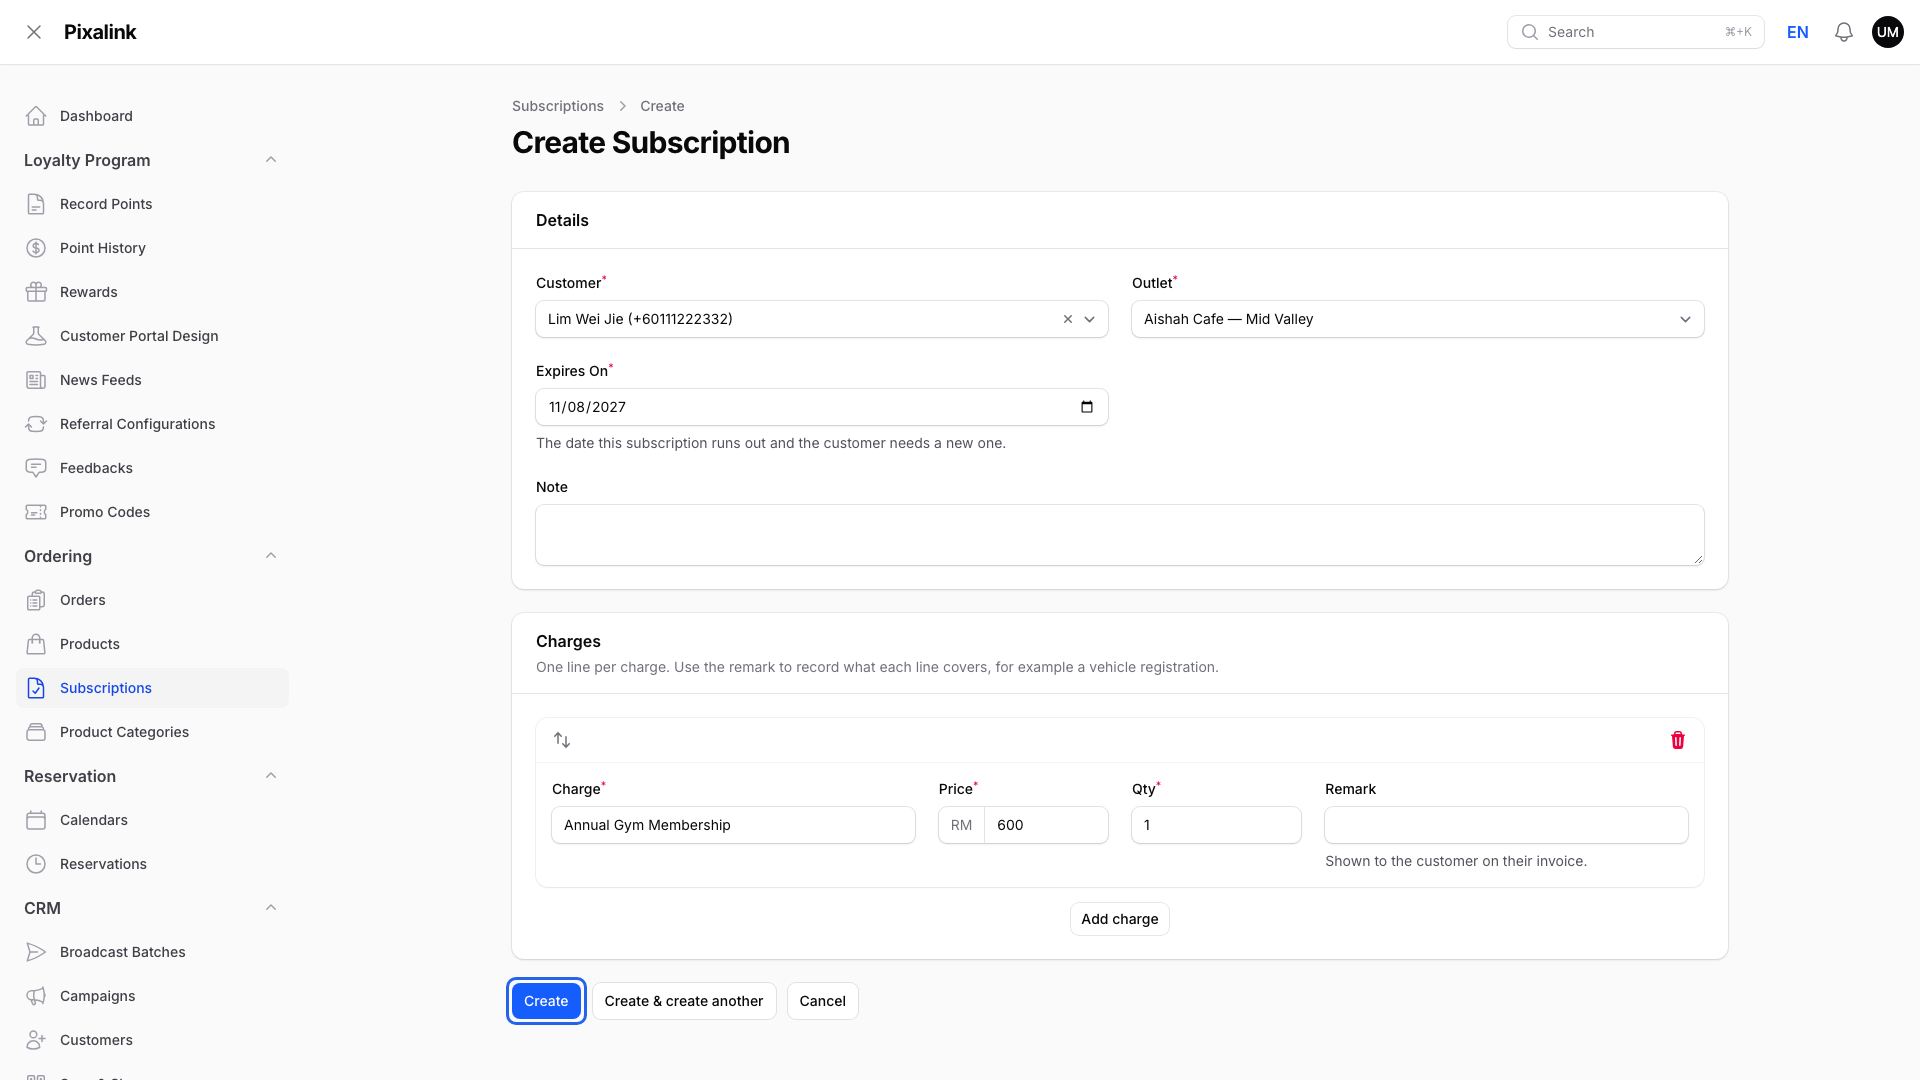
The customer gets an email with a link to My Subscriptions, if they have an email address. If not, send the Payment Link yourself.
-
Click Payment Link on the new row.
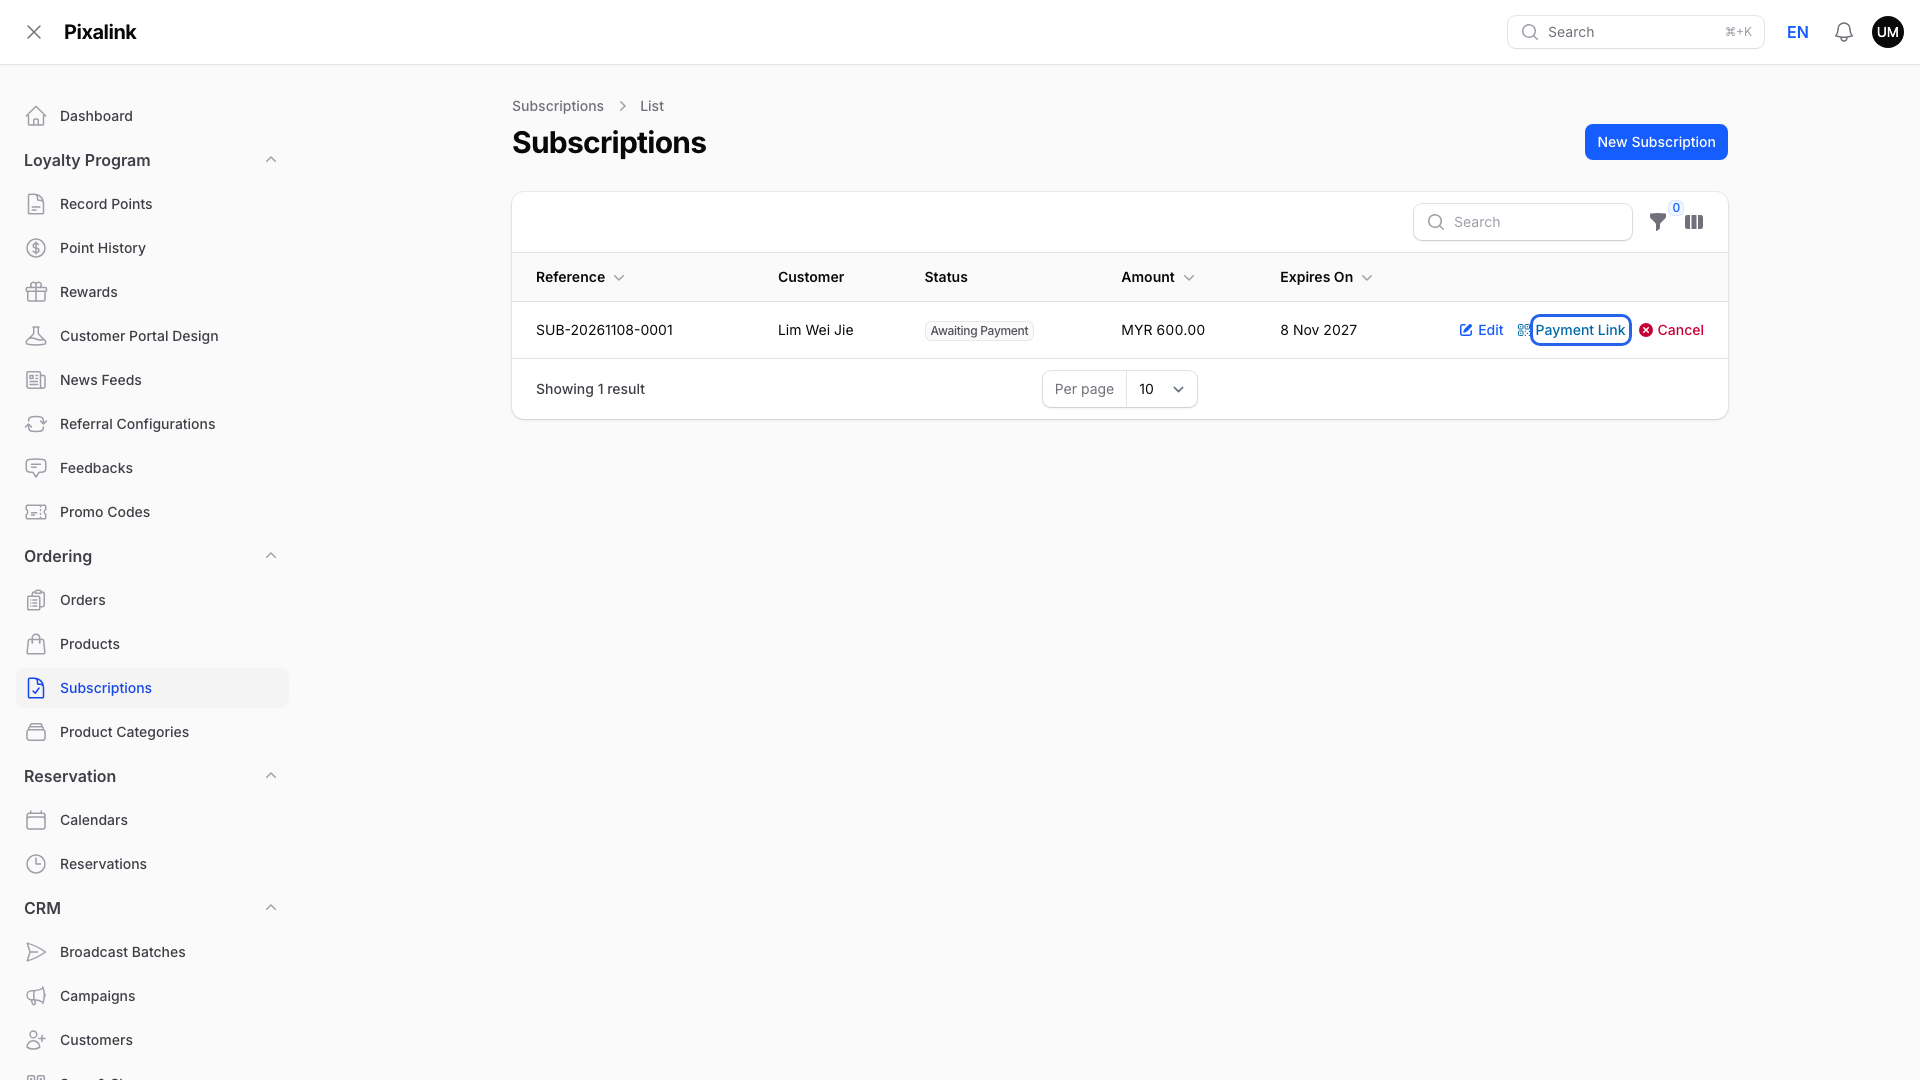
Use this if the customer hasn't paid yet, or you want to hand them the link.
-
Show the QR code, or click Share via WhatsApp.
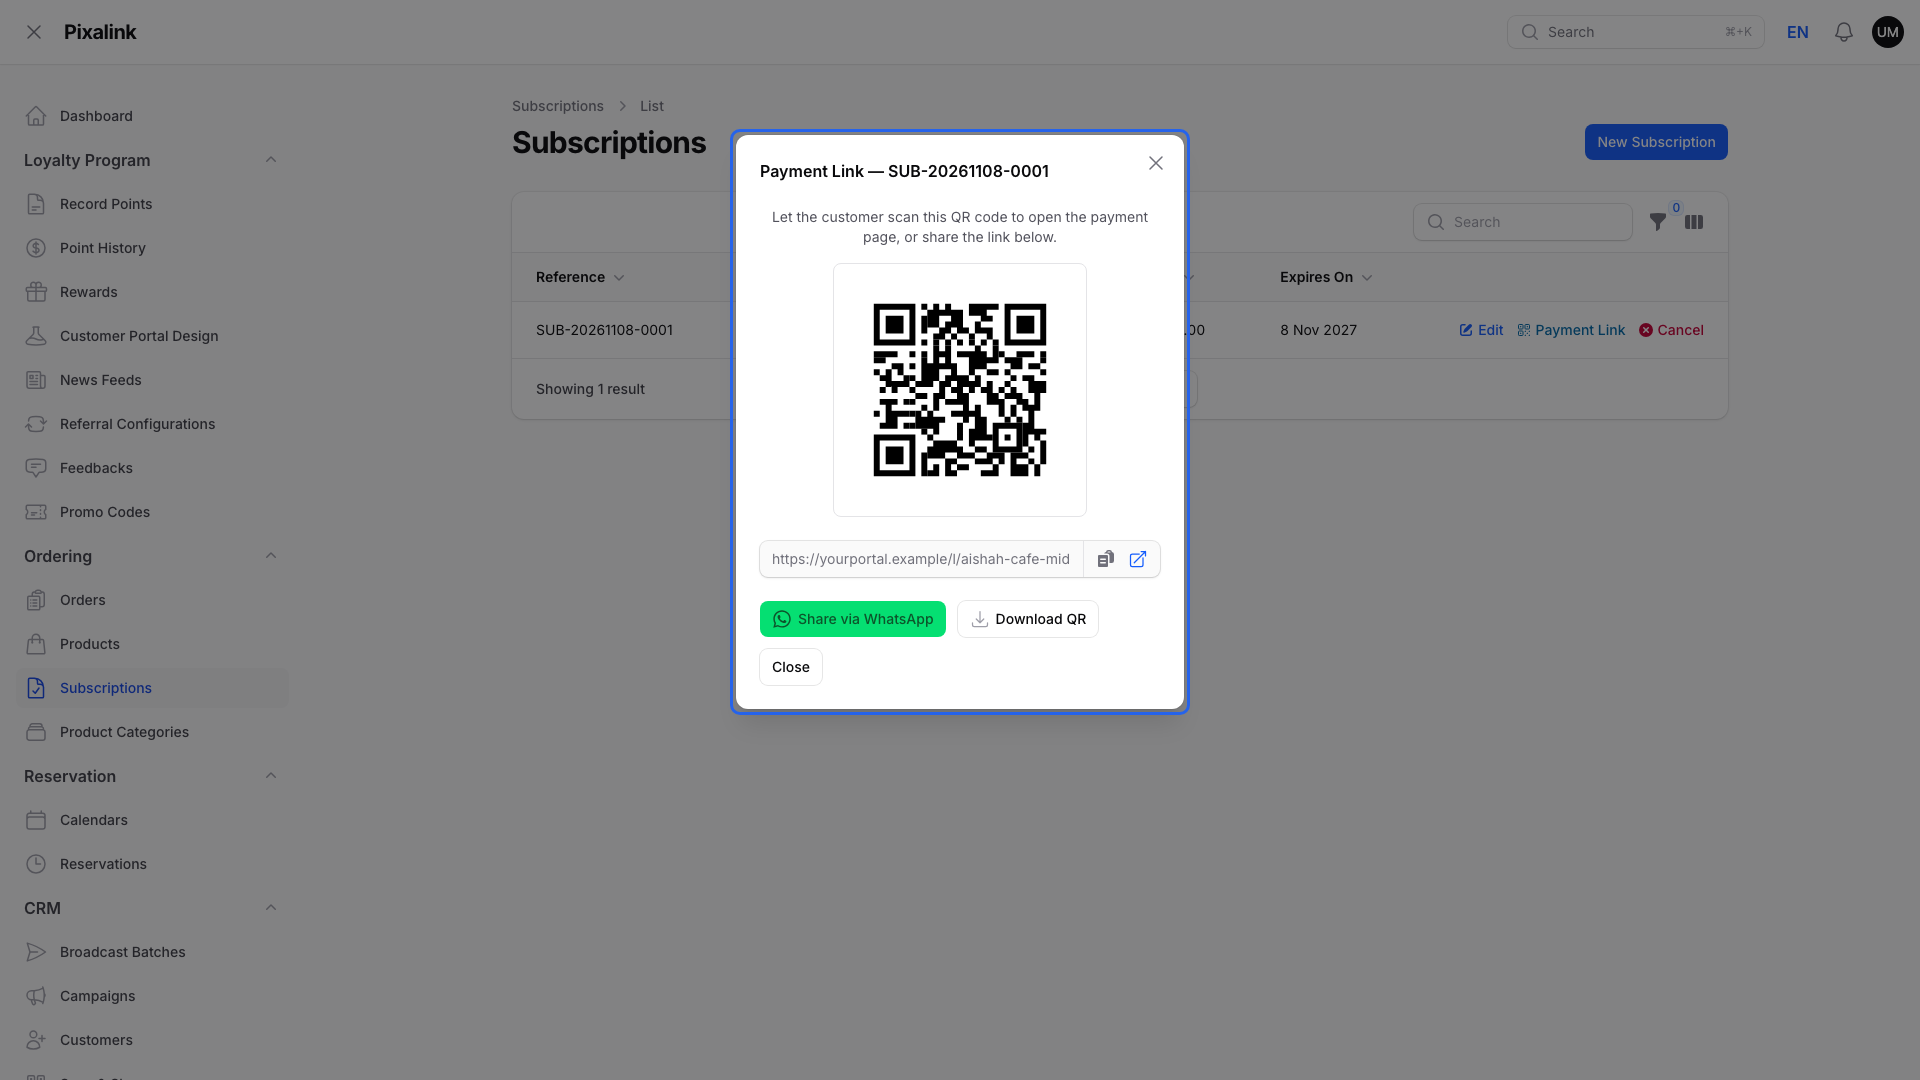
You can also copy the link or click Download QR.
What Your Customers Will See
Customers open My Subscriptions from their profile. They see the reference, what it covers and the total. They tap Pay now to pay online.
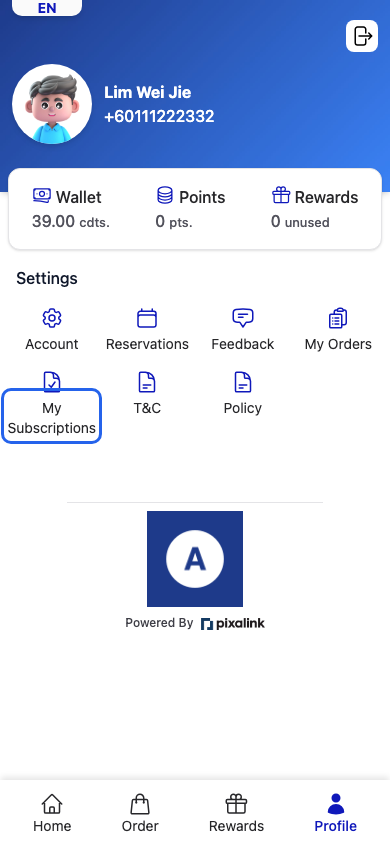
My Subscriptions is in the Settings buttons on the profile page.
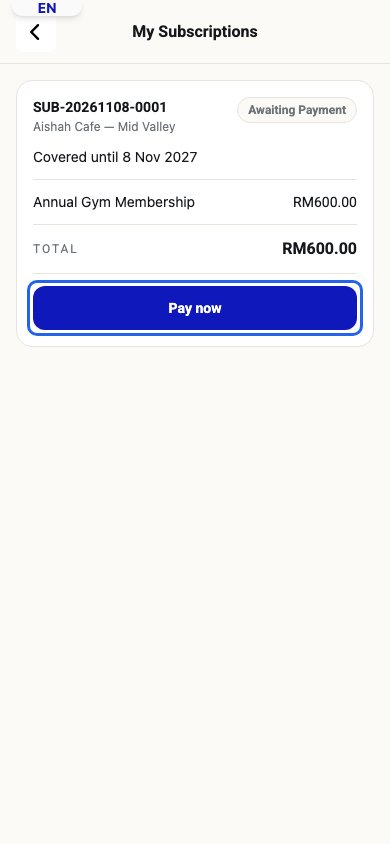
After payment, the status changes to Confirmed.
Good to Know
- You can change the lines, the date or the note only while it says Awaiting Payment. Click Edit on the row. The old link stops working.
- Once paid, a subscription can't be edited. To fix a wrong price, cancel it and raise a new one. The customer gets store credit back, not a card refund, and pays the new one online.
- Cancel needs a reason.
- A payment link works for 7 days. Click Payment Link again for a new one.
- Nothing happens on the Expires On date. There is no reminder and no renewal.
- Subscriptions don't show in Orders.
- Customers pay online, so set up online payments first. See How to Start Accepting Online Payments (Payment Gateway).
Need Help?
If you don't see Subscriptions under Ordering, subscriptions aren't turned on for your business. Ask the Pixalink team to turn on Subscriptions. They can also rename it in your portal, for example to "My Policies".