
How to Limit Customers to One Booking at a Time
How to Limit Customers to One Booking at a Time
What Is This?
Some customers book several slots under one account, then their friends never show up. The Booking Limit setting stops this. Each logged-in member can only hold one upcoming booking on your calendar. They can book again once their visit is over or their booking is cancelled.
Real-Life Example
Wei Lin runs Glow Salon in Mont Kiara. A few regulars used their own accounts to book three or four treatment slots for friends. When the friends changed plans, the chairs sat empty all afternoon. Wei Lin turned on the booking limit for her calendar. Now each member holds one booking at a time, under their own name. Friends who want a slot sign up for their own account first. Her no-shows dropped, and she knows exactly who is sitting in each chair.
Video Walkthrough
Music: Wallpaper by Kevin MacLeod (CC BY)
How to Set It Up
-
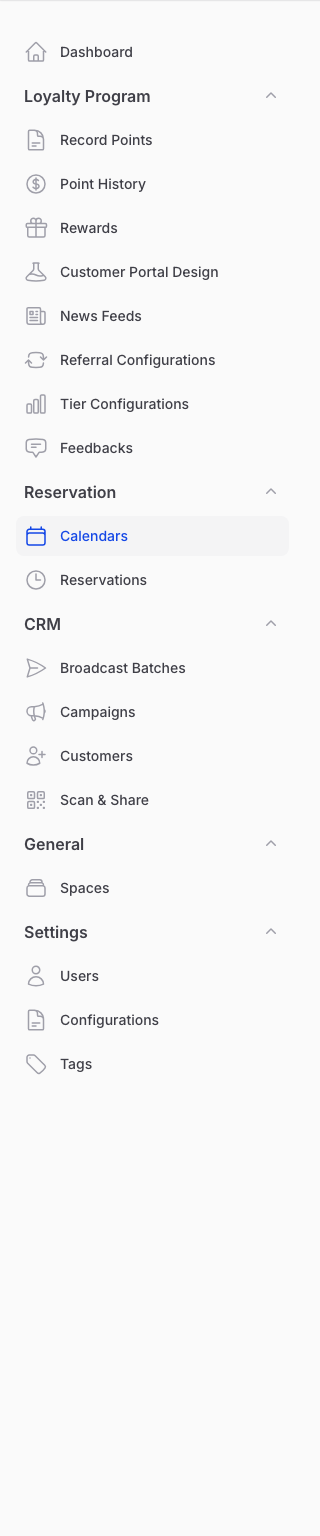
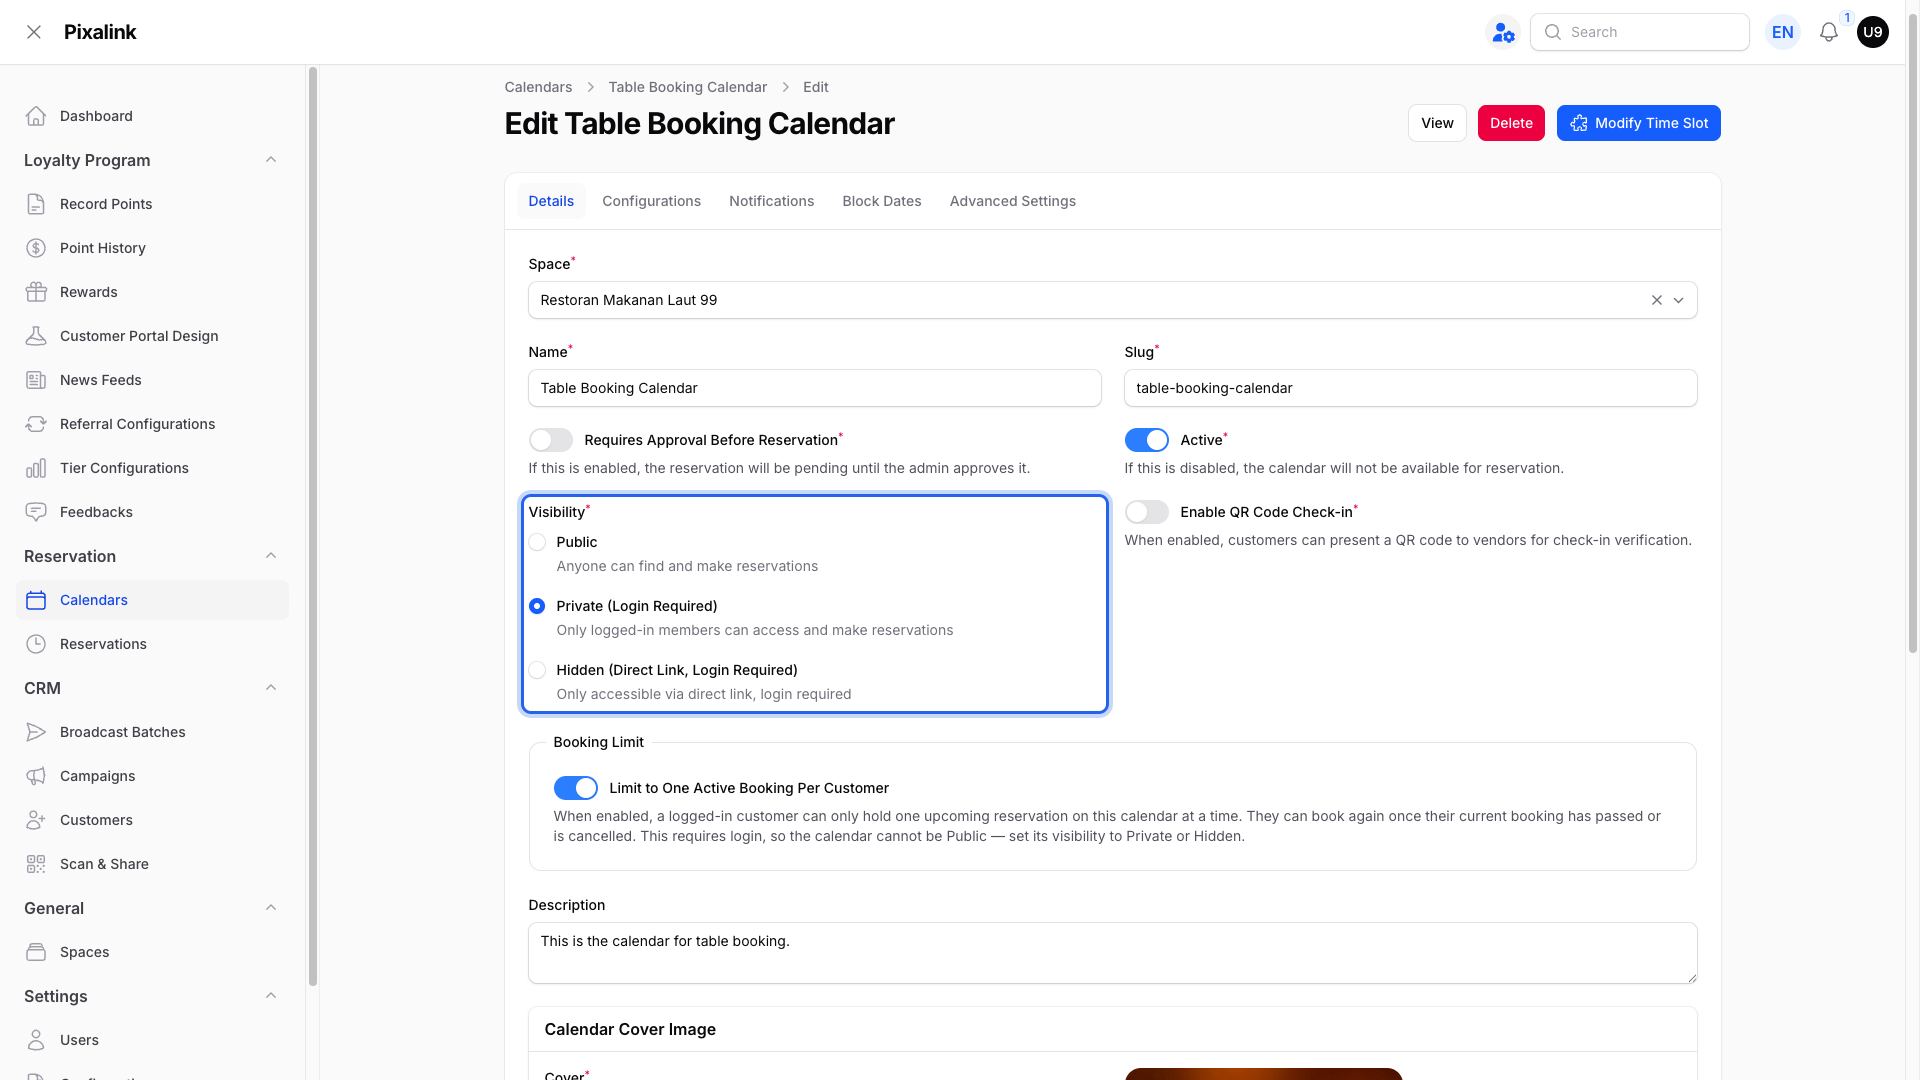
Go to Admin Panel → Reservation → Calendars.
-
Click Edit on the calendar you want to limit.
-
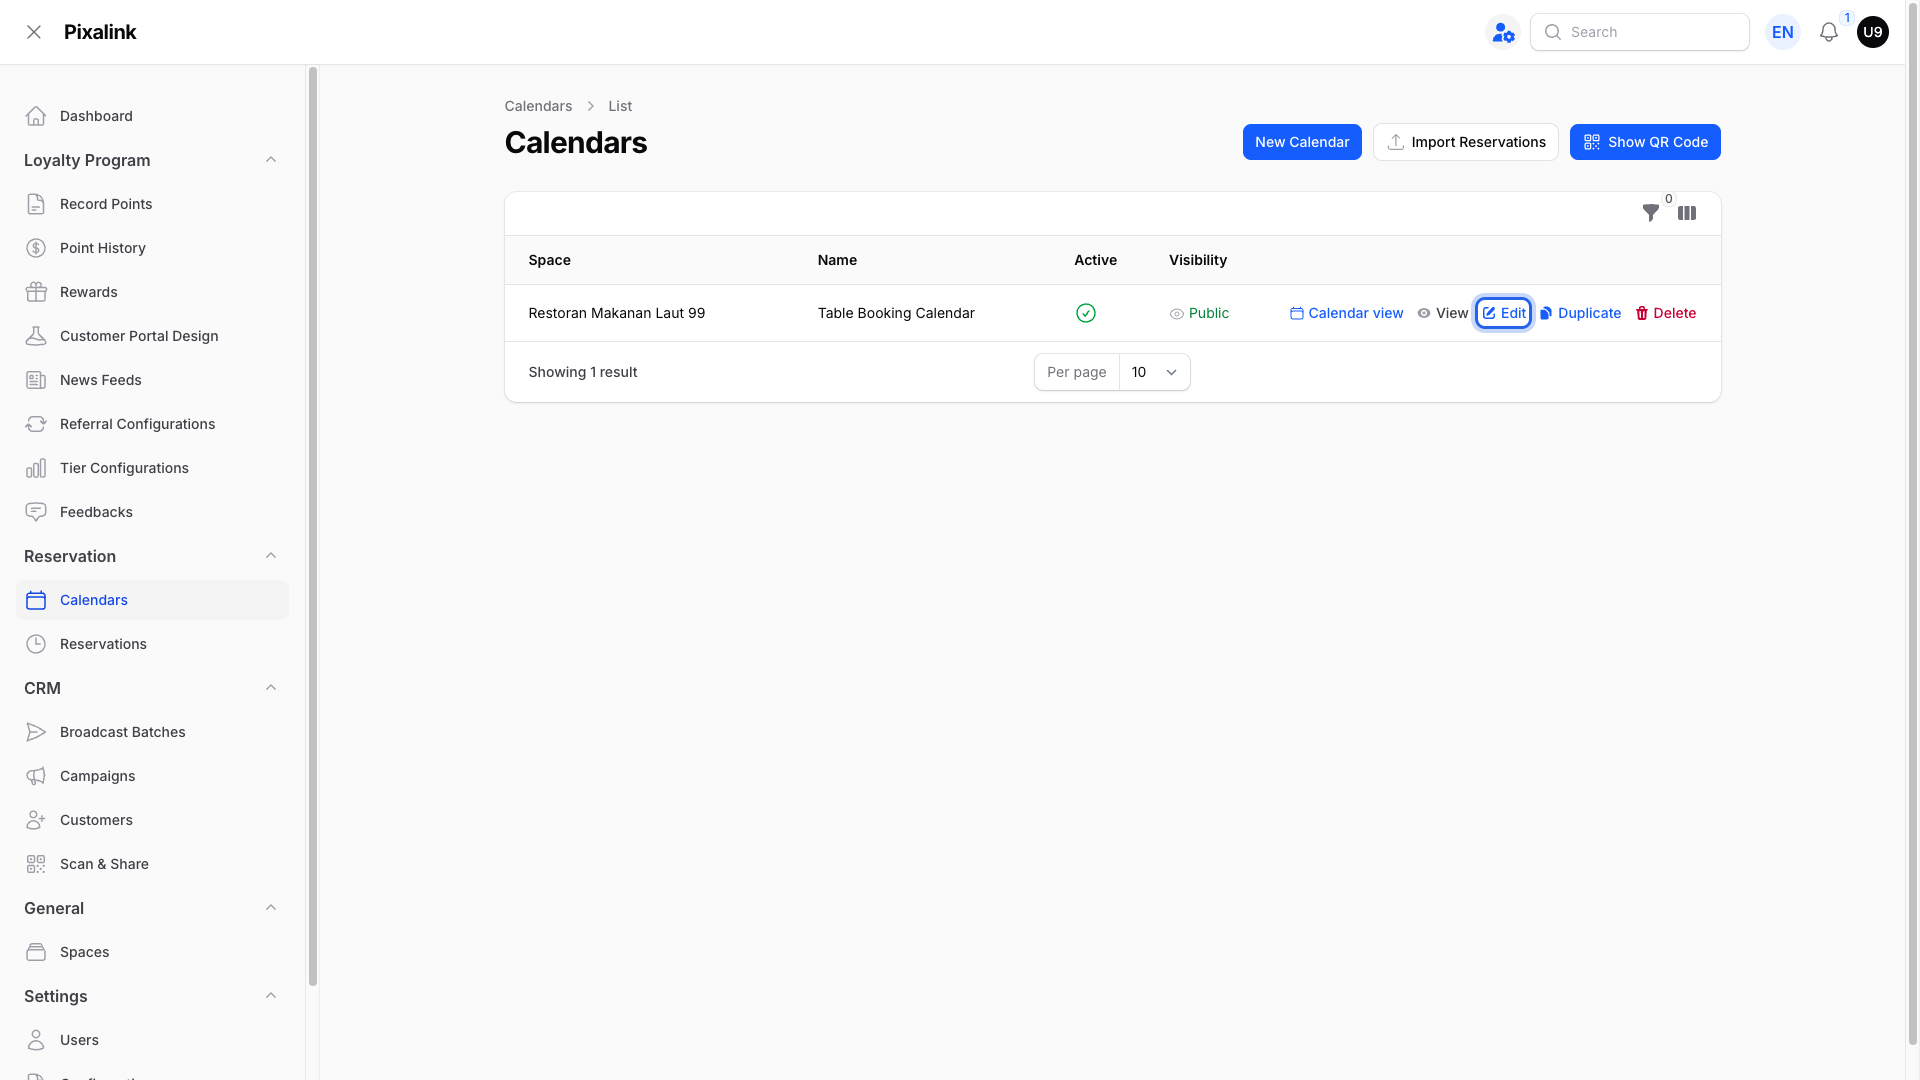
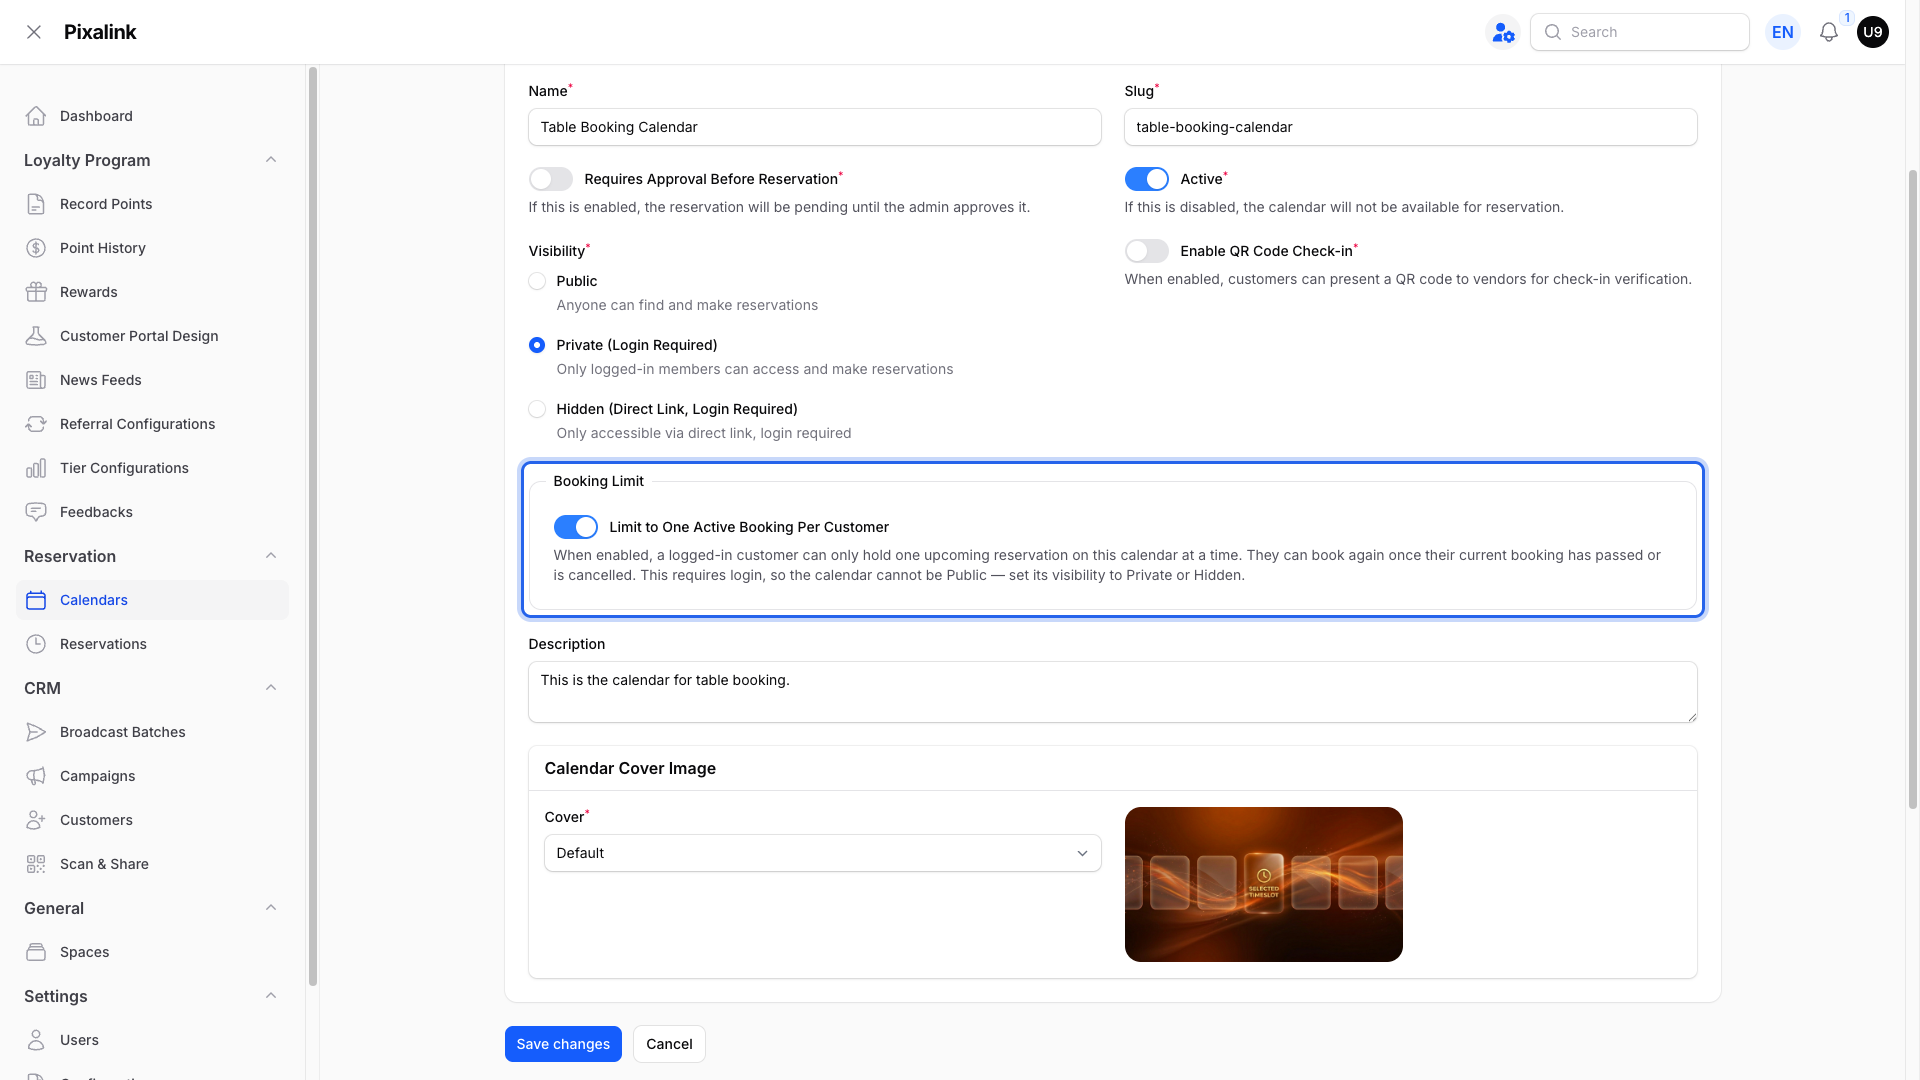
Choose Private (Login Required) or Hidden under Visibility. The limit needs customers to log in, so the calendar cannot stay Public.
-
Turn on Limit to One Active Booking Per Customer in the Booking Limit section.
-
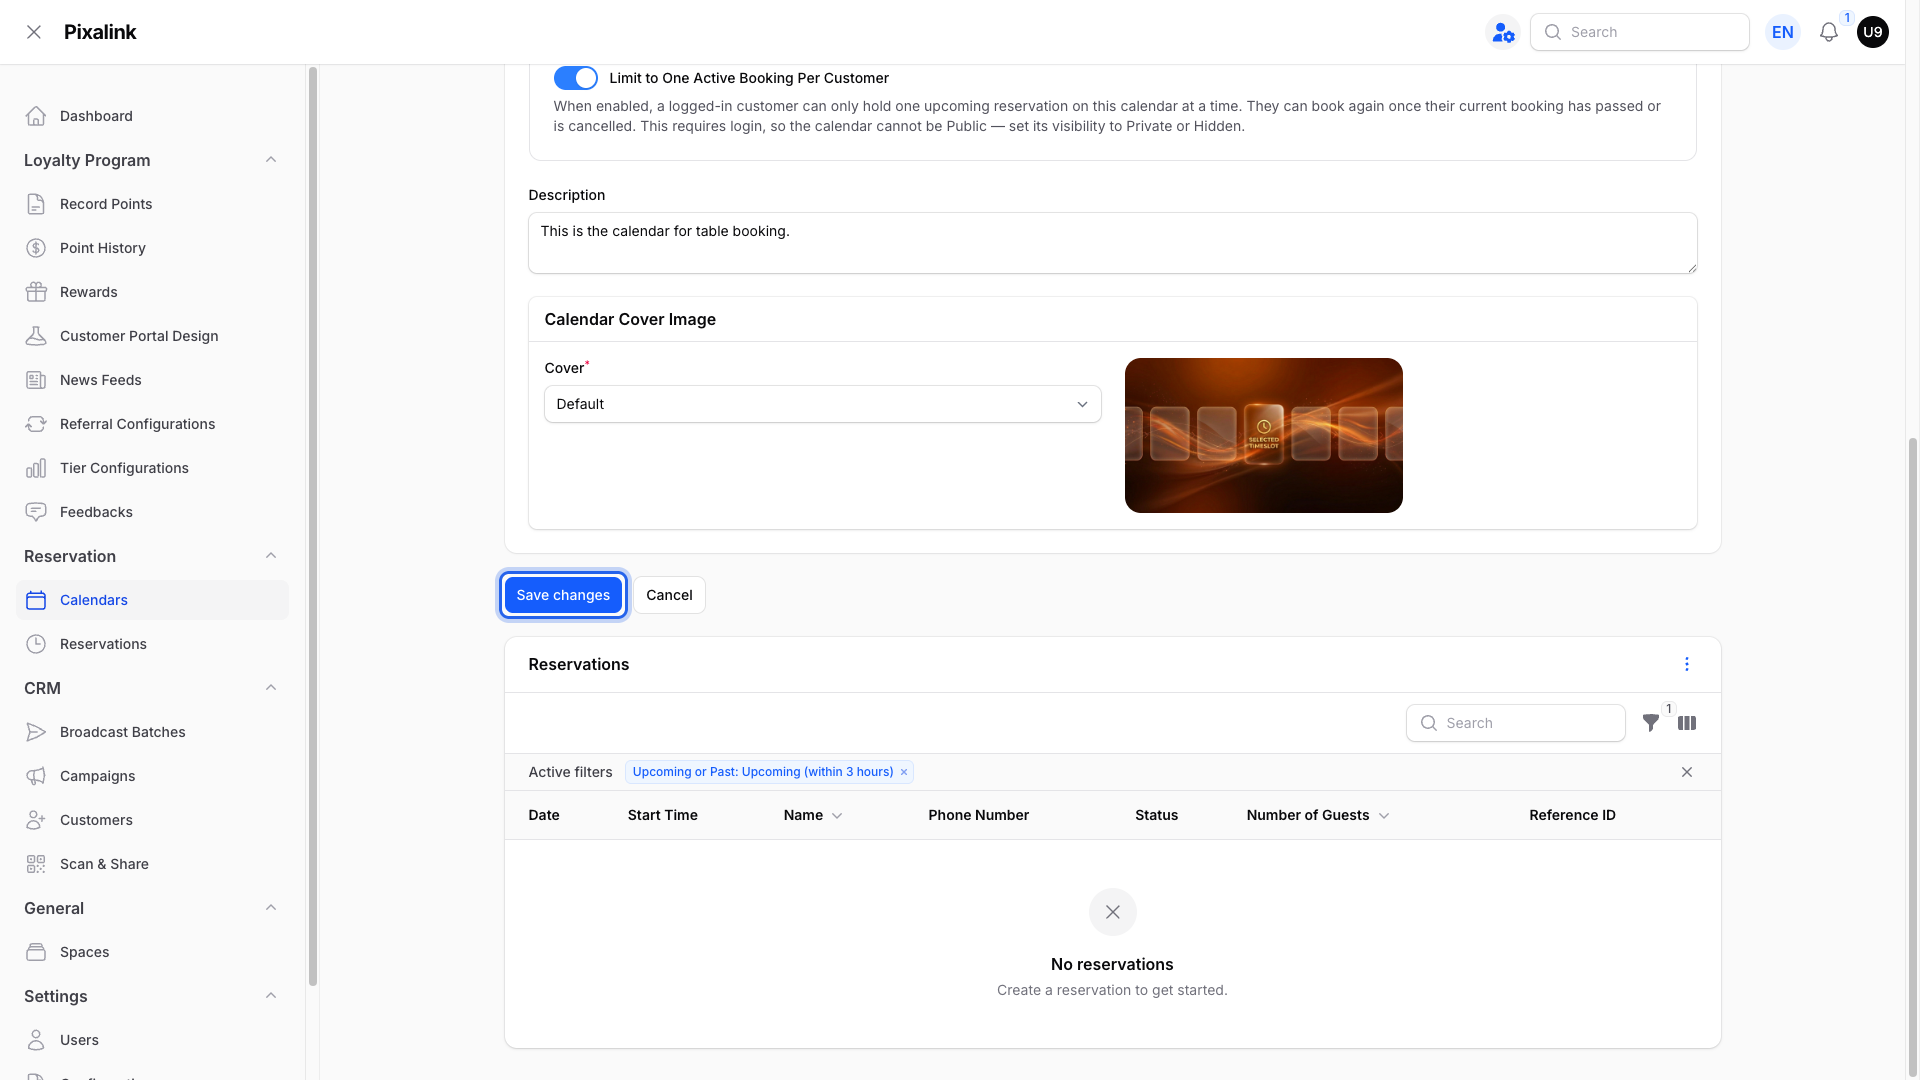
Click Save changes.
What Your Customers Will See
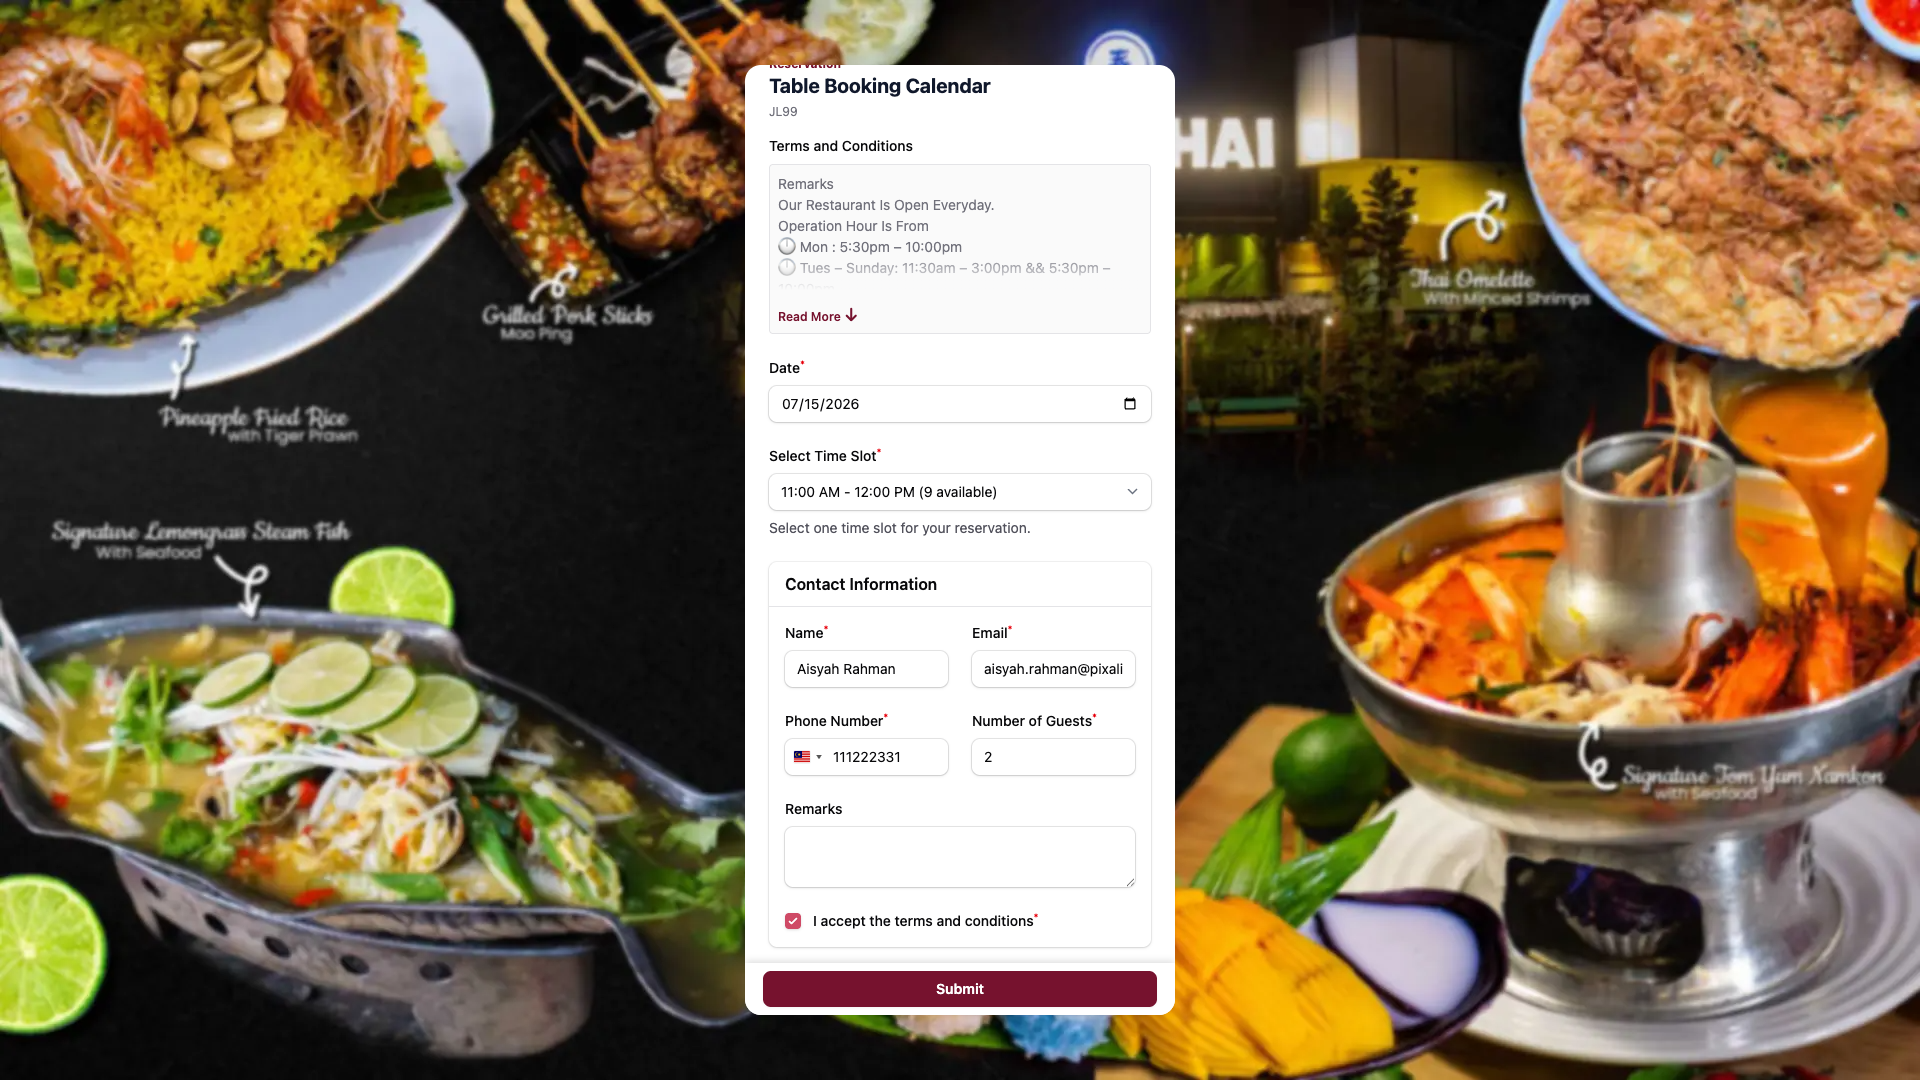
The first booking works exactly as before. Your customer logs in, picks a date and a time slot, fills in their details, and submits.
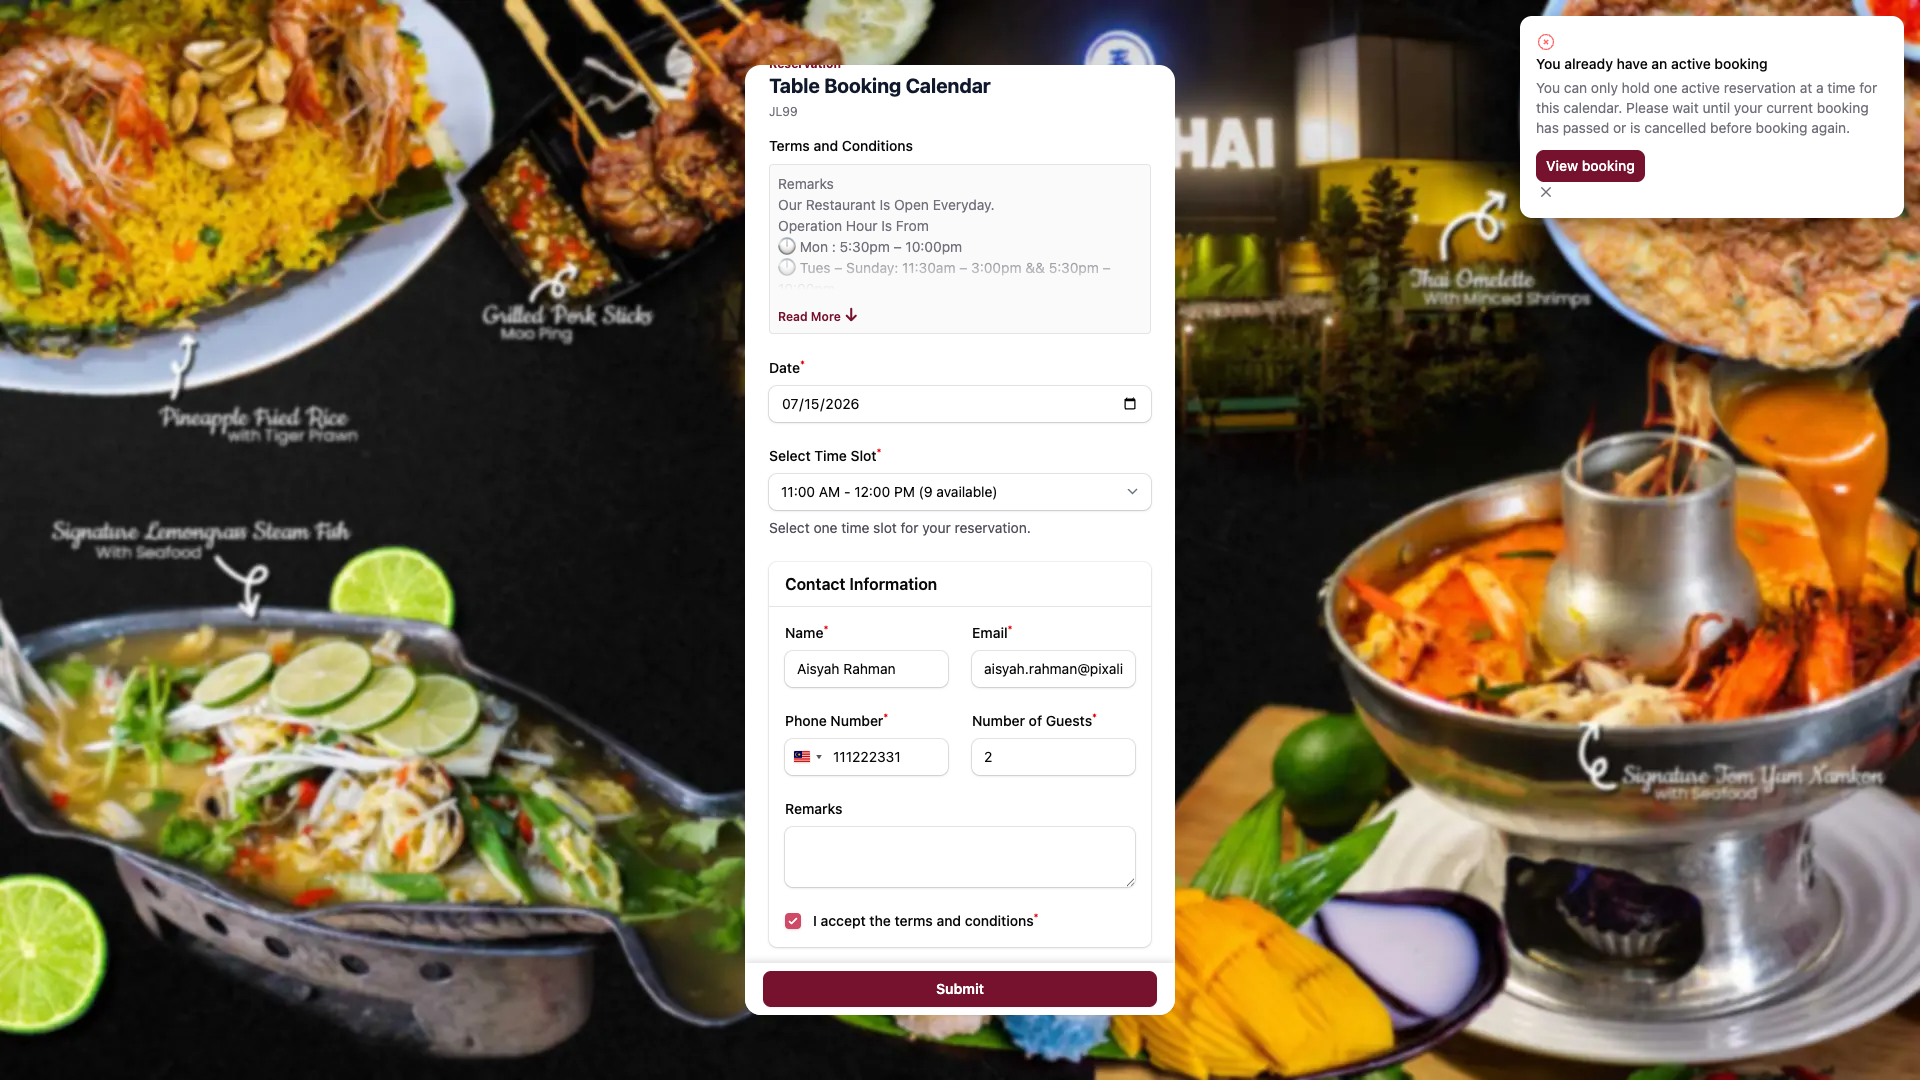
If they try to book again while their first booking is still upcoming, a message appears: "You already have an active booking". A View booking button takes them to their current booking.
Good to Know
- The limit is off by default. You turn it on for each calendar separately.
- A booking stops counting once its date has passed, or when it is cancelled or rejected.
- Both approved and pending bookings count as active.
- The limit works on logged-in accounts. Keep the calendar Private or Hidden so every booking is tied to an account.
- This setting also encourages more of your customers to sign up as members, since booking now needs an account.
Need Help?
Contact our support team if you have questions about booking limits.