Getting Started with Pixalink
Getting Started with Pixalink
What Is This?
Pixalink helps you turn first-time visitors into repeat customers. Your customers earn points, claim rewards, and stay connected with your business — all from their phone. This guide walks you through your first 10 minutes.
Real-Life Example
Siti just opened a bubble tea shop in Petaling Jaya. She followed this quick-start checklist and had her loyalty programme live within 10 minutes. She created a Space for her shop, added a "Free Topping" reward for 50 points, and printed a QR code for her counter. By the end of her first week, 30 customers had signed up and were already earning points on every purchase.
How to Get Started
Step 1: Explore Your Dashboard
-
Log in to your Admin Panel — you'll land on the Dashboard
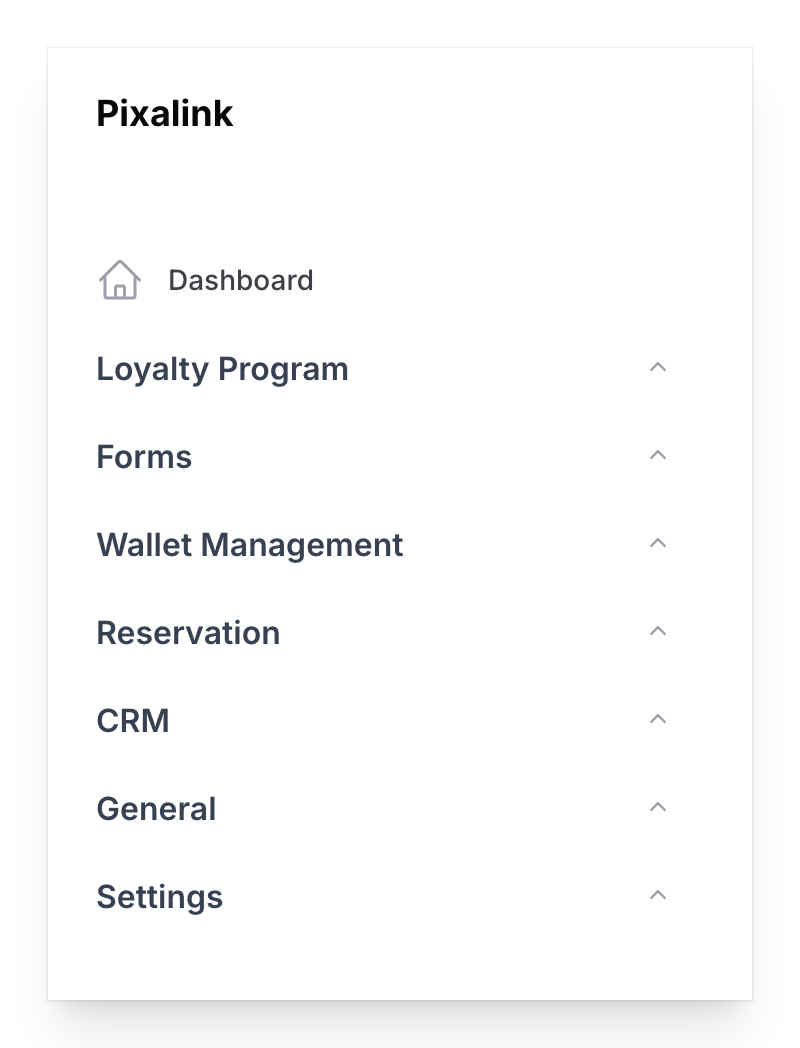
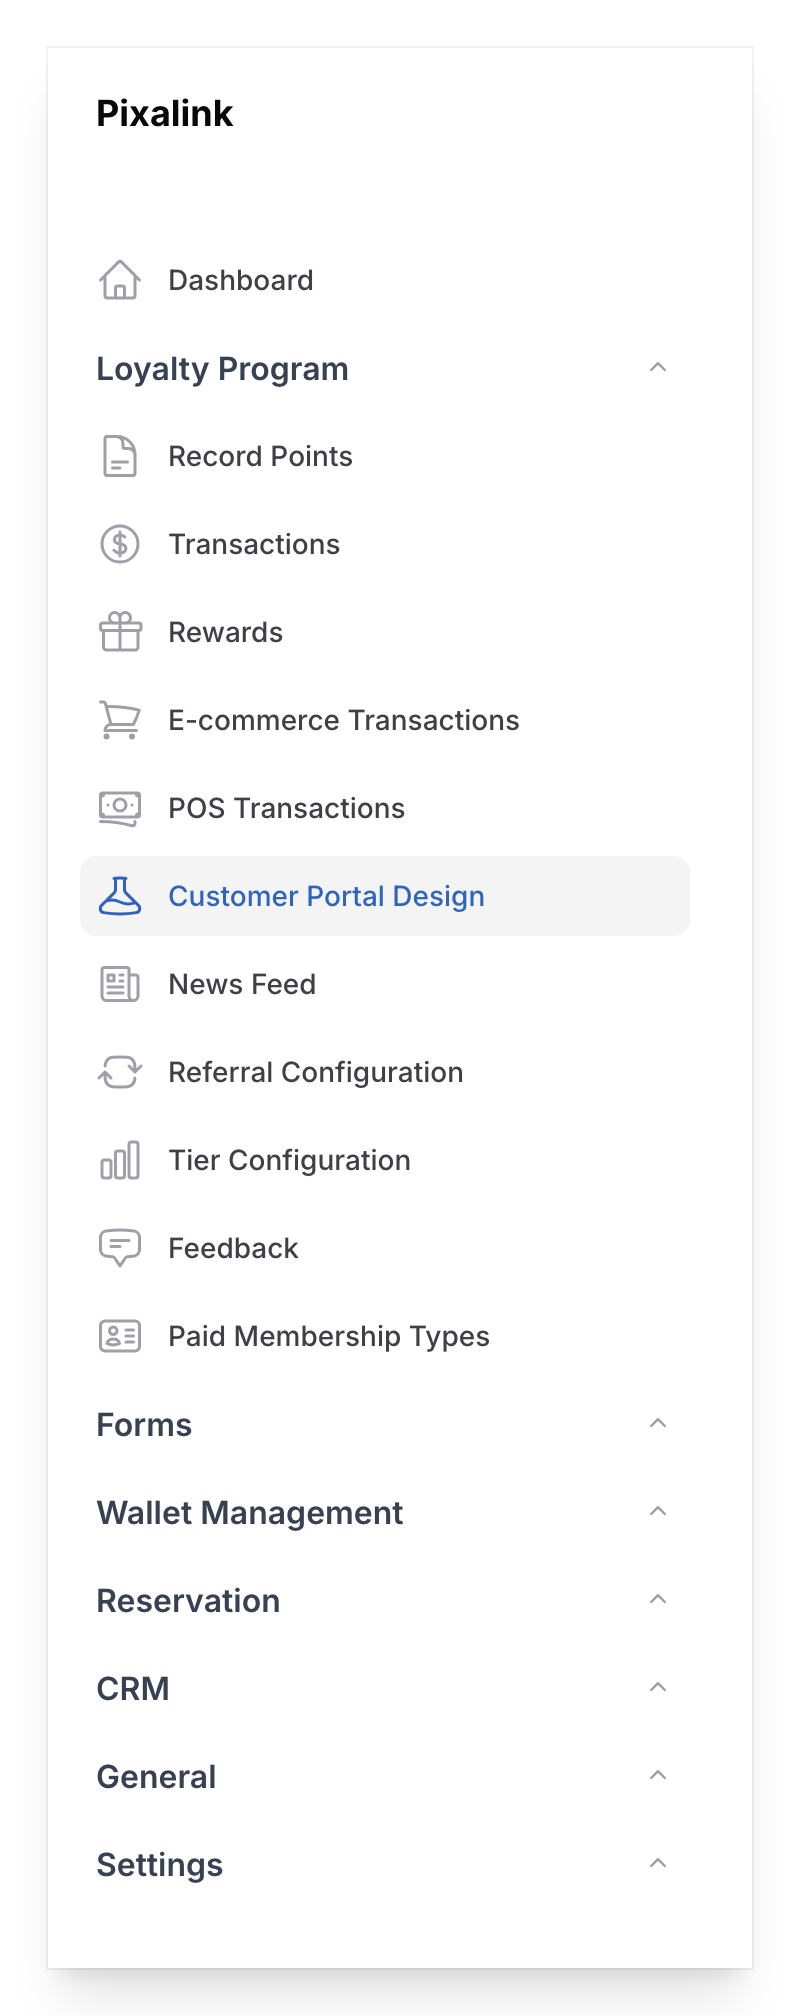
Your sidebar is organised into groups like Loyalty Program, CRM, and General. The Dashboard shows a live summary of your business.
-
Check your dashboard stats — you'll see New Customers (this month), Pending Reservations, Active Members (last 30 days), and Points Redeemed (this month)

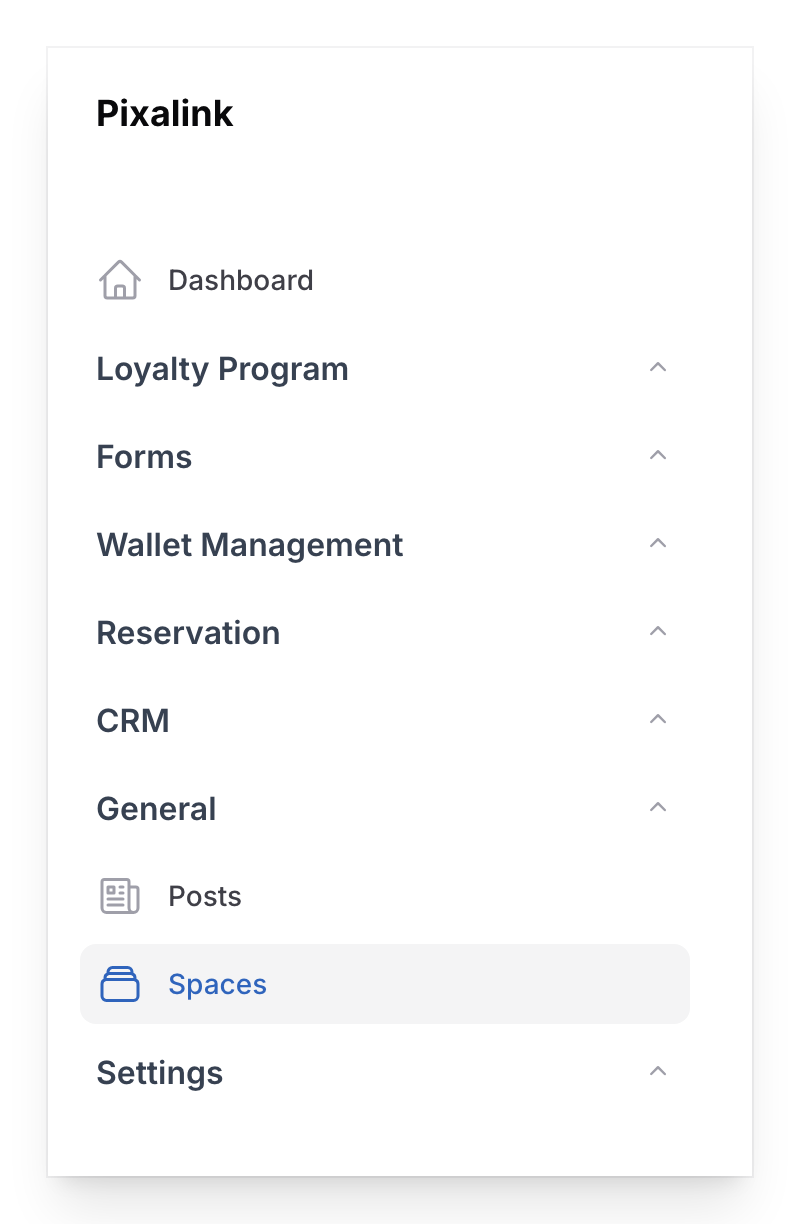
Step 2: Create Your First Space
A Space represents a physical location or branch. You need at least one before anything else works.
-
Go to Admin Panel → General → Spaces and click New Space
Fill in your shop name, address, and contact details.

Switch to the Contact tab and add your email, phone number, website, and address.

Once you've filled everything in, click the Create button at the bottom of the page to save your Space. For the full walkthrough, see How to Create a Space.
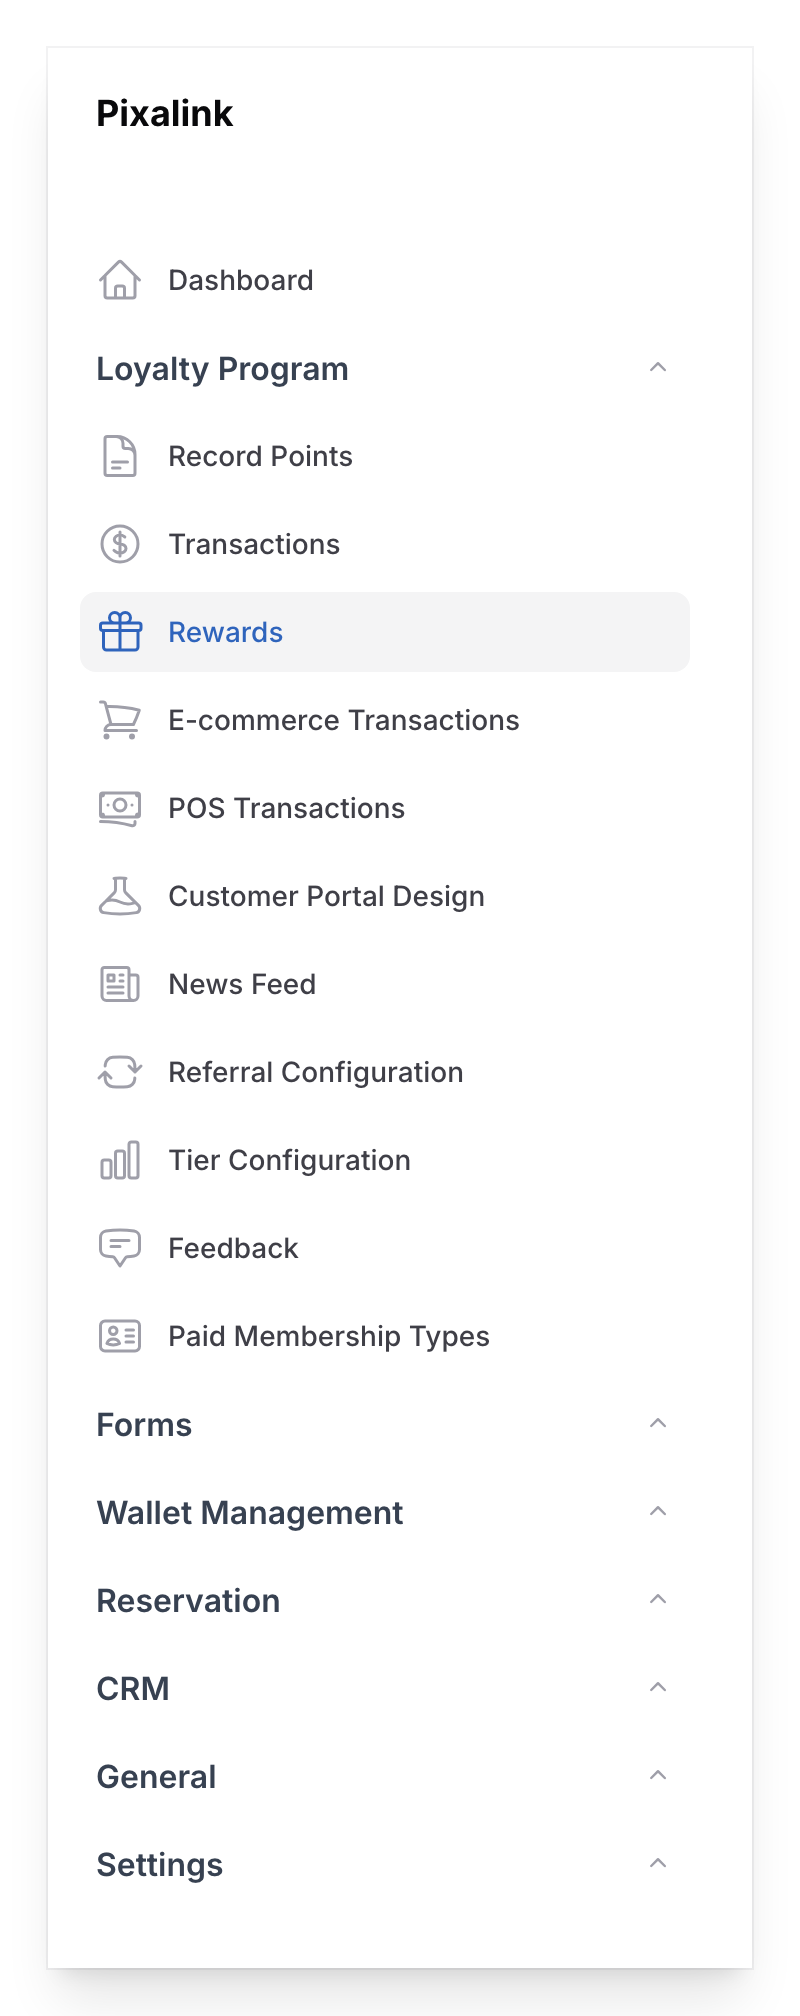
Step 3: Create Your First Reward
Rewards keep customers coming back. Start simple — a free drink or a small discount.
-
Go to Admin Panel → Loyalty Program → Rewards and click New Reward
Give it a name (e.g., "Free Topping"), add a description, and fill in the terms and conditions — you can pick a template to get started quickly.
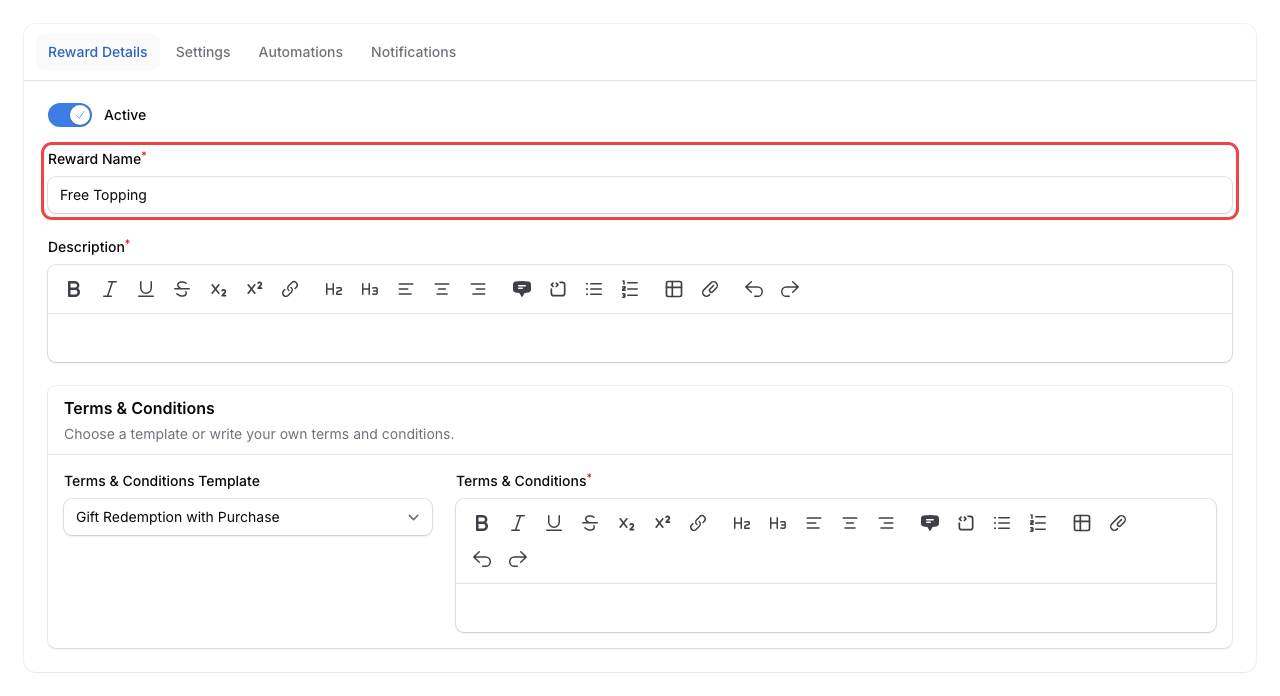
Switch to the Settings tab. Set the Expiration Date and the number of Points to Redeem (e.g., 50 points for a free topping).
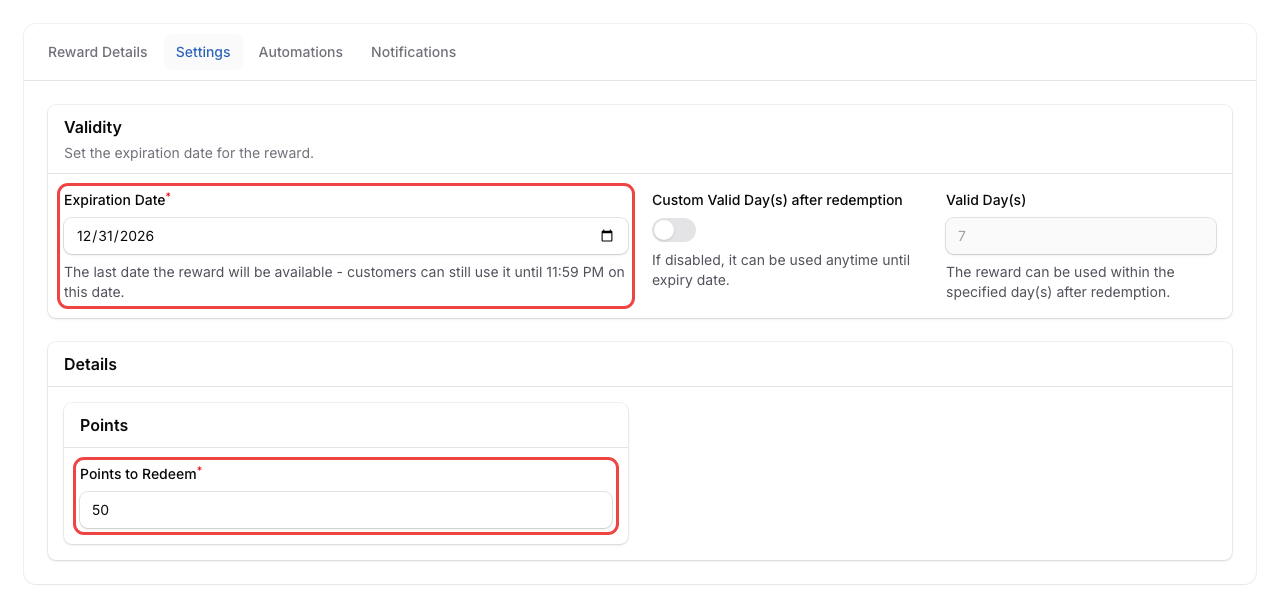
Once you're happy with the details, click the Create button at the bottom of the page to save your Reward. See What Are Rewards and How to Create Them for the full guide.
Step 4: Connect WhatsApp
WhatsApp lets you send automated messages when customers earn points, claim rewards, or celebrate their birthday.
-
Go to Admin Panel → Settings → Configurations and connect your WhatsApp Business number.
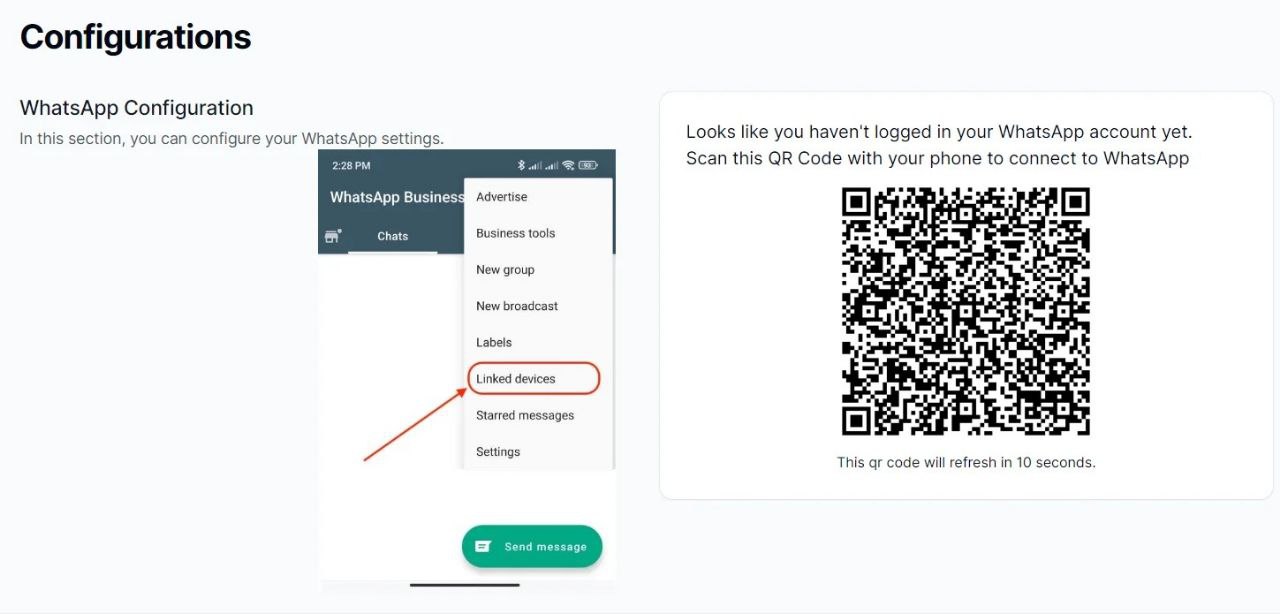
For the full setup guide, see How to Connect Your WhatsApp Business Account.
Step 5: Share Your Customer Portal
Your customer portal is where customers sign up, check points, and claim rewards.
-
Go to Admin Panel → Loyalty Program → Customer Portal Design
-
Click New Customer Portal to create your first portal theme. Fill in the Info tab:
- Space (required) — select the Space you just created
- Name (required) — give it a name like "Default"
- Active — make sure this is turned on
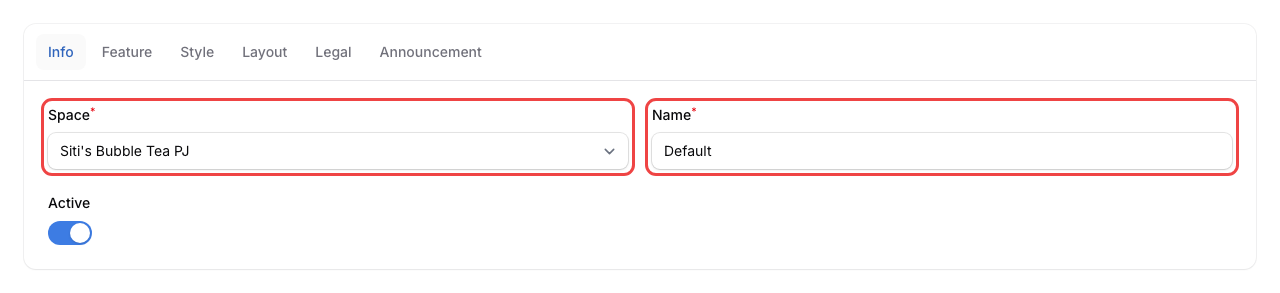
Your first theme becomes the default and runs all the time — no start or end date needed.
-
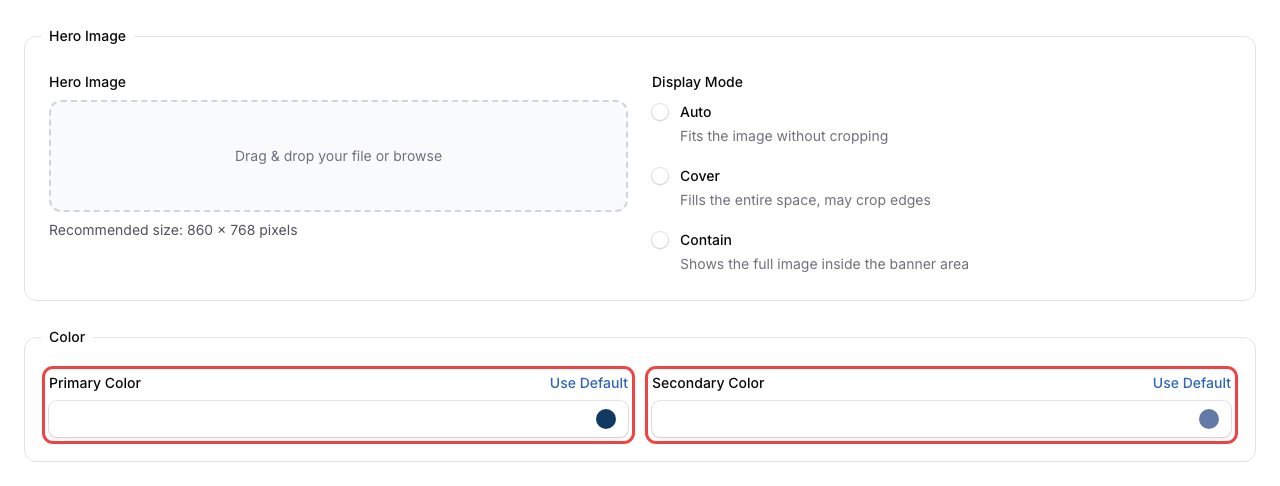
(Optional) If you have a logo or banner image ready, click the Style tab. Upload your Hero Image (the main banner at the top) and pick your brand Primary Color and Secondary Color. You can always come back and update these later.
-
Click Create at the bottom of the page to save your portal theme. For the full customisation guide, see How to Customise Your Customer Portal Theme.
-
Back on the portal list, click the Show Customer Portal QR Code button at the top of the page. In the modal that appears, select your Space from the dropdown.
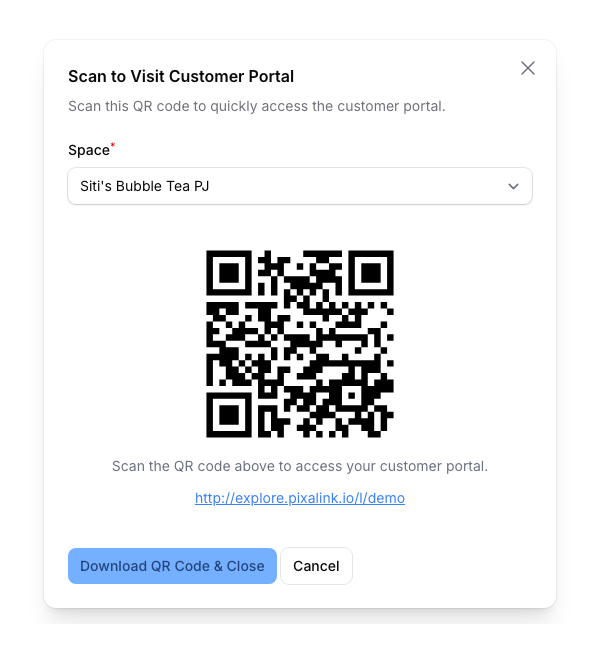
Click the Download QR Code & Close button. Print the downloaded QR code and place it at your counter — customers scan it to join your loyalty programme instantly.
What Your Customers Will See
When customers scan your QR code, they'll see a branded portal with your shop name and logo. They can sign up with their phone number, view their points, browse rewards, and claim what they've earned. No app download needed.
Good to Know
- You need at least one Space before you can create rewards or a customer portal
- Dashboard stats refresh every 5 minutes
- You can download your QR code as PNG or PDF for printing
- Each Space can have its own portal theme and branding