How to Add Images to Your Space
What Is This?
Images bring your space to life on the customer portal. You can upload a featured image, a preview video or photo, and a gallery of up to 100 images. These visuals help customers recognise your outlet and feel connected to your brand.
Real-Life Example
Encik Rafi runs Surf & Turf Grill in Bangsar. He uploads photos of his signature dishes, the restaurant interior, and the outdoor dining area. When customers open the portal, they see an appetising gallery that makes them want to visit again.
How to Add Images
Step 1: Open Your Space Settings
From the Admin Panel sidebar, go to General → Spaces. Click on the space you want to add images to, then click Edit.
Step 2: Go to the Media Tab
Switch to the Media tab.
Step 3: Upload Your Images
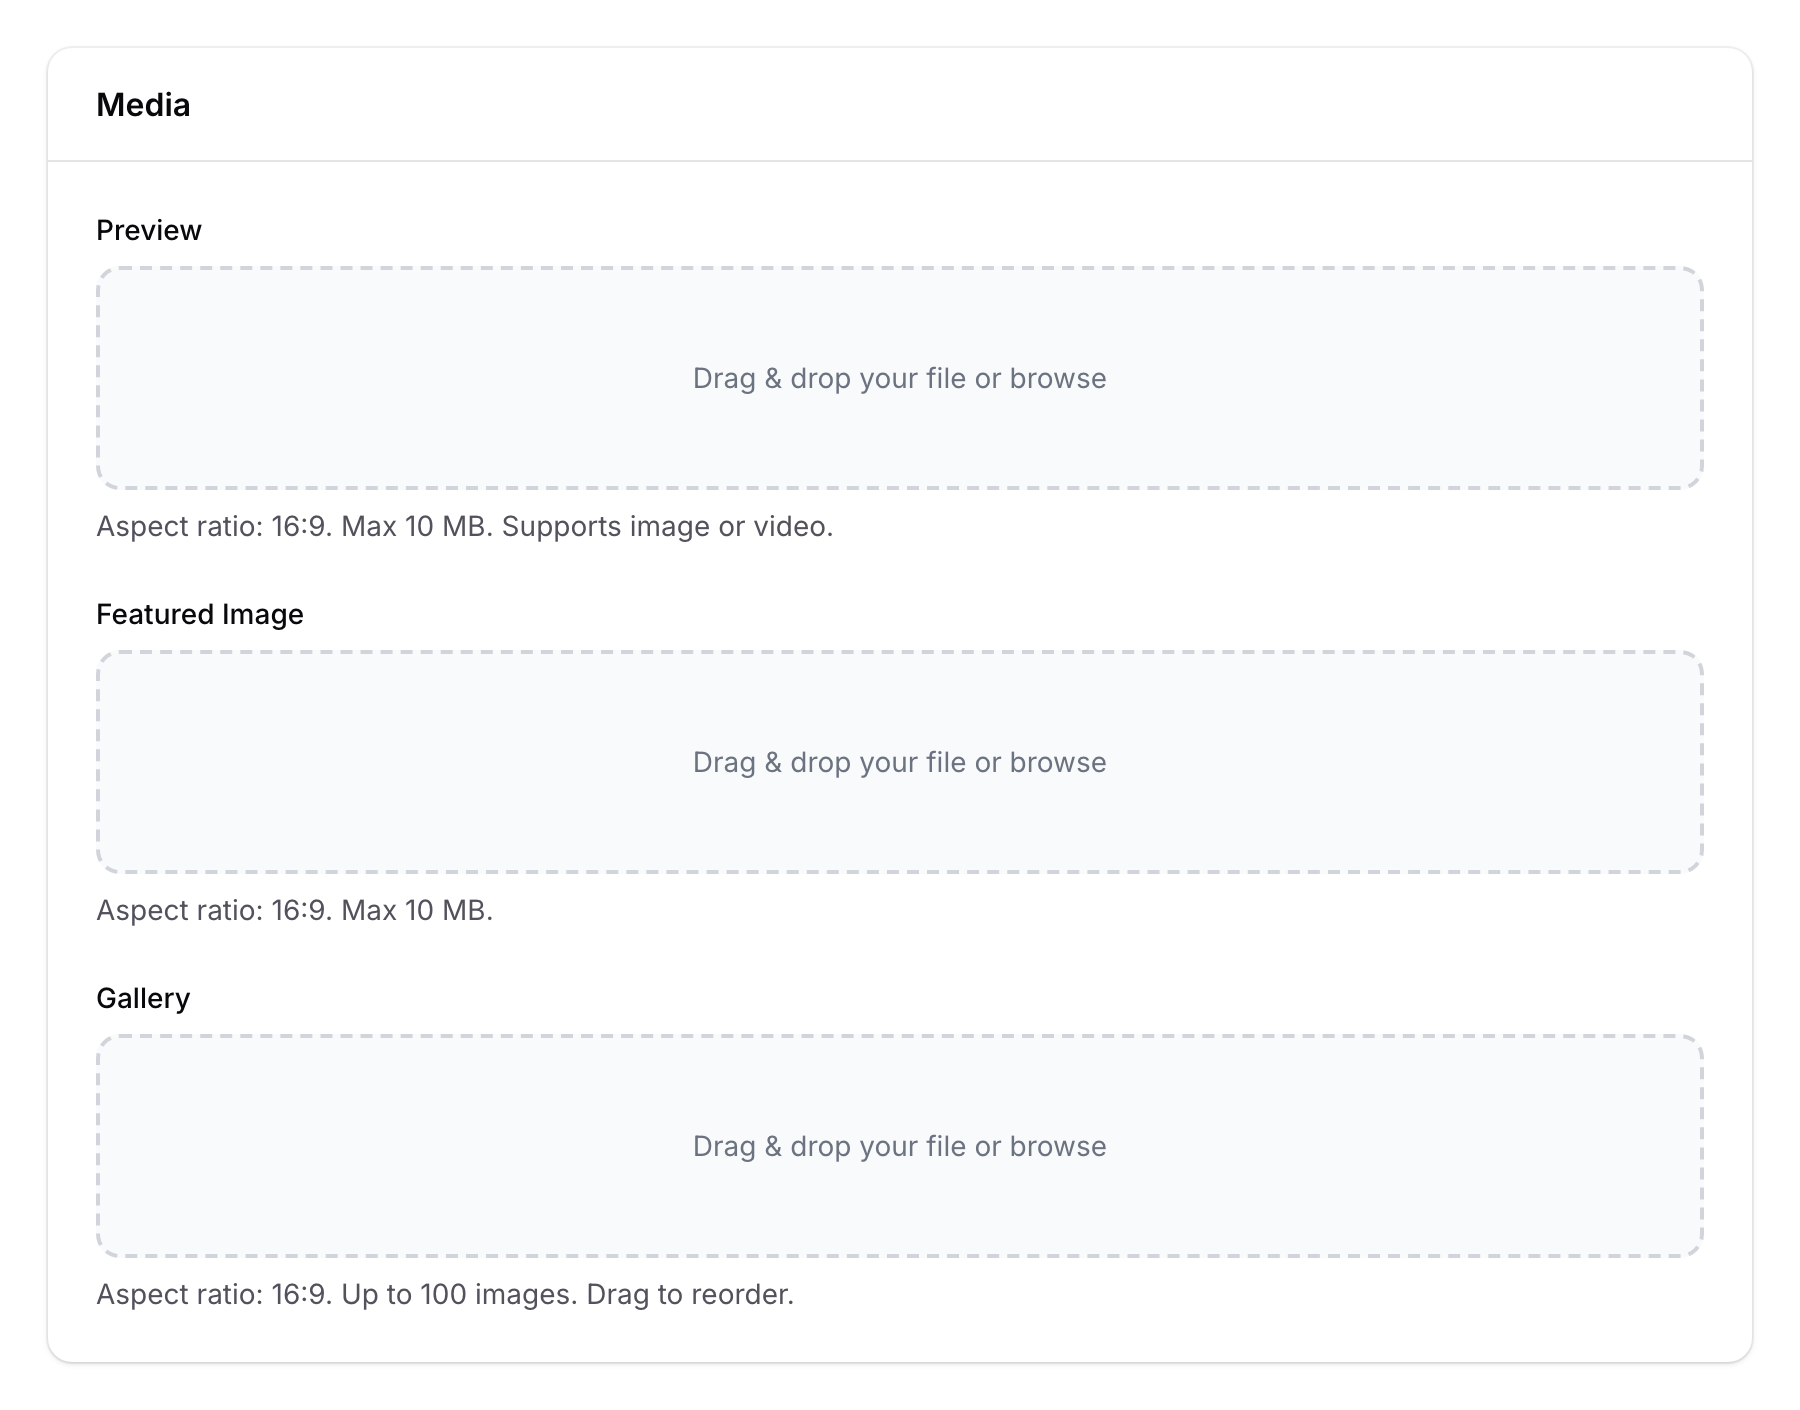
The Media tab has four image areas:
| Field | Purpose | Ratio | Limit |
|---|---|---|---|
| Preview | Main hero image or video on the landing page | 16:9 | 1 file, max 10 MB |
| Featured Image | Primary display image on the portal | 16:9 | 1 file, max 10 MB |
| Gallery | Scrollable photo gallery | 16:9 | Up to 100 images |
| Logo | Business logo (see "How to Add Your Business Logo") | 1:1 | 1 file, max 5 MB |
For the Gallery:
- Click the upload area or drag and drop multiple images
- Rearrange images by dragging them into your preferred order
- Use the built-in image editor to crop or adjust if needed
Step 4: Save
Click Save to apply. Images are immediately visible on your customer portal.

Good to Know
- 16:9 aspect ratio — Most image fields use landscape (16:9) orientation, which displays best on mobile phones.
- Reorderable gallery — Drag and drop gallery images to control the display order. Put your best photos first.
- Image editor — Each upload field includes a built-in editor for cropping and adjustments.
- Video support — The Preview field supports both images and videos (mp4), perfect for showcasing your space in motion.
- Quality matters — Use well-lit, high-resolution photos. They represent your brand on the portal.