How to Create a Space
What Is This?
A Space represents a physical location or outlet in your business — a restaurant branch, a retail store, a clinic. Each Space has its own settings, customer portal, QR code, and can track transactions independently. If you run a single outlet, you'll have one Space. If you have multiple branches, each gets its own.
Real-Life Example
Encik Azman owns Mee Tarik Warisan and is opening a second branch in Setia Alam. He creates a new Space for the branch with its own address, phone number, logo, and photos. Customers at the new branch get their own portal QR code, while the loyalty points system stays connected across both outlets.
How to Create a Space
Step 1: Open the Spaces Page
From the Admin Panel sidebar, go to General → Spaces. Click Create to add a new space.
Step 2: Fill In Space Details
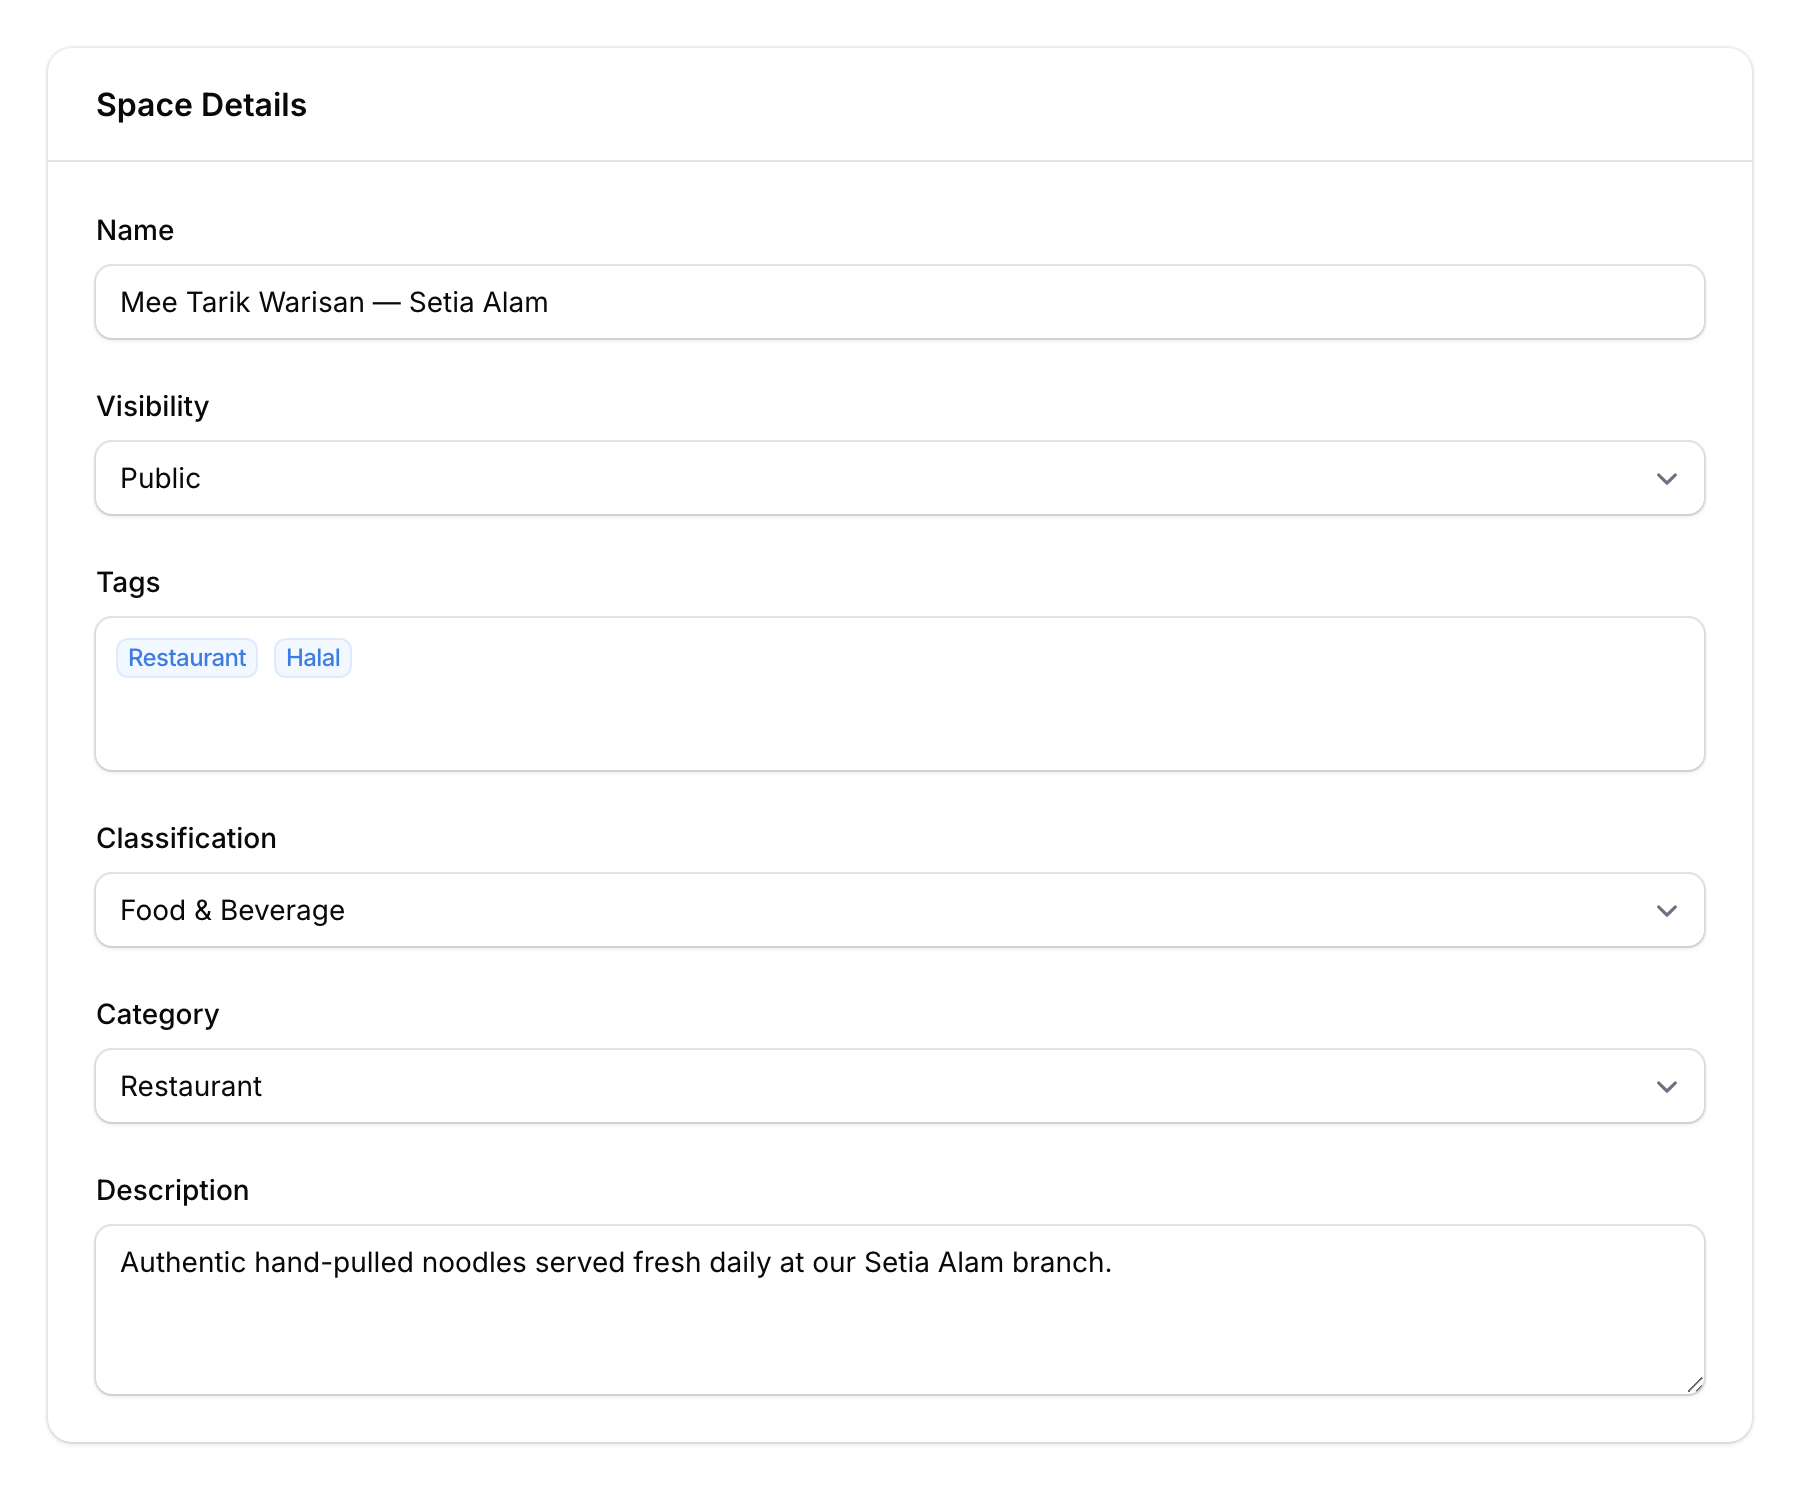
On the Space tab:
- Name — Your outlet's name (e.g., "Mee Tarik Warisan — Setia Alam")
- Visibility — Public, Private, Hidden, or Draft
- Tags — Add tags for internal organisation
- Classification — Categorise your space
- Category — Select a business category
- Description — A brief description of the outlet
Step 3: Add Contact Information
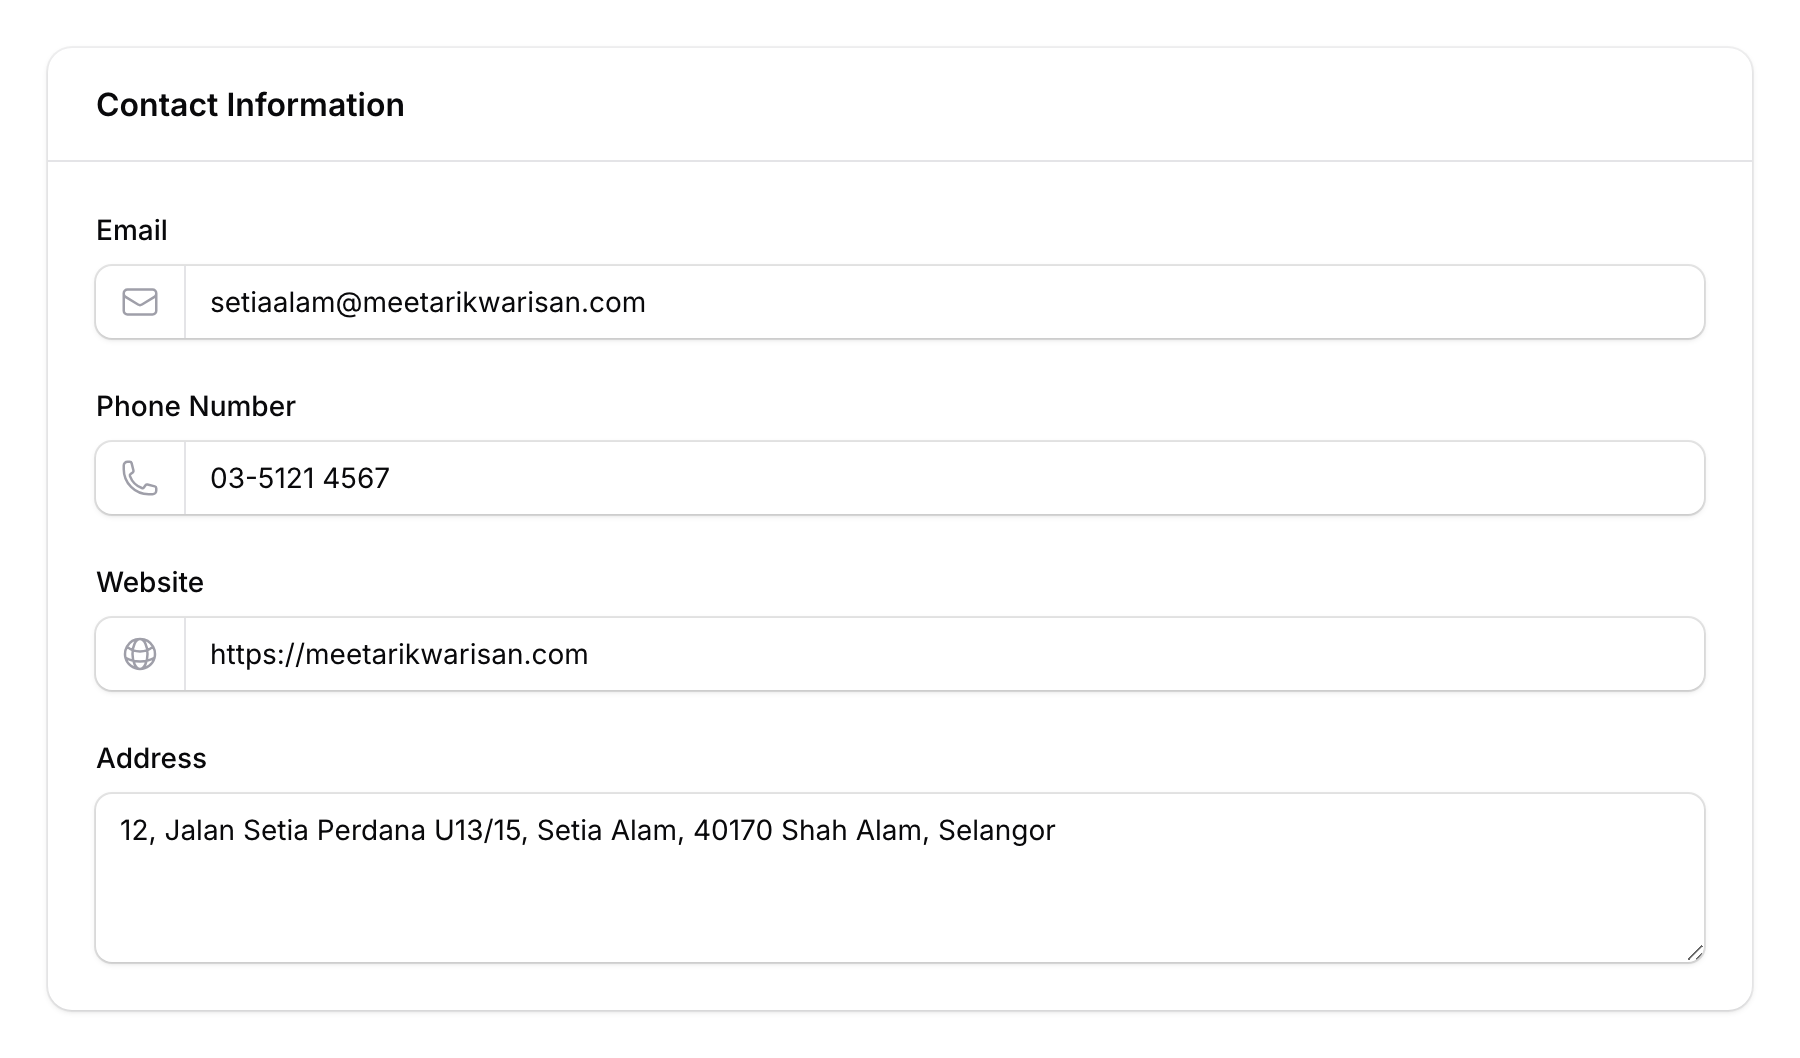
Switch to the Contact tab:
- Email — Business email for this outlet
- Phone Number — Contact number
- Website — Outlet's website (if any)
- Address — Full physical address
Step 4: Add Social Media (Optional)
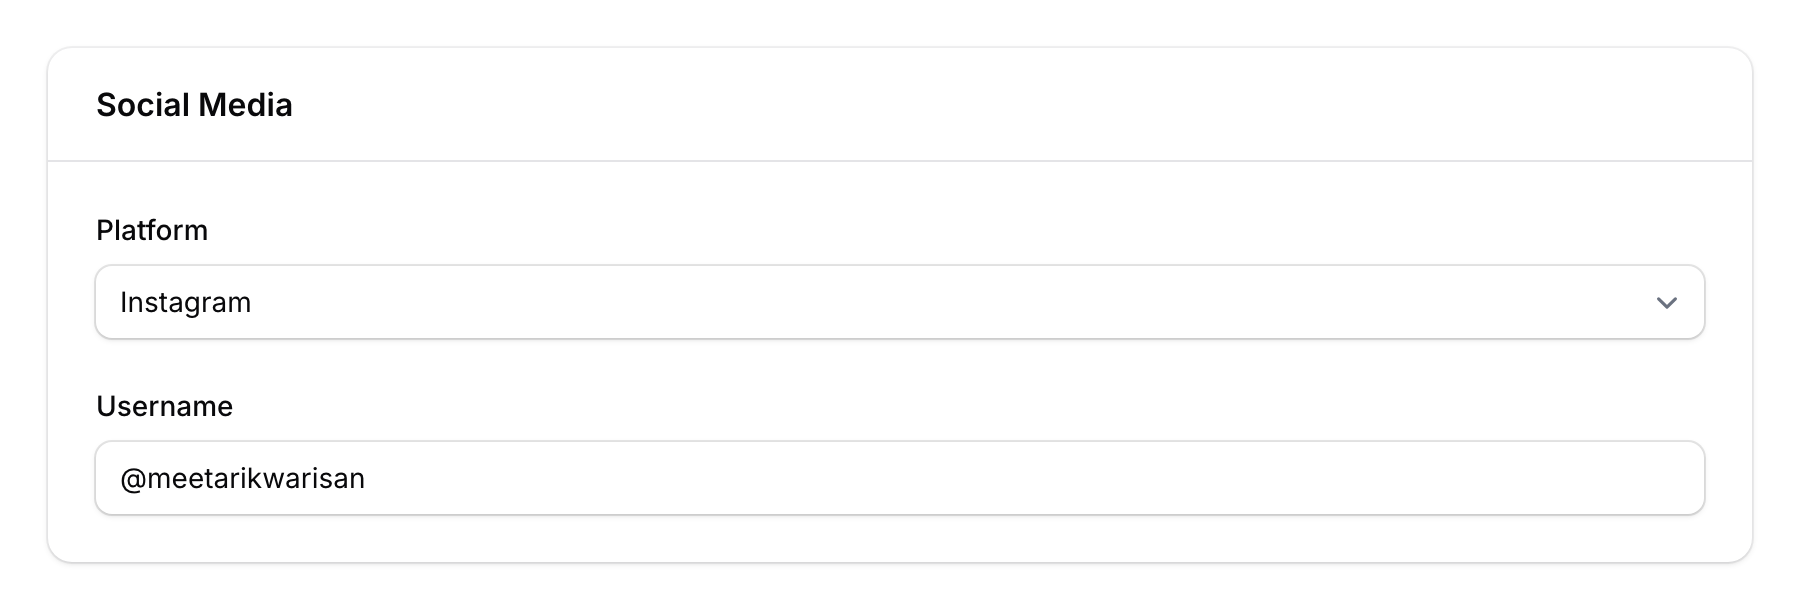
On the Social Media tab, link your social accounts:
- Add each platform name and username
- Supports 18 platforms including Facebook, Instagram, YouTube, TikTok, WhatsApp, LinkedIn, Telegram, Discord, and more
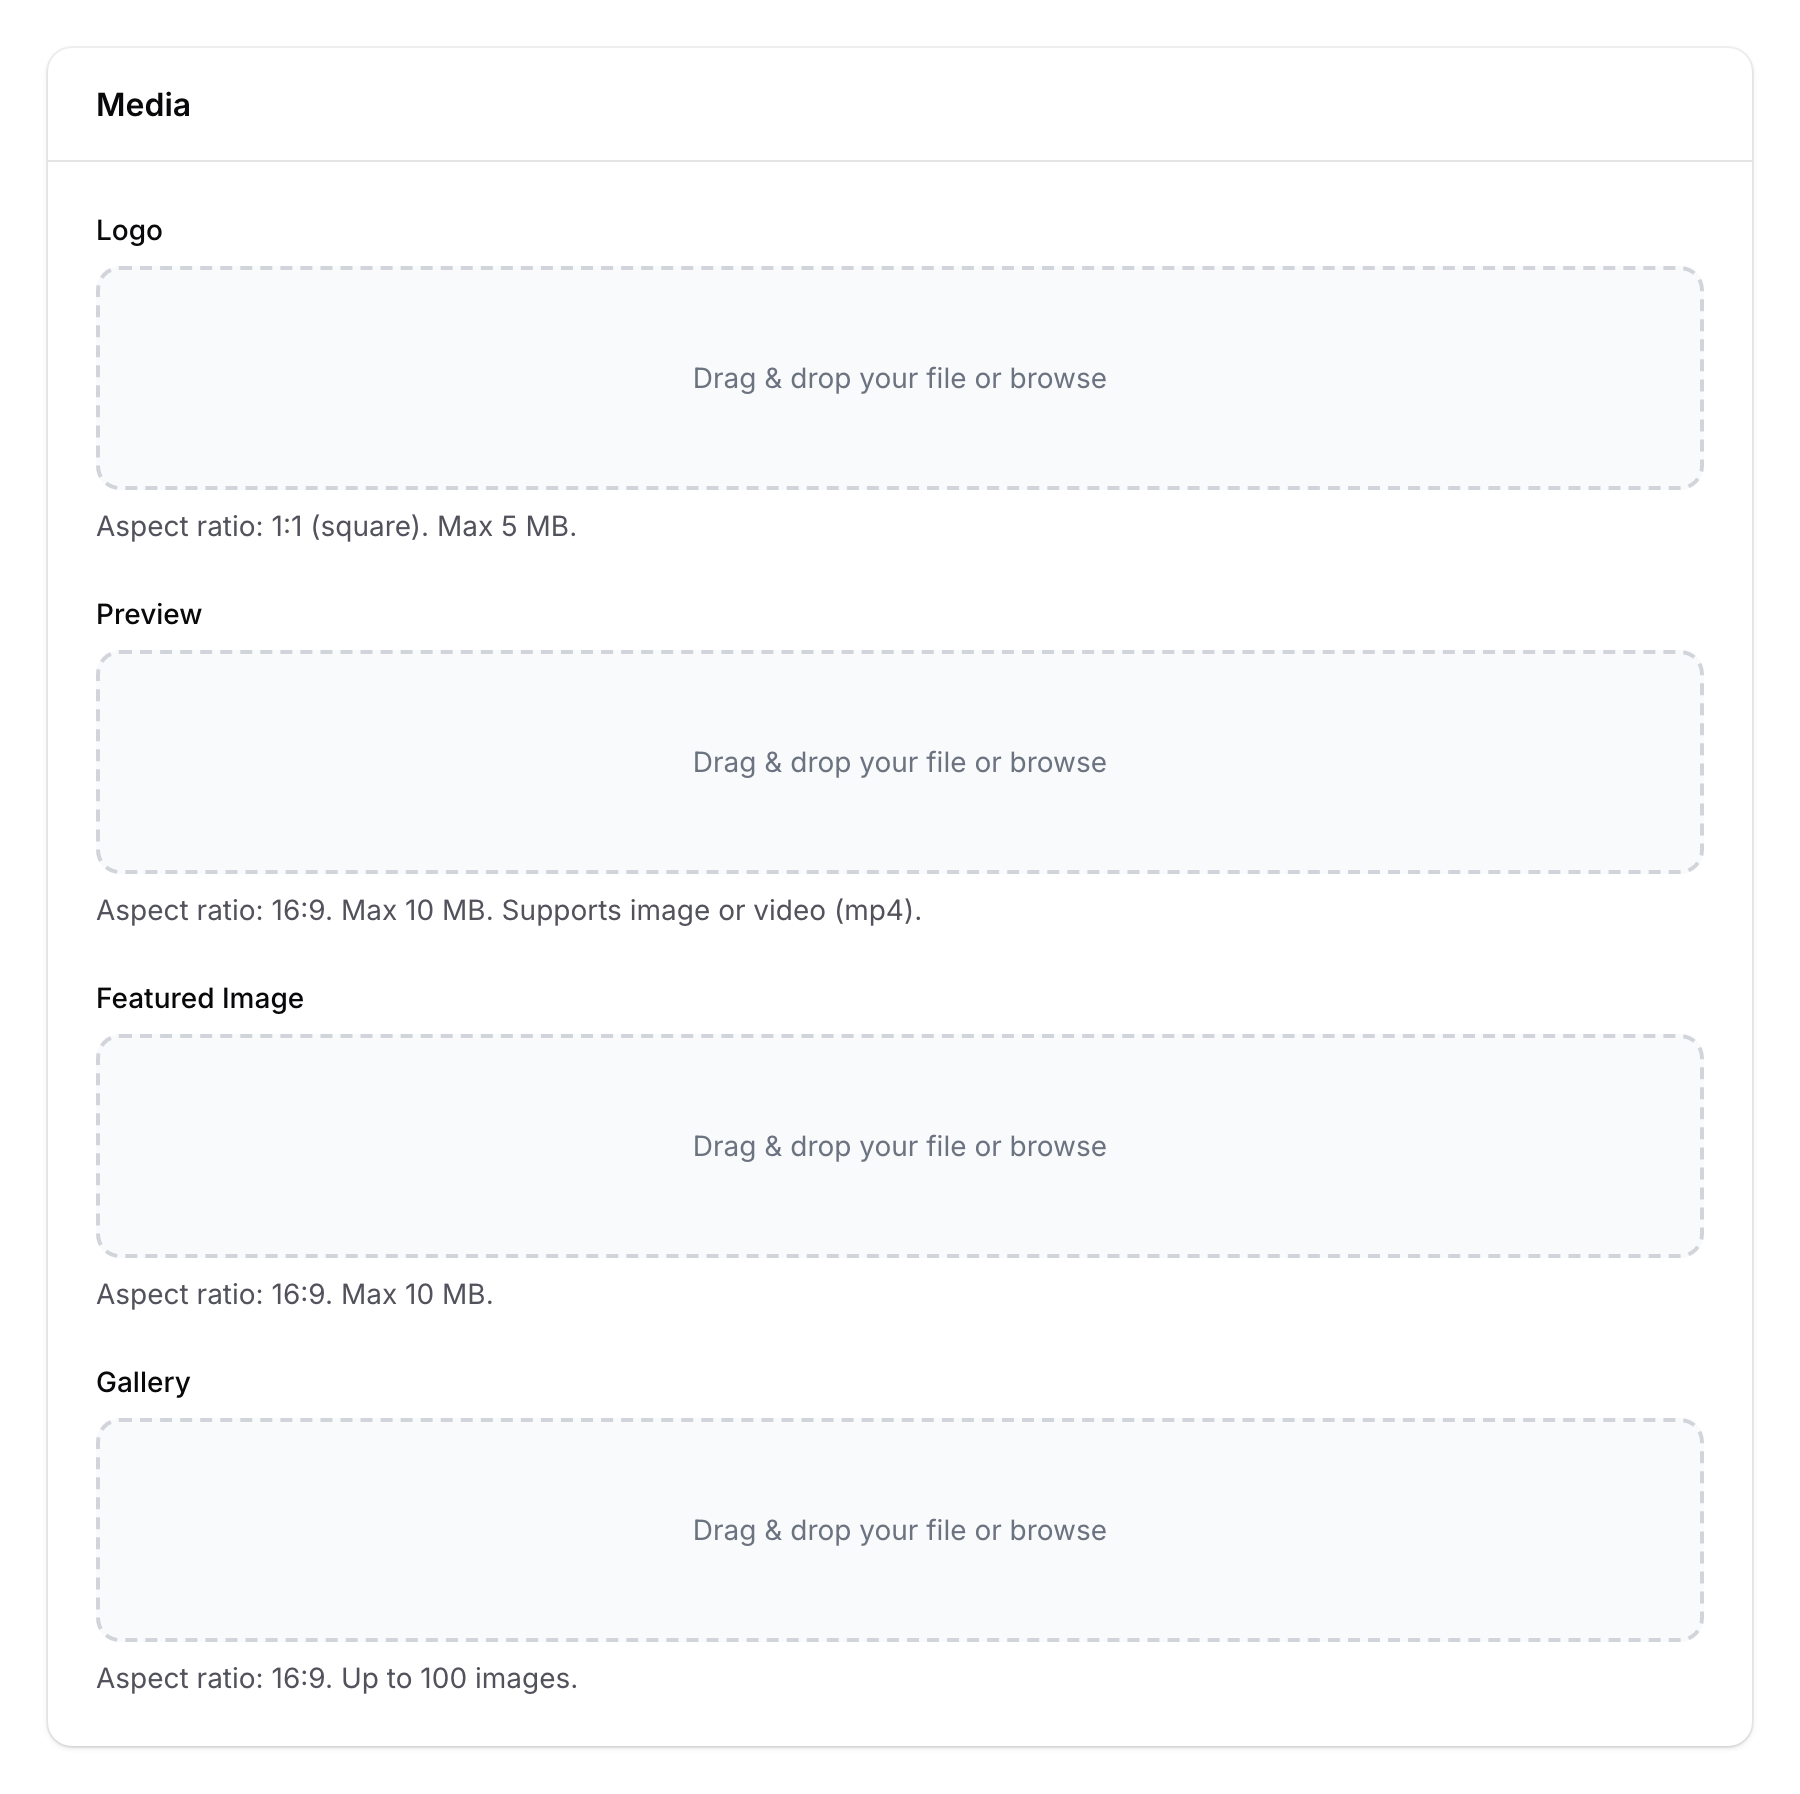
Step 5: Upload Media
On the Media tab:
- Logo — Upload your business logo (1:1 square ratio, max 5 MB)
- Preview — A video or image for the space landing page (16:9 ratio)
- Featured Image — The main image displayed on the portal
- Gallery — Up to 100 images showcasing your outlet (reorderable, 16:9 ratio)
Step 6: Save
Click Create to save your new Space. It's now ready to receive customers and process transactions.

Good to Know
- Multi-branch loyalty — Customers earn and spend points across all spaces in your organisation. A customer who joins at Branch A can redeem at Branch B.
- Space-specific settings — Each space can have its own portal design, QR code, widgets, and integration settings.
- Configurations tab — If you use POS integrations (StoreHub, Eats365, WooCommerce, etc.), configure them per-space in the Configurations tab.
- Visibility controls — Set a space to Draft while you're still setting it up, then switch to Public when ready.