
Launch a One-Tap Welcome Voucher Campaign
Launch a One-Tap Welcome Voucher Campaign
Print one QR code at your launch and every customer who scans it lands directly on a ready-to-claim reward — no manual assignment, no segmentation work, no spreadsheets. It's the fastest way to turn first-time visitors into registered loyalty members and put a voucher in their hand on the same visit.
This is the classic scan-and-claim pattern used at grand openings, soft launches, pop-ups, weekend festivals, and any moment you want every walk-in to walk out with a reward already in their account.
Why It Works for Marketing
- One asset, infinite reach. A single launch QR works on table tents, posters, receipts, social posts, WhatsApp broadcasts — wherever you can print a code.
- No staff overhead. Cashiers don't have to remember to apply a discount or assign a voucher manually. The system does it.
- Instant gratification. The customer's first interaction with your loyalty programme ends with a redeemable voucher in hand — not a "you'll get points next visit" promise.
- Sign-up incentive baked in. Customers complete sign-up because the reward is the only thing between scanning the QR and getting their discount.
- Measurable. Every claim is logged against a real customer record, so you can see exactly how many people the campaign converted.
Real-Life Example
Ahmad is opening his new cafe, Kopi Sentral, in Bangsar. He wants every customer who walks in during the soft-launch weekend to get a RM5 voucher off their first RM15 meal combo. He doesn't want his staff manually adding the voucher to every walk-in's account, and he doesn't have a customer list yet.
Ahmad creates one reward called RM5 Welcome Voucher in Pixalink, downloads its ready-made QR code from the reward page, and prints it on table tents. On opening day, Aishah scans the QR, signs in with her phone number, and lands straight on the reward page. She taps Redeem Now and shows her voucher screen at the counter — RM5 off her nasi lemak combo. No staff training, no spreadsheet, no manual assignment. Forty more customers do the same that day, and Ahmad has forty new registered loyalty members by closing time.
Video Walkthrough
How to Set It Up
1. Create the reward
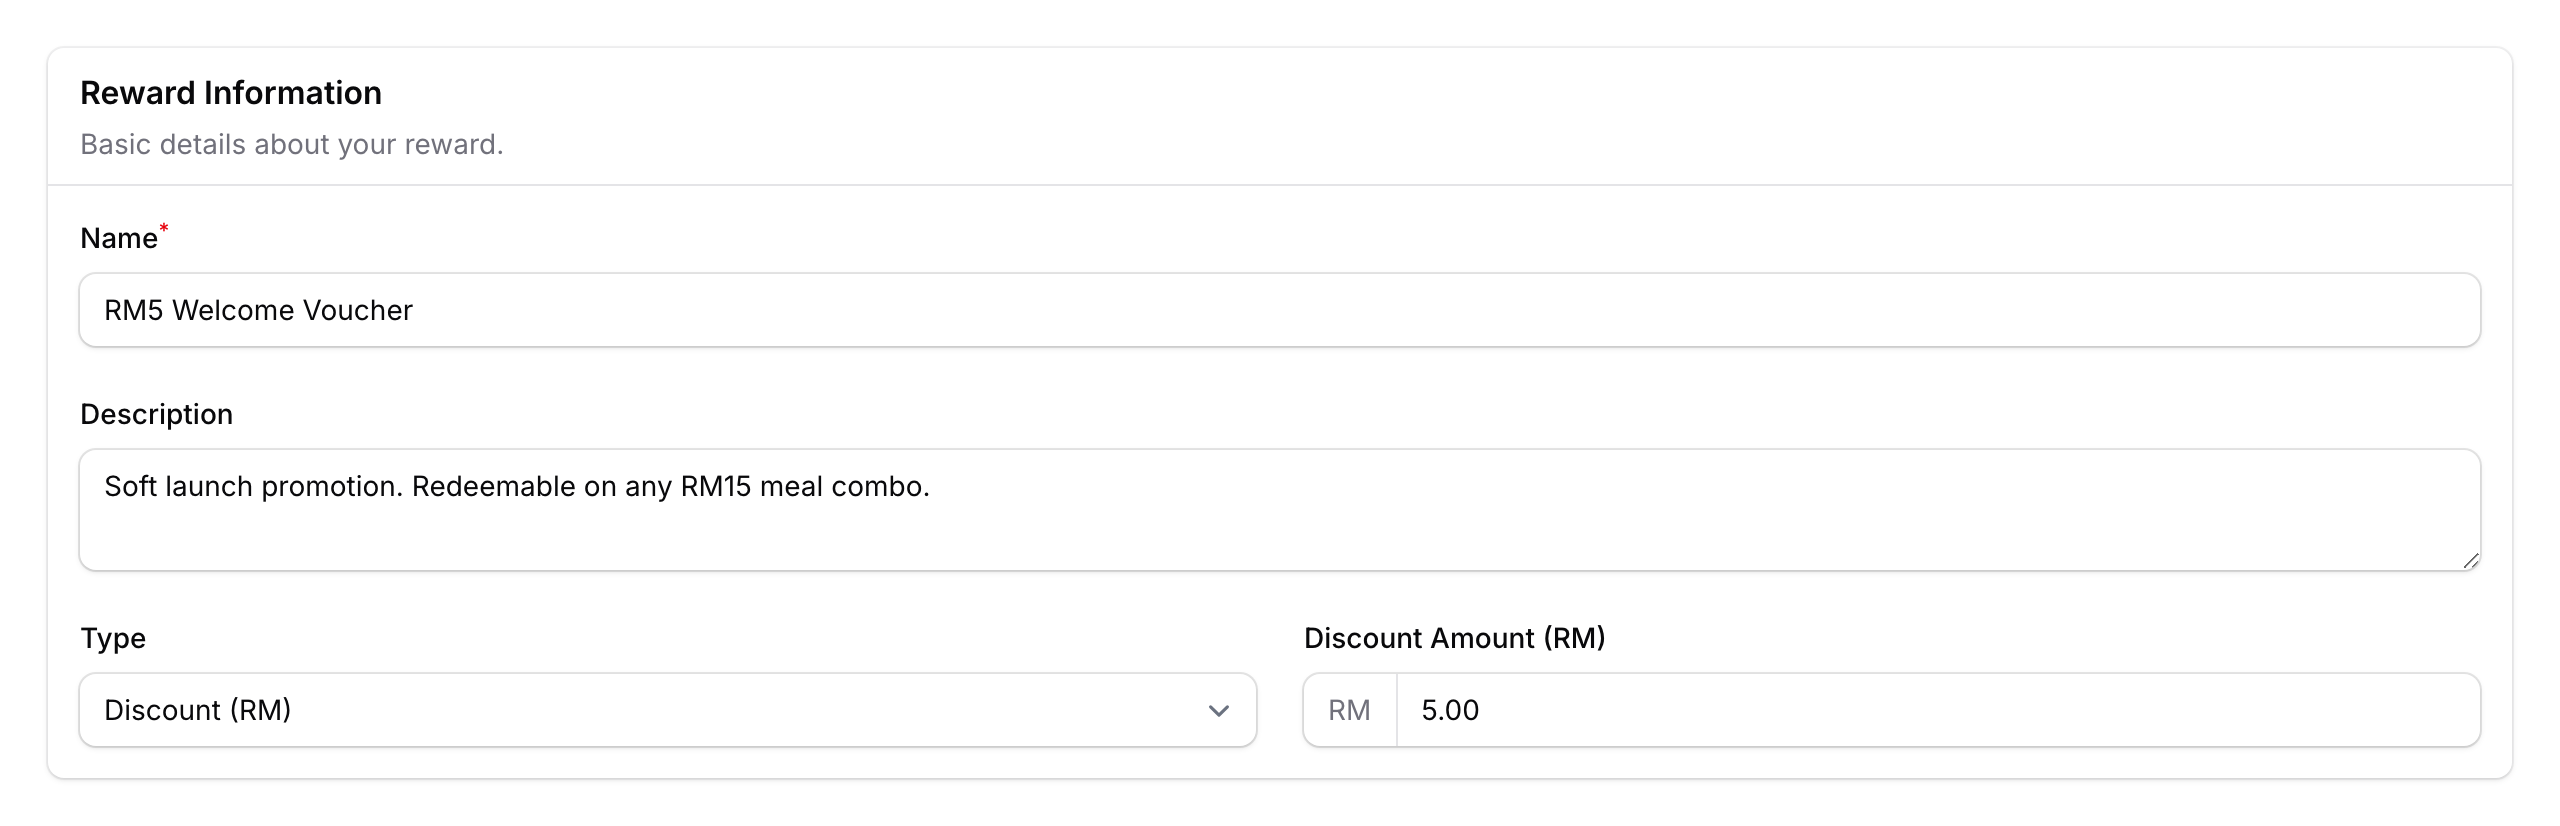
Go to Admin Panel → Loyalty Program → Rewards and click New Reward (e.g. "RM5 Welcome Voucher"). Fill in the name and description, then save it.
2. Make it free and one per customer
Open the Settings tab.
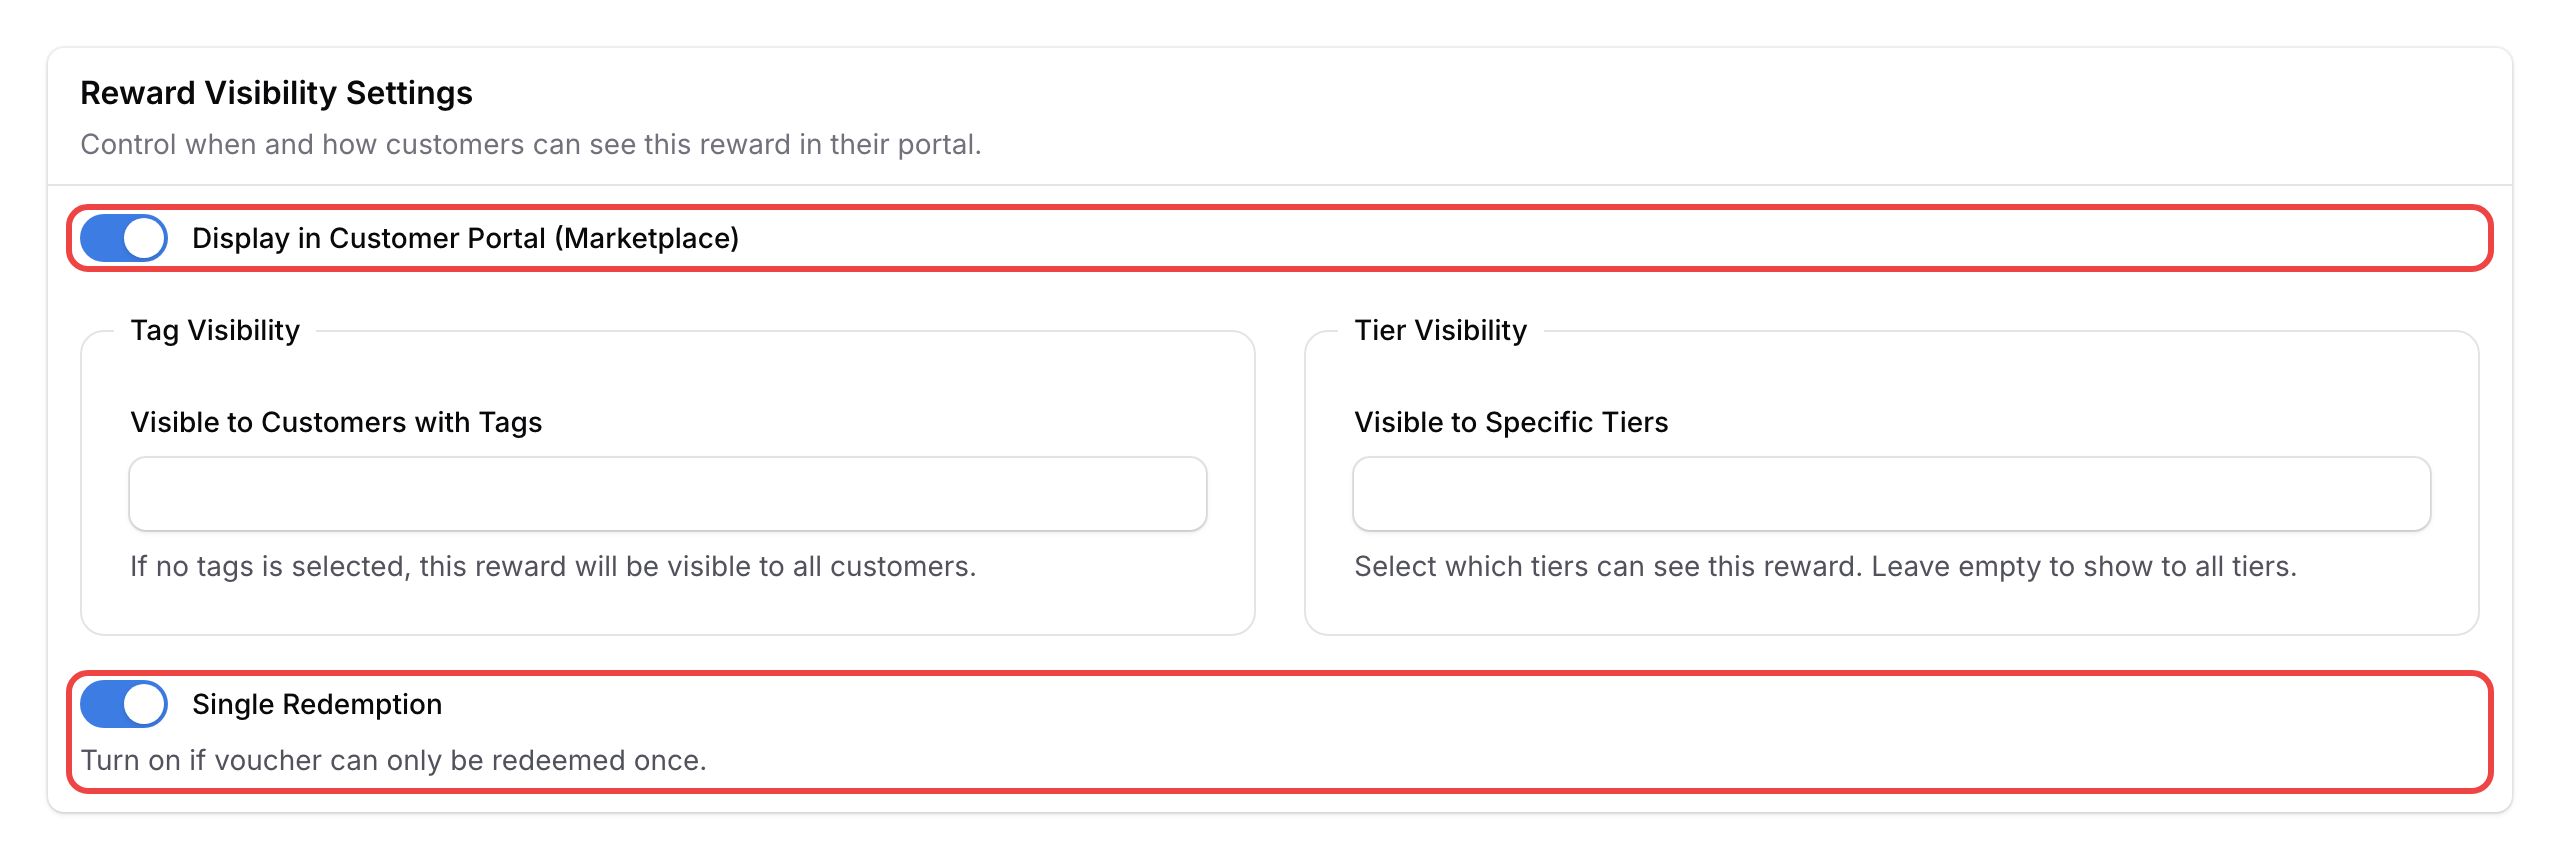
- Keep Points to Redeem at 0 (a new reward starts at 0), so the voucher costs nothing to claim.
- Turn Single Redemption ON so each customer can only claim it once.
- Leave Tag Visibility and Tier Visibility empty, so every customer can open the voucher page.
- Display in Customer Portal (Marketplace) is up to you. Turn it on if you also want the voucher in your rewards list. The launch link works either way.
3. Turn on the reward's direct link
Still on the Settings tab, turn on Customer Direct Link Access. The link appears right under it, for example https://<your-portal-domain>/l/<your-space-slug>/rewards/<reward_id>. Click Save changes. You can also click the link to copy it, if you want to send it in a message.
The link only works on your own portal. Links pointing to a different domain are ignored for security reasons.
4. Download the QR code and distribute it
At the top of the page, click View, then click Show QR Code. The Share Reward Page window shows the QR code and its Shareable link. Click Download PNG to save the QR code, then print it on table tents, posters, receipts and signage, or send the link in your launch broadcast. Customers scan, sign in once, and are taken straight to the voucher page.
Show QR Code only appears once Customer Direct Link Access is on and saved.
What Your Customers Will See
When a customer scans the QR:
- If they aren't signed in, they land on the customer portal sign-in page.
- They key in their phone number and confirm it, usually on WhatsApp. A brand-new customer also fills in a short sign-up form the first time.
- After signing in, they're taken straight to the voucher page.
- They tap Redeem Now and show the voucher screen at the counter.
The voucher is created the moment they redeem, so no manual assignment is needed.
Things to Plan For
- The reward must exist before you build the URL. Create and save the reward first.
- Leave Tag Visibility and Tier Visibility empty so the reward is available to every scanner. If you set restrictions, customers who don't match are sent to the portal home page instead of the voucher.
- One reward per launch URL. This pattern delivers a single voucher. For multi-voucher bundles, run separate campaigns.
- For targeted drops (specific tiers or tags only), use a Campaign instead — that's the right tool when you don't want everyone to qualify.
- The redirect link must stay on your portal domain. Cross-domain links are ignored.
Good to Know
- Turn on Single Redemption if each customer should only claim once. Otherwise the same customer can keep redeeming the same voucher.
- Pre-existing customers can use the same QR too — when they sign in, they're taken straight to the reward page just like new customers, so it doubles as a win-back mechanic.
- Close the voucher when the launch ends: turn off Distributable on the reward (or set a distribution end date), and the page shows Redemption Not Available.
Need Help?
Reach out to our onboarding team — they can check your QR code with you and double-check your reward visibility settings before you print any QR codes.
What's Next?
- Run a launch broadcast to drive QR scans during your opening week
- Tag every customer who claims this voucher and follow up with a tier-targeted campaign two weeks later
- Set up a referral programme so claimers can invite friends with their own reward