
How to Turn Booking Customers into Contacts with Tags
What Is This?
Every person who books can be saved to your Customers list automatically. You can also give them a tag, like "Grooming Booker". Later you can send them a campaign or a reward, without typing anything.
Real-Life Example
Siti runs a pet grooming salon in Shah Alam. Many bookings came from people she had never met, and their phone numbers sat only in the reservation list. She turned on CRM Auto Import and added the tag "Grooming Booker". A week later she used that tag to reach this group with a "Welcome back" offer, in a few clicks.
How to Set It Up
-
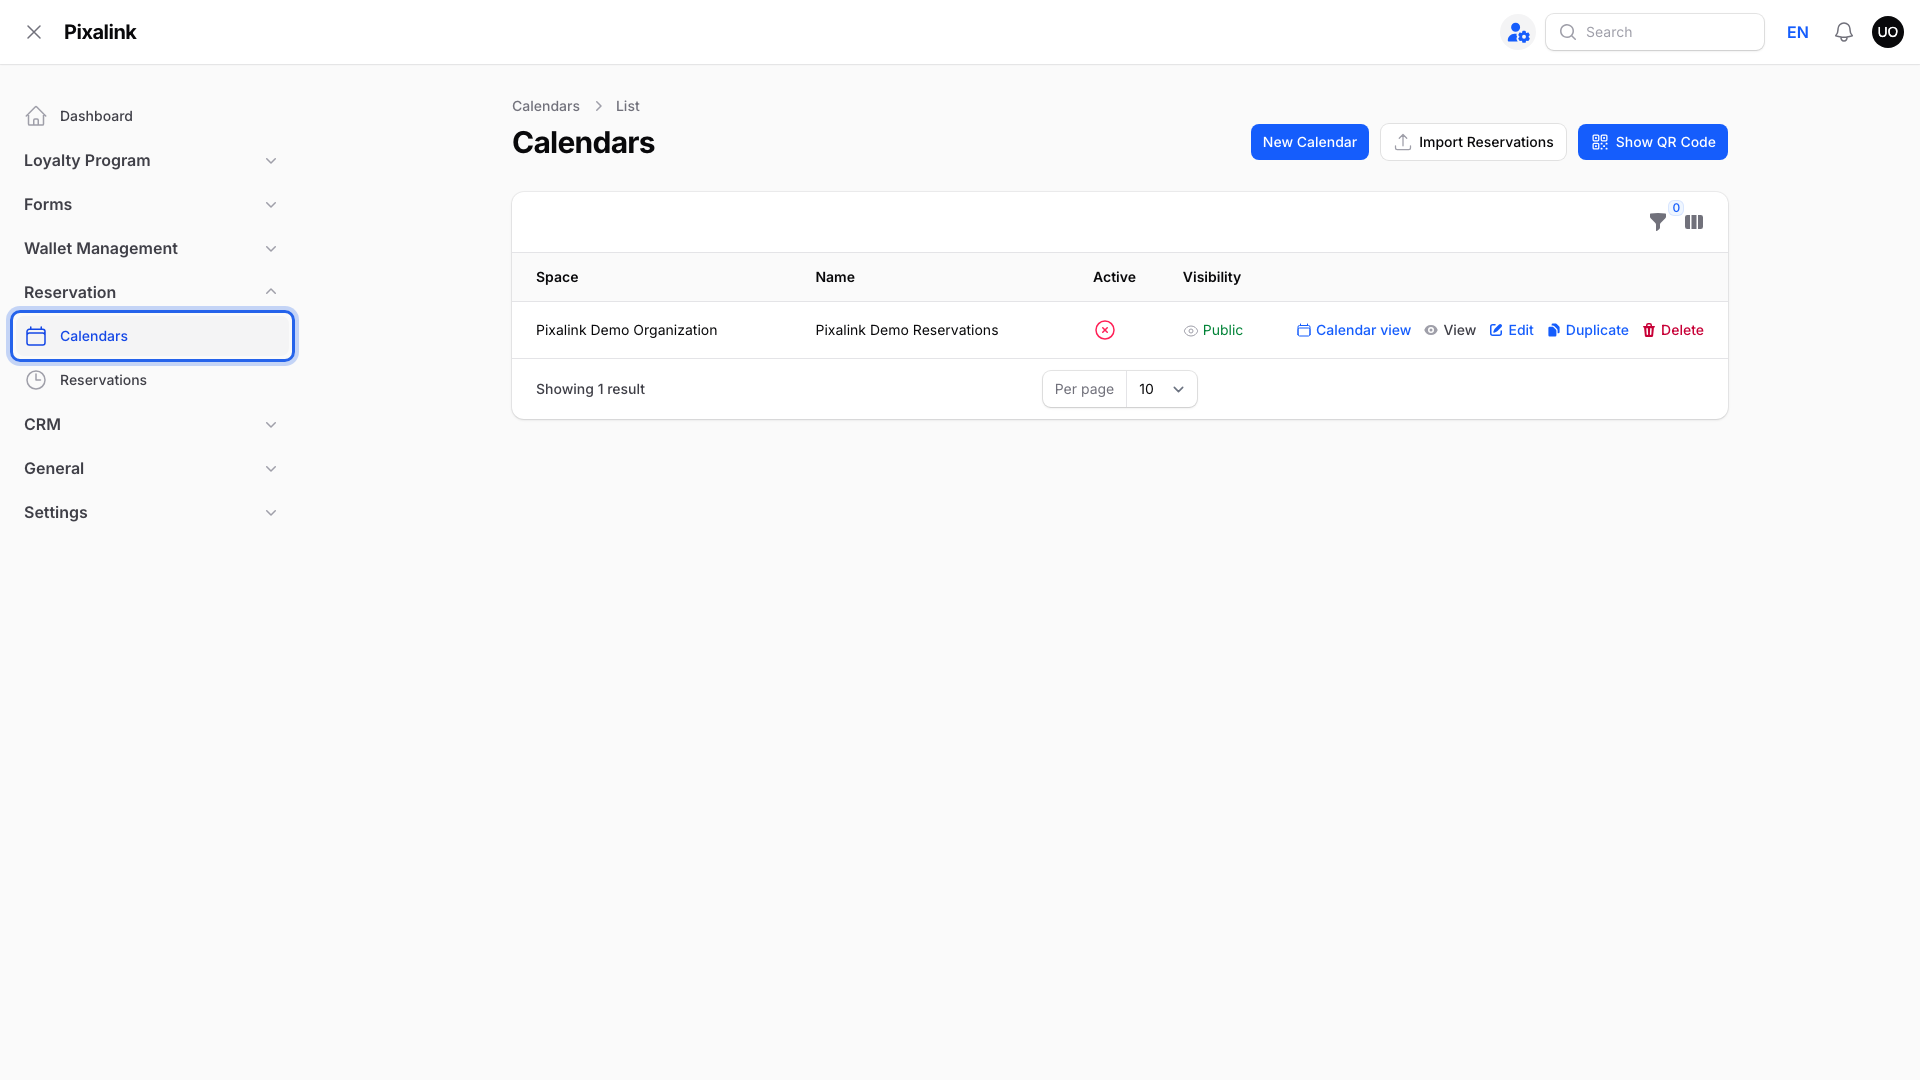
Go to Admin Panel → Reservation → Calendars.
-
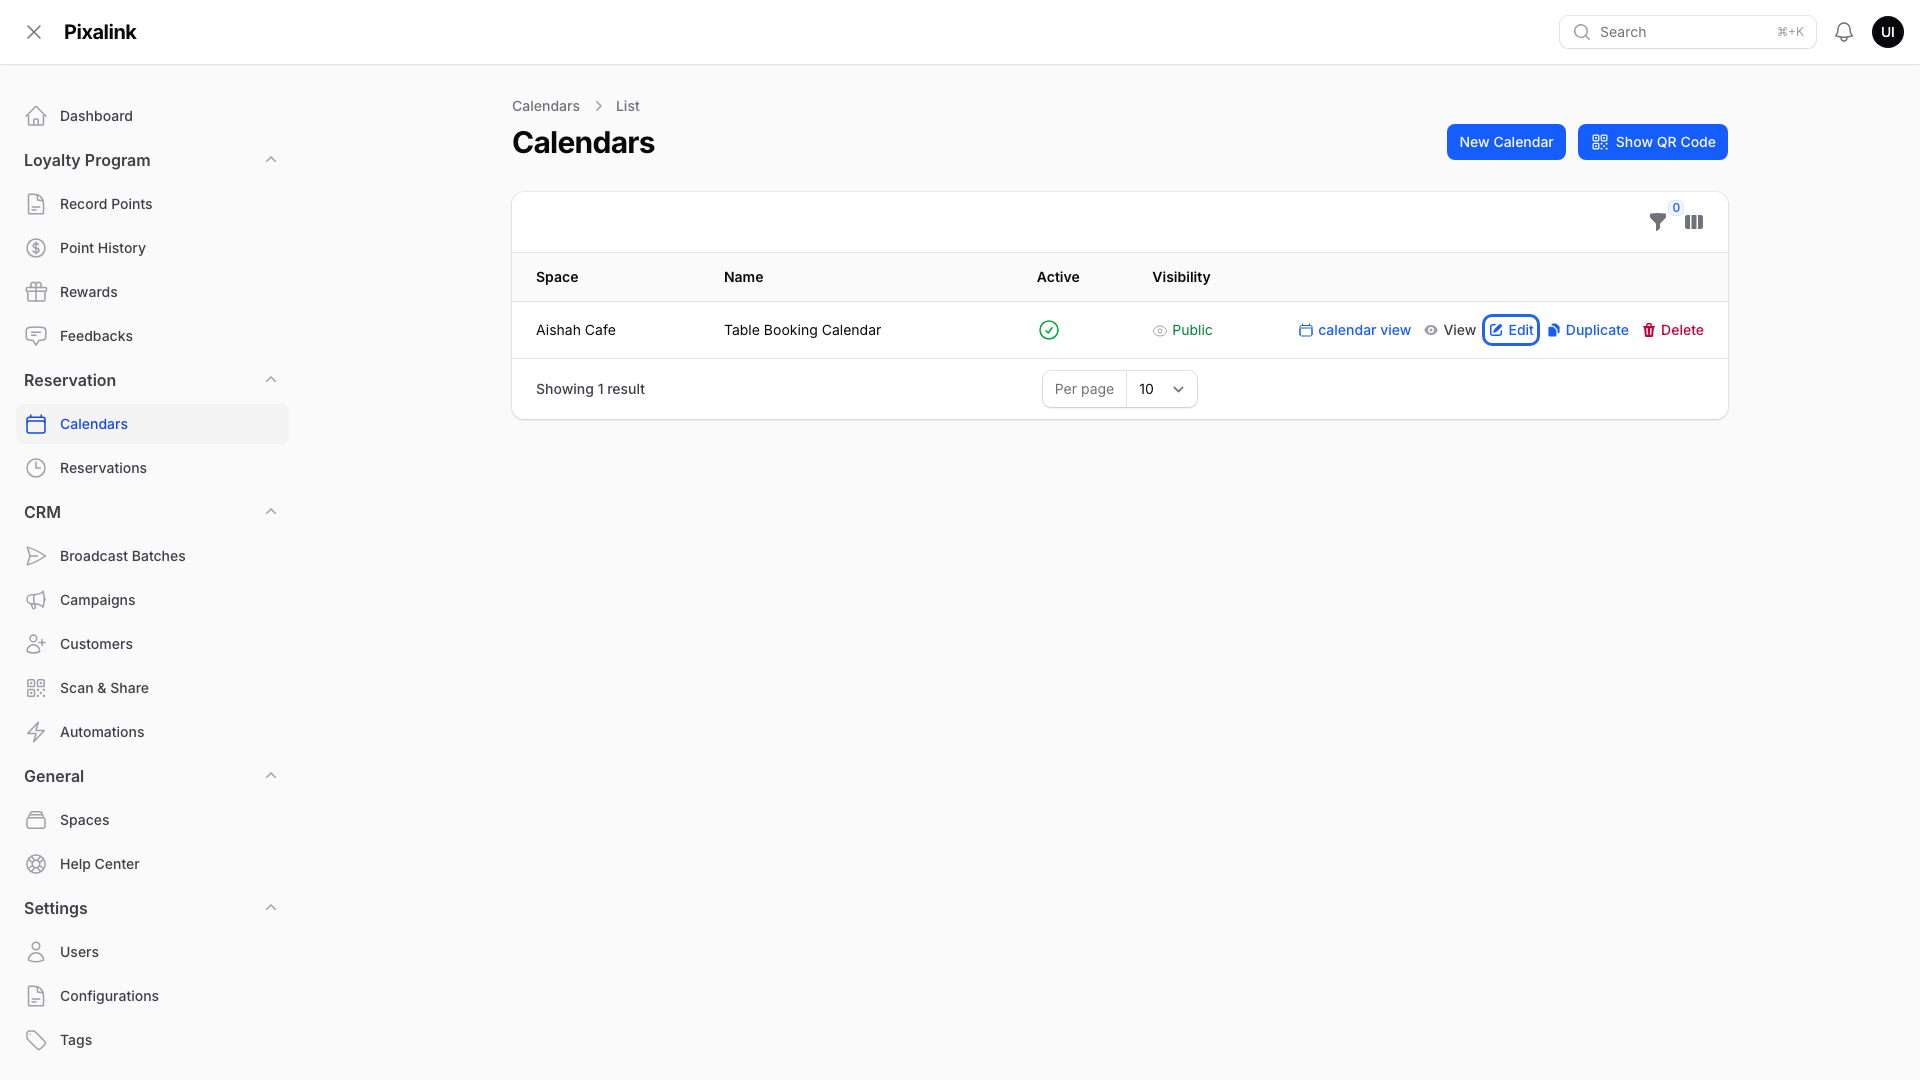
Click Edit on your calendar.
-
Open the Configurations tab.

-
Find the Customer Relationship Management section.

-
Check that CRM Auto Import is on. For most businesses it is already on and greyed out. That is normal.

-
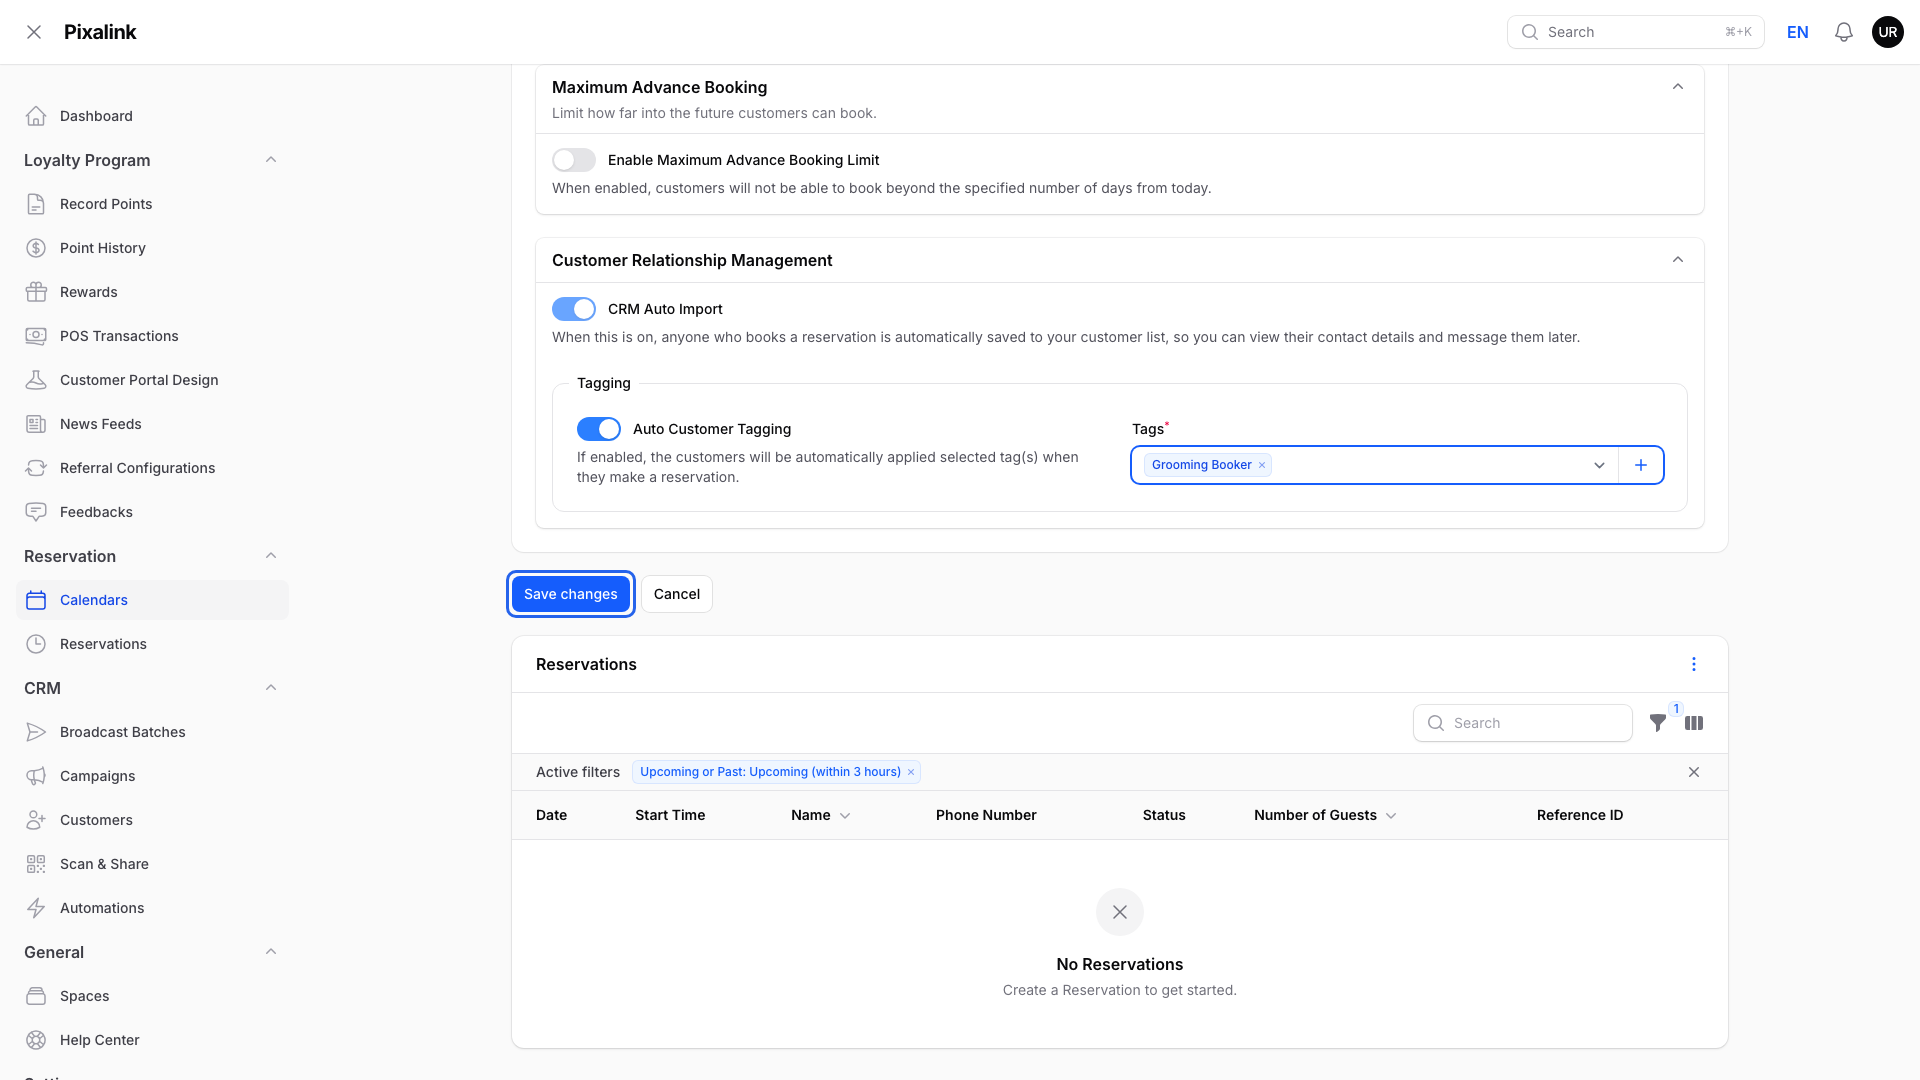
Under Tagging, turn on Auto Customer Tagging.

-
Open the Tags box and pick one or more tags.

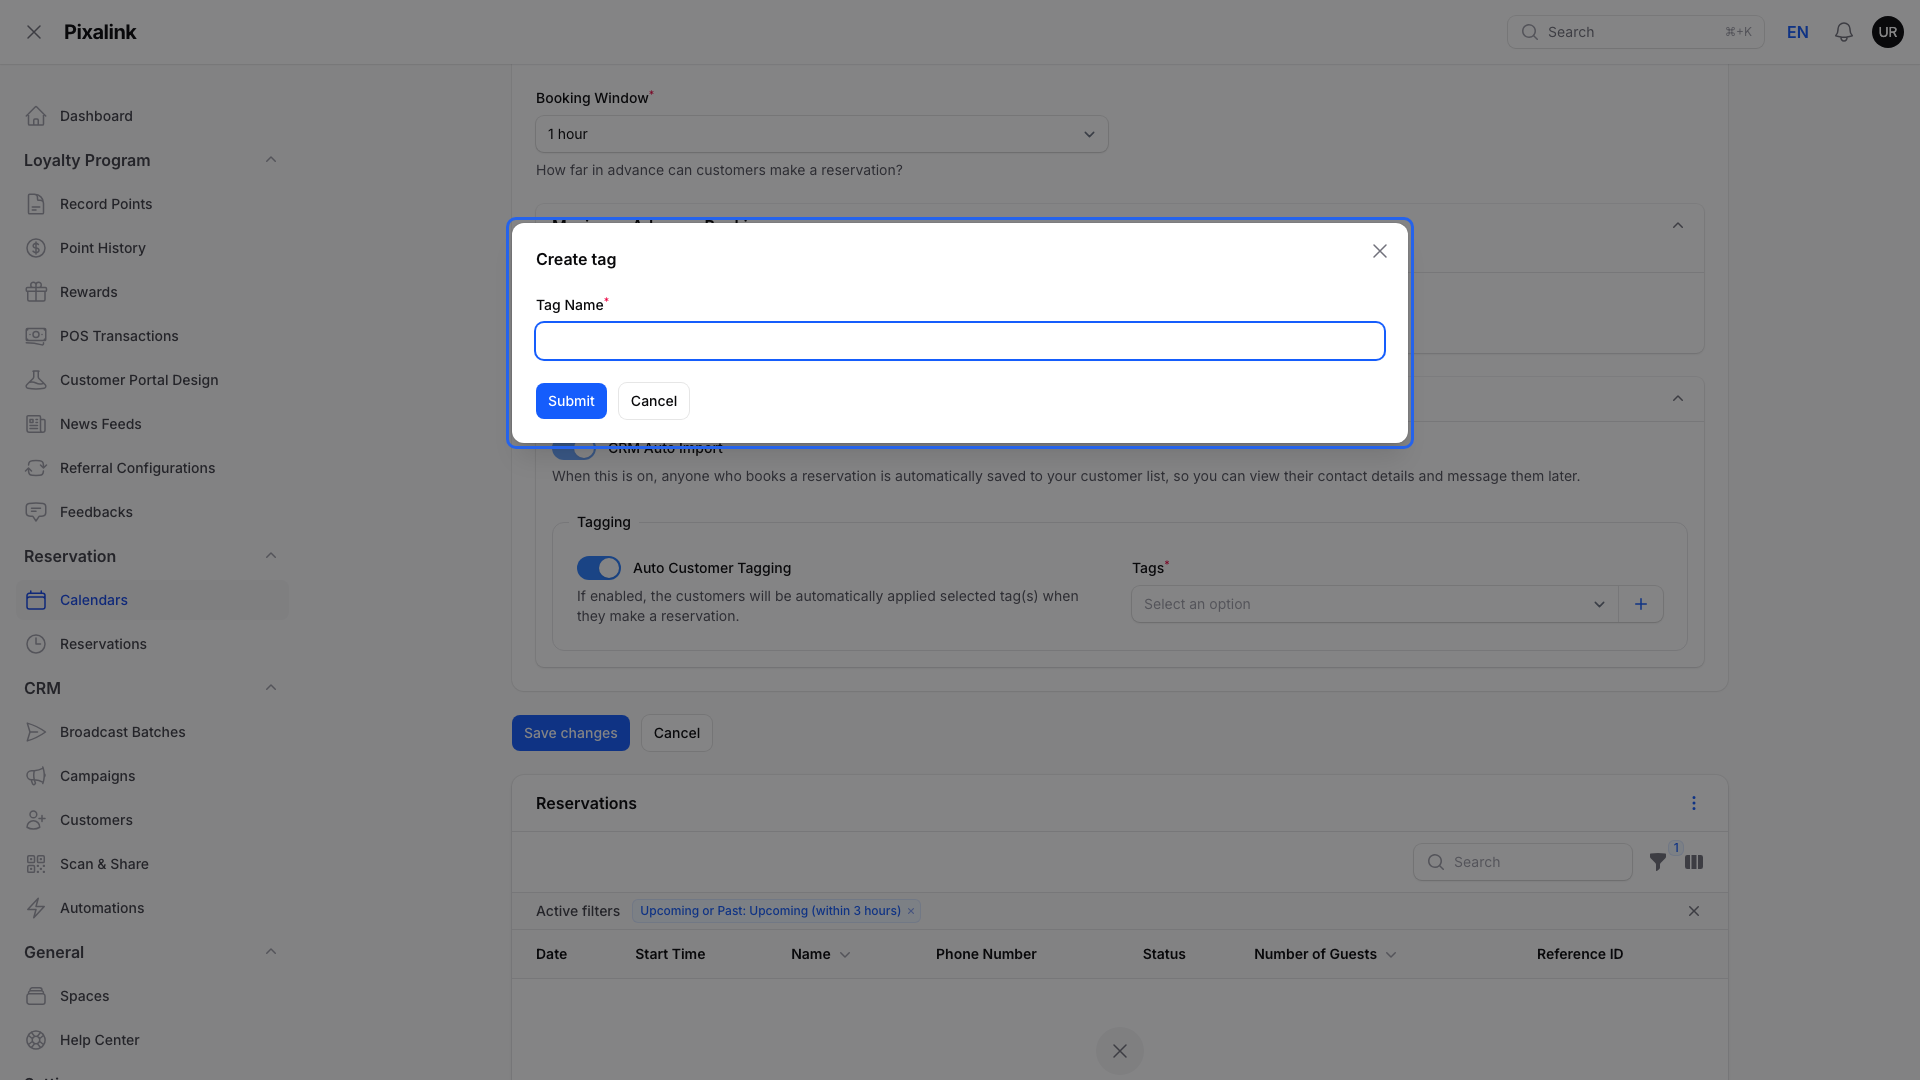
- To make a new one, click the + beside the box, type a Tag Name, and click Submit.
-
Click Save changes.
What Happens After Someone Books
- New phone number: a new customer is added with their name, email and the outlet. Their source shows as a reservation.
- Phone number you already have: no second record is made. Their name and email stay as they were.
- The tags are added in both cases. Old tags stay.
- Bookings you enter yourself work the same way.
Good to Know
- The tag options show once CRM Auto Import is on.
- Customers are matched by phone number. The number must match exactly.
- You must pick at least one tag when Auto Customer Tagging is on.
- This happens when the booking is made, not when you approve it. If the booking needs payment, it happens once payment goes through.
- A reward that is set to go out for a tag is given as soon as the tag is added. It goes to everyone with that tag who hasn't had it yet, not only the person who booked. Check your reward rules first. See How to Create and Use Tags.
- A brand-new customer may start your new-customer automations.
- If CRM Auto Import is greyed out and switched off, contact our support team.
Need Help?
Reach out to our support team. We're happy to help you get started.