How to Set Up Point Earning Rules
How to Set Up Point Earning Rules
What Is This?
Point earning rules control how your customers collect loyalty points. You decide how many points to award for each visit or purchase, and you can give higher-tier customers bonus points through multipliers. This is the foundation of your loyalty program.
Real-Life Example
Siti runs two cafe outlets in KL. She wants to reward regulars who spend more. A customer buying an RM15 meal combo gets 15 points. But Siti also has a "Gold" tier for loyal customers â Gold members earn double points, so that same RM15 purchase gives them 30 points instead. Ahmad, one of Siti's Gold members, loves this. He visits more often because his points add up faster, and he's already redeemed a free coffee reward this month. Siti sees repeat visits go up by 25% since she started using tier multipliers.
How to Record Points
-
Go to Admin Panel â Loyalty Program â Record Points
-
Type the customer's Phone Number and move to the next step
- You may also see a Customer Name search field or a Redemption Code field depending on your organisation's settings.

-
Enter the Point Amount you want to award and choose the Space (outlet) if your organisation has multiple outlets and you are not assigned to a single Space
- The customer's name, phone number, and current points appear automatically
- If the customer has a tier with a point multiplier, the system applies it for you

-
Click Create to add the points to the customer's account
How to Set Up Tier Multipliers
Tier multipliers let higher-tier customers earn points faster. A multiplier of 2 means every point awarded is doubled.
-
Go to Admin Panel â Loyalty Program â Tier Configurations
-
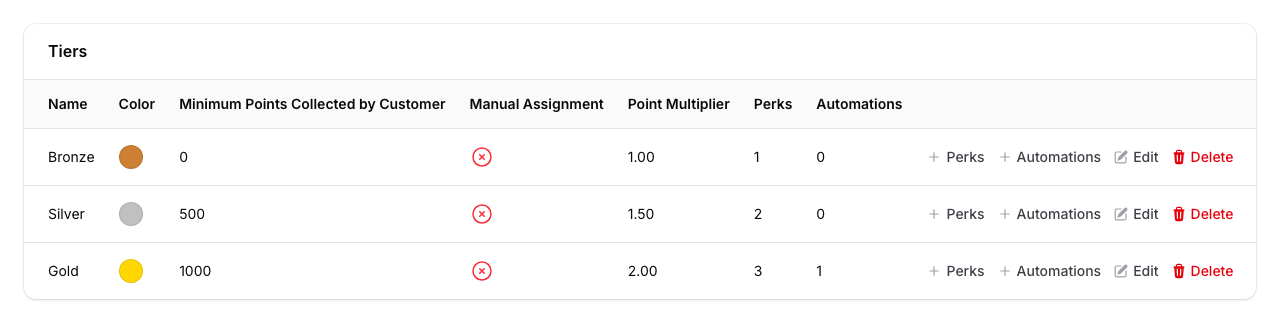
Click on your tier configuration to open it. Scroll down to find the Tiers table, which lists all tiers within this configuration.
-
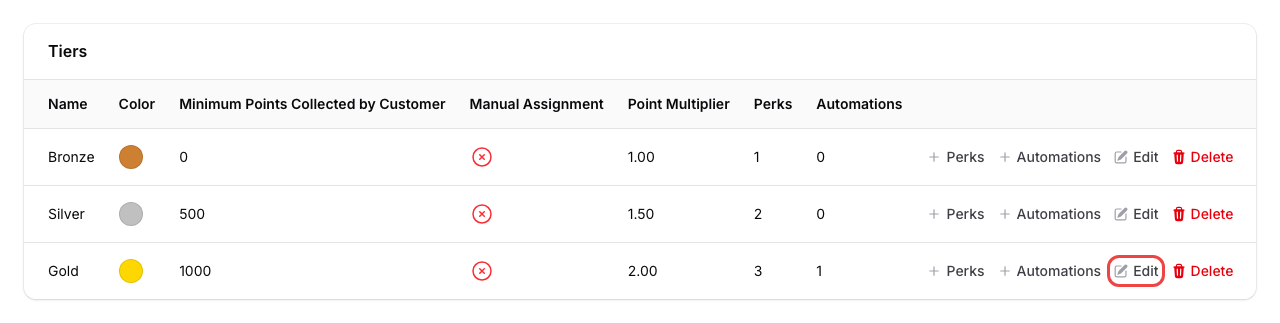
Click Edit on the tier row you want to change
-
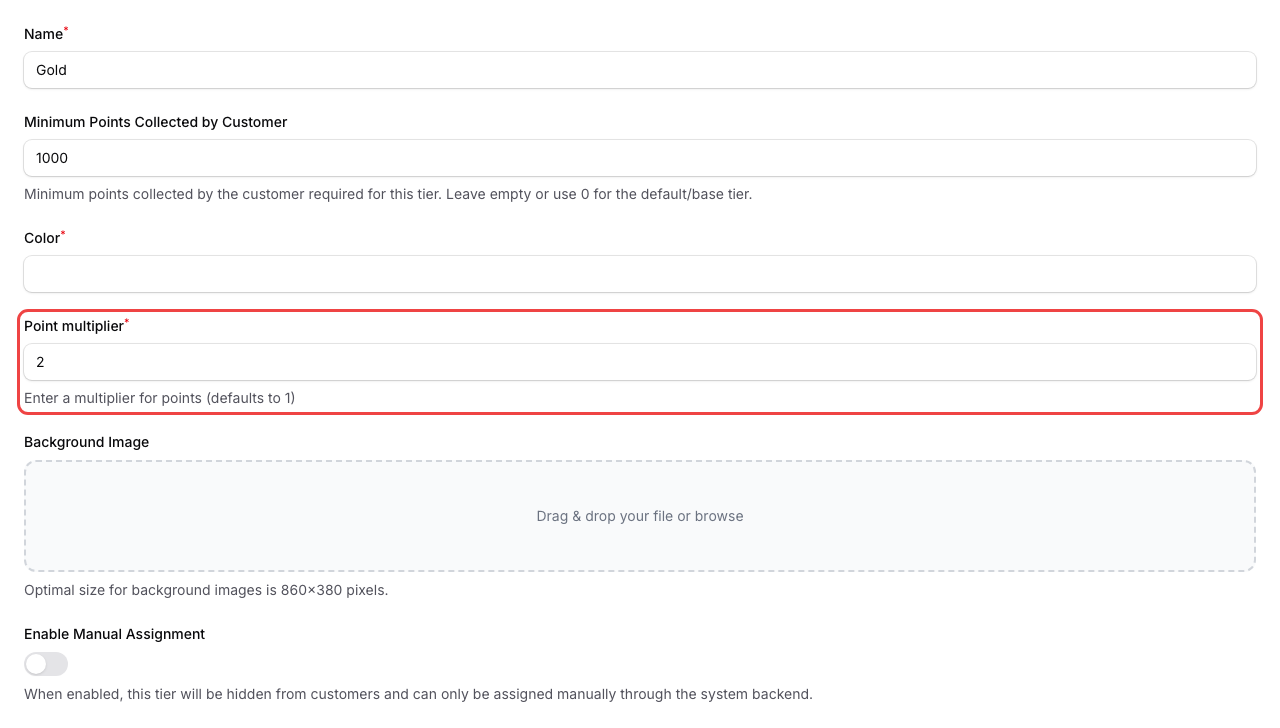
Set the Point multiplier field to your desired value
- The default is 1 (no bonus)
- A value of 2 means customers in this tier earn double points
- You can use decimals like 1.5 for a 50% bonus
-
Click Save to apply the changes
What Your Customers Will See
When customers check their loyalty portal, they'll see their updated point balance after each transaction. If they're in a tier with a multiplier, the bonus points are added automatically â they don't need to do anything extra. Their points total reflects the multiplied amount right away.
Good to Know
- Points are whole numbers â if a multiplied amount results in a decimal (e.g., 15 x 1.5 = 22.5), the system rounds down to 22.
- If you connect a POS system, points are recorded automatically from sales â no manual entry needed
- Your organisation can turn on a password requirement for large point awards â contact the Pixalink team to enable this
- Point expiry is available if you want points to expire after a set number of days â contact our team to turn this on
What's Next?
- How to Record Points for a Customer â step-by-step guide for daily point recording
- How Loyalty Points Are Earned at POS â automatic point earning through your POS system