Getting Started with Pixalink — Your First 10 Minutes
Getting Started with Pixalink — Your First 10 Minutes
What Is This?
Pixalink is your all-in-one loyalty and rewards platform. In just a few minutes, you can go from first login to a fully working loyalty program that keeps customers coming back. This guide walks you through the five key steps to get up and running.
Real-Life Example
Ahmad just opened a coffee shop in Bangsar. He signed up for Pixalink and felt overwhelmed by all the options in the admin panel. But by following these five steps, he had his loyalty program live within 10 minutes. By the end of the day, his first three customers had already signed up through the portal QR code on his counter. Within a week, one regular — Wei Lin — had earned enough points to claim a free latte. Ahmad didn't have to print a single stamp card.
Your Admin Panel at a Glance
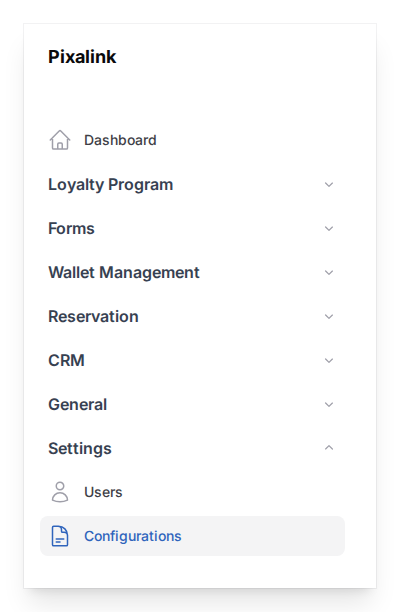
When you log in, you'll see a sidebar on the left with everything organised into groups. Here's what each group is for:
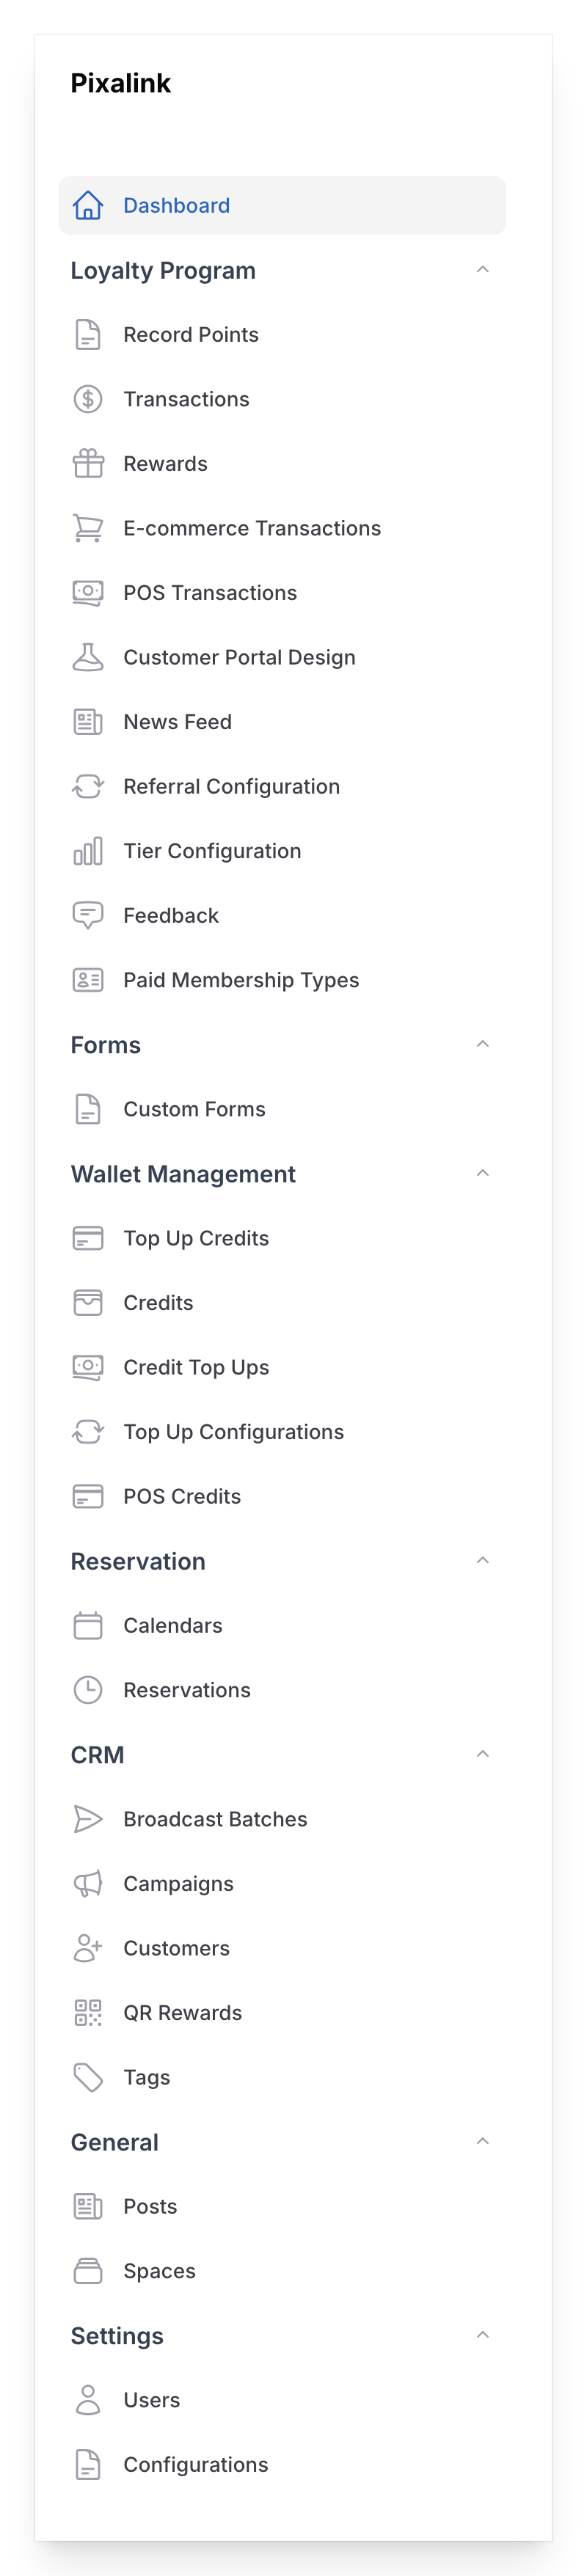
- Loyalty Program — your rewards, points, tiers, referrals, and customer portal design
- Forms — custom forms for collecting information from customers
- Wallet Management — credit top-ups and prepaid wallet features
- Reservation — booking calendars and reservations
- CRM — your customer list, campaigns, broadcasts, and tags
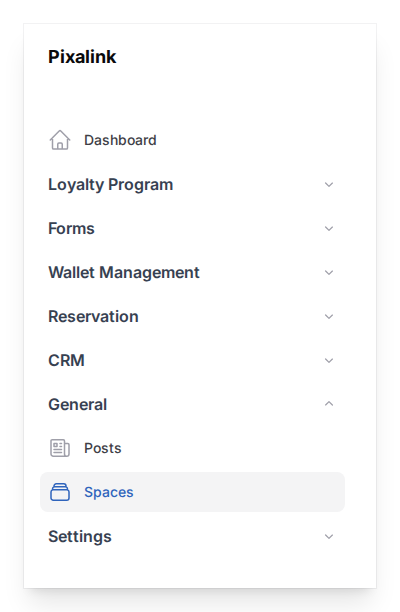
- General — your spaces (outlets) and posts
- Settings — team users and system settings (including WhatsApp)
The Dashboard at the top gives you a quick snapshot of today's activity — points recorded, reservations, new customers, and rewards claimed.
Five Steps to Go Live
1. Set Up Your Organisation Profile
Your organisation profile is the first thing to fill in — it controls the branding and contact details your customers will see. Go to your profile menu (top right corner) and click Organisation Information.

Fill in the following:
- Name — your official business name
- Friendly Name — a shorter name displayed to customers (e.g. "Ahmad Coffee" instead of "Ahmad's Coffee House Sdn Bhd")
- Email and Phone Number — so customers can reach you
- Address — your business address (this appears on your customer portal)
Click Save when you're done. You can come back and update this anytime.
2. Create Your First Space
A Space is your outlet or branch — it's where customers will check in, earn points, and redeem rewards. If you have one location, you'll only need one Space. Multi-branch businesses create one Space per outlet.
Go to General → Spaces in the sidebar and click Create.
Fill in your outlet details:
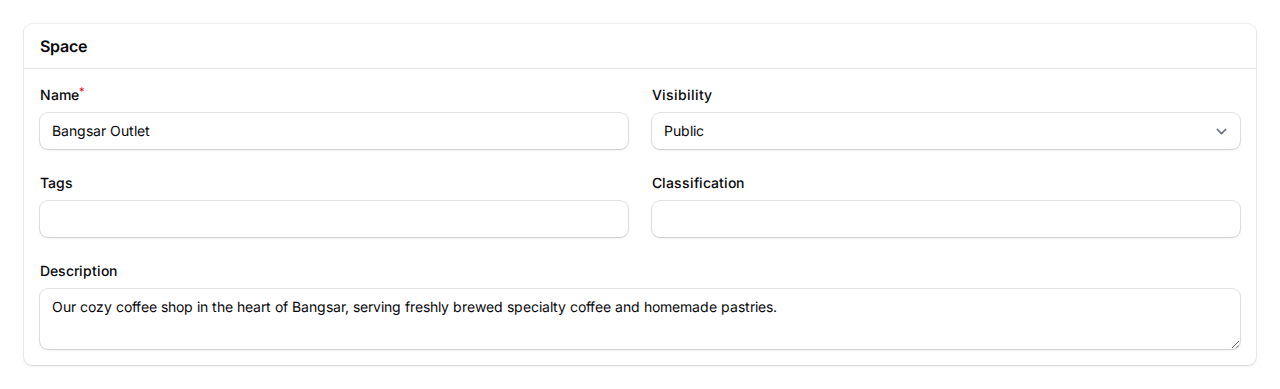
- Name — your outlet name (e.g. "Bangsar Outlet")
- Visibility — set to Public so customers can find you
- Description — a short description of your outlet
- You can also add Tags and Classification to organise your spaces
After saving, you'll be able to add photos, contact details, and social media links in the other tabs.
Read the full guide: How to Create a Space
3. Create Your First Reward
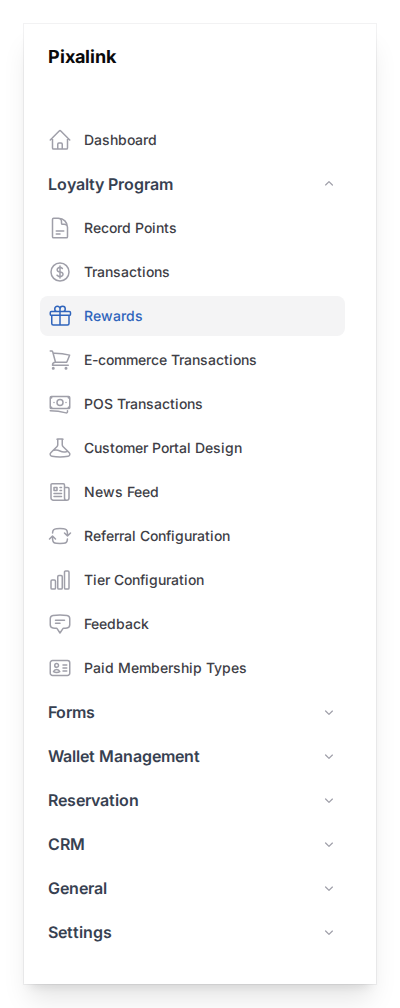
This is what gets customers excited — the reward they'll work towards. Go to Loyalty Program → Rewards and click New Reward.
Give it a name (like "Free Coffee"), set how many points it costs, and turn on Display in Customer Portal so customers can see and claim it. You can also upload a photo of the reward to make it more appealing.
Tip: Start with something simple and achievable — a reward that costs 100–200 points encourages customers to come back quickly.
Read the full guide: What Are Rewards and How to Create Them
4. Connect WhatsApp
Automatic WhatsApp messages are the easiest way to keep customers in the loop — they'll get notified when they earn points, redeem rewards, or when you run a promotion. Go to Settings → Configurations.
Scroll to the WhatsApp section and scan the QR code with your WhatsApp Business app. Done in under a minute. Once connected, Pixalink will automatically send messages to your customers when key events happen.
Read the full guide: How to Connect Your WhatsApp Business Account
5. Share Your Customer Portal
Every Space has a unique customer portal link and QR code. This is how customers sign up, view their points, and redeem rewards — all from their phone, no app download needed.
You'll find your portal link and QR code inside your Space's settings under General → Spaces. Print the QR code and place it at your counter, on your menu, or at your entrance.
Tip: Place the QR code where customers naturally wait — at the cashier, on the table, or next to the menu board. The easier it is to scan, the more sign-ups you'll get.
Good to Know
- You don't need to finish everything at once. Start with a Space and one Reward — you can always add more later.
- Points are earned through Record Points. Go to Loyalty Program → Record Points to award points when customers make a purchase. If you use a POS system, this can happen automatically.
- Your customers don't need to download an app. The customer portal works in any mobile browser.
- Everything is connected. A customer who signs up at one outlet can earn and spend points at any of your branches.
What's Next?
- What Are Rewards and How to Create Them — set up your first customer reward
- How to Create a Space — add your outlet or branch
- How to Connect Your WhatsApp Business Account — send automatic loyalty notifications