
How to Invite Your Team and Manage Roles
How to Invite Your Team and Manage Roles
What Is This?
You can invite team members to help manage your business on the admin panel. Each person gets their own login, and you control what they can access by assigning a role and limiting which outlets (Spaces) they can see.
Real-Life Example
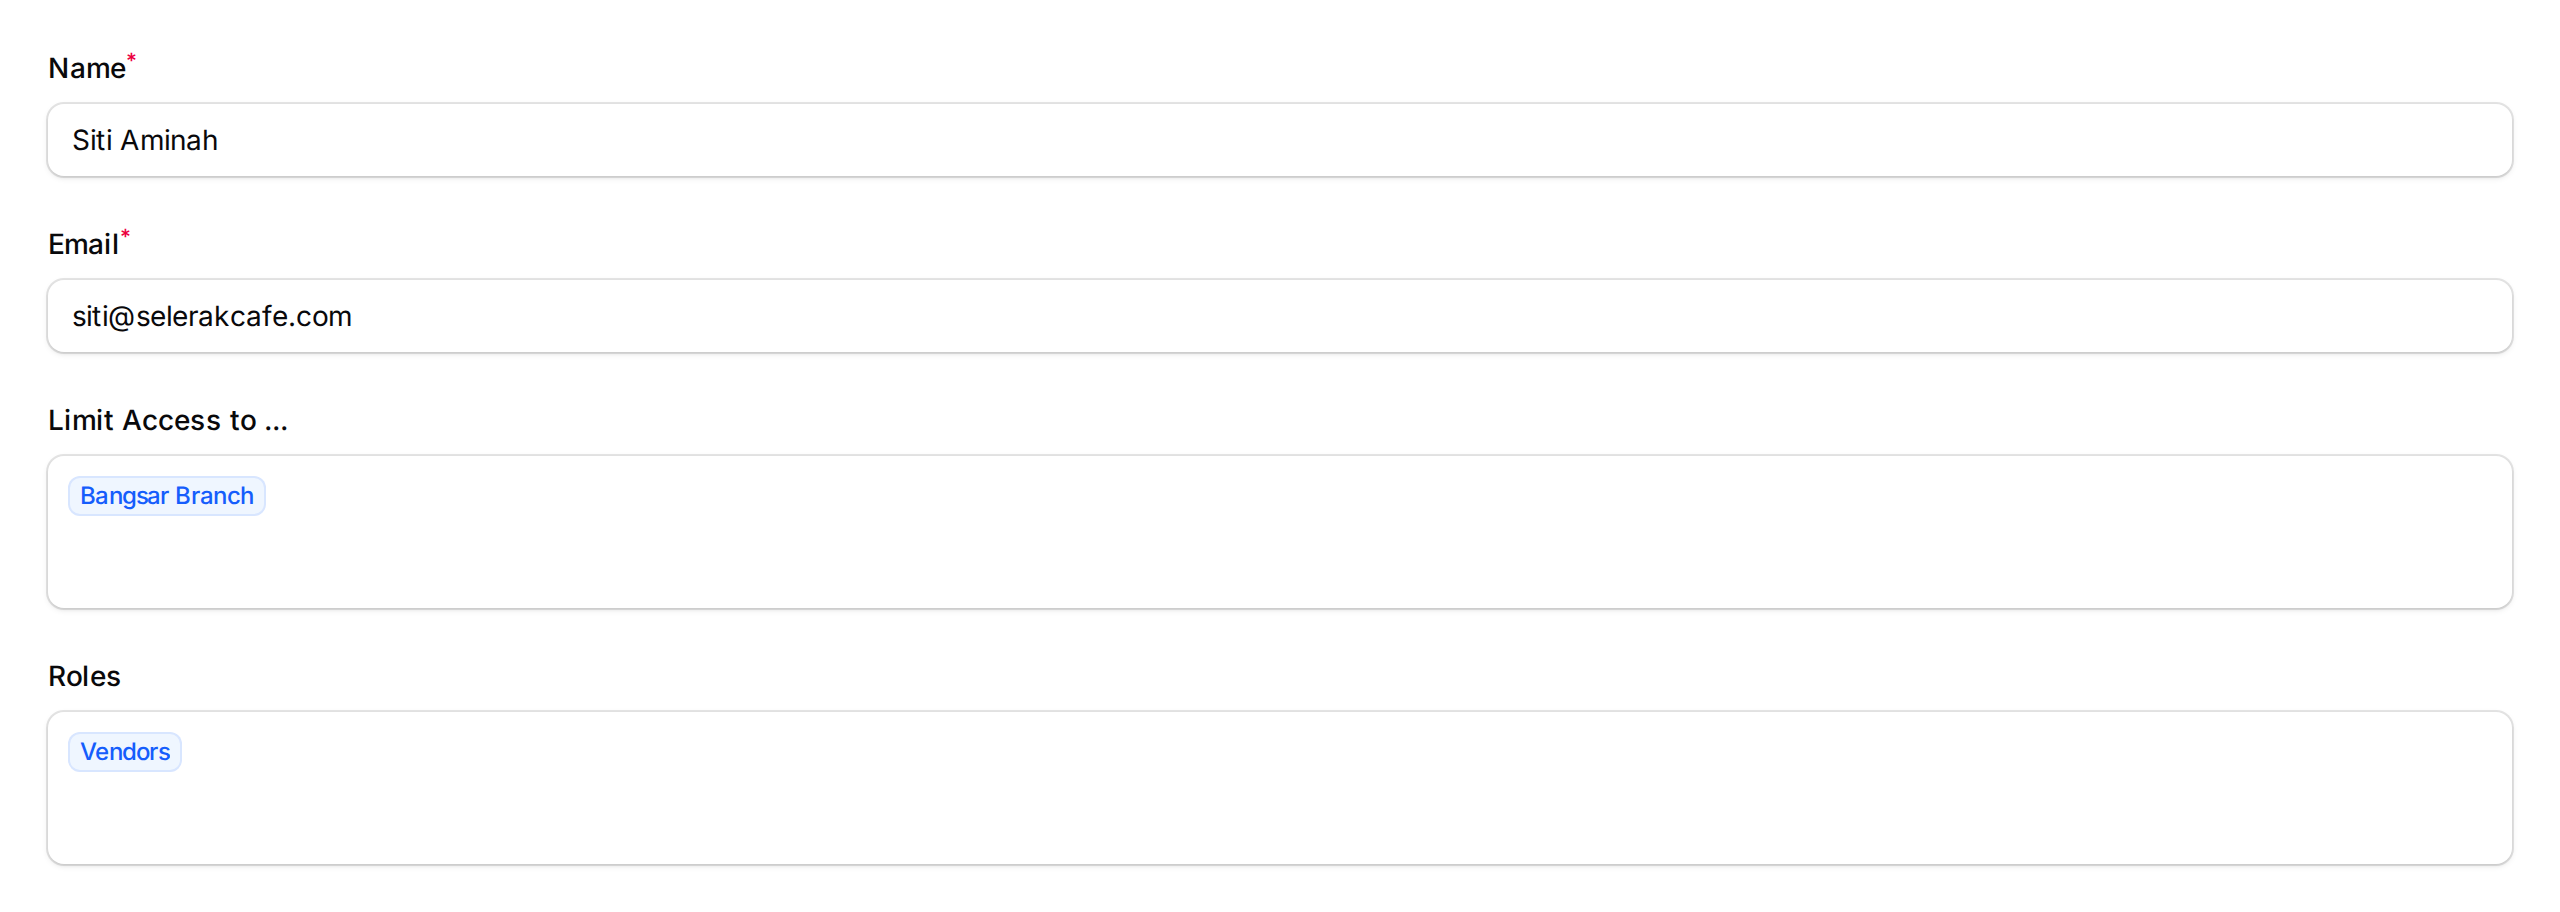
Ahmad runs Selera K Cafe with three branches in KL. He recently hired Siti as a branch manager for the Bangsar outlet. Ahmad wants Siti to handle customer check-ins and reward redemptions, but only for Bangsar — not the other two branches. He goes to Settings → Users, adds Siti's name and email, picks the Vendors role, and selects Bangsar Branch under "Limit Access to." Siti receives an email invitation, sets her password, and logs in. She can only see customers and transactions for Bangsar, exactly as Ahmad intended.
How to Invite a New Team Member
-
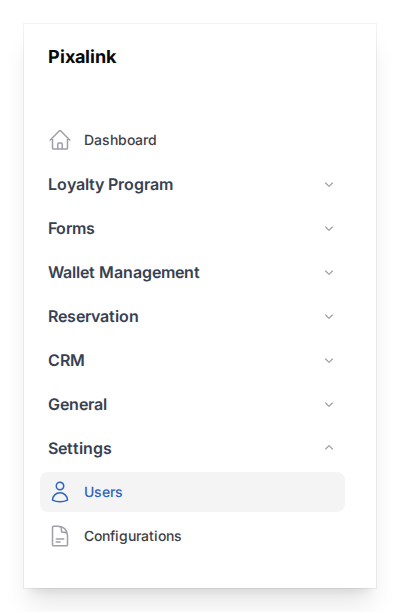
Go to Admin Panel → Settings → Users
-
Click New User at the top right of the page
-
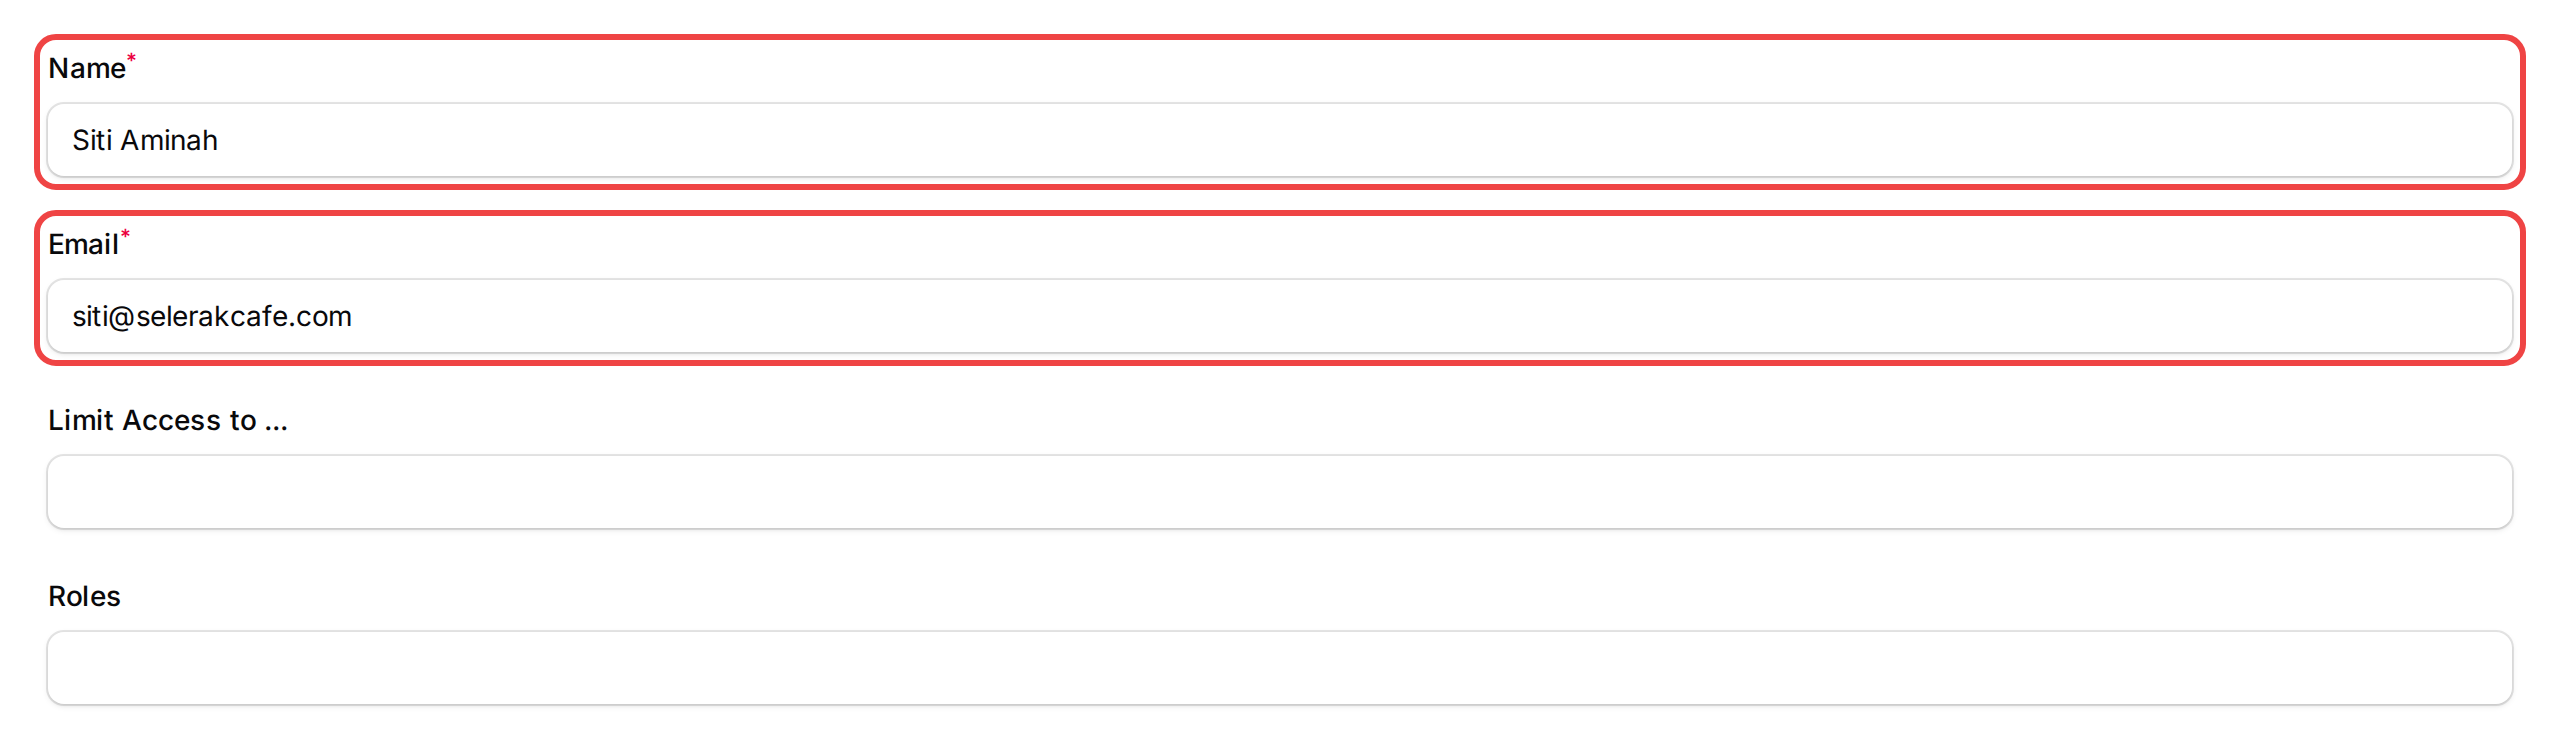
Type the person's Name and Email address
-
Pick a Roles value and, if needed, choose which Spaces to limit their access to under Limit Access to ...
- If you leave Limit Access to ... empty, the person can see all your Spaces
- If you select one or more Spaces, they'll only see data from those Spaces
-
Click Create to send the invitation
The new team member will receive an email with a link to accept the invite and set their password. This link is valid for one week.
Understanding Roles
When you invite someone, you'll assign them a role. The Vendors role is the standard role for your team members. It gives them access to everyday tasks like managing customers, rewards, campaigns, and transactions.
You don't need to worry about picking the wrong role — if you skip the role selection entirely, the system automatically assigns the Vendors role.
Limiting Access by Space
If you run multiple outlets, the Limit Access to ... field is your best friend. It controls which Spaces (branches or outlets) a team member can see.
- Left empty — the person sees everything across all your Spaces
- One or more Spaces selected — the person only sees customers, transactions, and data from those specific Spaces
This is perfect for branch managers who should only manage their own location.
How to Edit a Team Member
-
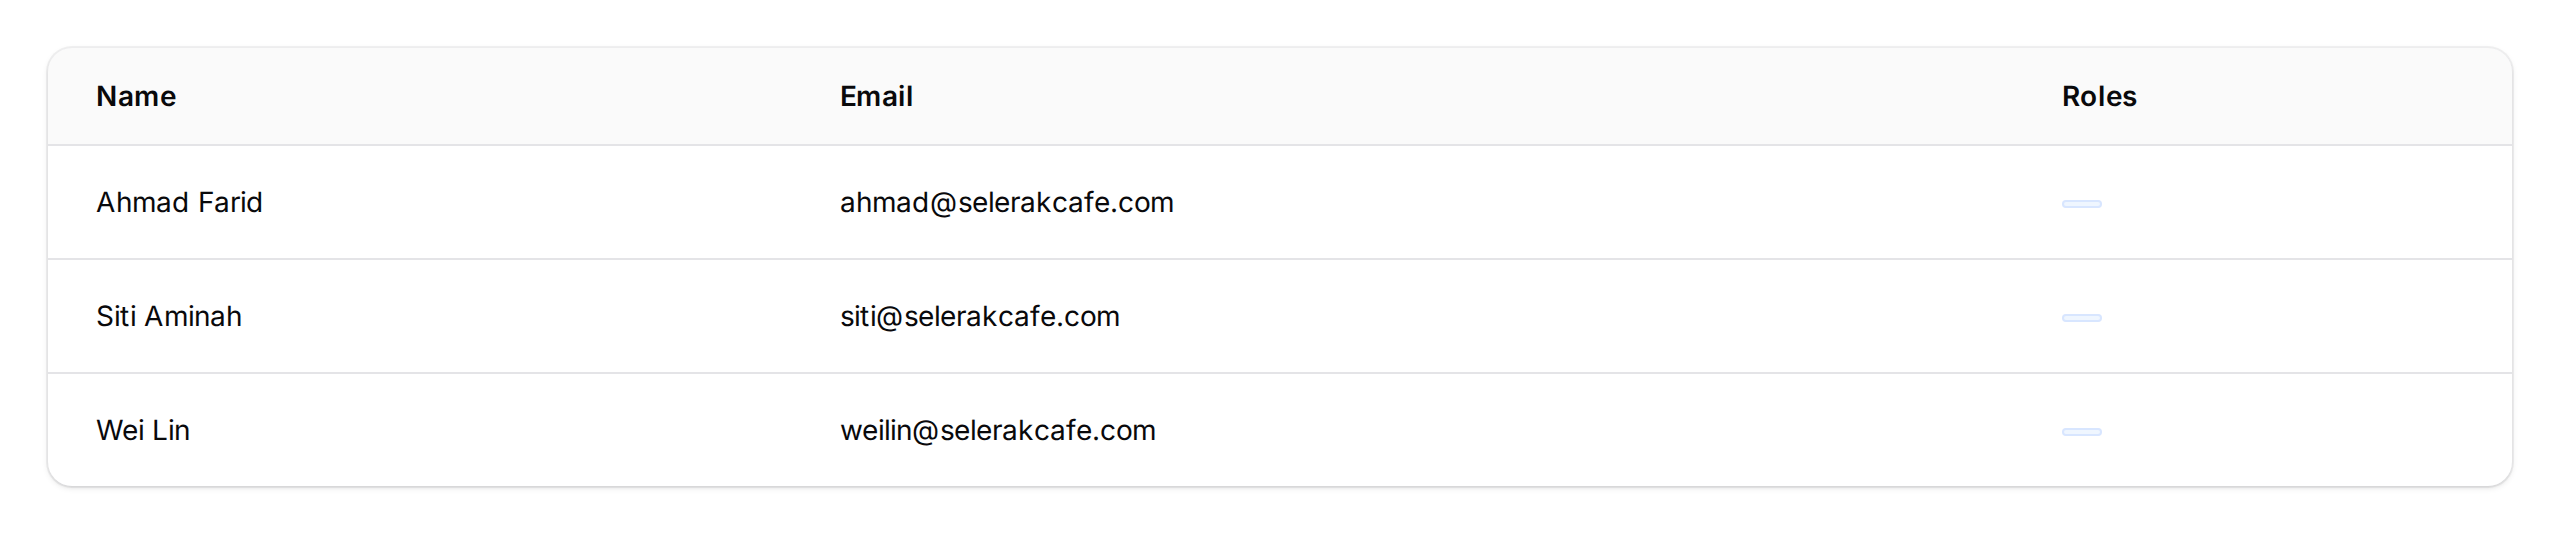
Go to Admin Panel → Settings → Users
-
Click the pencil icon next to the team member you want to change
-
Update their Name, Email, Roles, or Limit Access to ... fields as needed
-
Click Save changes
Good to Know
- You can't change your own role — this prevents accidentally locking yourself out
- The invitation email link expires after one week. If it expires, you'll need to remove the user and invite them again
- Removing a team member doesn't affect any data they created — customer records, transactions, and rewards stay intact
- Each team member uses their own email to log in, so you can track who made changes through the audit log
Need Help?
Reach out to our support team — we're happy to help you get your team set up.