How to Set Up Your Organisation Profile
How to Set Up Your Organisation Profile
What Is This?
Your organisation profile is the foundation of your Pixalink account. It holds your business name, contact details, and address -- information that appears on customer-facing emails, receipts, and your loyalty portal. Keeping it accurate ensures your customers always see the right details.
Real-Life Example
Siti just signed up for Pixalink to launch a loyalty programme for her cafe, Kopi Corner, in Bukit Bintang. During setup, she entered her full company name "Kopi Corner Sdn Bhd" but set the Friendly Name to just "Kopi Corner" -- the name her regulars know. She also added her cafe's address so that her email signatures and customer portal display the correct location. When a customer received a welcome email, it showed "Kopi Corner" with the right address at the bottom. Siti didn't have to touch any email templates -- it all came from her organisation profile.
How to Set It Up
-
Open your Admin Panel, click your profile avatar at the bottom-left corner of the sidebar, then click Organisation Info from the dropdown menu.
You'll find Organisation Info in the dropdown that appears when you click your profile avatar.
-
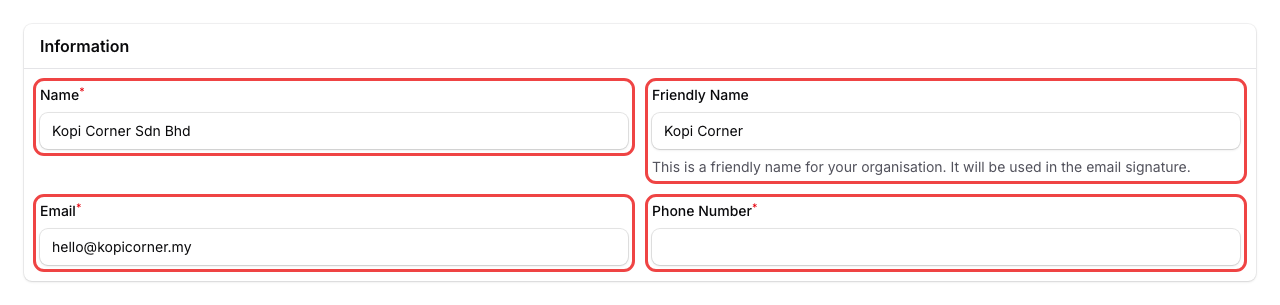
Fill in the Information section:
- Name -- your official business name (e.g., "Kopi Corner Sdn Bhd")
- Friendly Name -- a shorter name used in email signatures (e.g., "Kopi Corner")
- Email -- your business contact email
- Phone Number -- your business phone number — select your country flag to set the country code
-
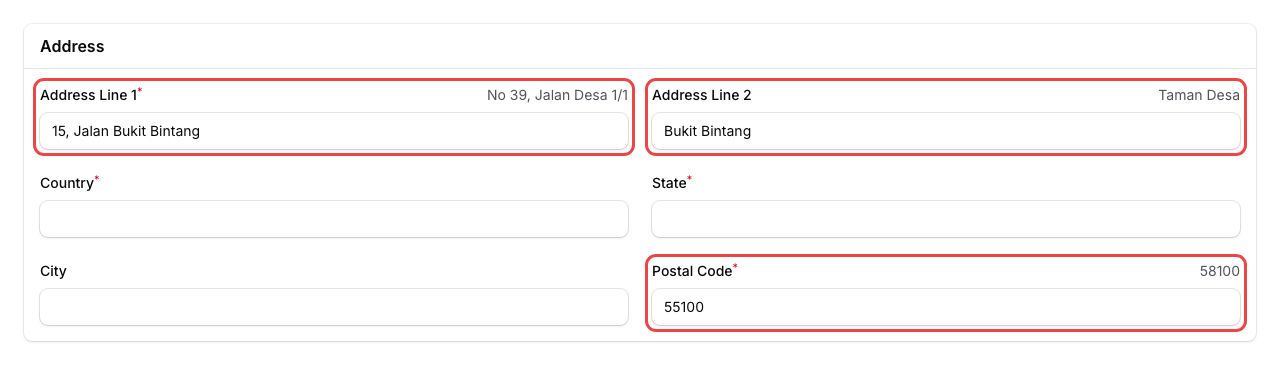
Fill in the Address section:
- Address Line 1 -- your street address (required)
- Address Line 2 -- additional address info like neighbourhood or building name
- Country -- defaults to Malaysia
- State -- pick your state (the list updates based on your country)
- City -- pick your city (the list updates based on your state)
- Postal Code -- 5 digits for Malaysia, 6 digits for Singapore
-
Review your details, then click Save.
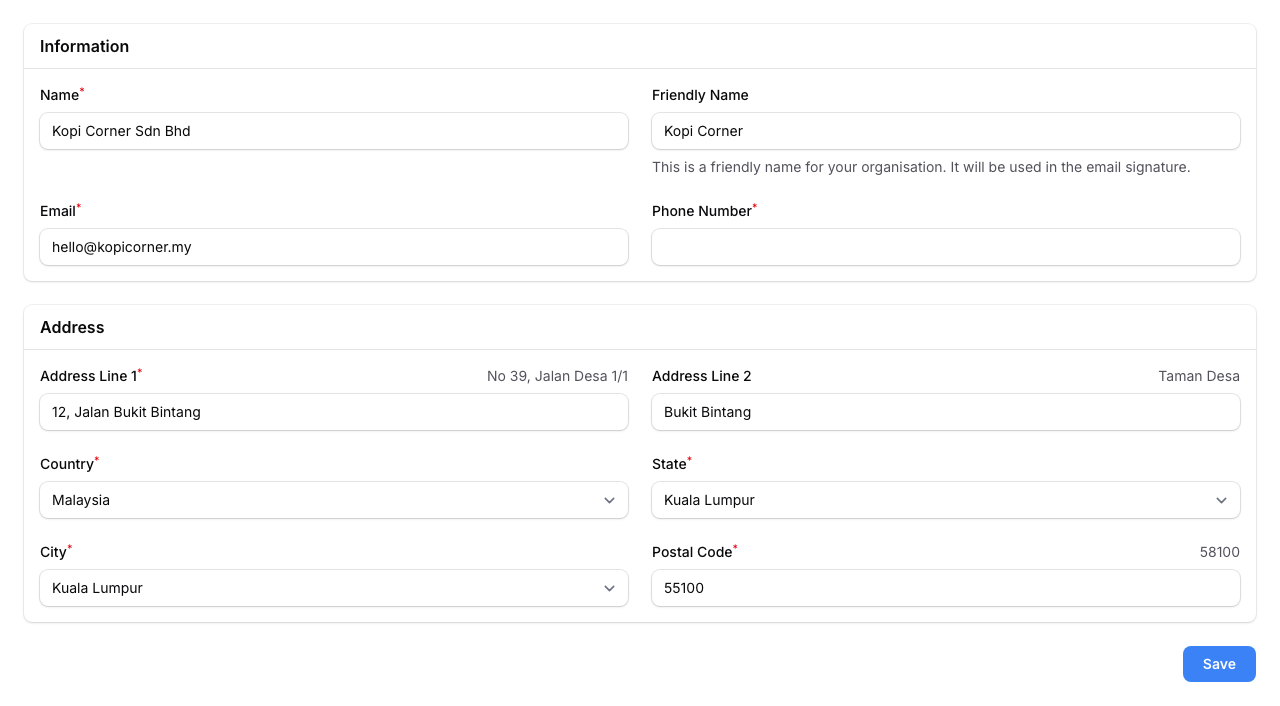
You'll see a confirmation message: "Organisation updated".
What Your Customers Will See
Your organisation profile details appear in several customer-facing places:
- Business name -- shown in email subjects and headers sent to your customers.
- Address -- displayed in email footers, so customers know where to find you.
- Friendly name -- shown in the customer portal header. If you set it to "Kopi Corner", that's what customers see when they log in to check their points or rewards.
You don't need to update email templates or portal settings separately -- everything pulls from your organisation profile automatically.
Good to Know
- Friendly Name is optional but recommended. If left blank, the system uses your full business name in emails.
- Country determines your timezone and currency settings. Most users in Malaysia won't need to change this.
- State and City are dropdown lists -- pick your country first, then your state, then your city will appear.
- You can update your organisation profile at any time. Changes take effect immediately.
What's Next?
- How to Create a Space -- set up your first outlet or location